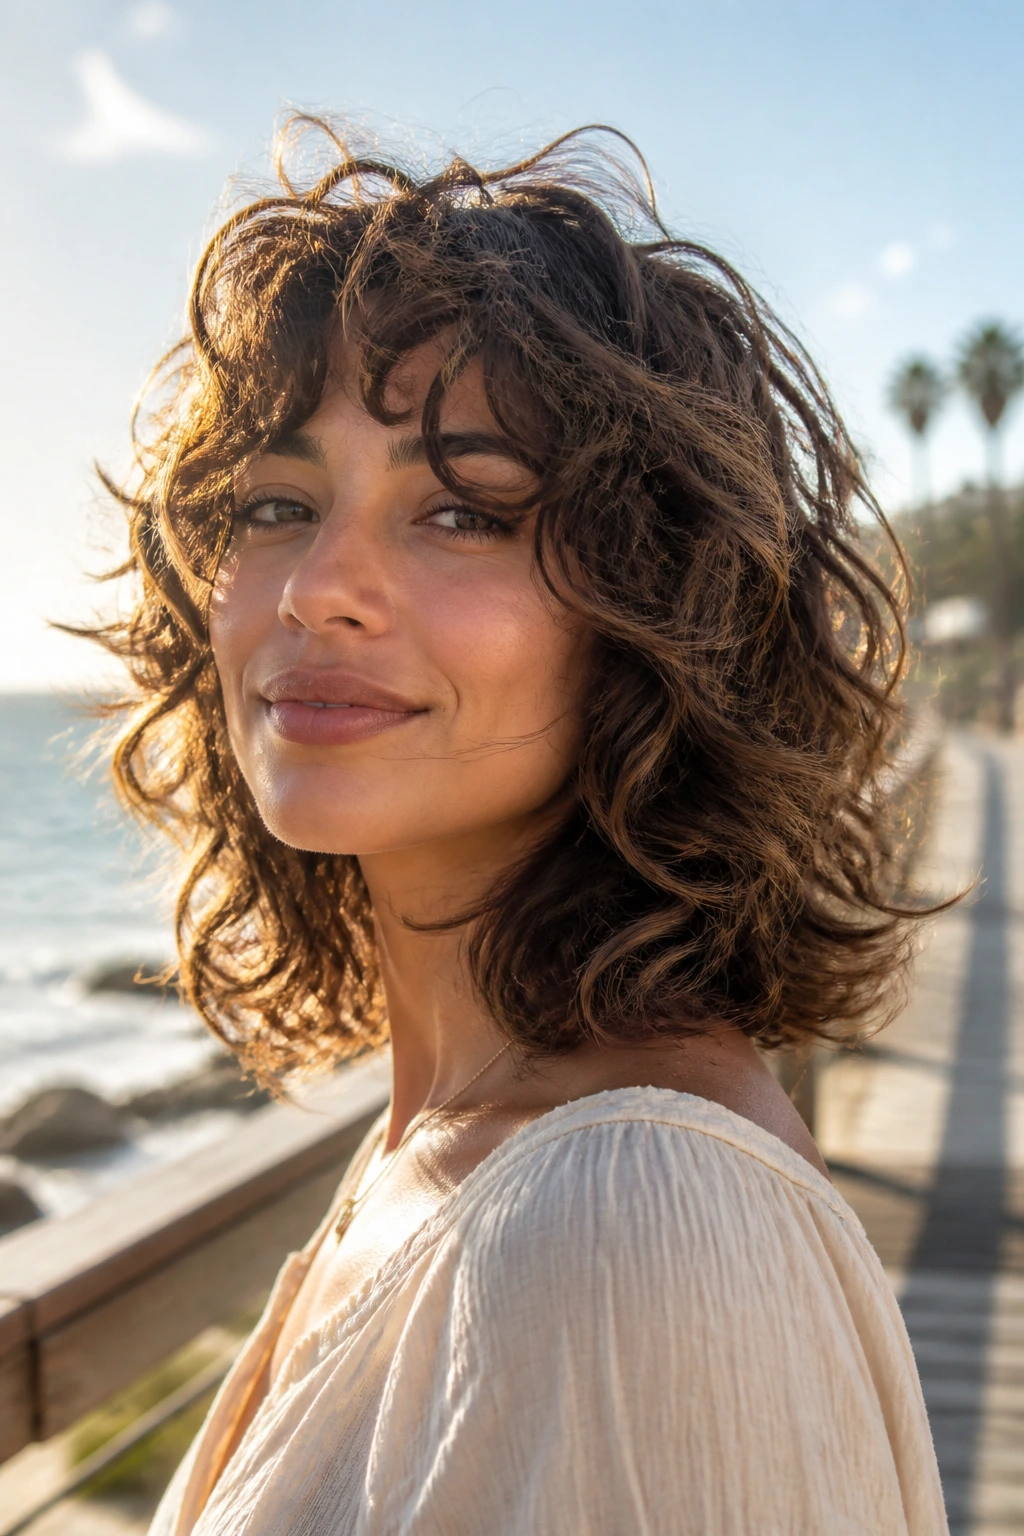
Mid length hairstyles for curly hair with beachy waves solve a problem that straight-haired inspiration photos never have to face: hair has to move in real life. The same bend that looks airy at 9 a.m. can turn puffier, flatter, or oddly triangular by lunch if the cut is wrong or the shape is too heavy.
The sweet spot sits somewhere around the collarbone and upper chest. Long enough to keep the curl pattern flowing. Short enough that the ends don’t drag the whole style down. That’s why mid-length cuts are such a useful canvas for curly hair — they keep the wave visible, but they don’t bury it under weight.
And beachy waves are not just for loose hair and curling irons. On curly textures, they can mean soft separation, piecey ends, a little root lift, and a finish that looks touched by air rather than styled into submission. The looks below play with that idea from a dozen angles, because curls rarely want one fixed answer anyway.
Why These Shoulder-Skimming Looks Keep Working

- The length is forgiving: Mid-length curls have enough weight to fall in clean ribbons, but not so much that the shape goes limp at the bottom.
- Beachy texture shows better here: On longer hair, waves can disappear into the mass; on mid-length hair, every bend reads more clearly.
- The styles age well through the day: A little frizz, a part shift, or a loosened twist often makes these looks better, not worse.
- You can wear them up or down: Collarbone-length curls can be clipped back, twisted, braided, or left loose without looking unfinished.
- The haircut does half the work: Good layers and a smart perimeter do more for the final look than a shelf full of products ever will.
Why the Collarbone Sweet Spot Keeps Curls in Balance
The collarbone zone is where curly hair stops fighting itself. Too short, and the curl pattern can spring outward in weird little arcs that make the whole head look wider than intended. Too long, and the weight pulls the wave into a flatter line that loses that airy, beach-washed movement people keep chasing.
Mid-length hair gives you a useful amount of swing. It’s long enough for curls to clump into ribbons, but short enough that the curl has some spring left in it when it dries. That matters more than people think. A curl that lands at the jaw behaves very differently from one that lands at the collarbone, and the extra inch or two can change whether a cut looks soft or boxy.
I also like mid-length waves because they’re easier to rescue on off days. A flat crown can be clipped up. A frizzy front can be twisted back. A weird bend on one side can be tucked behind the ear and forgotten. Try doing that with waist-length hair and you’ll spend half the morning negotiating with it.
Beachy texture works here because it doesn’t ask for perfection. It wants separation, not symmetry. The point is to let the curls bend, settle, and move without looking over-managed.
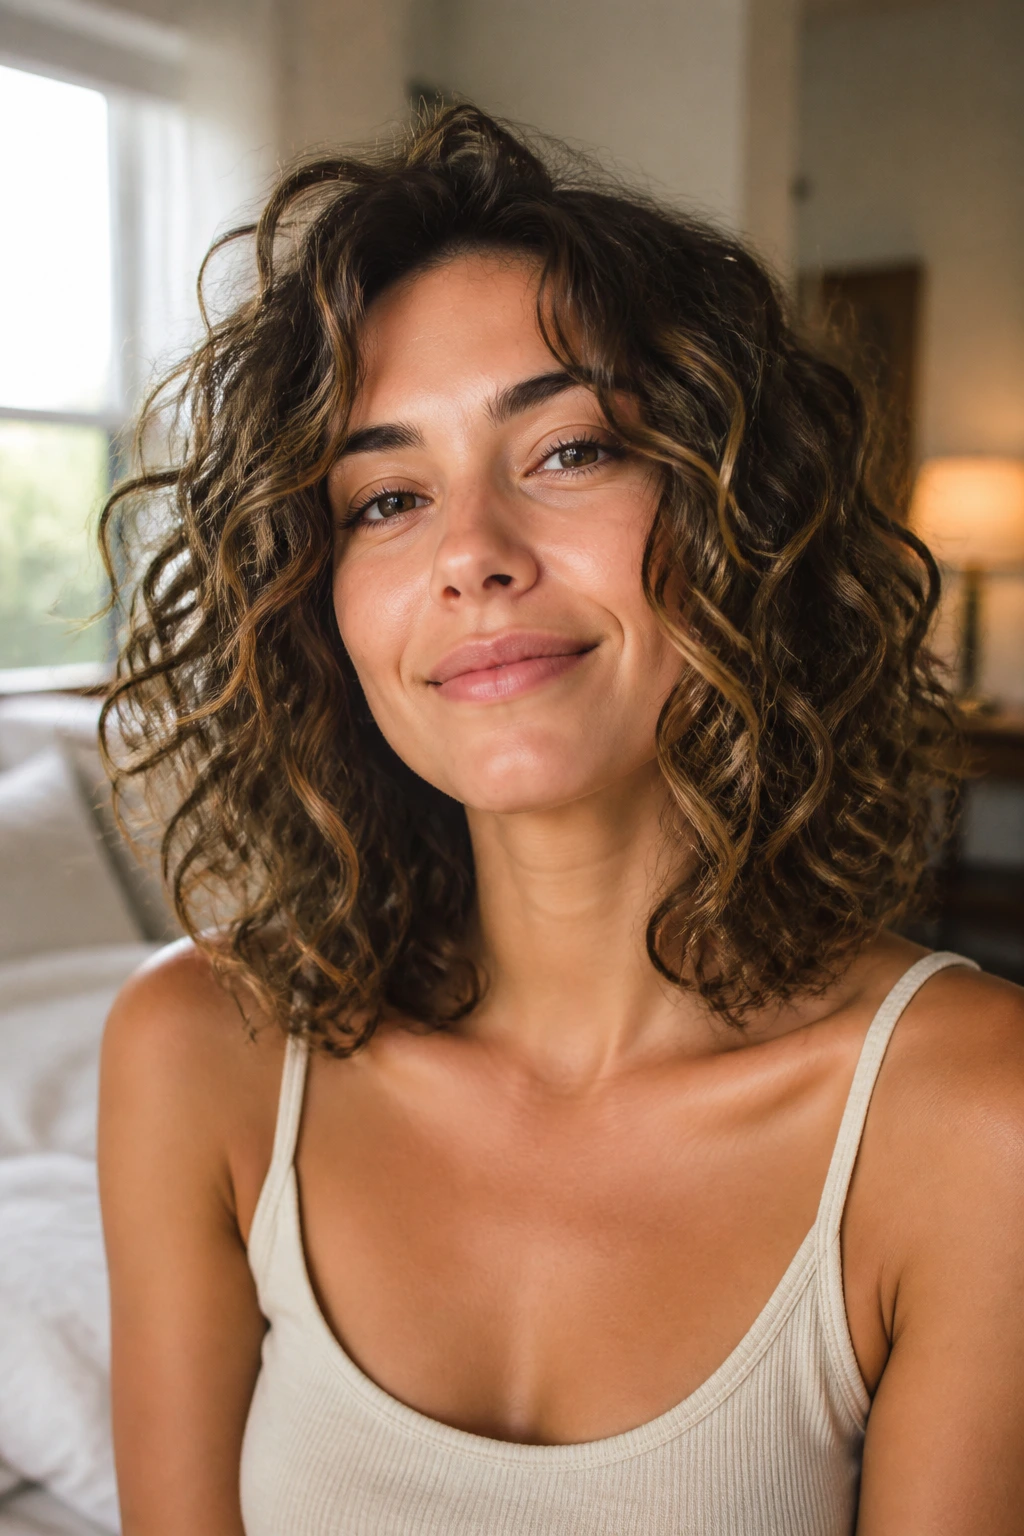
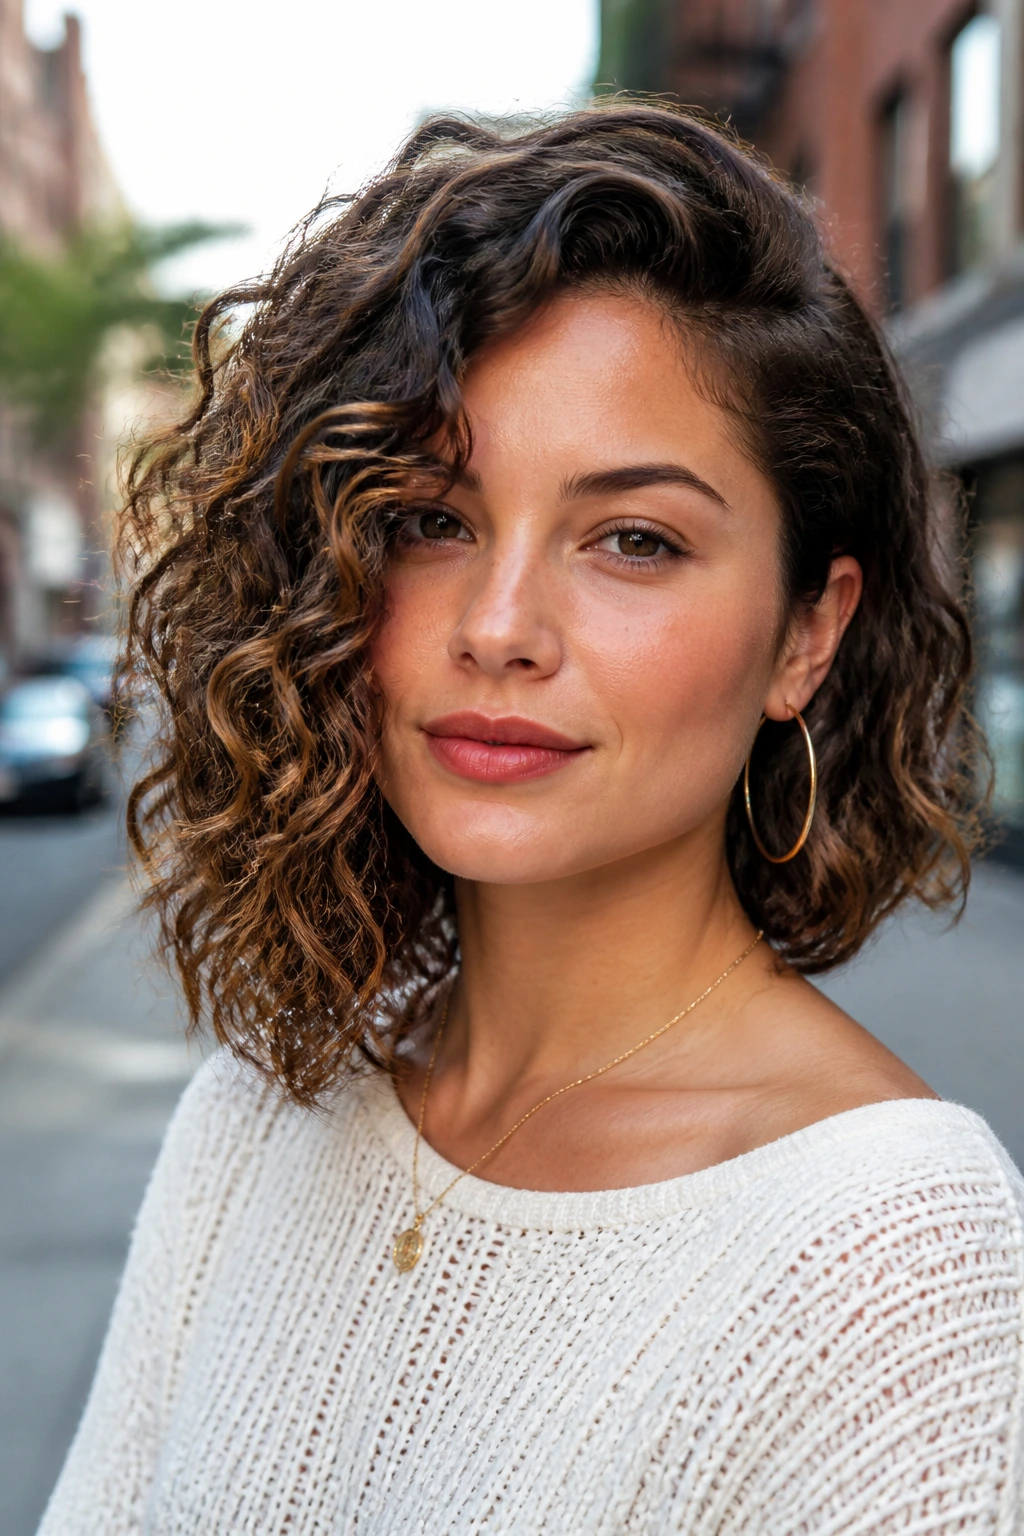
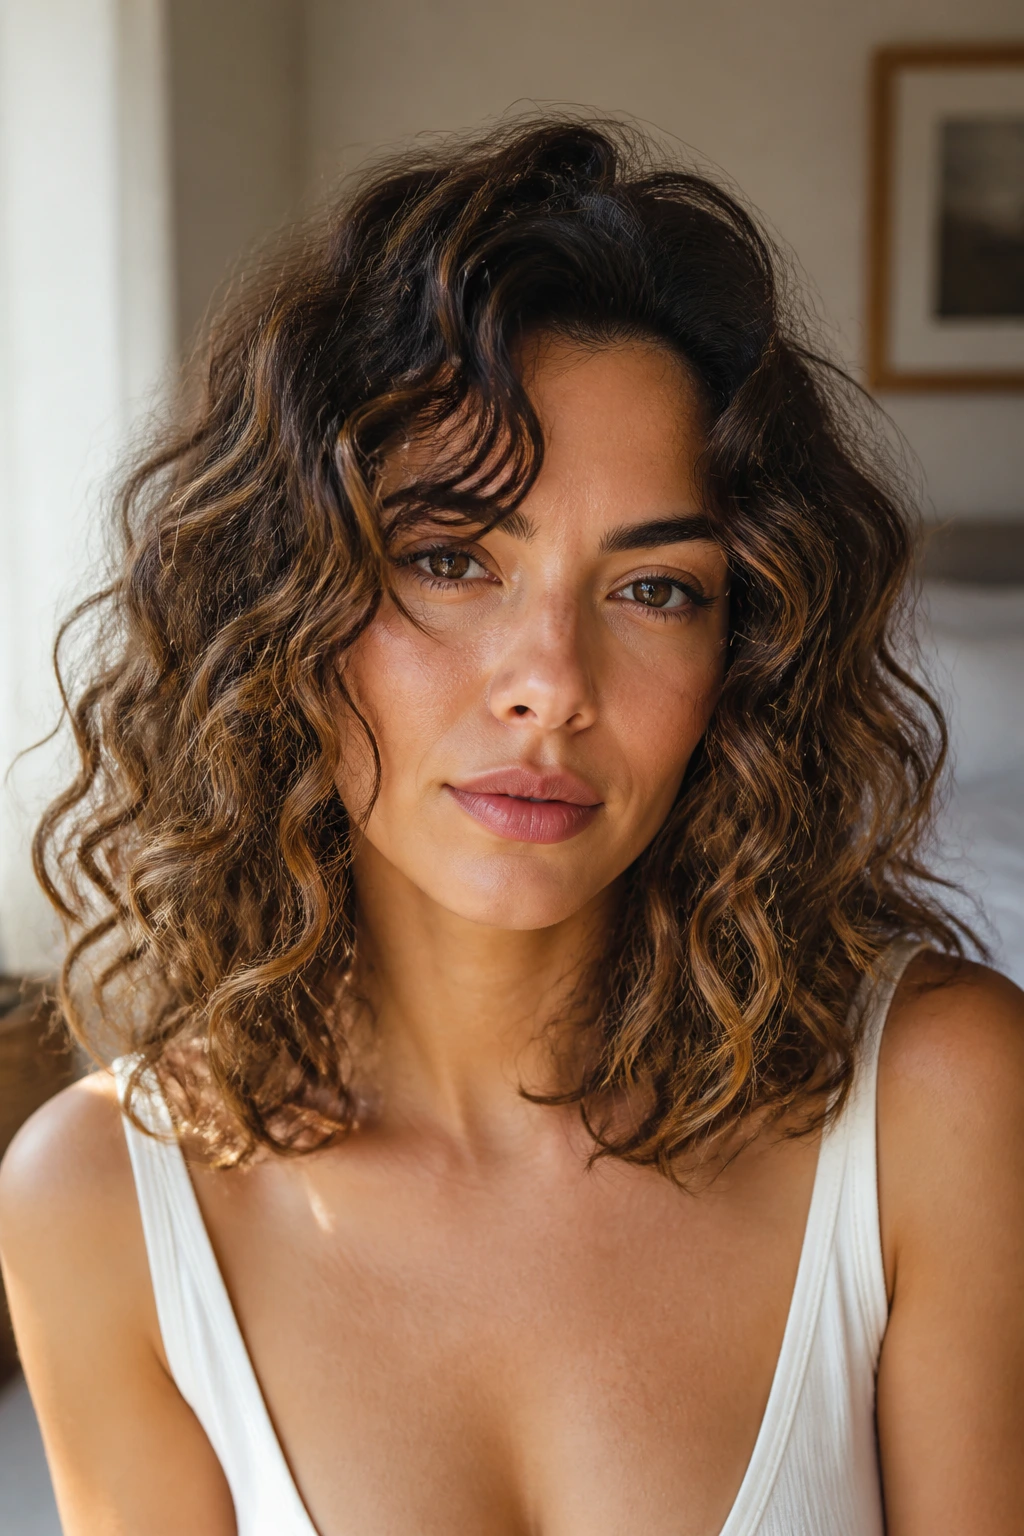
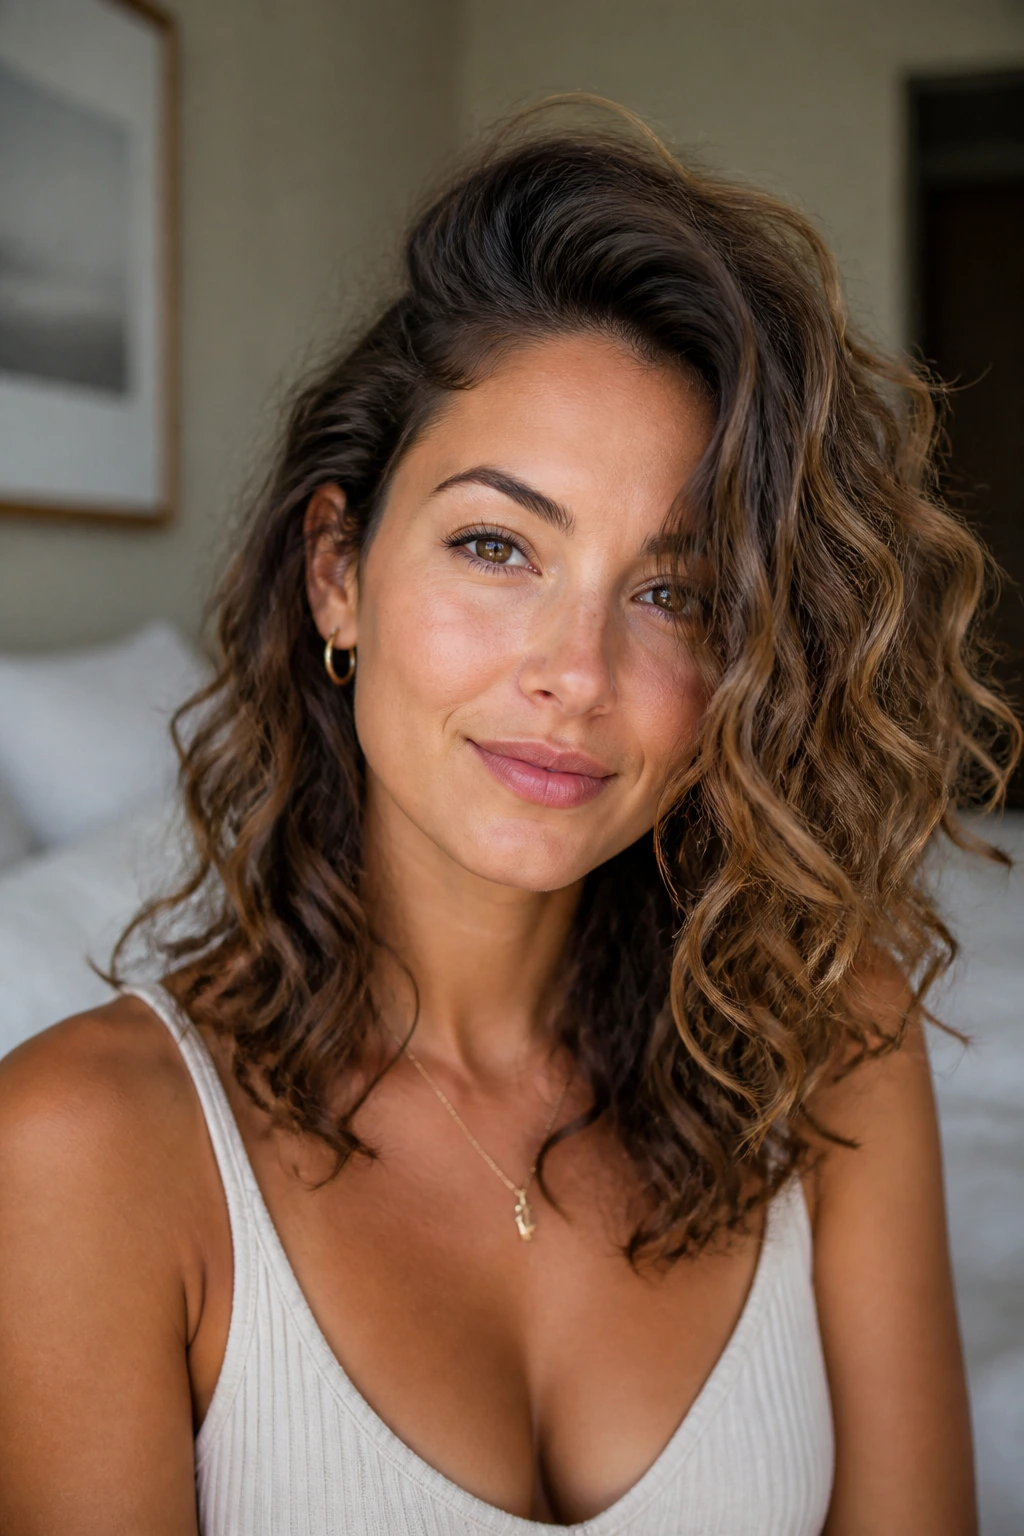
1. Center-Part Collarbone Lob
A clean center part on a collarbone lob is the sort of style that looks calm even when the curls themselves are having opinions. The line down the middle gives the eye something simple to follow, while the length keeps the ends from puffing out like a bell.
Ask for a blunt outer line with soft face-framing pieces that start around the cheekbone. That combo keeps the silhouette tidy and still lets the beachy wave pattern show. A little mousse at the roots and a touch of gel through the mid-lengths will usually be enough to hold the shape without making it stiff.
Best for: medium-density curls, balanced features, and anyone who wants a shape that still looks good when the part shifts half an inch.
2. Invisible-Layer Curly Lob
A lob with hidden layers is the answer when the bottom of your hair keeps turning into one heavy shelf. The outside stays smooth and readable, but the inside gets enough shaping to let the curls separate instead of sitting as one dense block.
Why It Beats a Blunt Edge on Thick Hair
The perimeter stays long enough to feel polished. The hidden layers take weight out from underneath, which stops the triangle effect that so many thick curly cuts fall into. You still get movement around the shoulders, but the ends don’t look shredded.
Styling note: dry in sections and leave the ends alone until the hair is mostly dry. If you rake through too early, the layers show up as frizz before they show up as shape.
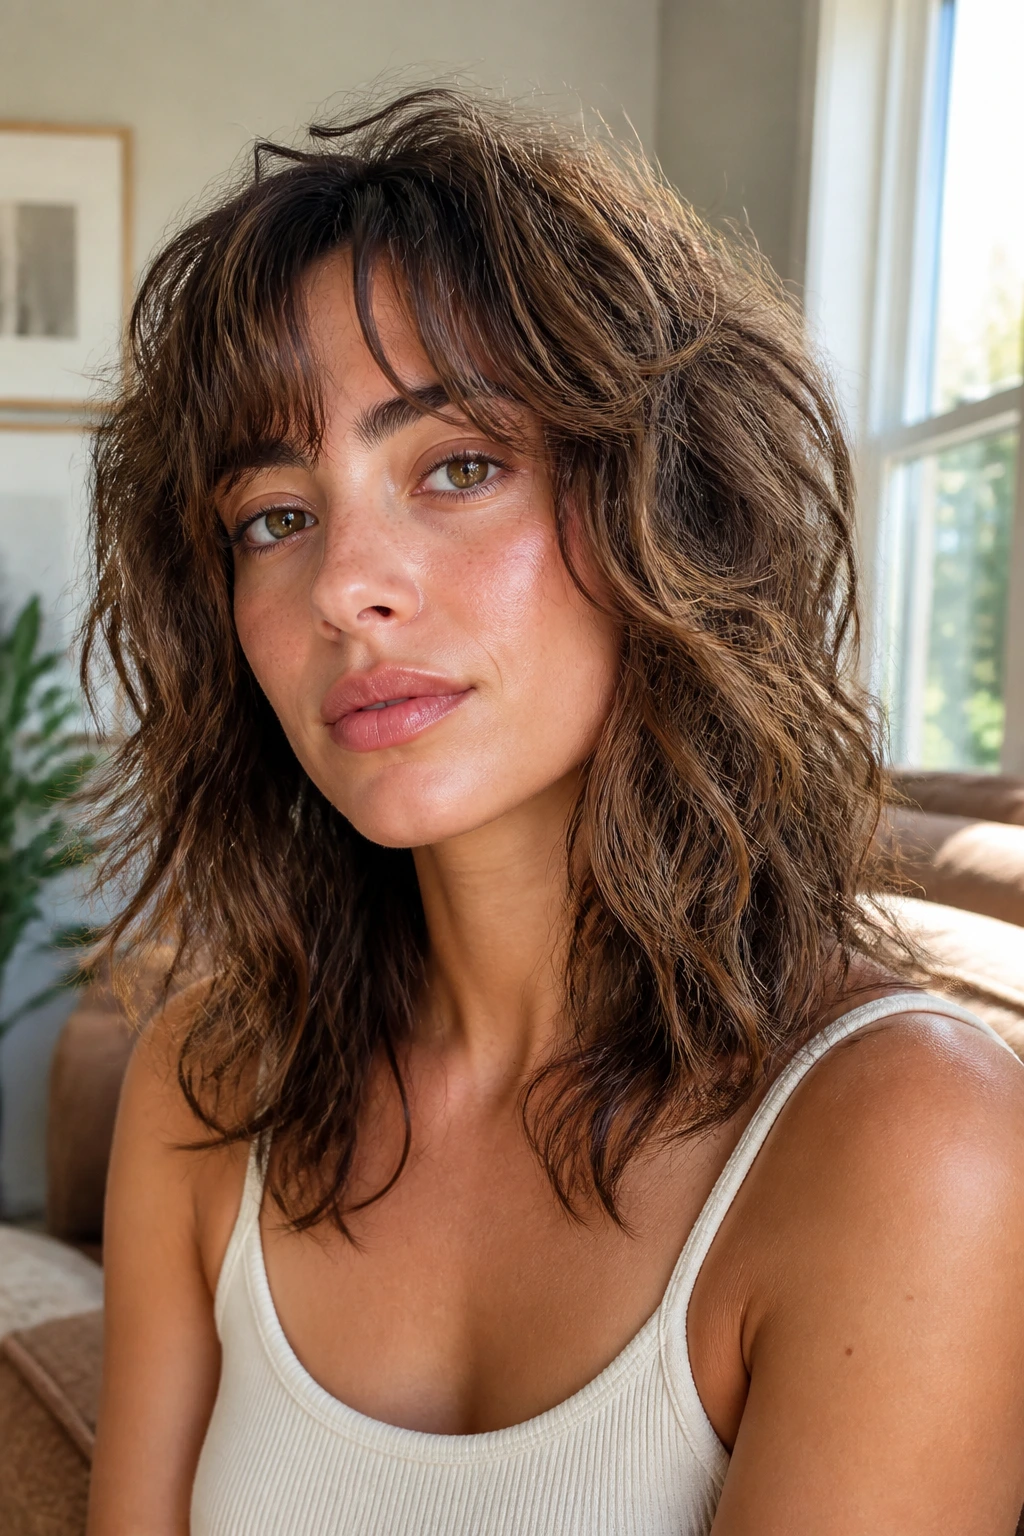
3. Curtain-Bang Shag
A curly shag with curtain bangs gives mid-length hair a little attitude without tipping into anything too loud. The shorter front pieces open the face, while the longer body of the cut keeps the texture loose and easy.
Why the Fringe Makes the Shape Softer
Curly fringe should almost always be longer than straight fringe. It springs up, and if you cut it too short, it can sit in a stiff little arc that looks startled instead of soft. The curtain shape avoids that because the pieces split and fall away from the center, which is far kinder to waves.
- Keep the shortest bang pieces at least eyebrow length when dry.
- Diffuse the fringe first so it sets before the rest of the hair steals your time.
- Use only a pea-sized amount of cream at the front; too much makes the bangs collapse.
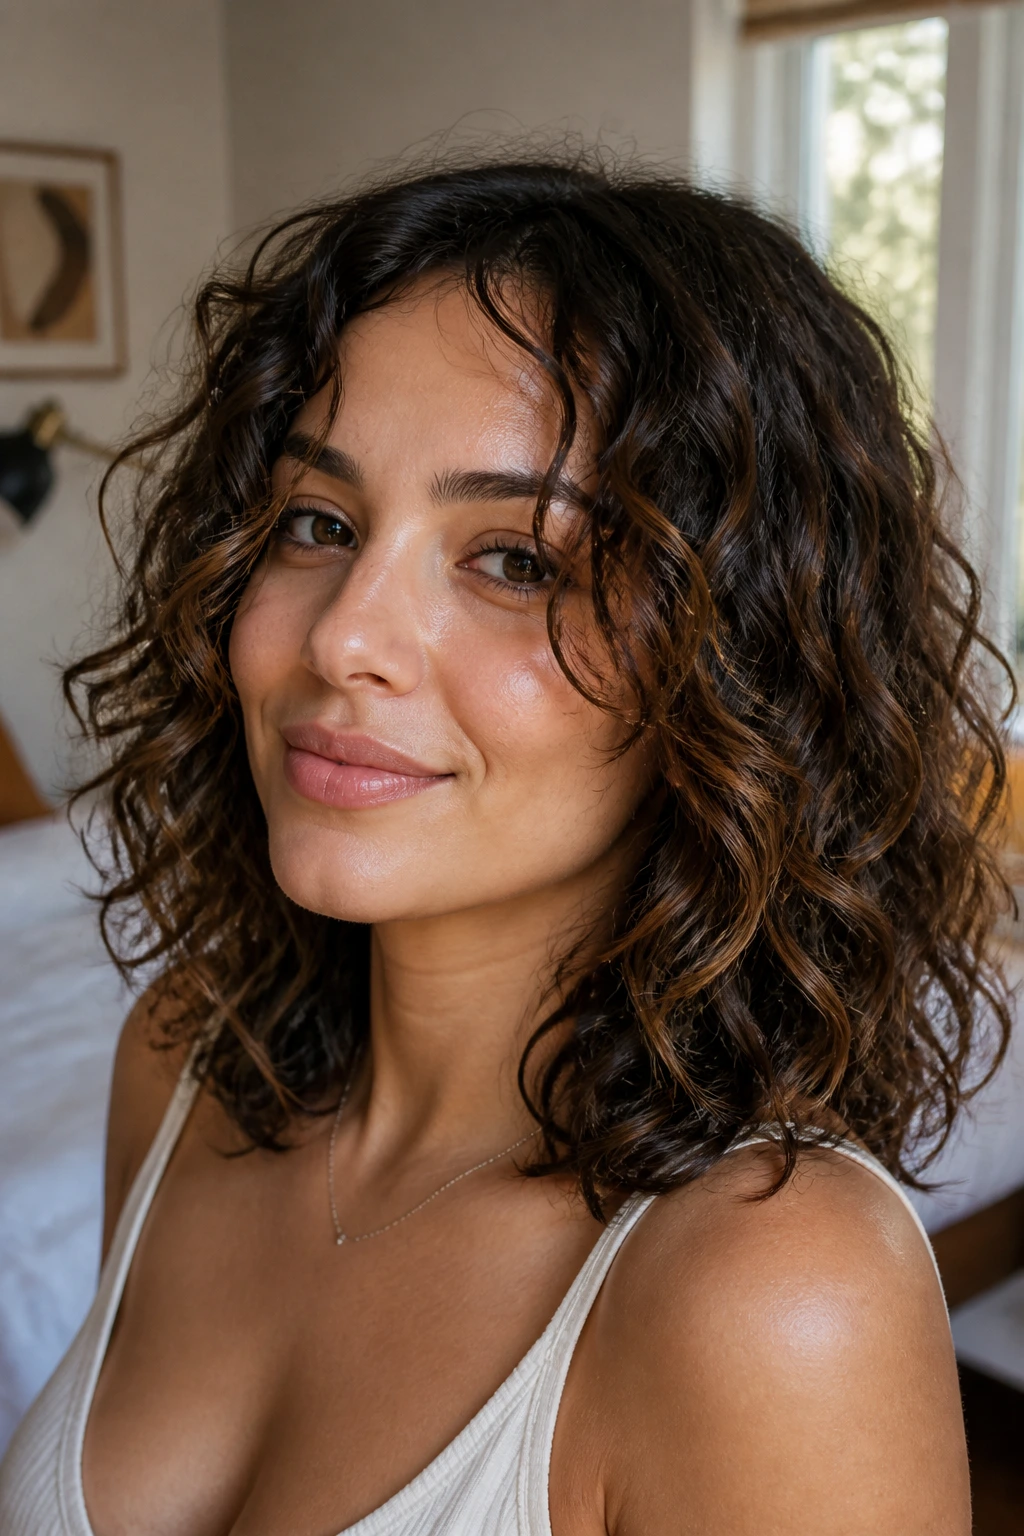
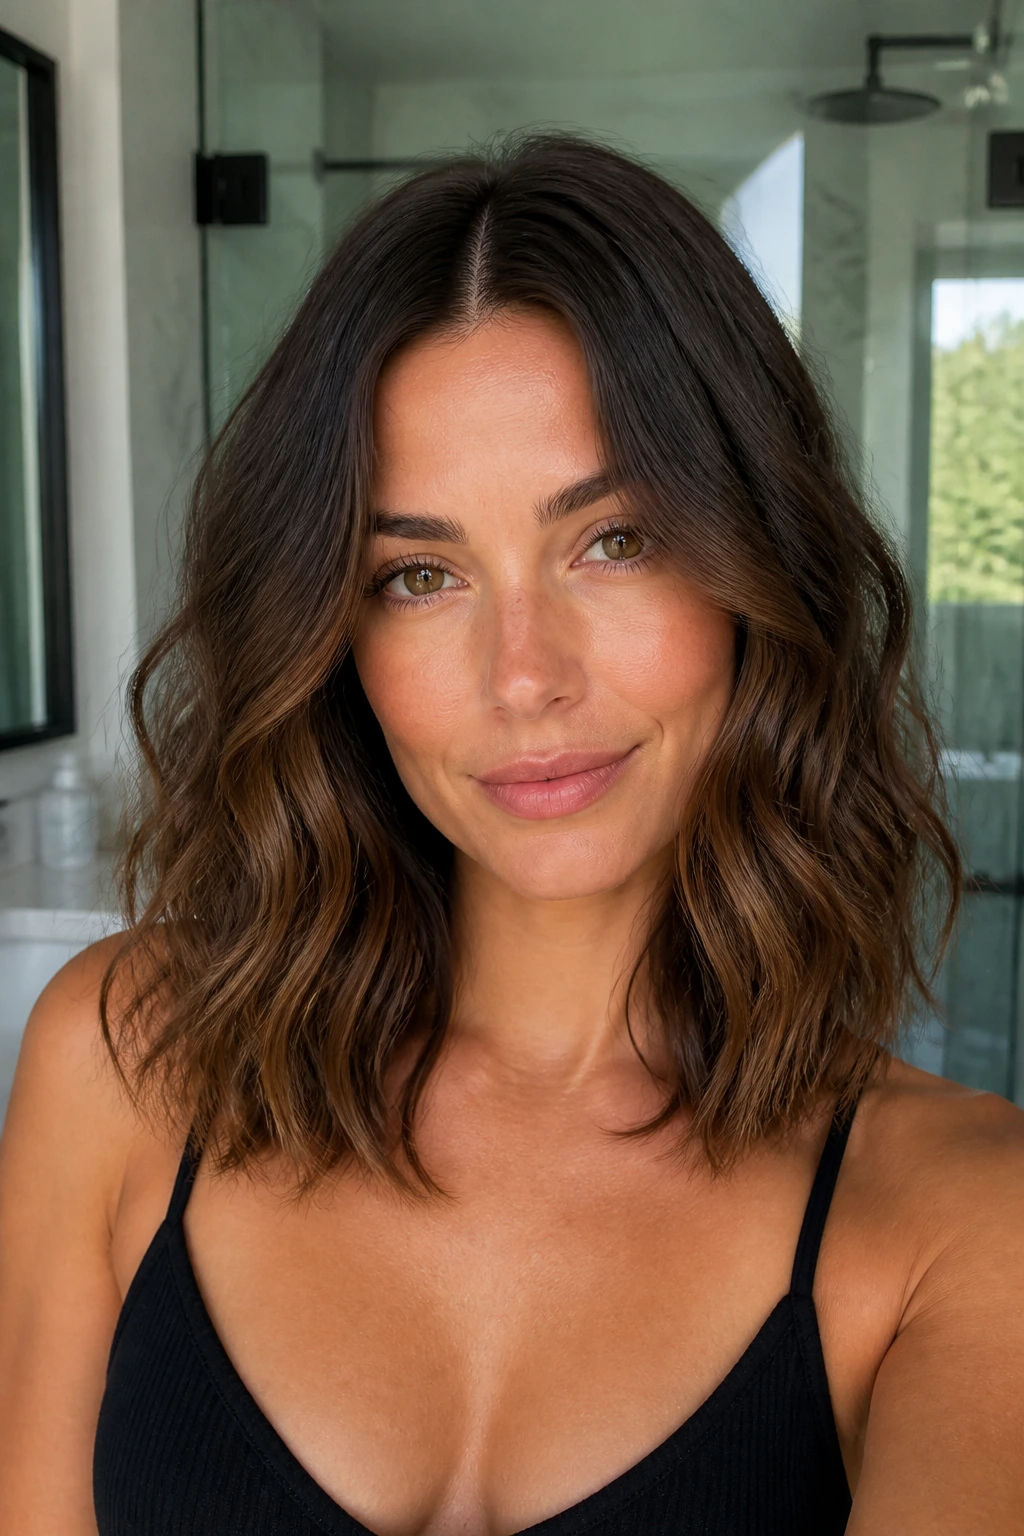
4. Deep Side-Part Lift
A deep side part can rescue curls that go flat at the crown. It gives one side a built-in lift and the other a soft sweep, which is a nice way to make beachy waves look fuller without teasing the roots into a mess.
This is one of those styles that changes the whole face with almost no effort. The hair doesn’t need to be perfectly even. It just needs enough bend to show off the part and keep the heavier side from lying too close to the scalp.
I like this look on mornings when the top layer feels sleepy. Pin the flatter side up for ten minutes while the hair dries a little, and the root remembers where to stand.
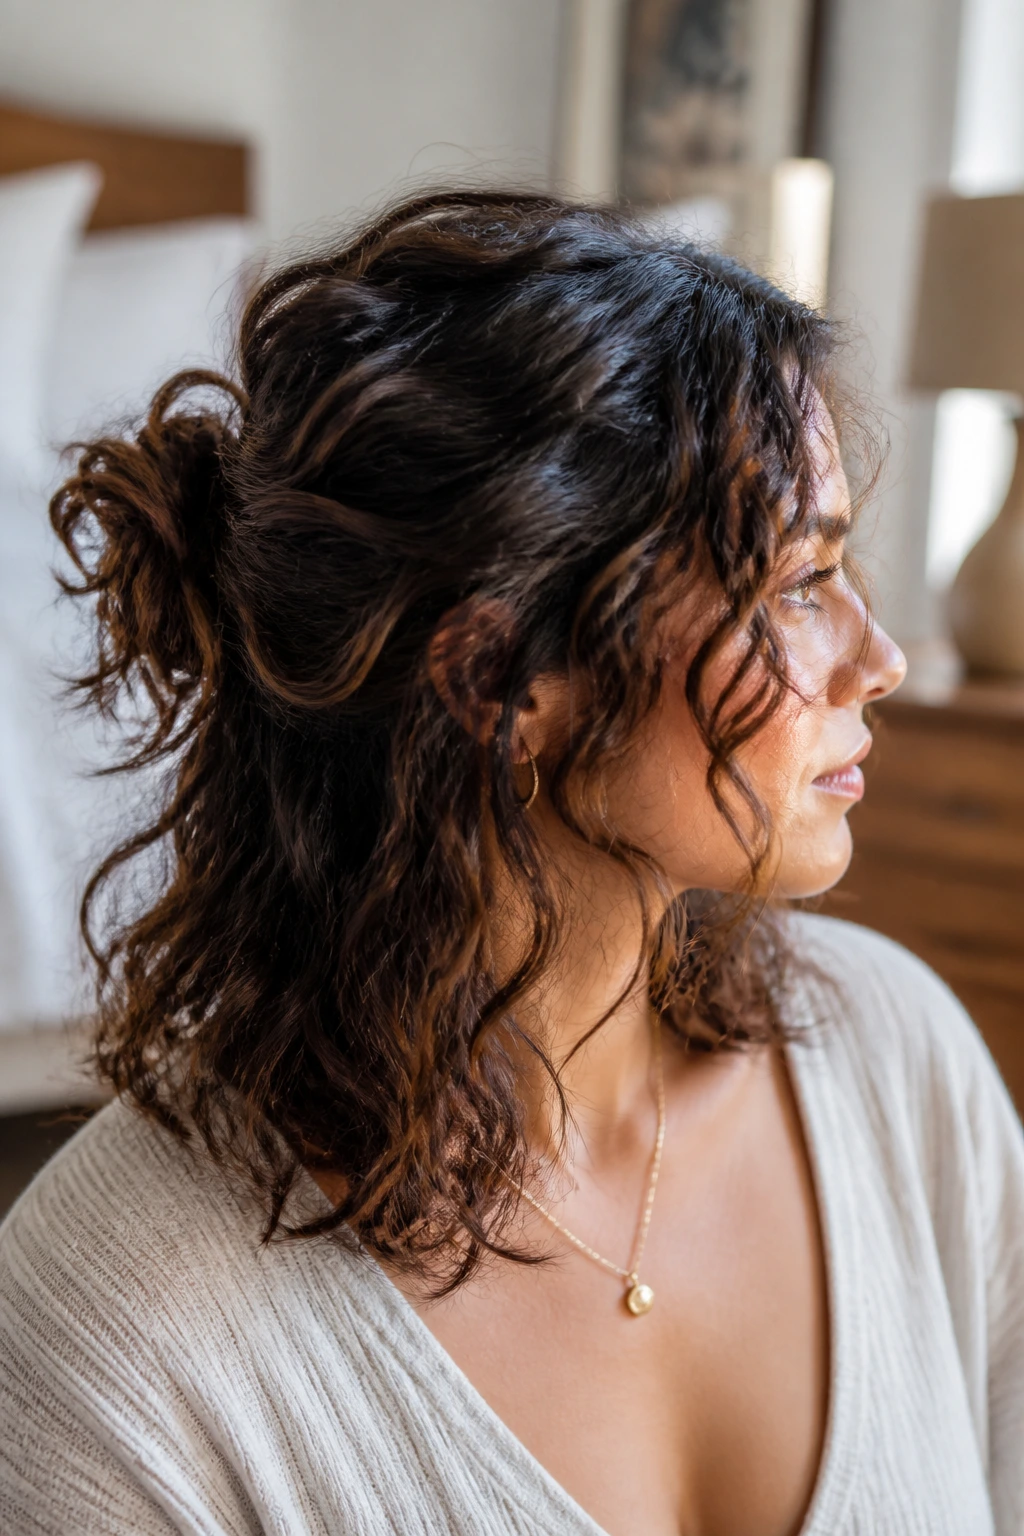
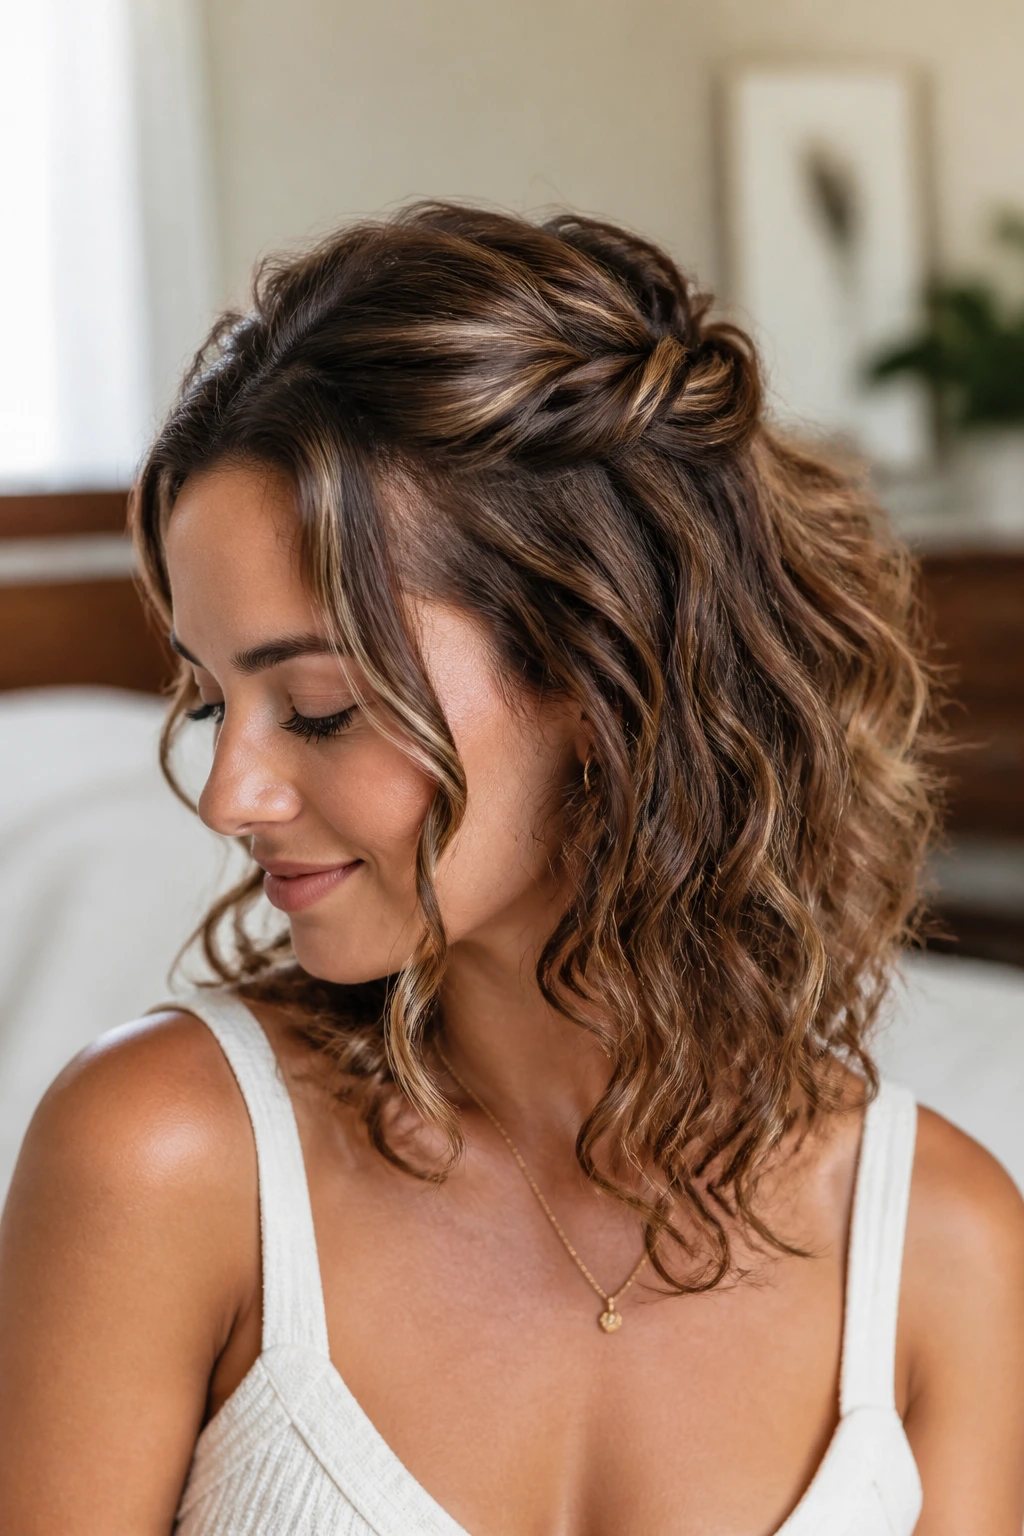
5. Half-Up Twist Crown
If you want your curls off your face but don’t want to lose the movement at the ends, a half-up twist is a clean, workable answer. Twist the top section back from each temple, meet at the crown, and pin or clip it so the lower lengths keep their beachy swing.
This works especially well on second-day hair, when the ends still look good but the roots need help. It also hides any unevenness at the crown, which curls tend to collect after a rough sleep. Use two small bobby pins if your hair is dense; one clip often slides.
Leave a few front pieces out. That tiny bit of mess is what keeps the style from looking too formal.
6. Tucked-Behind-Ear Lob
A tucked-behind-ear lob is one of those looks that changes the silhouette without asking much from you. One side stays open and airy, the other gets tucked, and the result is a face frame that feels deliberate rather than accidental.
The trick is to keep the tucked side loose near the temple. If you smooth it too hard, the style turns severe. If you leave one or two front curls out, it reads relaxed instead of edited. That little imbalance is the whole charm.
This is a favorite when curls are behaving but not thriving. You keep the shape, lose the fuss, and still look like you meant to do something with your hair.
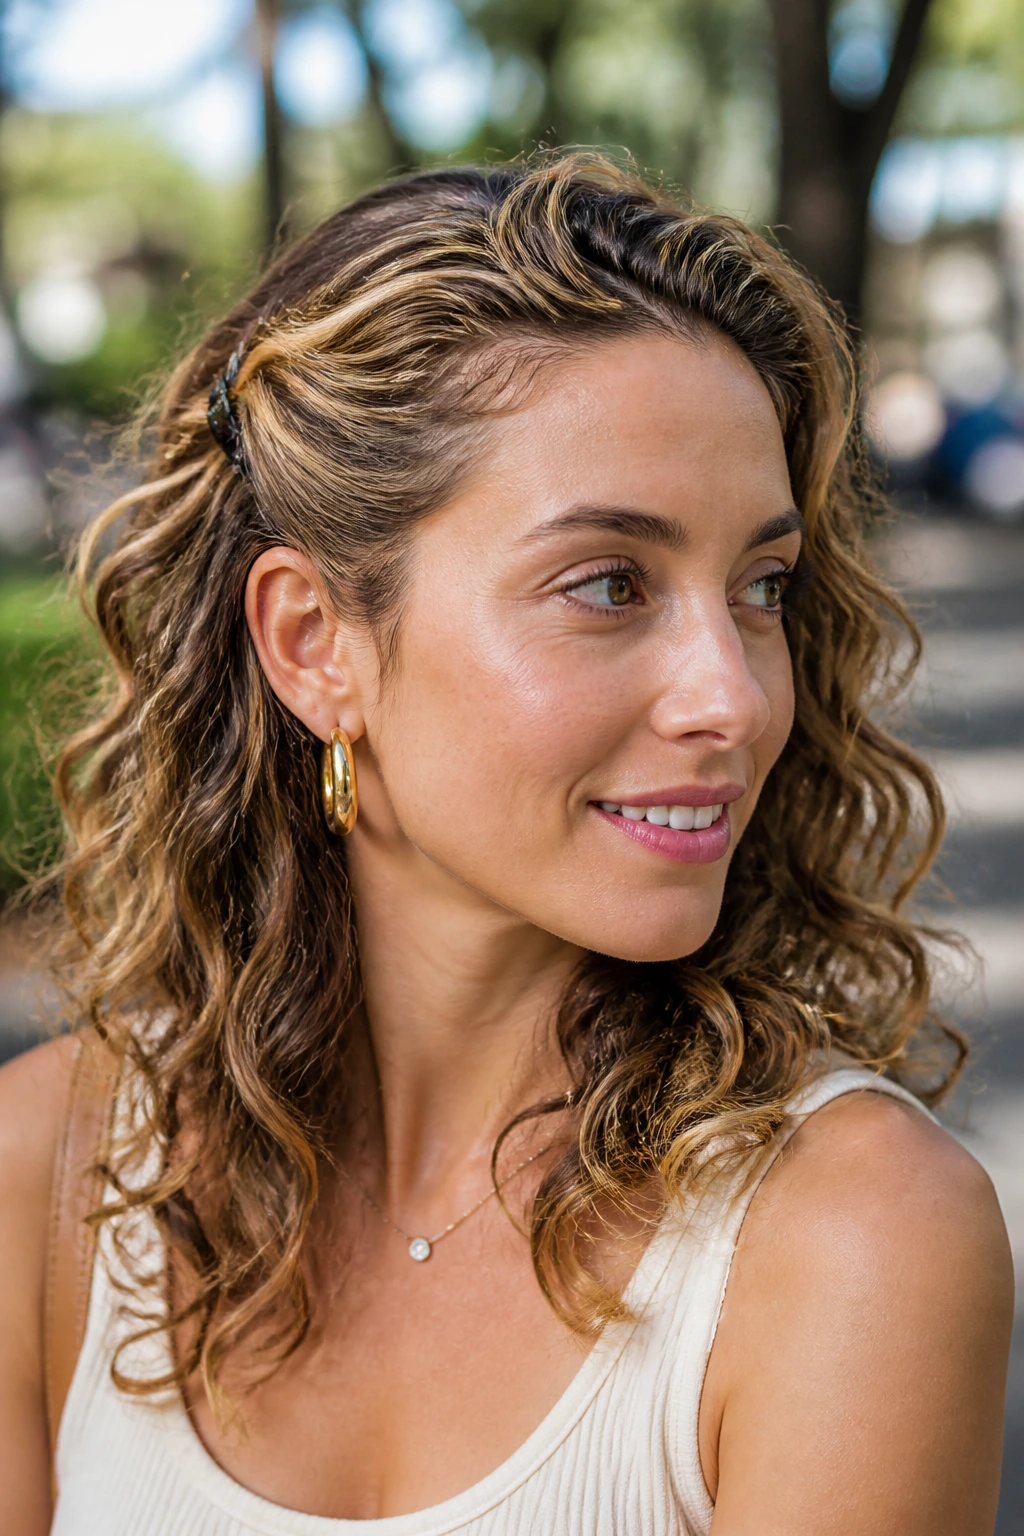
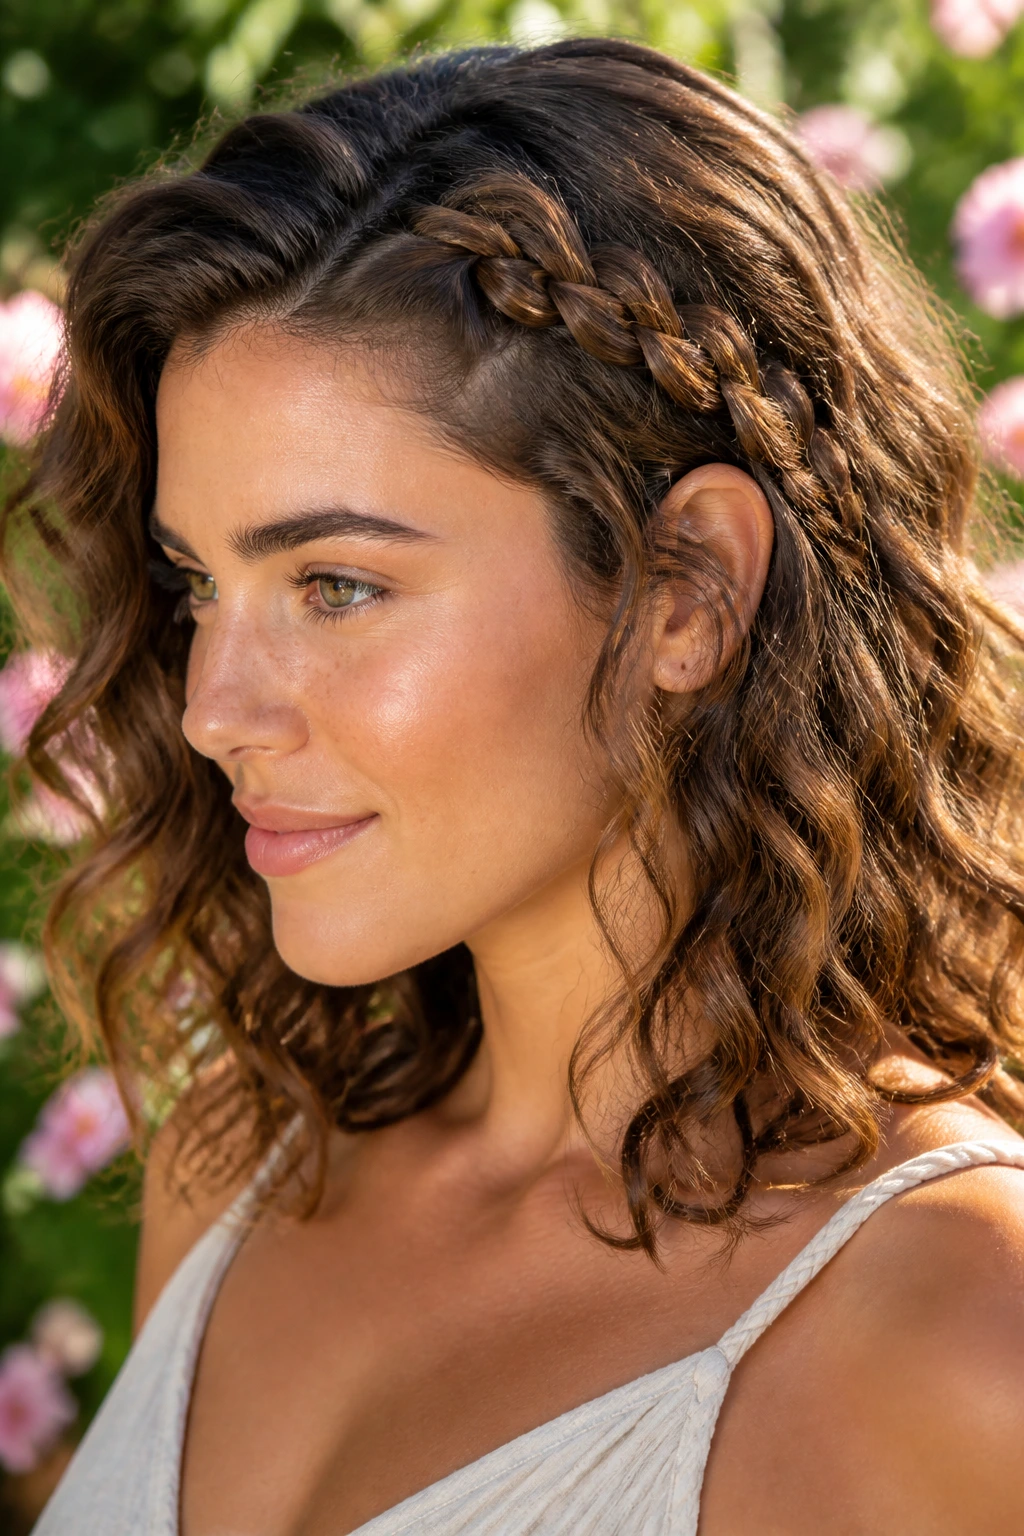
7. Braided Crown Accent
A small braid along the hairline is enough. You do not need a full, dramatic crown to get the effect. A single braid from one temple to just behind the ear gives the rest of the waves something to lean against without stealing the show.
Keep the braid loose and stop before the ends get too short. Curly hair can fray fast when it’s pulled too tightly, and beachy texture looks better when a few flyaways stay in the picture. After you braid, tug the edges lightly with your fingertips so it looks fuller and less fixed.
This one is useful on days when the front section behaves better than the back, which happens more often than people admit.
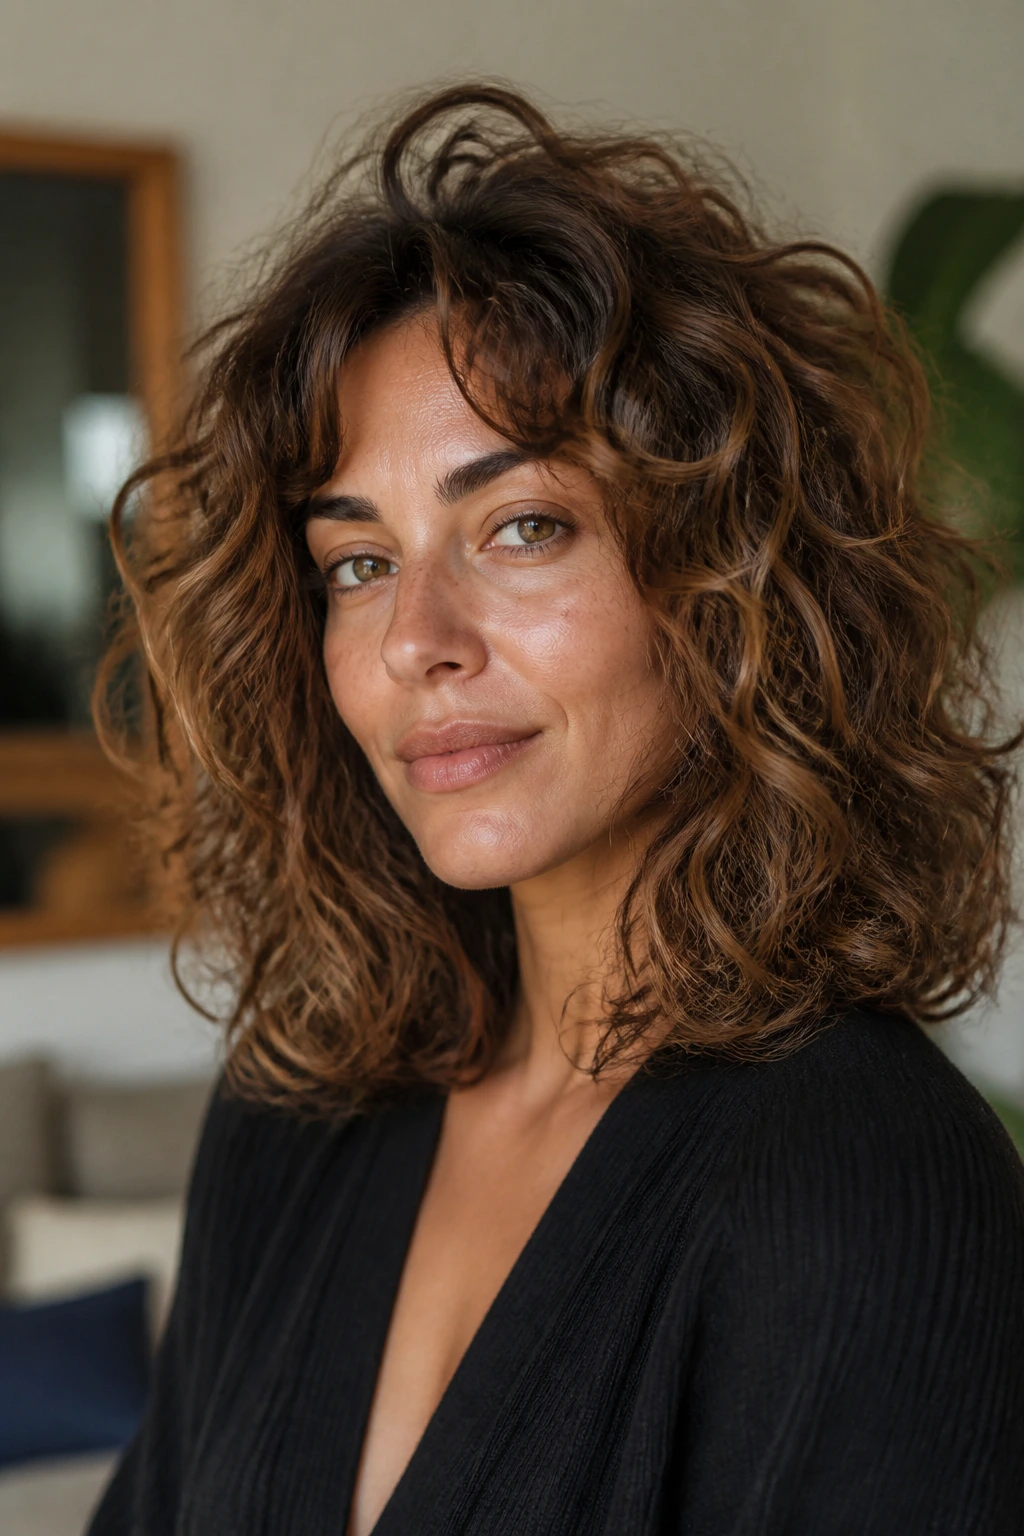
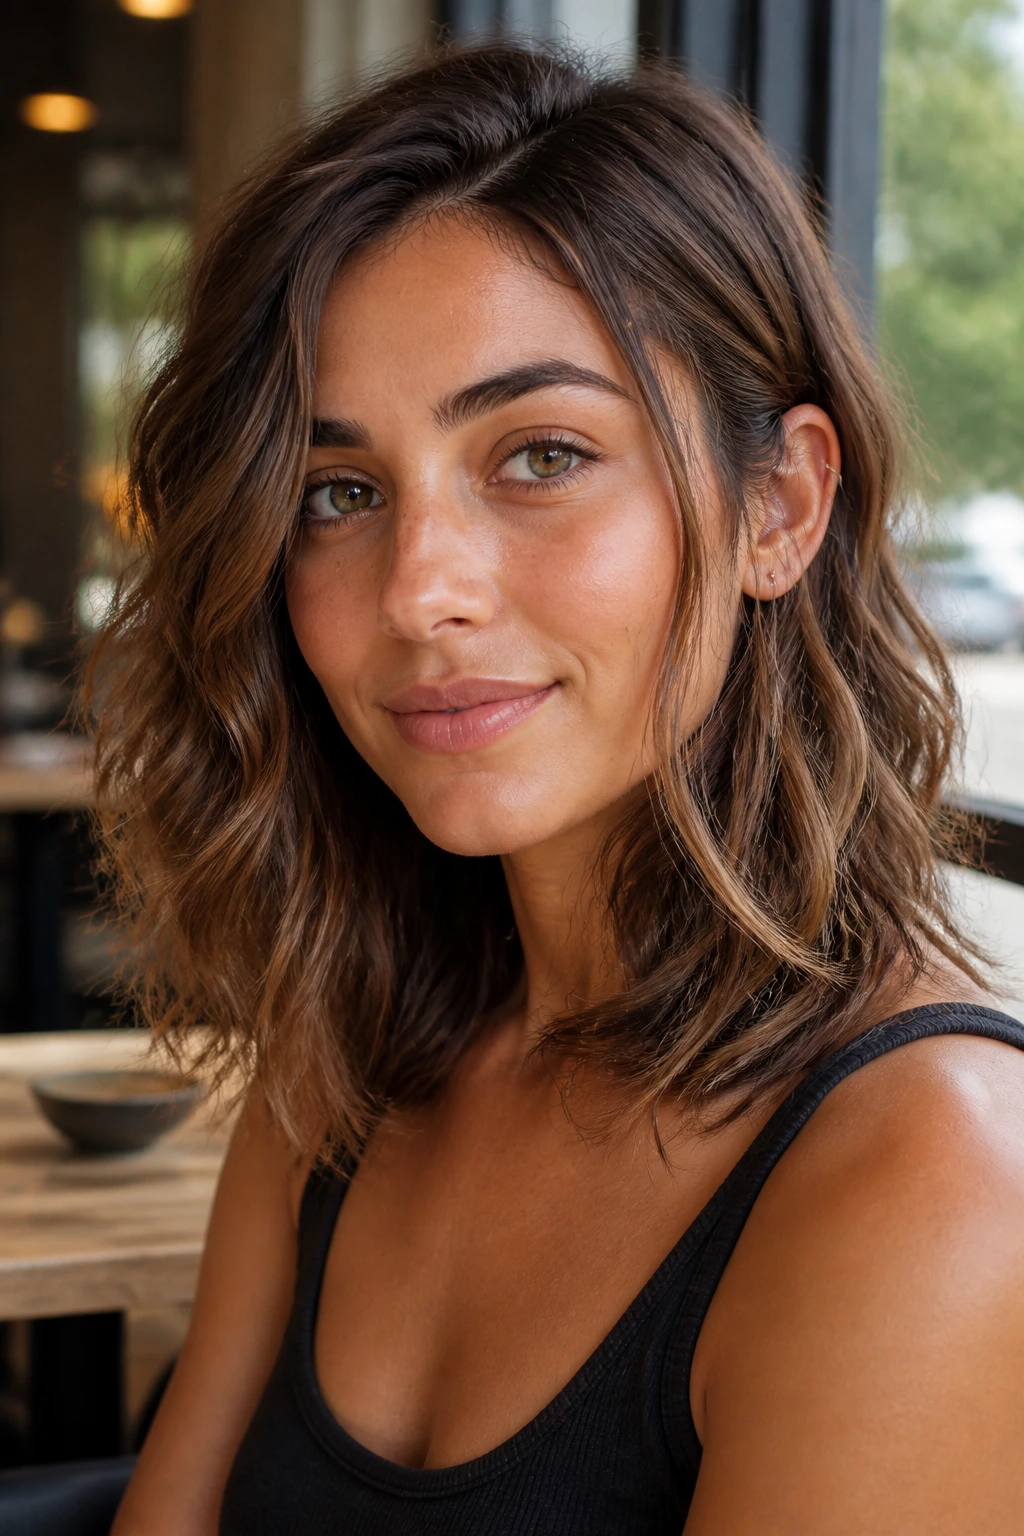
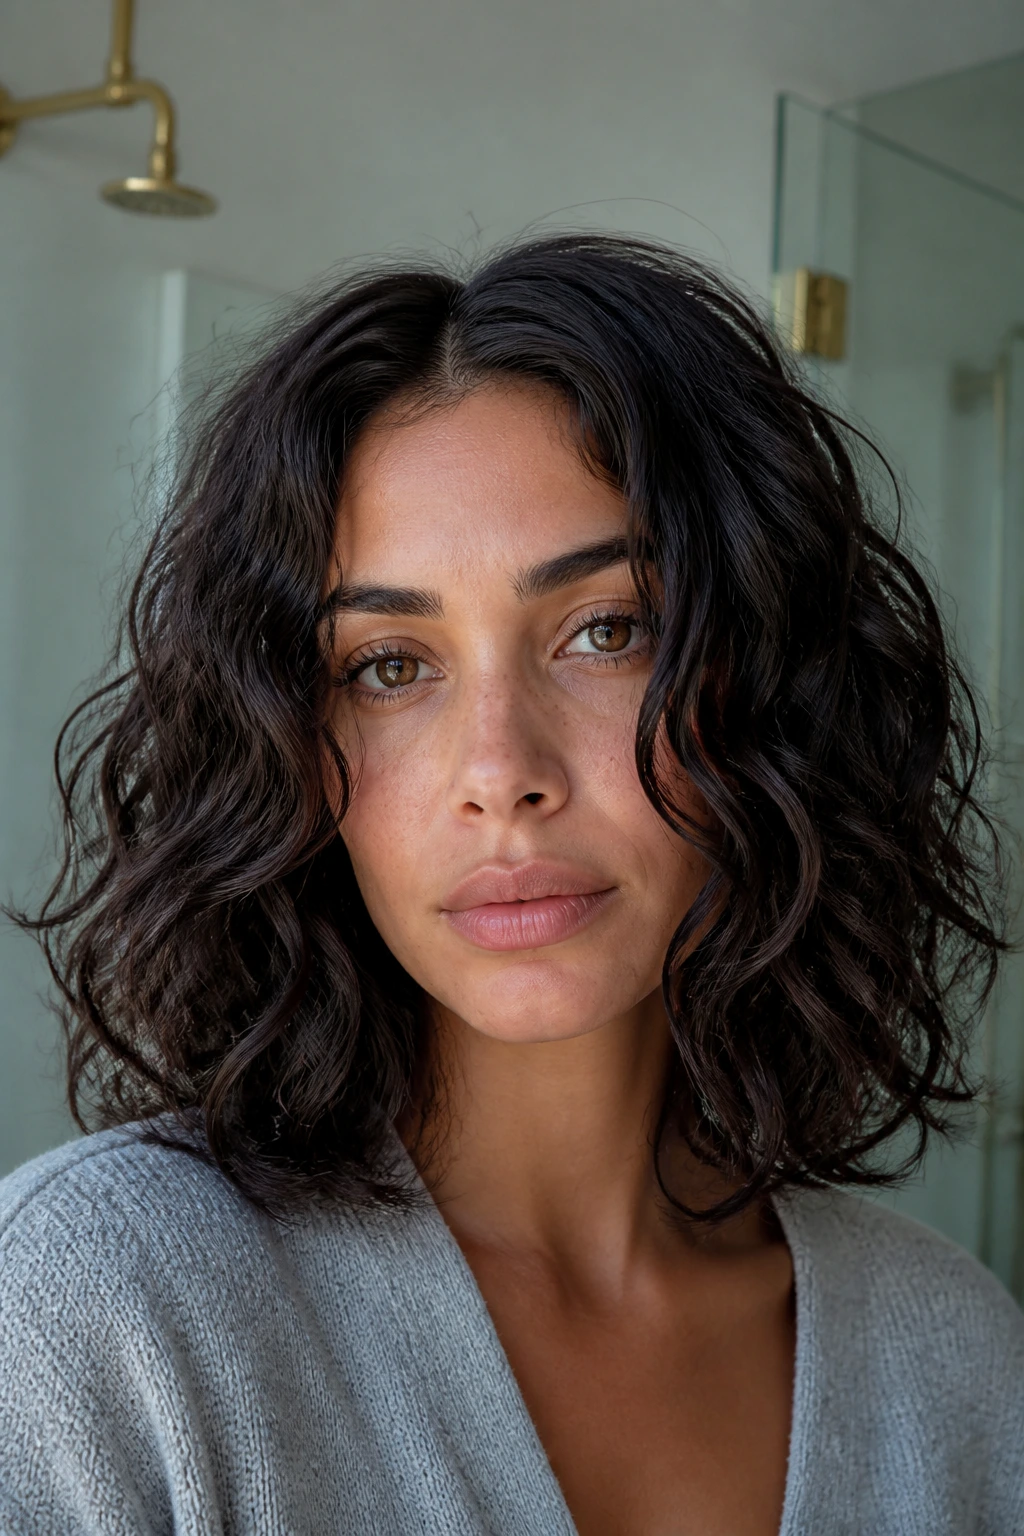
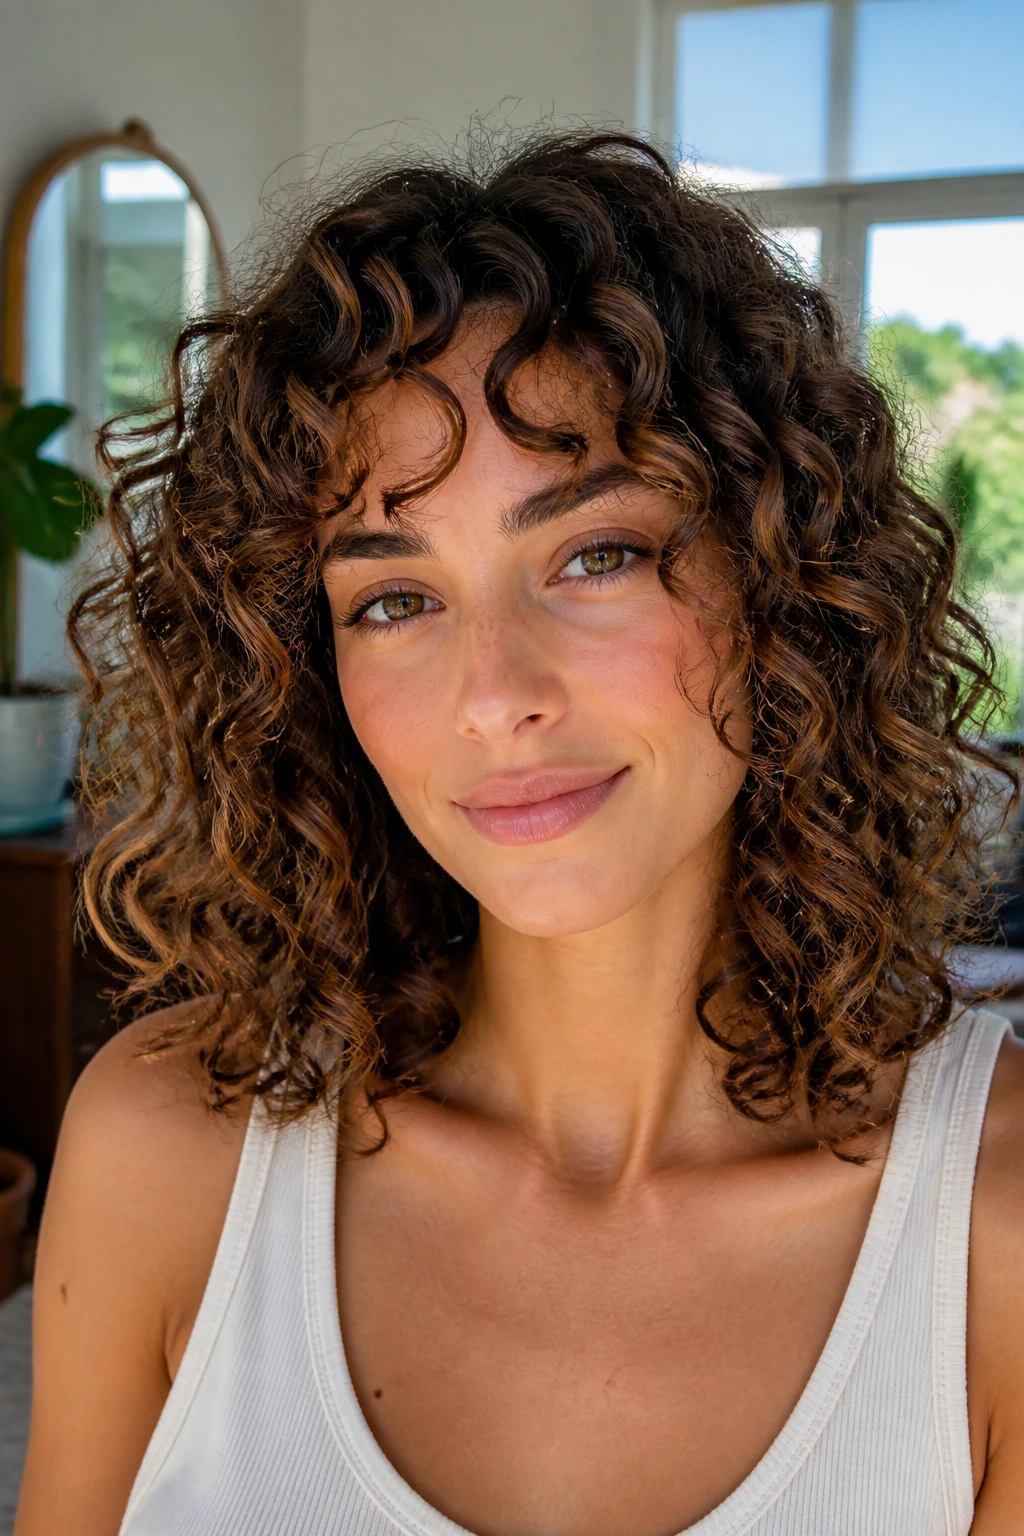
8. Feathered Mid-Length Shag
This is the cut for hair that feels bulky in the middle but limp at the ends. Feathered layers around the jaw and collarbone break that block of weight into softer pieces, so the wave pattern can show up instead of hiding under a heavy perimeter.
What Makes It Different from a Standard Lob
A lob is cleaner. A feathered shag has movement built into it. The ends are still long enough to curl, but the layers give the hair room to shift when you turn your head, which is where beachy texture looks best in the first place.
Ask your stylist to keep the shortest layers controlled. Too much feathering near the top can make curly hair puff in the wrong places, and once that happens, you’ll spend every morning trying to flatten something that wanted to stay up.
9. Rounded Face-Frame Layers
A rounded face frame changes the way mid-length curls fall around the cheeks. Instead of dropping straight down, the front pieces curve inward and then out again, which softens the edge of the whole style.
This is the cut I’d reach for if a blunt line sits too hard next to the jaw. The wave still feels easy and undone, but the front has enough shape to make the haircut look considered. It also plays nicely with shrinkage, because the rounded edge keeps the front from bouncing up too short.
Ask for the shortest face-framing piece to start around the cheekbone, not the chin. That one decision keeps the whole thing in balance.
10. Clipped-Back Temple Sweep
Sometimes the nicest beachy look is the one that gets the hair off the temples and leaves the rest alone. A pair of small clips — tortoiseshell, matte metal, or plain black pins — can turn loose curls into something polished in ten seconds.
Take only the front inch or two and pin it just above the ear, not all the way back at the crown. That keeps the top soft and lets the wave pattern stay visible. I like this on hair that’s already a little messy from the day; the clips make it look chosen instead of abandoned.
If the front pieces puff, mist them lightly with water before clipping. That tiny bit of reset helps the clip sit flatter.
11. Low Half-Bun with Loose Ends
A low half-bun gives you the structure of an updo without hiding the length. Gather the top half at the back of the head, twist it once, and secure it low enough that the bottom layer still falls across the shoulders.
The best version is loose around the crown and a little imperfect at the knot. Pull it tight and you lose the softness that makes beachy waves look good in the first place. A satin scrunchie or small claw clip works well here because it doesn’t chew up the curl pattern the way an over-tight elastic can.
This is the style for when you want the face open but still want hair on display. It does both jobs without looking overplanned.
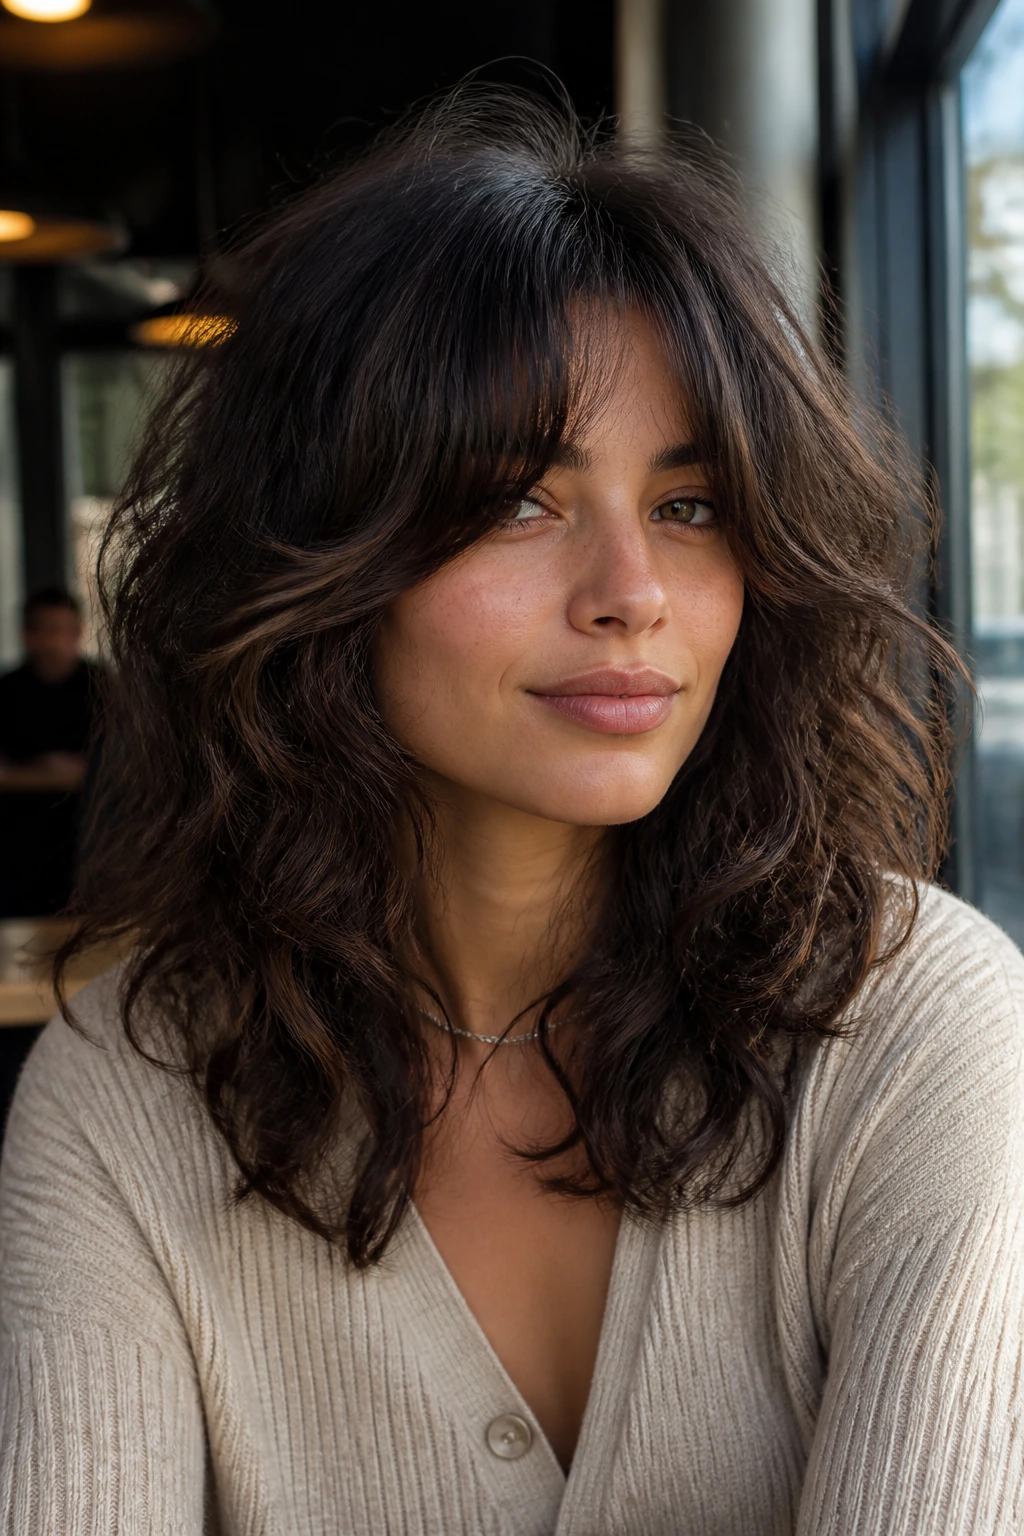
12. French Fringe with Soft Waves
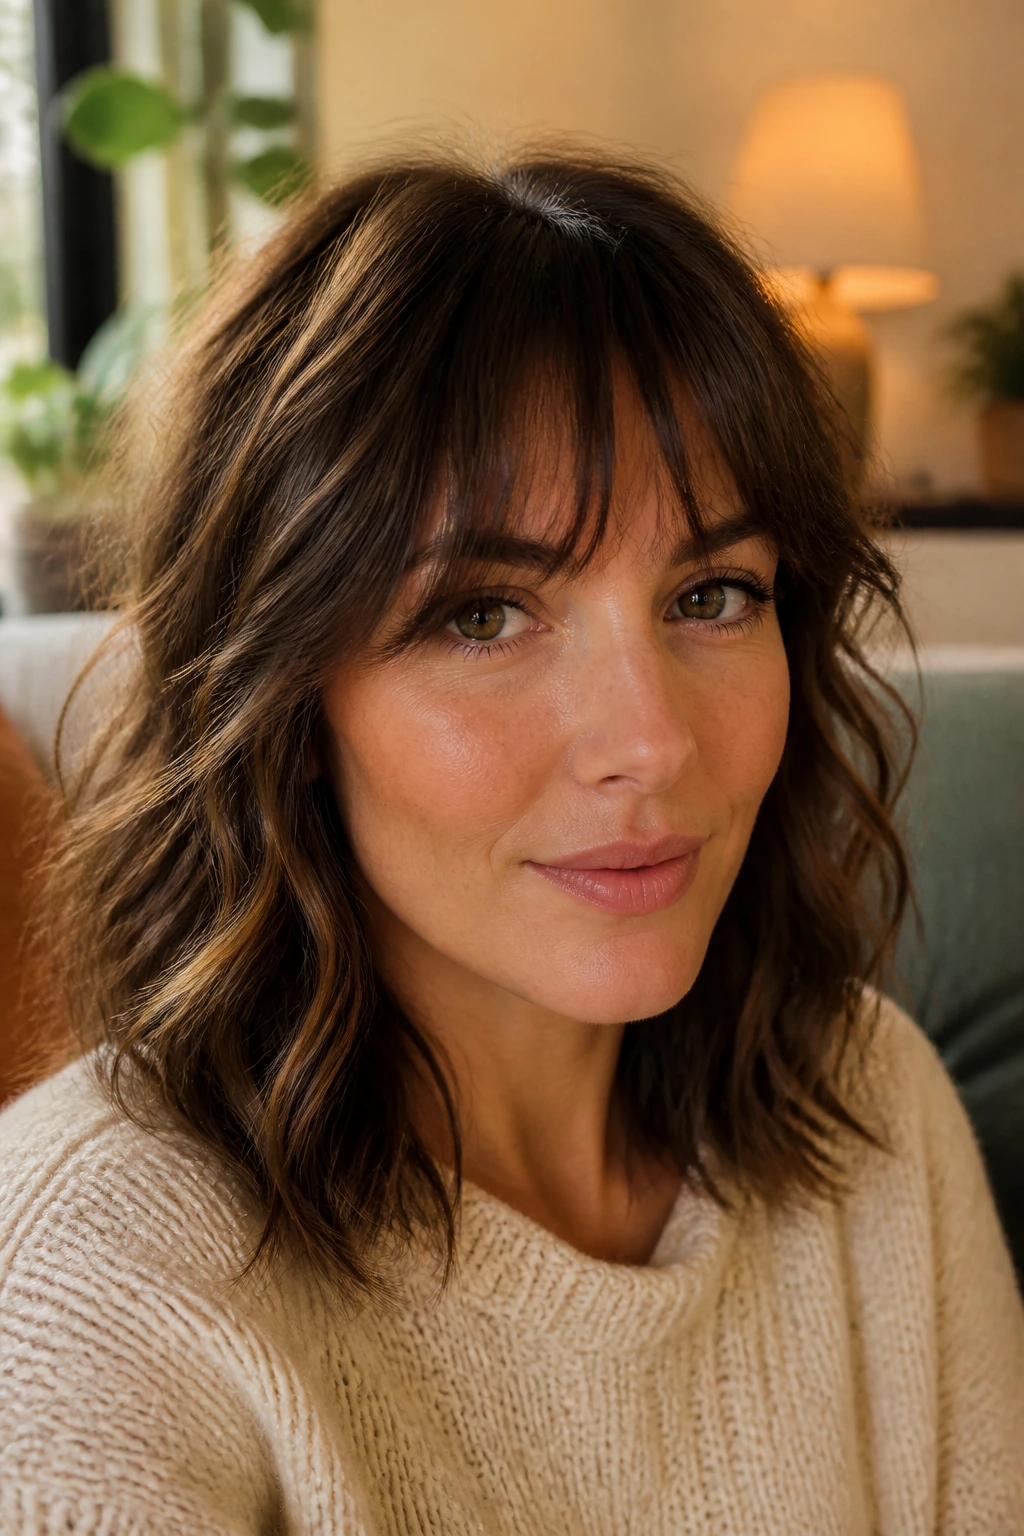
A French fringe changes the whole mood of mid-length curls. Instead of opening the face with a long curtain, it drops a softer, brow-skimming line that makes the rest of the waves feel a little more grown-in and a little less casual.
The Part You Cannot Skip
Curly fringe lives or dies by length. If it’s cut too short, it springs up and sits where you did not ask it to sit. Keep it longer than you think and let the dry shape tell you where it wants to land. That usually means brushing it to each side while it dries, then finger-setting it once the curl pattern starts to settle.
This is one of the few styles where the morning routine matters more than the salon photo. A few extra minutes at the front pays off all day.
13. Scarf-Wrapped Weekend Style
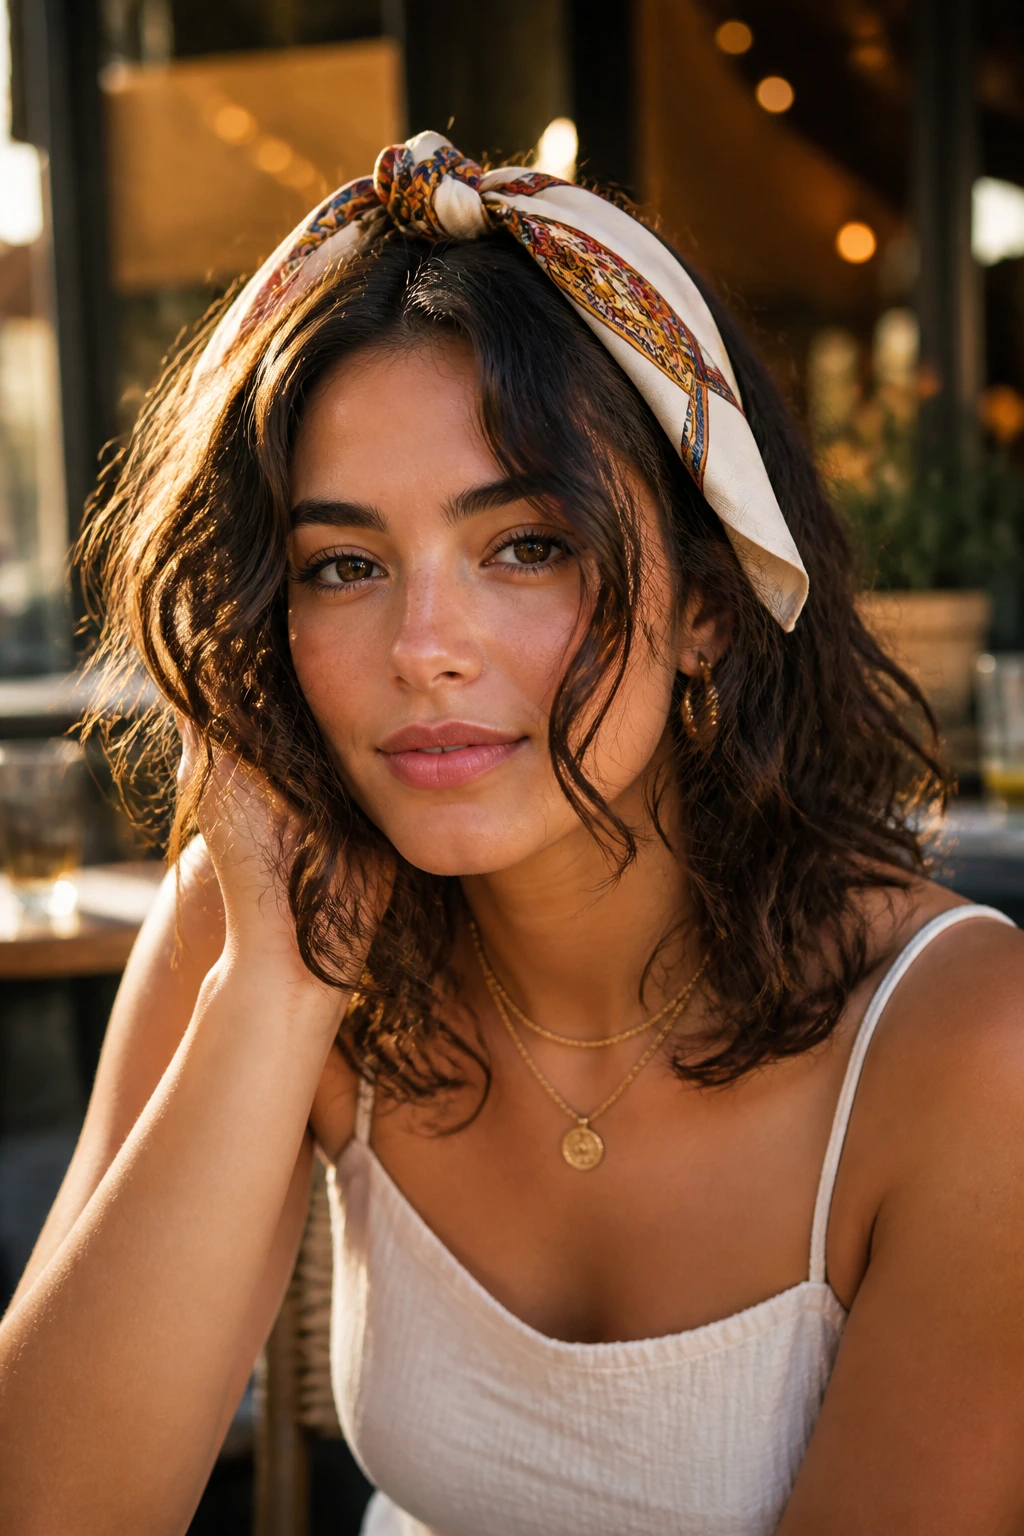
A scarf can do more than hide a bad hair day. Folded wide and tied at the nape or the crown, it turns day-two curls into a proper look, especially when the mid-length waves are still good but the roots need a little help.
Choose a silk or satin scarf if your hair frizzes easily. Cotton works, but it grabs. I like this style with center parts and loose front pieces, because the fabric becomes the visual anchor while the curls stay soft underneath. It’s also one of the easiest ways to stretch a wash day without pretending the hair is fresh when it isn’t.
This one has range. It can look casual, or it can look deliberate enough to wear with a sharper outfit.
14. Twisted Side Sections
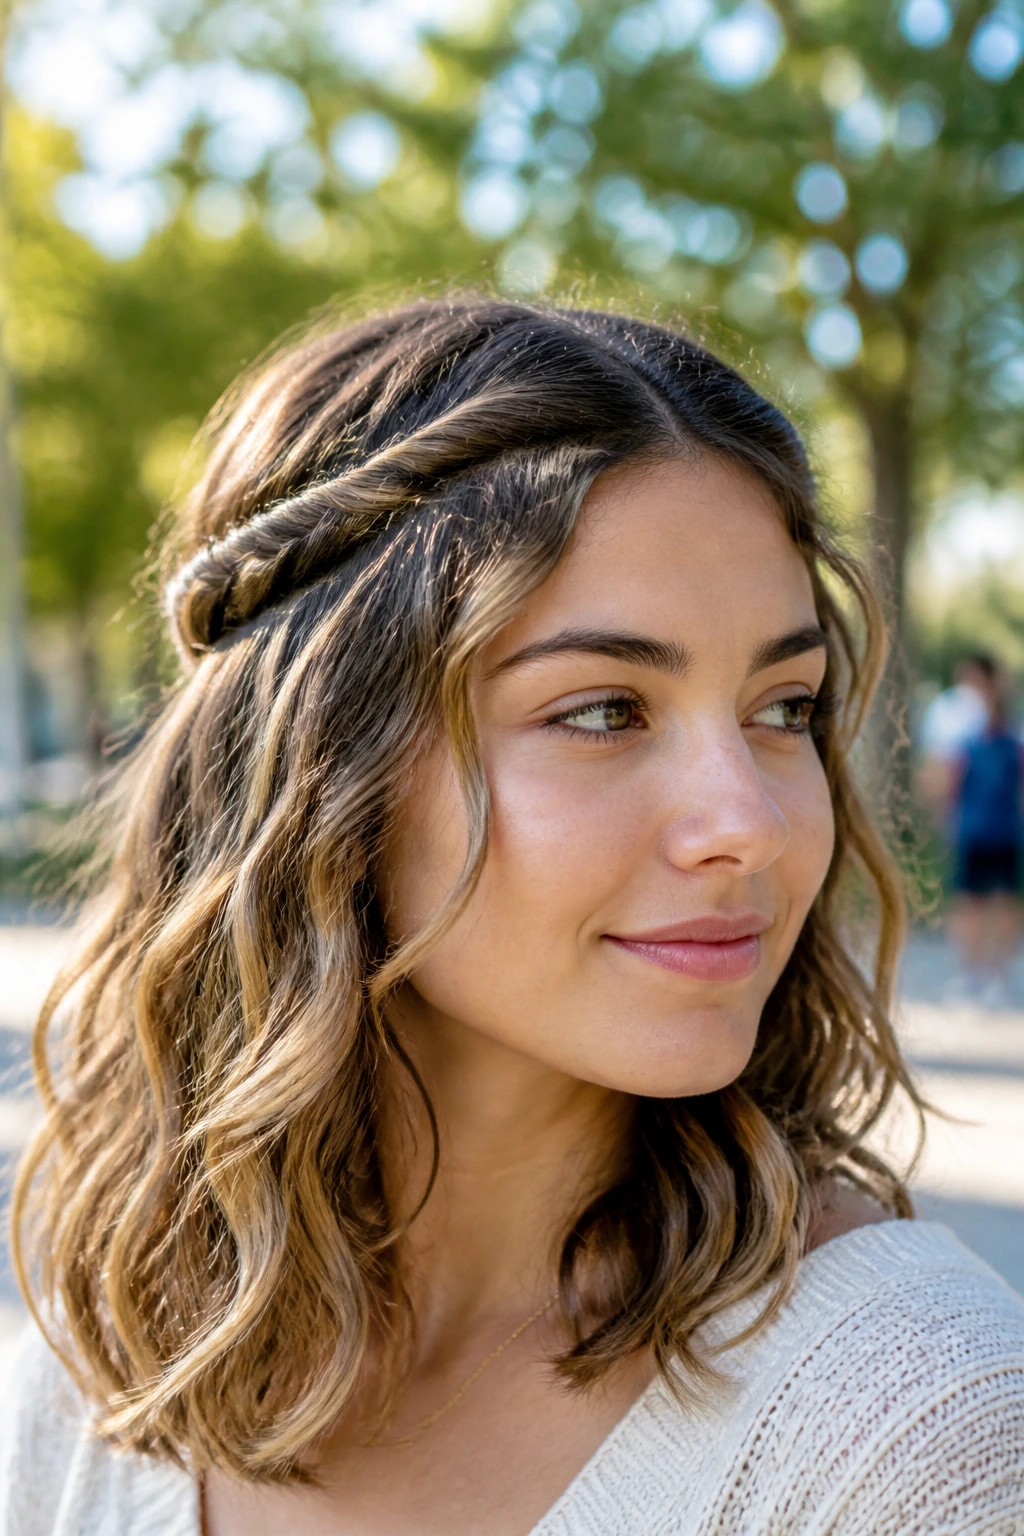
Two rope twists from the temples back toward the nape give curly mid-length hair a gentle frame without the stiffness of braids. Twist each side loosely, pin them together, and let the rest of the hair stay open and wavy.
This works when your curls are mixed — tighter underneath, looser on top, maybe a little uneven after air-drying. The twists pull just enough of the hair away from the face to make the whole shape look tidier. Keep the twist tension light. If the sides are pulled too tight, the style loses the soft beachy feel and starts looking like school picture day.
Mist the front with water before twisting if the pieces are too dry to cooperate. Dry curls snap back in the wrong direction.
15. Soft Asymmetrical Sweep
A slight asymmetry keeps curly hair from feeling too predictable. One side falls a little farther forward, the other gets tucked or pinned, and the whole cut starts to look like it has movement even before you touch it.
Why the Uneven Line Works
Beachy texture likes a bit of mess. A perfectly even part can make mid-length curls feel formal, but an off-center sweep gives the eyes a place to land. This is especially nice if one side of your curl pattern is tighter than the other — which happens all the time, and trying to fight it is a waste of time.
Keep one front piece longer than the rest and let it live there. That tiny mismatch does more work than a pile of products ever will.
16. Diffused Root-Lift Shape
A diffuser can change the whole geometry of mid-length curls, but only if you use it to support the roots instead of blasting the ends into a puff. Lift the crown in sections, dry on low heat, and let the wave pattern set before you break the cast.
This look is about height at the top and softness through the lengths. The hair should rise at the roots and settle into a loose bend below, almost like the wave starts one inch away from the scalp. Clip the crown for the first part of drying, then remove the clips halfway through so the roots keep their lift without getting dented.
If your hair tends to cave in at the top, this is the style that fixes the problem without making the bottom look overworked.
17. Bubble-Braid Accent
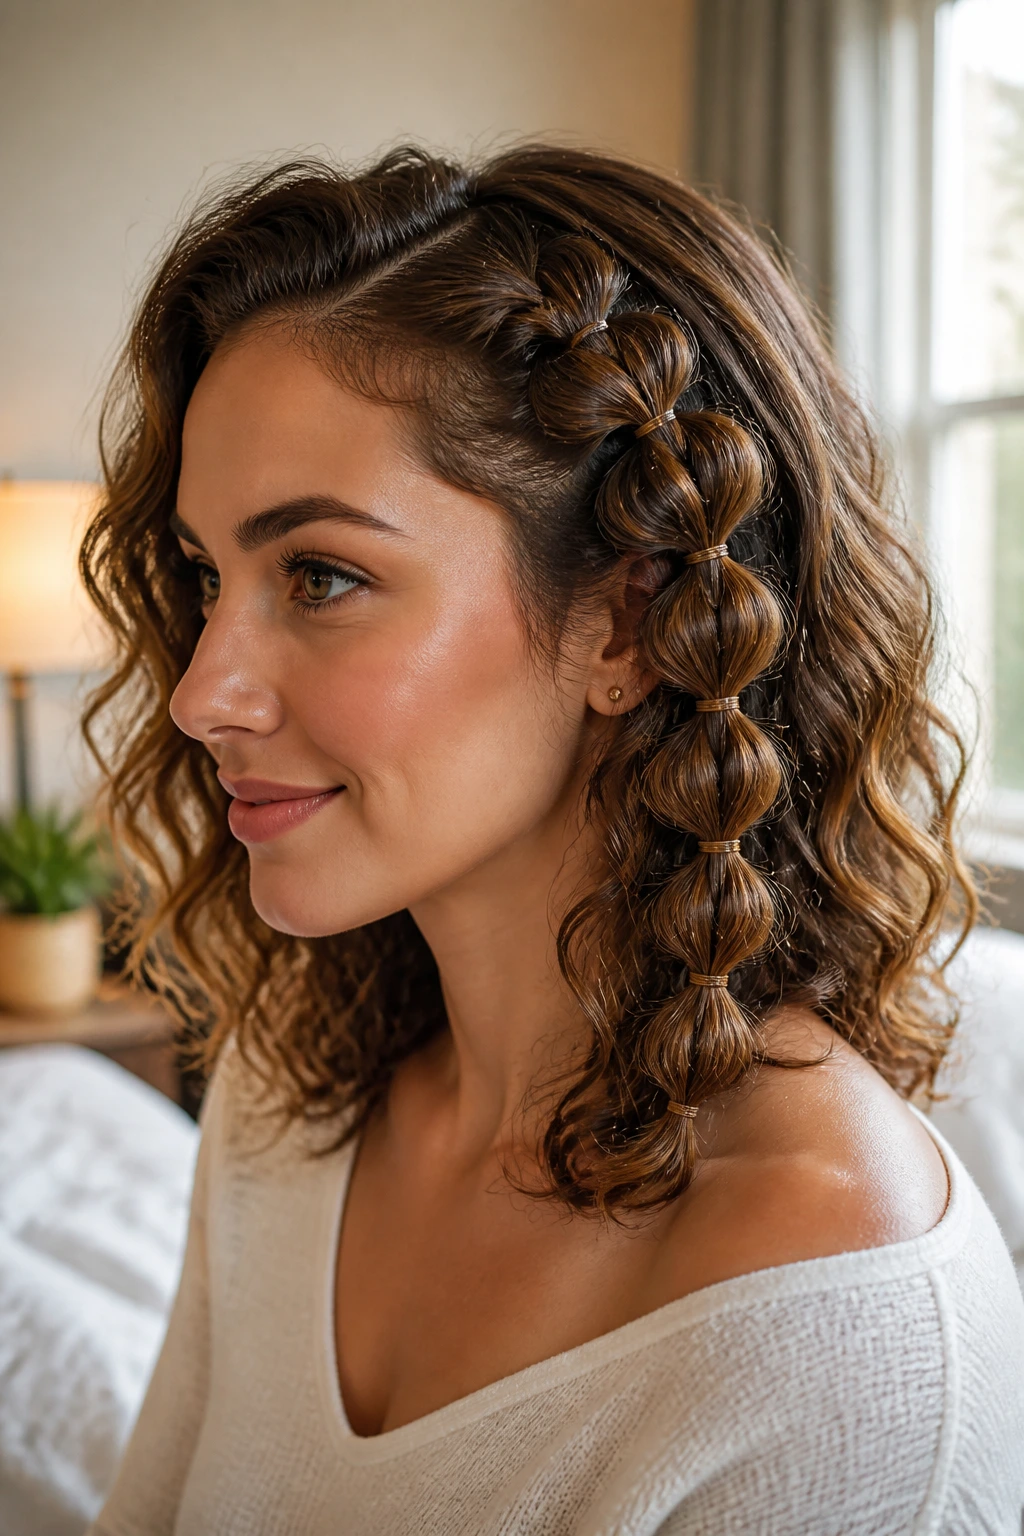
A bubble braid works when you want a little structure and a little play. Braid or pony the side section loosely, add small elastics every inch or so, then puff each section with your fingers until the braid looks round instead of tight.
On mid-length curls, a bubble braid keeps the front clean while the rest of the hair stays textured and open. The style is useful when the weather turns humid or windy, because the braid holds its shape better than loose pieces do. Keep the bubbles slightly uneven if you want the look to feel softer; perfect spacing makes it look more costume than curl.
This is one of the few styles that can lean fun without looking childish. That balance is harder to find than it sounds.
18. Mini Space Buns with Open Lengths
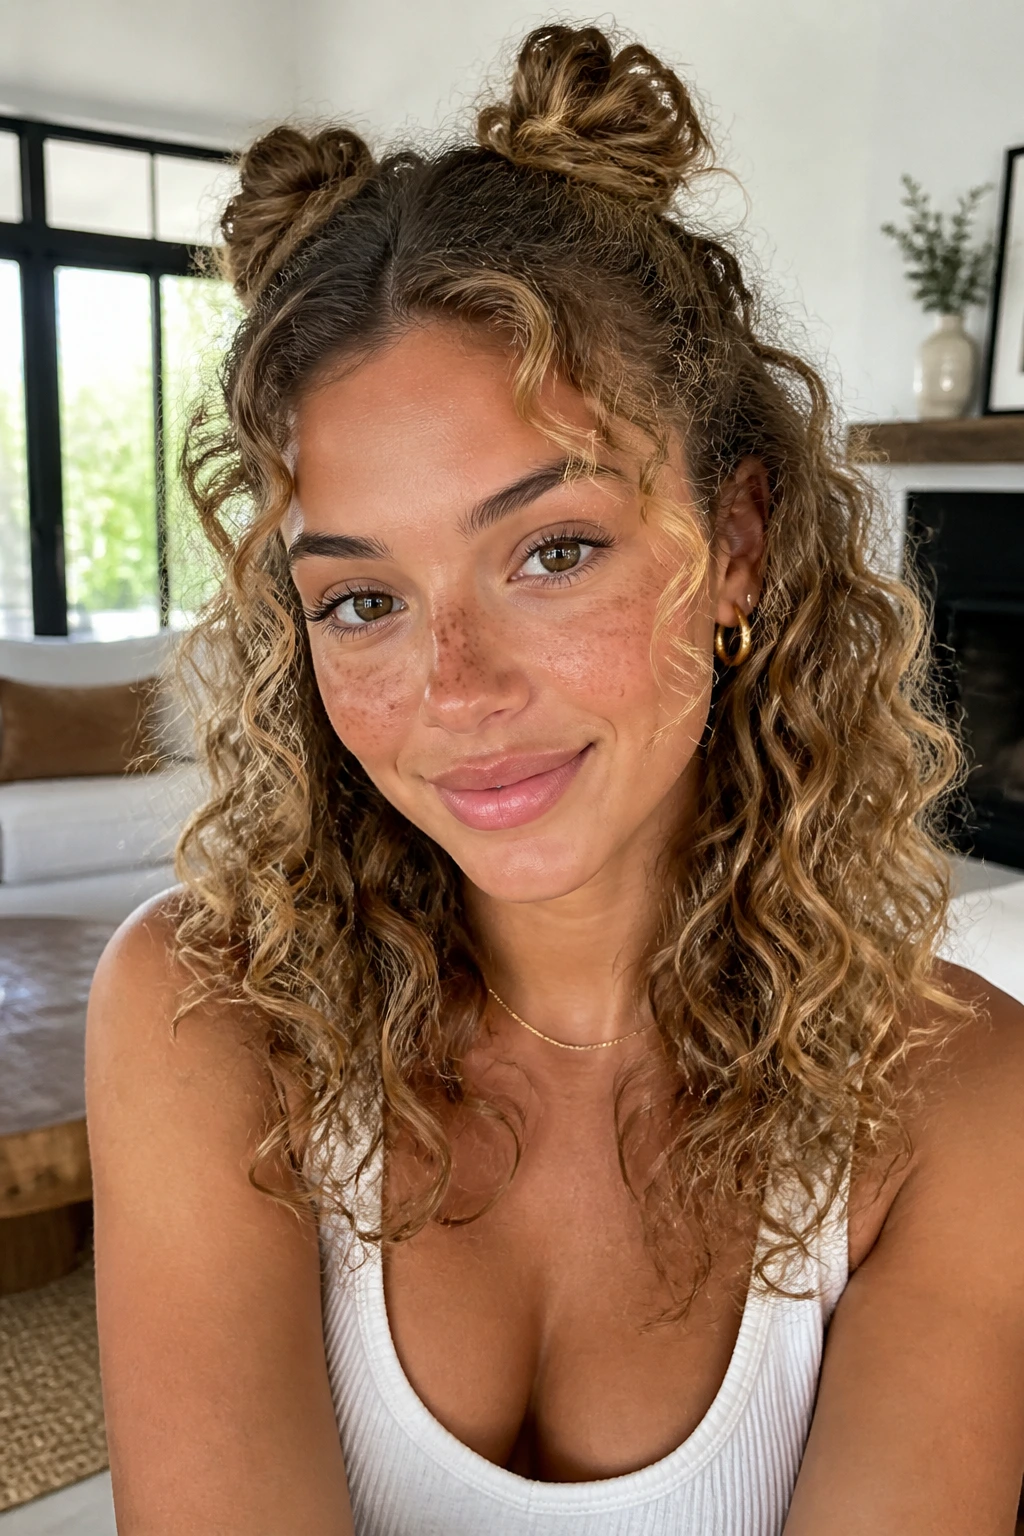
Small buns at the crown, curls left down below. That’s the whole appeal, and it works because mid-length hair has enough length to make the buns visible without pulling the rest of the style too tight.
Use this when you want the face open but don’t want a full updo. The buns should be small enough that they look like a detail, not a costume. Leave the ends airy and piecey, and don’t over-smooth the top; a little texture at the scalp keeps the look from becoming shiny and stiff.
A couple of face-framing curls make the whole thing feel less edited. Without them, the style can look a bit hard.
19. Flip-and-Fall Layered Cut
A cut with ends that flick outward a little gives curly hair a softer, more relaxed outline. Instead of stopping in one heavy line, the layers turn the bottom edge into movement, which is exactly where beachy texture looks most natural.
This version is especially nice if your curls sit heavier near the bottom. The flip keeps the ends from dragging the whole shape down. Ask for longer layers that bend away from the face and a perimeter that doesn’t sit too blunt at the shoulders; blunt plus curly can go boxy fast.
I’d choose this when the goal is swing, not volume for volume’s sake. There’s a difference, and your hair knows it.
20. Glossy Wet-Root Finish
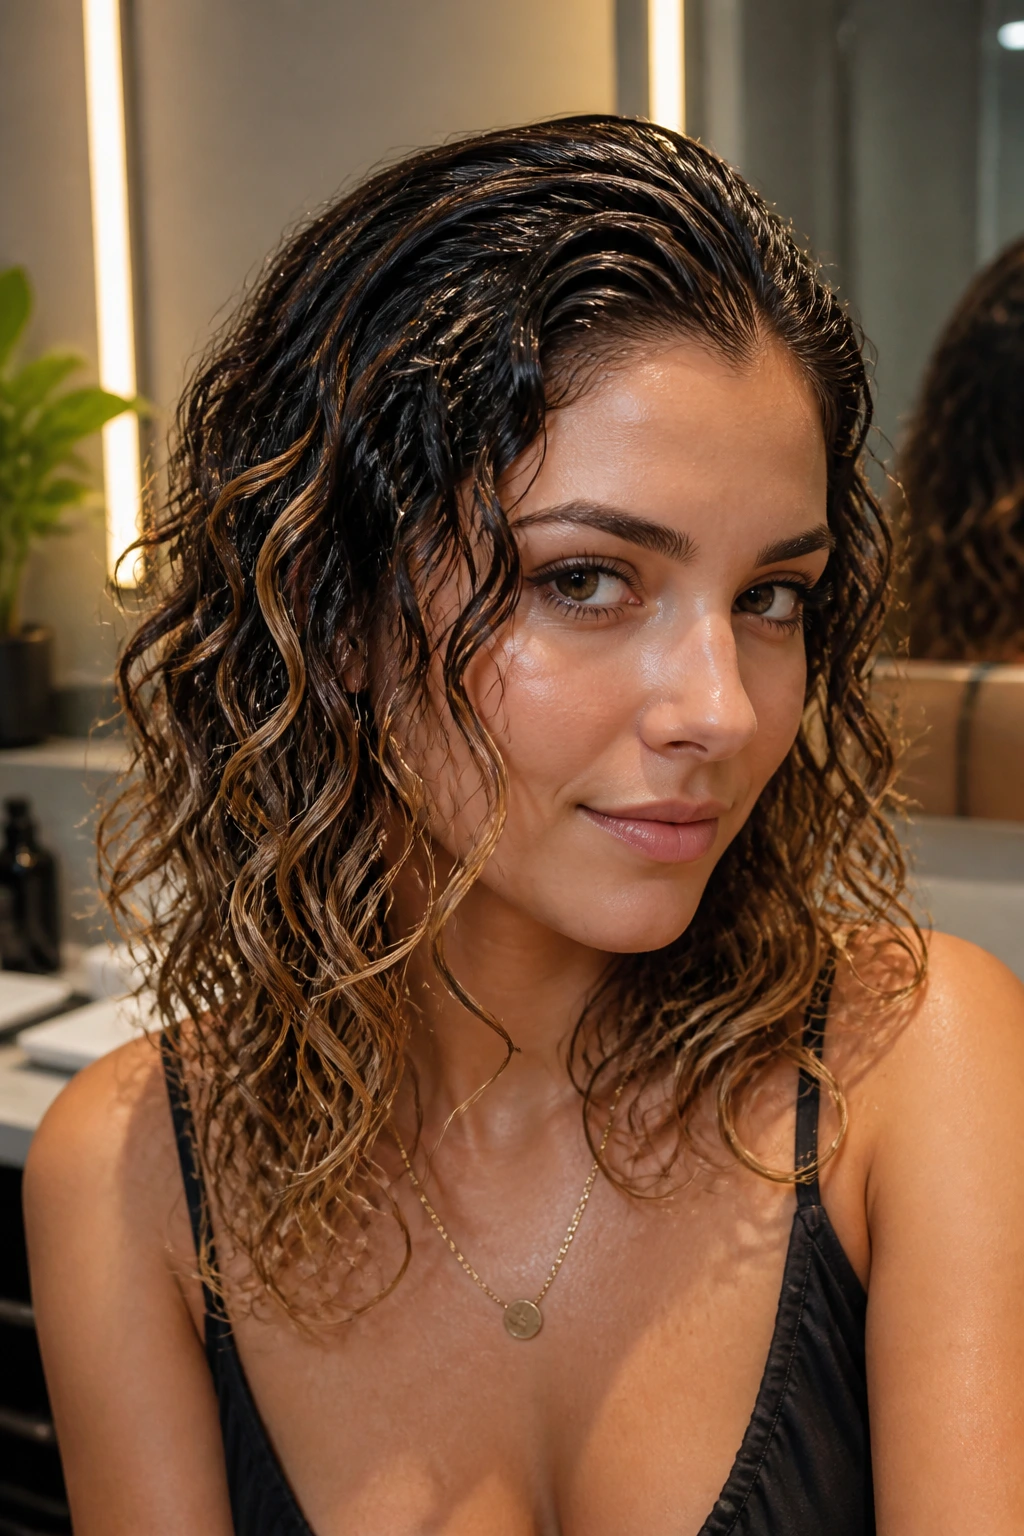
A wet-root finish makes curly hair look sharper in a way that still feels casual. Smooth gel or a light styling cream over the crown and front, leave the lengths a little softer, and you get that freshly styled, slightly damp look without coating every curl in product.
The important part is restraint. If the shine runs all the way down to the ends, the wave pattern disappears and the hair looks greasy instead of glossy. Keep the root area neat, let the lower section stay piecey, and avoid touching it once the product sets. That polished top against a looser bottom is what makes the look work.
This is the style I pull out for evenings, not because it’s fancy, but because it has clean edges without losing curl.
21. Shoulder-Skimmer with Long Front Corners
A shoulder-skimming cut with longer front corners gives beachy curls a nice line without over-shaping them. The front pieces drop a little longer than the rest, which narrows the face and lets the hair move around the jaw instead of sitting right on it.
The Detail That Changes Everything
Those front corners act like a frame. They stop the cut from looking square, and they make second-day waves look intentional even when the crown has gone a bit soft. I like this version when someone wants the length to feel feminine and easy, not choppy.
Keep the corners long enough to tuck behind the ear. That one small test tells you whether the cut has range.
22. Salt-Spritz Tousled Finish
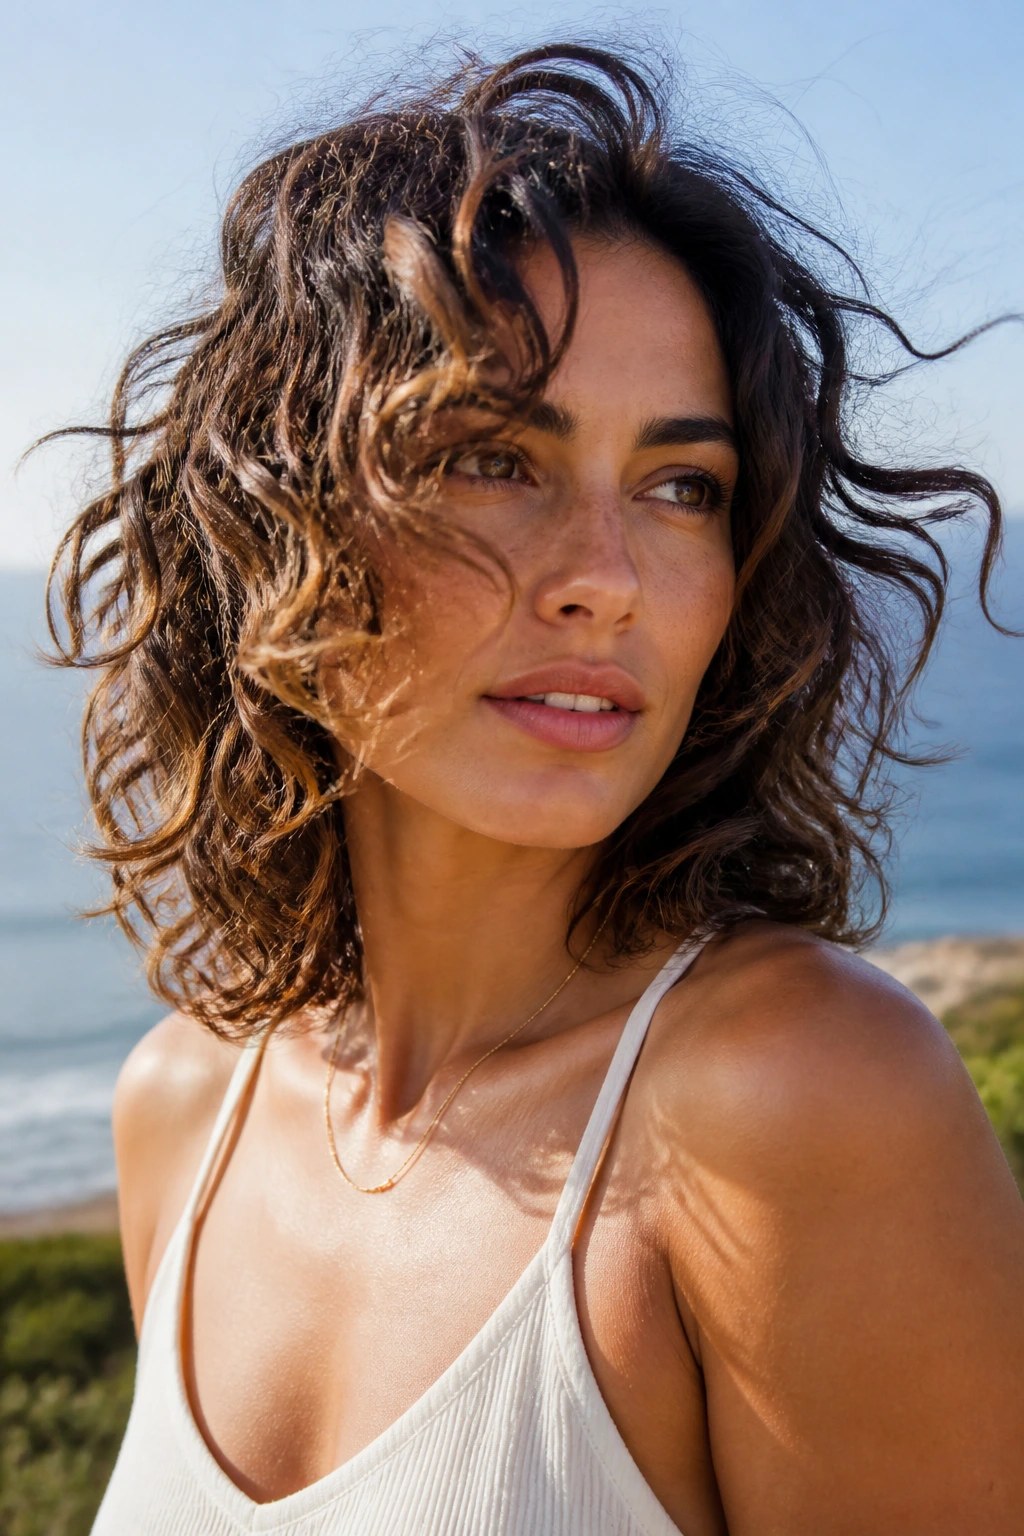
A salt-spritz finish belongs at the end of the lineup because it changes the texture fastest. Mist lightly from mid-length to ends, scrunch once or twice, and let the hair dry into a slightly windswept shape that looks like you spent the afternoon near water even if you didn’t.
The catch is dryness. Salt spray can make porous curls feel rough if you use too much, so I prefer it in a light mist over a leave-in base rather than straight onto bare hair. Used sparingly, it gives mid-length waves a bit of grit and separation, which is what keeps them from reading as soft but flat.
If your curls already feel thirsty, this is the one to use sparingly. Hair that drinks up texture spray like a sponge can get cranky fast.
The Collarbone Sweet Spot
Mid-length curly hair works because it lands in the middle of two annoying extremes. It’s not so long that weight drags the curl pattern downward into a dull rope. It’s not so short that the shape balloons out and starts looking wider than intended. That middle zone is exactly where beachy waves have room to breathe.
The cut matters because curls change length when they dry. A shoulder-grazing shape that looks almost too long when wet often finishes in the right place once it springs up. That means the haircut can be tuned to your curl pattern instead of against it. A dry cut helps here, especially if your hair has more than one texture on the same head, which is common enough that stylists should never act surprised.
I also like the mid-length zone because it gives you room to work on the top and the sides separately. You can build lift at the crown, keep movement in the ends, and still clip one side away if the front is misbehaving. That kind of flexibility is the real reason these looks stay useful.
Essential Tools for Styling and Refreshing
- Diffuser attachment: Dries curls with less blast and helps the crown keep its lift instead of collapsing.
- Microfiber towel or cotton T-shirt: Squeezes water out gently; rough terry cloth can rough up the cuticle and start frizz before styling begins.
- Wide-tooth comb: Useful for detangling wet hair before product goes in, not after.
- Sectioning clips: Keep the crown, bangs, or side pieces out of the way while you build shape.
- Light mousse: Gives root support and keeps beachy waves from falling flat by midday.
- Gel with medium hold: Helps the curl clump set so the finish stays piecey instead of fuzzy.
- Fine mist spray bottle: Perfect for refreshing front pieces and reactivating product without soaking the whole head.
- Satin scrunchies and small claw clips: Better than tight elastics when you want to wear half-up styles or mini buns without dents.
- Optional 1-inch wand: Handy for rescuing one front piece or fixing a stubborn bend, but not required for the overall look.
What to Ask For When You Want This Shape

If you’re sitting in a chair and trying to explain what you want, use length and movement language rather than vague style words. Ask for a cut that lands around the collarbone or upper chest, with long internal layers if your hair is thick and softer face-framing pieces if you want the front to sit away from the jaw. If your curl pattern changes a lot from wet to dry, ask whether the cut should be shaped dry; that one question can save you a lot of awkward stretching later.
For fine curls, I’d keep the layers long and the perimeter a little fuller. Too much removal near the ends can make the hair look wispy and underfed. For dense curls, the goal is to lighten the inside without shaving off the silhouette. That’s the difference between a haircut that moves and one that just loses weight.
Product shopping matters too. Mousse gives lift. Leave-in conditioner adds slip. Gel locks the wave in place. Sea salt spray can be useful, but I would not make it the star of the show if your hair dries out easily; it’s a seasoning, not the whole meal. If your curls are porous, start with a cream or leave-in and use texture spray only where you want roughness and separation.
How to Wear These Looks on Busy Mornings and Late Nights
A lot of curly hair advice assumes you’ve got twenty quiet minutes and a spotless bathroom. Most mornings don’t work that way. If you need something fast, reach for the center-part lob, the tucked-behind-ear shape, or the clipped-back temple sweep. They clean up the front without asking you to rebuild the entire head of hair from scratch.
For work or any setting where you want to look pulled together, the half-up twist, low half-bun, and soft asymmetrical sweep are the safest bets. They hold up well if you move around a lot, and they don’t collapse into a sad pile by noon. A little control at the crown goes a long way. The rest can stay loose and honest.
Night plans call for a little more shine or detail. That’s where the wet-root finish, braided crown accent, or bubble-braid piece earns its keep. I’d rather see one strong detail than hair that looks like it spent an hour being fussed over. That’s the useful rule here: one controlled area, one loose area, and enough texture left in the lengths so the style still feels like curls.
Extra Touches That Keep the Texture Alive
Root Lift: Clip the crown while the hair is still damp, then remove the clips once the roots have set. Five to ten minutes is often enough to change the whole silhouette.
End Polish: Put a tiny amount of gel or lightweight cream only on the last two or three inches if the ends go fuzzy first. The goal is separation, not shine overload.
Accessory Move: Small clips, a scarf, or a satin scrunchie can rescue a shape that’s gone too casual by lunch. The right accessory doesn’t hide the hair; it gives it a frame.
Make-It-Yours: If your hair is fine, lean on mousse and skip heavy butter creams. If it’s thick or coarse, a leave-in plus gel combo usually gives better control than cream alone. If your texture is mixed, keep the front pieces softer and let the ends be a little more piecey.
Finish Thought: The best beachy wave looks rarely need a final pass with the brush. Hands, maybe. Brush, no.
Common Mistakes That Flatten the Shape
- Cutting the layers too short near the top: The crown puffs while the ends shrink, and you get a round shape that feels wider than it should. Ask for longer layers and a dry-shape check if your curls shrink a lot.
- Using sea salt spray all over porous hair: The texture gets rough and thirsty fast. Keep salt spray to a light mist on the mid-lengths, and pair it with leave-in or cream underneath.
- Brushing dry curls into submission: That turns beachy separation into a cloud. Detangle while wet, then use fingers or a wide-tooth comb once the shape is set.
- Skipping root support: Flat roots make the whole cut look tired, even if the ends are good. Clips, mousse, or a proper diffuser pass at the crown fix that faster than piling product onto the ends.
- Overloading the front pieces: Bangs, face-framing layers, and temple sections weigh down fast. Use less product there than you think you need.
- Tucking or pinning too tightly: The style loses its soft edge and starts looking severe. Leave a little slack, a few flyaways, and some bend at the temples.
Variations and Adaptations to Try
Fine-Hair Lift-Off: Keep the perimeter a touch fuller and rely on mousse plus a light gel cast. Too many short layers can leave fine curls looking sparse, so the best move is often to preserve length and build lift at the root.
Thick-Hair Control Cut: Ask for internal weight removal rather than heavy surface layering. This keeps the shape from ballooning out while still letting the ends move. It’s a better fix than thinning shears for most curly heads.
Humidity Shield: Use a leave-in, then a medium-hold gel, and let the hair set before you touch it. The goal is a firm enough cast that the curls survive damp air without turning into a puff ball.
No-Heat Air-Dry Version: Twist a few front pieces, clip the crown, and let the lengths dry on their own. You won’t get as much polish, but you’ll keep the wave pattern soft and the ends from getting fried.
Event-Ready Shine: Smooth the root area with a touch of gel, tuck one side behind the ear, and add a simple clip or barrette. That gives the style a cleaner finish without making it feel formal in the wrong way.
Loose Weekend Version: Skip the part perfection entirely. Let the hair fall where it wants, refresh only the front, and keep the ends soft. Some of the best beachy looks happen when the hair has room to be a little unruly.
How to Keep the Shape Between Washes

Curly beachy waves usually look best on day one or day two, but they do not have to collapse after that. At night, a loose pineapple at the crown or a satin scarf keeps the curl clumps from being crushed. If your hair hates being piled high, a loose twist at the nape works too.
For a quick refresh, mist the front and crown with water mixed with a tiny bit of leave-in conditioner, then scrunch lightly. Don’t soak the whole head unless you plan to diffuse again. The goal is to wake the pattern up, not start over. If a section is flat, clip it at the root for a few minutes while it dries.
Most people do better washing every 3 to 5 days with this kind of length, but the real cue is the shape. When the ends start looking stringy and the roots stop springing back after a refresh, it’s time for a full reset. Trims usually land well every 8 to 12 weeks if the layers need to keep their shape.
Sleeping on a satin pillowcase helps more than most people expect. It cuts down on friction, which means less frizz around the hairline and fewer bent pieces in the morning.
Questions People Ask About Mid-Length Curly Waves
What length counts as mid length for curly hair?
Usually anything from just below the jaw to somewhere around the collarbone or upper chest. With curls, ask your stylist to cut a little longer than the finished target, because shrinkage can hide more length than you expect.
Do beachy waves work on tighter curl patterns?
Yes, but the finish looks different. Instead of loose surfy bends, tighter curls usually read as piecey ribbons with separated definition, and that can look even better than the looser version if the cut is right.
Should I ask for layers or keep the cut blunt?
Most curly mid-length shapes need at least some internal layering, but not always a lot on the outside. Thick hair usually benefits from hidden removal; finer hair often does better with longer layers and a cleaner perimeter.
Can I make these styles without heat?
Absolutely. A good leave-in, a little mousse or gel, and smart clipping at the crown can create plenty of movement without a wand. Heat is useful for fixing one stubborn piece, not for rebuilding the whole head.
Why does my hair turn triangular at this length?
That shape usually means the bottom is too heavy or the top is too flat. Ask for weight removal inside the cut and give the crown more support while drying.
Are these looks formal enough for events?
They can be. The trick is to smooth the front, use one clean accessory, and keep the wave pattern soft rather than crunchy. A glossy root finish or tucked side can make the whole style feel more dressed up.
How often should I trim a mid-length curly cut?
When the ends stop curling into neat ribbons and start looking tired, it’s time. For many people that lands every 8 to 12 weeks, though heavy layering or tighter curl shrinkage can change the timing.
What if my waves fall flat by midday?
Choose looks that build support at the crown — deep side parts, half-up twists, root clips, or a diffuser pass. Flat waves usually need more root lift, not more oil.
The Cut That Doesn’t Fight Back
The nicest thing about mid-length curly hair is that it gives you options without demanding a performance. You can wear it loose, pin it back, braid a strip of it, twist the crown, or let the texture do the talking. That flexibility is the whole point. It keeps the style from feeling too precious.
Beachy waves also make more sense on this length than they do on hair that drags past the shoulders. The shape stays readable. The movement stays visible. And when the day gets messy — because it will — the style usually gets a little better, not worse.
If your curls have been stuck between too long and too short, this is the length that lets them breathe. Give them a collarbone line, a little movement, and room to misbehave in a civilized way.