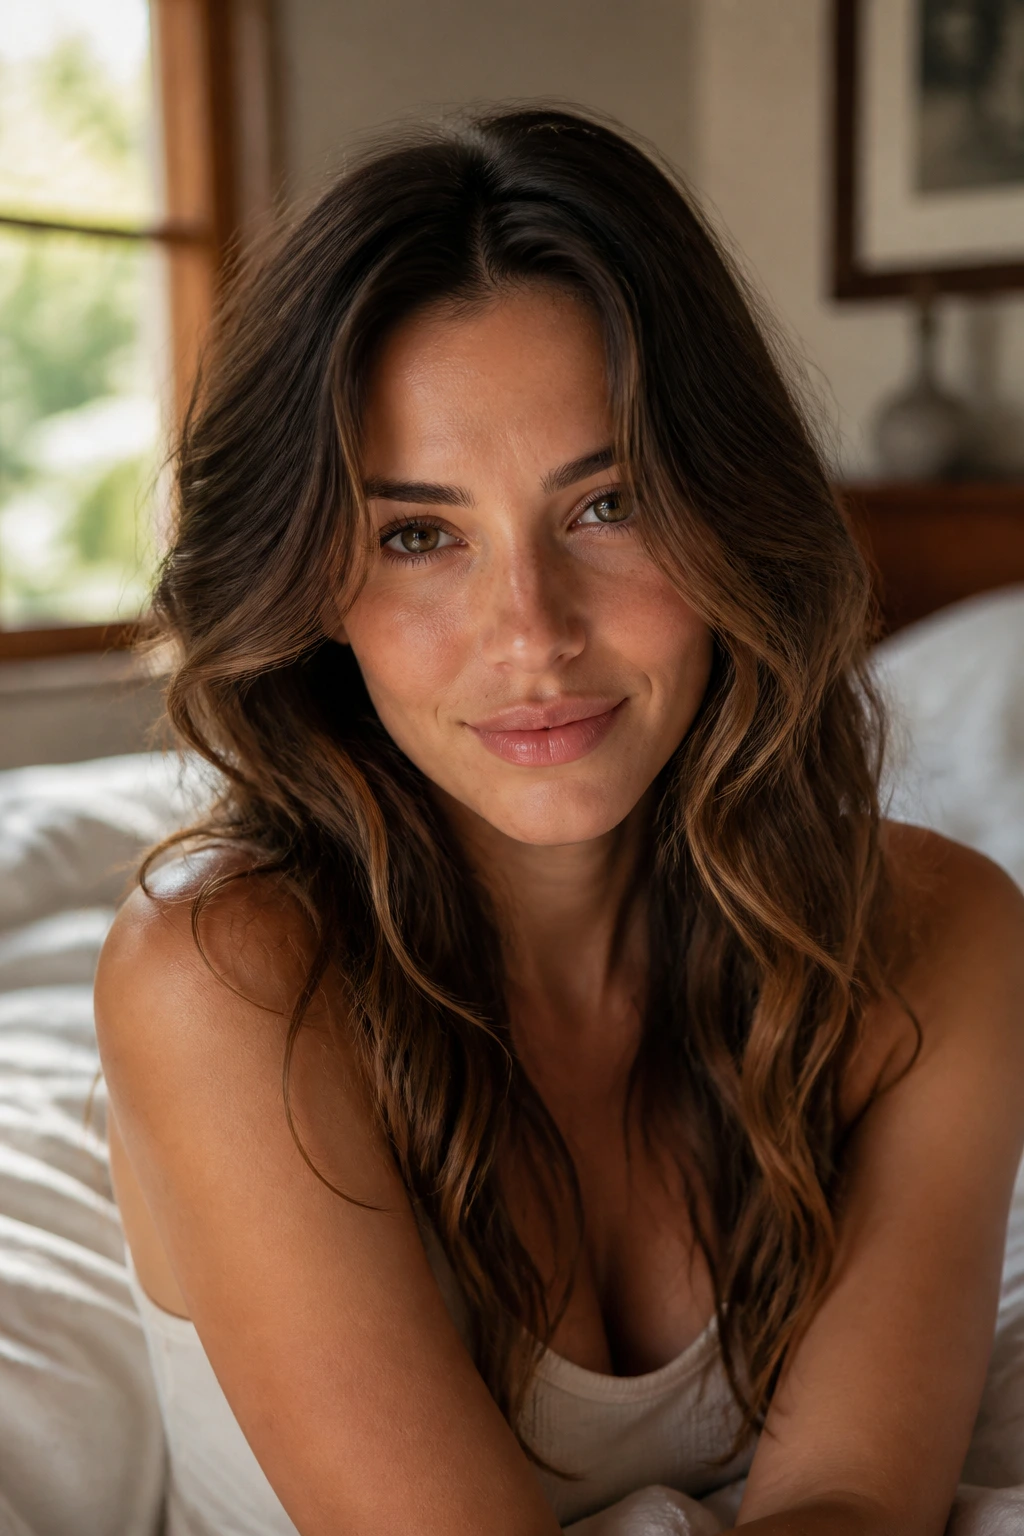
Natural waves for date night and heart-shaped faces work best when the bend starts lower than most people expect. If the wave erupts right at the temples, the forehead looks wider and the chin looks smaller; if the movement starts around the cheekbones or collarbone, the whole face softens in a better way. That little shift matters more than the product bottle on your counter.
For this face shape, the trick is not “more hair.” It’s better-placed hair. You want enough lift to keep the style from falling flat, but not so much crown volume that the top half of your face starts running the show. A 1.25-inch iron, a clean flat-iron bend, or even a heatless braid-out can all land in the right zone if the wave pattern is placed with some care.
Date-night hair has its own personality too. It should move when you turn your head, hold up under restaurant lighting, and still look soft when you lean in over dessert. Stiff, crunchy, sprayed-to-death curls have the wrong energy for that. You want touchable shape, a little shine, and ends that feel deliberate instead of overly done.
Why These Waves Work on Heart-Shaped Faces
Face balance matters here: the widest point of a heart-shaped face usually sits at the forehead and temples, so waves that begin lower help pull attention downward toward the cheekbones and jaw.
Softness beats stiffness: a loose bend around the mid-lengths makes the chin area look fuller without adding hard edges. That matters when you want the face to read as balanced, not top-heavy.
Part placement changes everything: a middle part can look polished and clean, but a deep side part gives you a little diagonal line that breaks up width at the top. That diagonal is doing more work than people realize.
Date-night hair needs motion, not helmet hair: waves that stay touchable after you leave the house look better in low indoor light and on camera. The hair should shift when you move, not sit in one frozen shape.
Length and layers help the illusion: shoulder-grazing cuts and face-framing layers make the wave pattern fall in a way that softens the lower half of the face. If your layers are blunt and heavy, the same wave can feel boxy.
Choosing the Right Part, Barrel Size, and Volume Point
The part is the first choice I’d make, not the last. A middle part gives a heart-shaped face symmetry and works especially well when the wave pattern is loose and S-shaped, while a deep side part is the better move when you want to narrow the forehead visually and add a little drama. Neither one is automatically better. The part should answer the question your hair is asking.
Barrel size matters more than people admit. A 1-inch iron gives a tighter wave that softens after brushing, which is useful for fine hair that drops fast. A 1.25-inch iron is the sweet spot for most medium-length styles, because it creates a bend that still looks like hair after you brush it out. Go too large and the wave can disappear by the time you’re halfway through dinner.
Where the lift should live
Keep most of the lift from the cheekbone down to the jawline, not way up at the crown. That placement keeps the forehead from looking wider than it already is. If your hair is flat at the roots, give it a small lift with mousse or a quick root-dry, but stop before the top starts puffing out.
How layers change the result
Long face-framing layers make the style easier. They let the front pieces swing toward the jaw and collarbone instead of clinging to the temples. With one-length hair, you can still get the look, but you’ll need to be more careful about where the wave begins and how much you brush it out.
Tools That Keep the Curve Soft
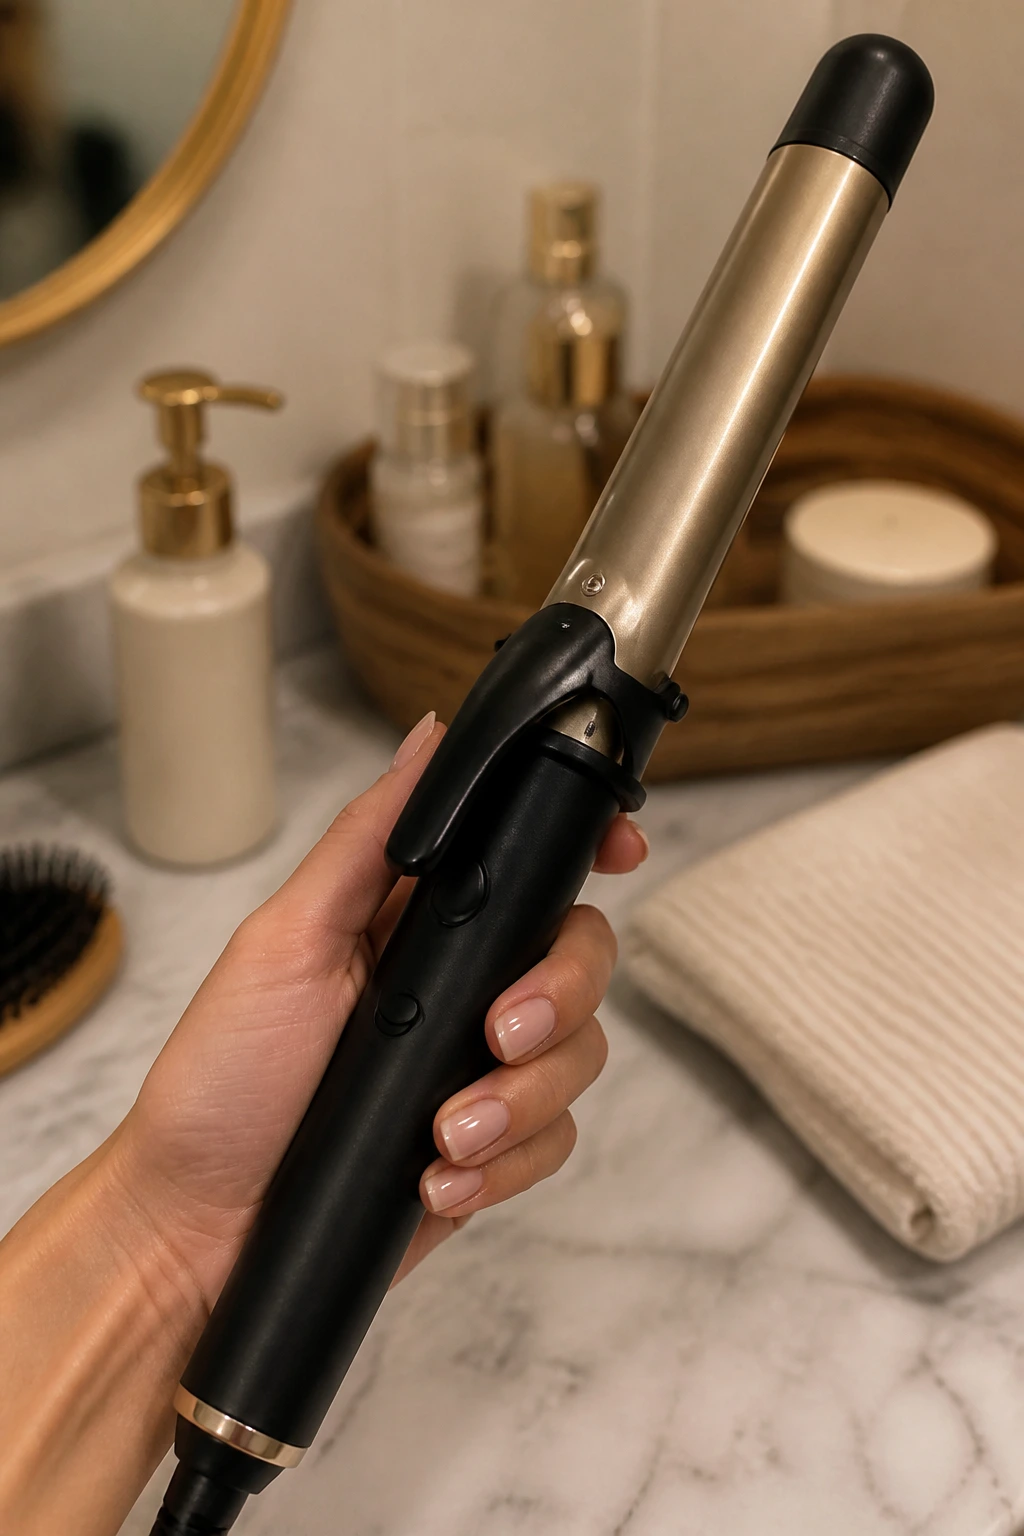
- 1-inch curling iron or wand — Best for fine or shoulder-length hair that needs more bend before brushing.
- 1.25-inch curling iron or wand — My favorite middle-ground size for most soft date-night waves.
- Flat iron with rounded edges — Ideal for broken S-waves and a less “curling iron” finish.
- Heat protectant spray — Use it every time you add heat; the ends are usually the first thing to look dry.
- Light mousse or root lift spray — Helpful when you need shape at the crown without a hard shell.
- Texture spray — Gives brushed-out waves some grit so they do not collapse by dessert.
- Flexible-hold hairspray — Holds the shape while still letting the hair move.
- Duckbill clips or wave-setting clips — Useful for pinning curls as they cool.
- Wide-tooth comb and soft brush — The comb breaks up sections; the brush softens the finish.
- Silk scrunchie or silk scarf — Handy for preserving the shape if you need to reset the style later.
- Diffuser attachment — Optional, but useful if you want to enhance your natural wave pattern before styling.
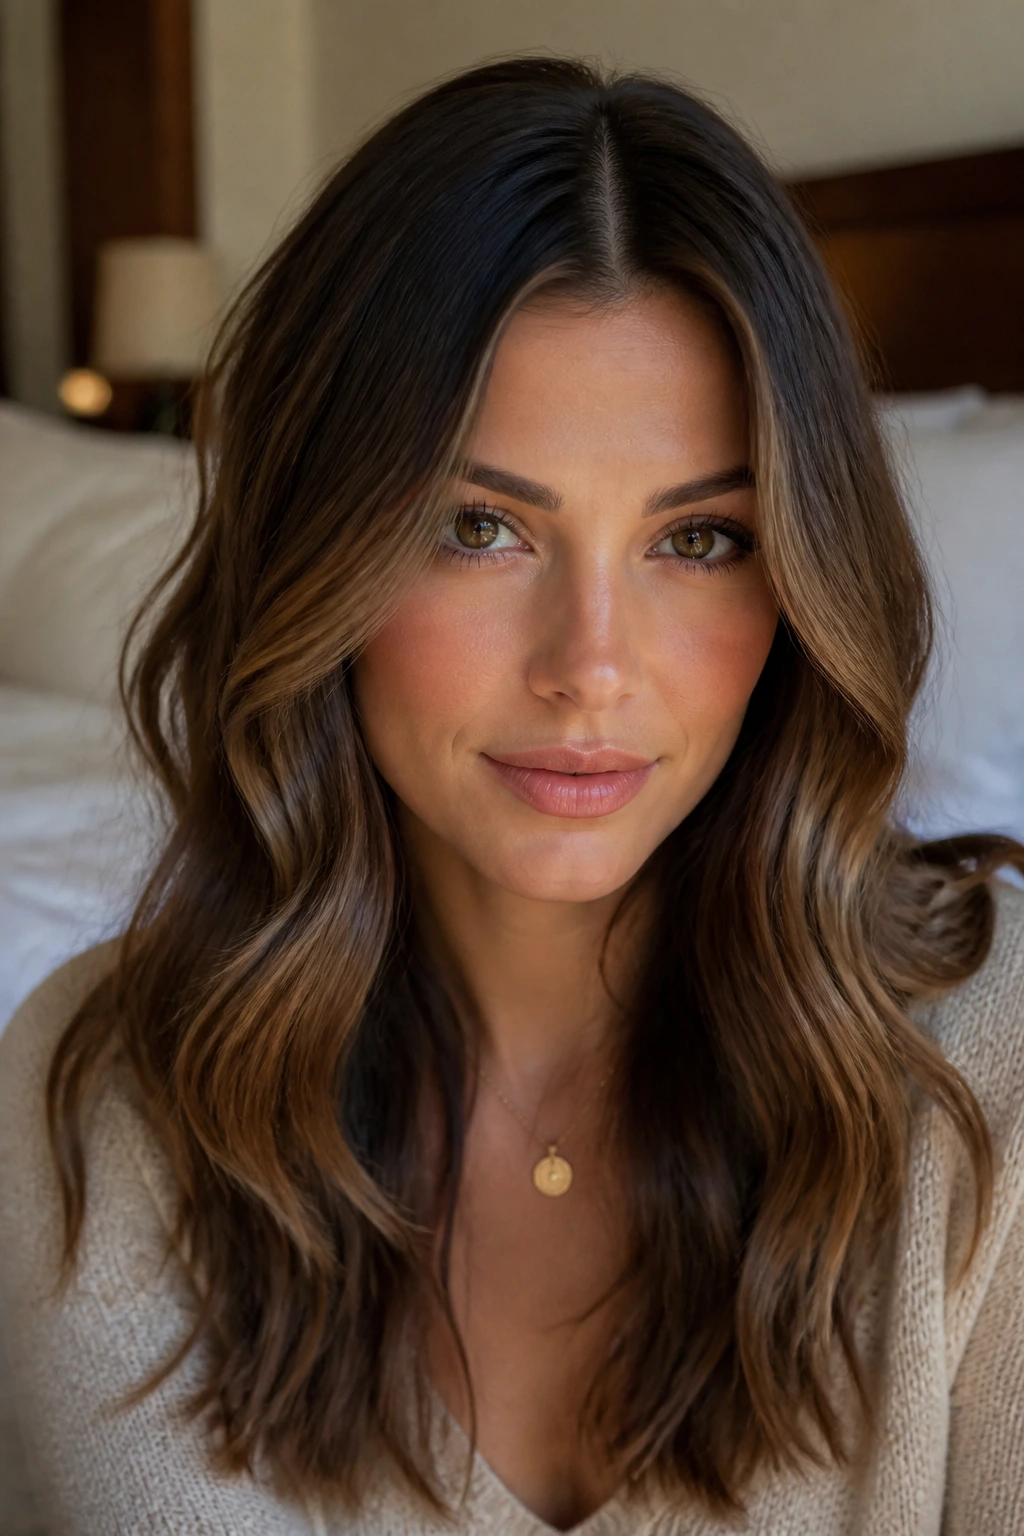
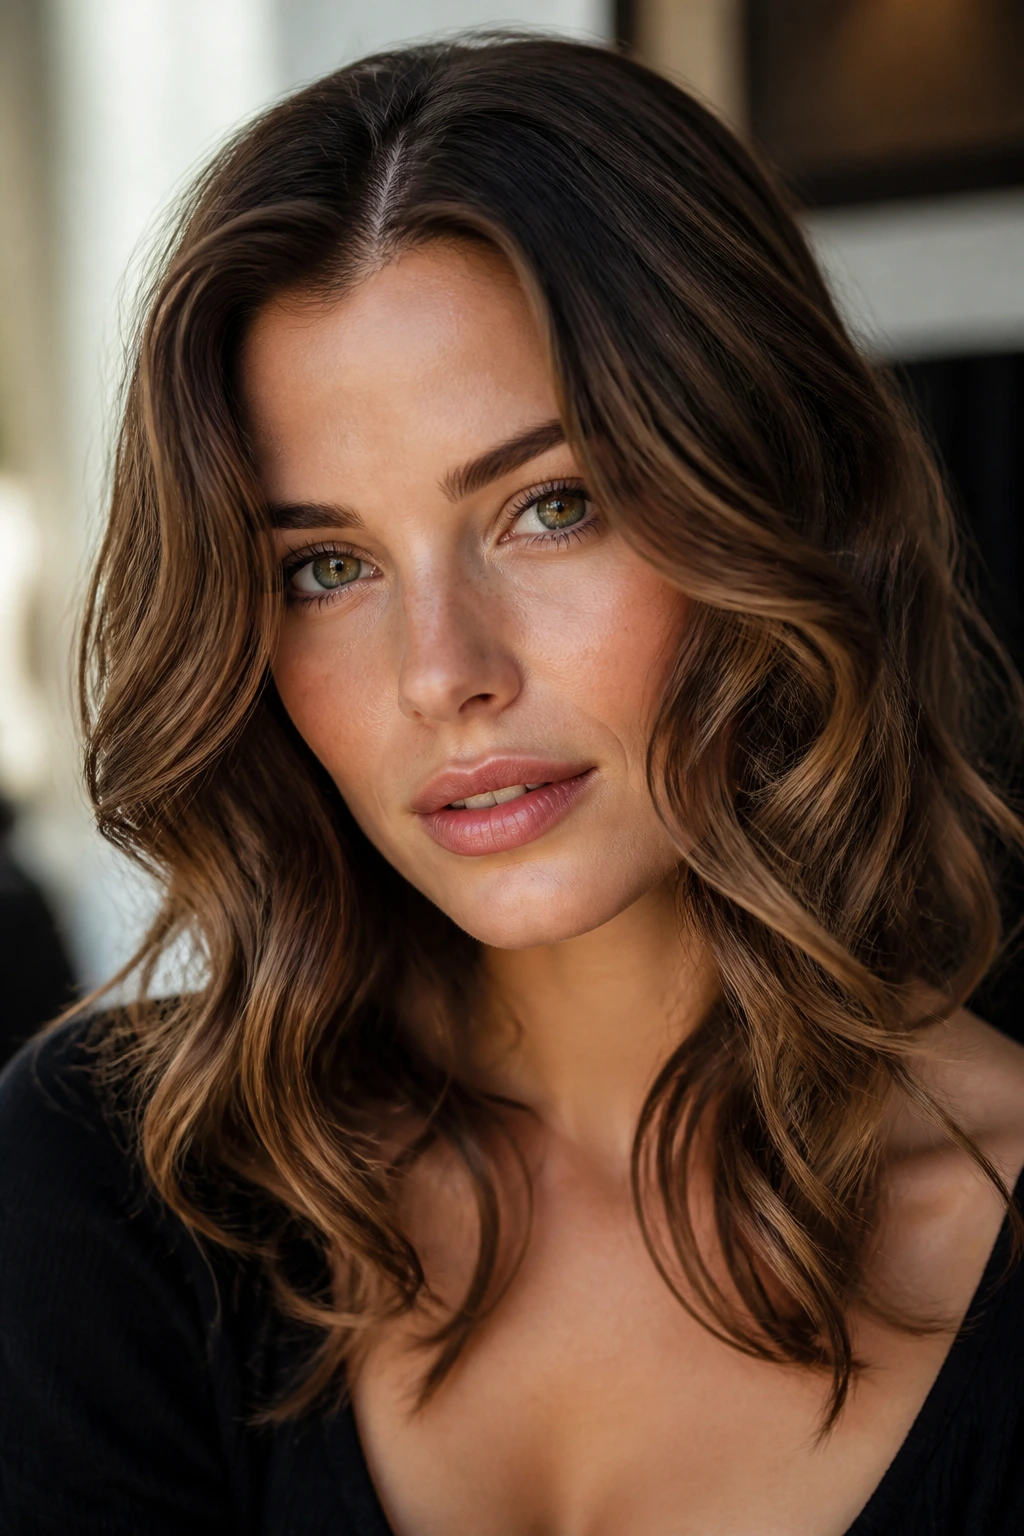
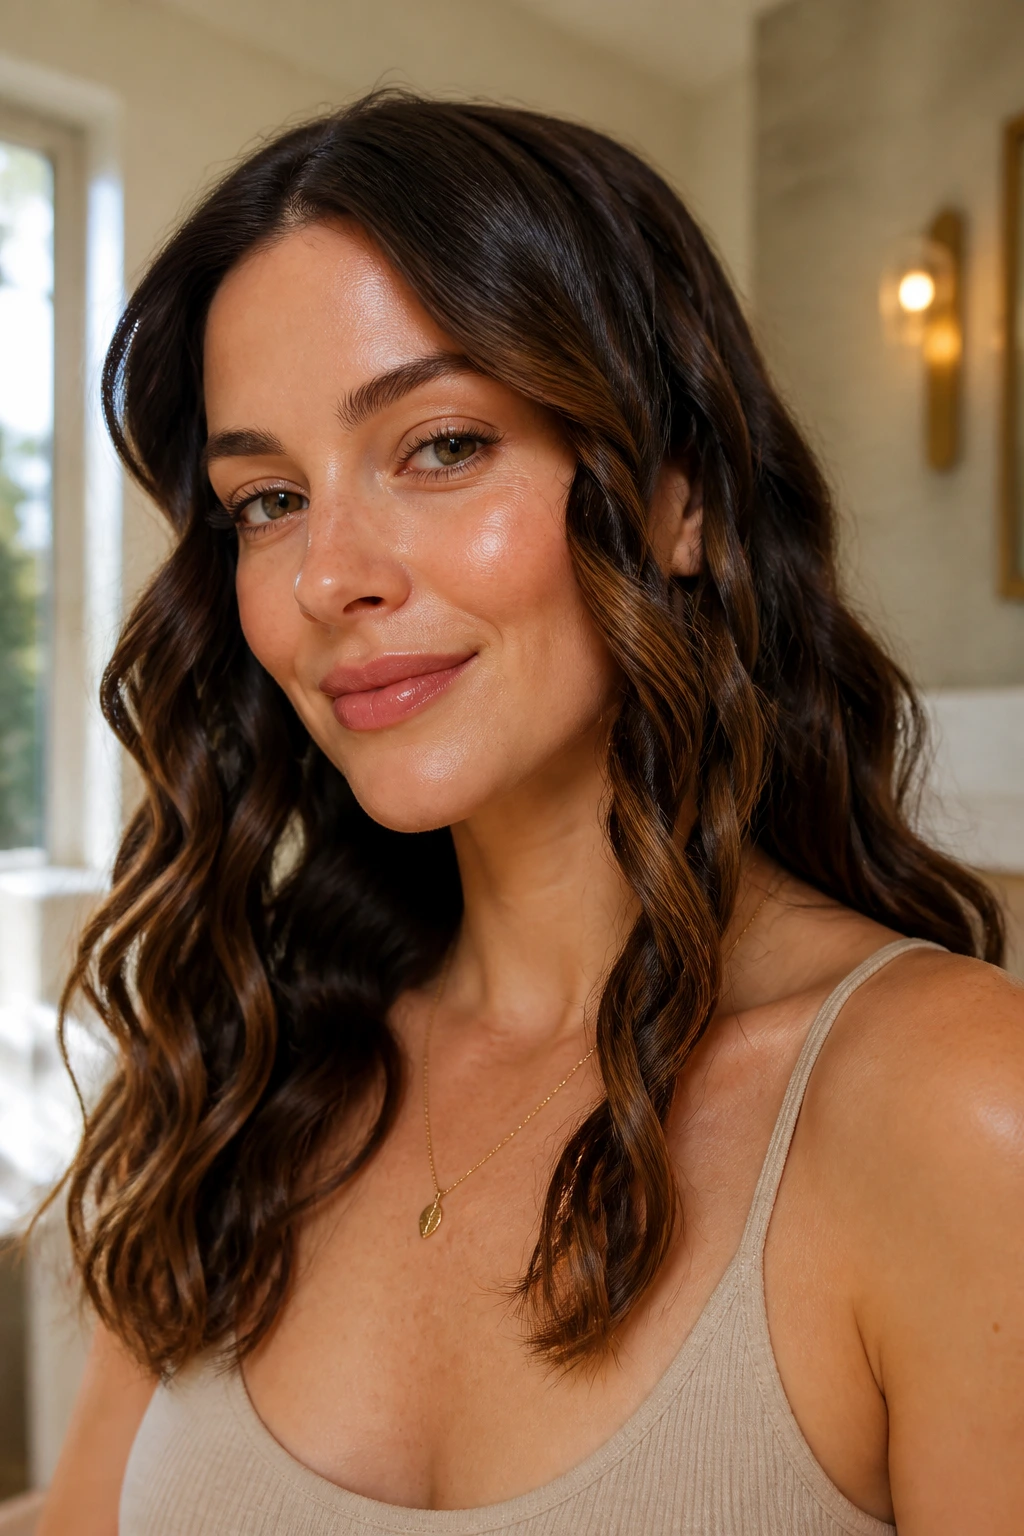
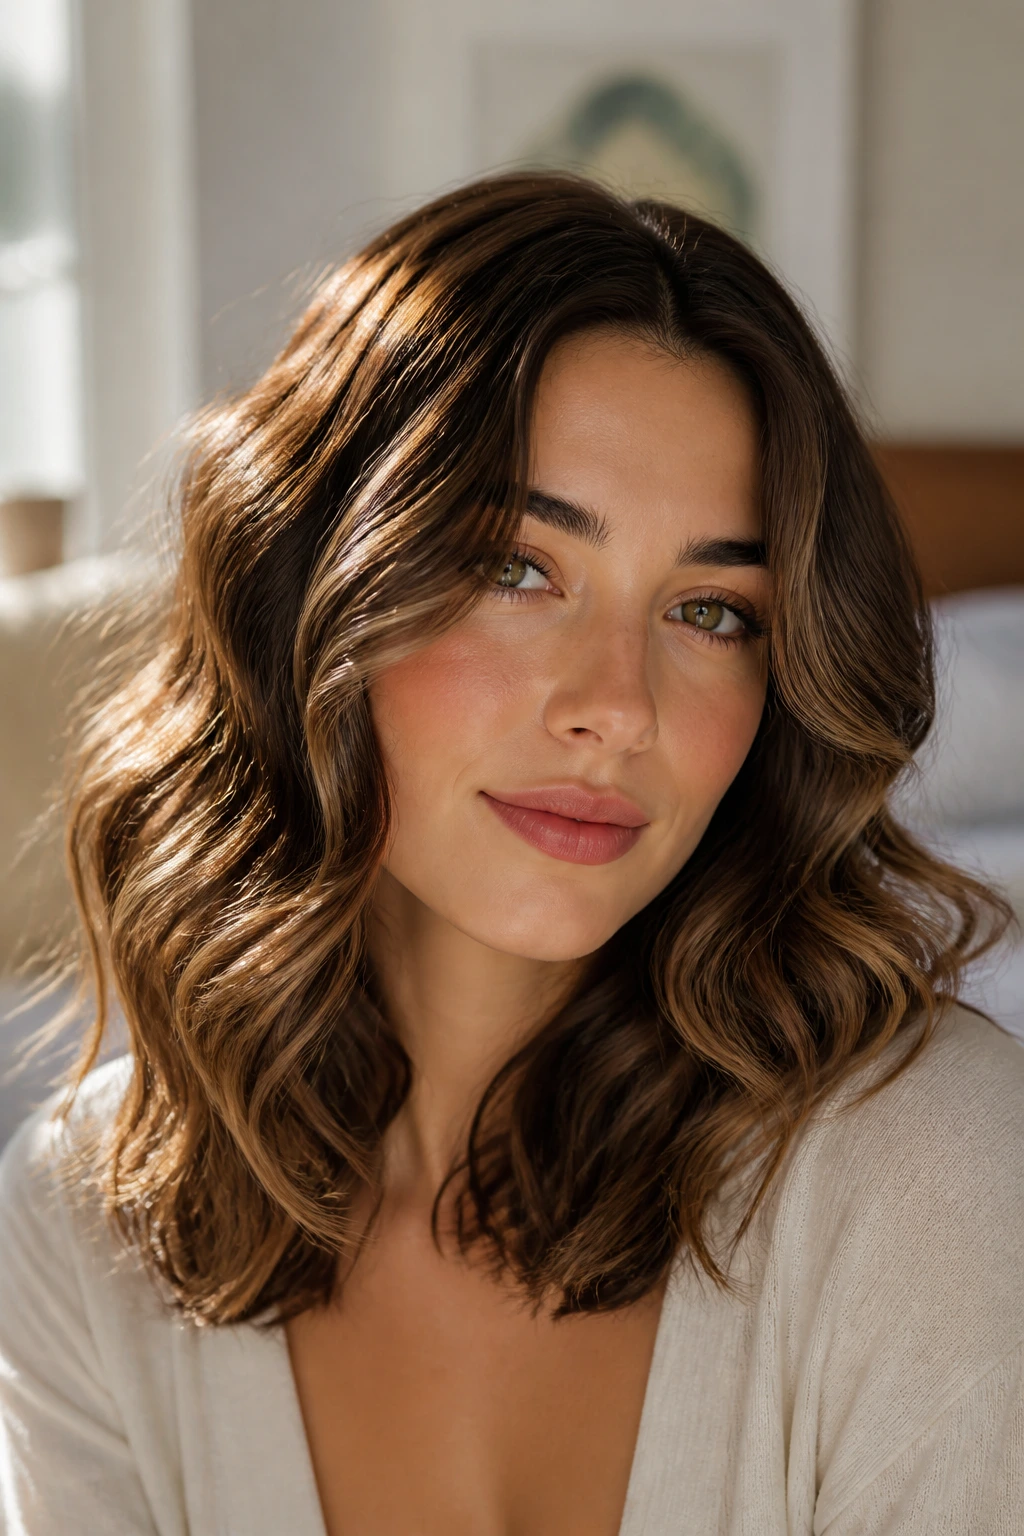
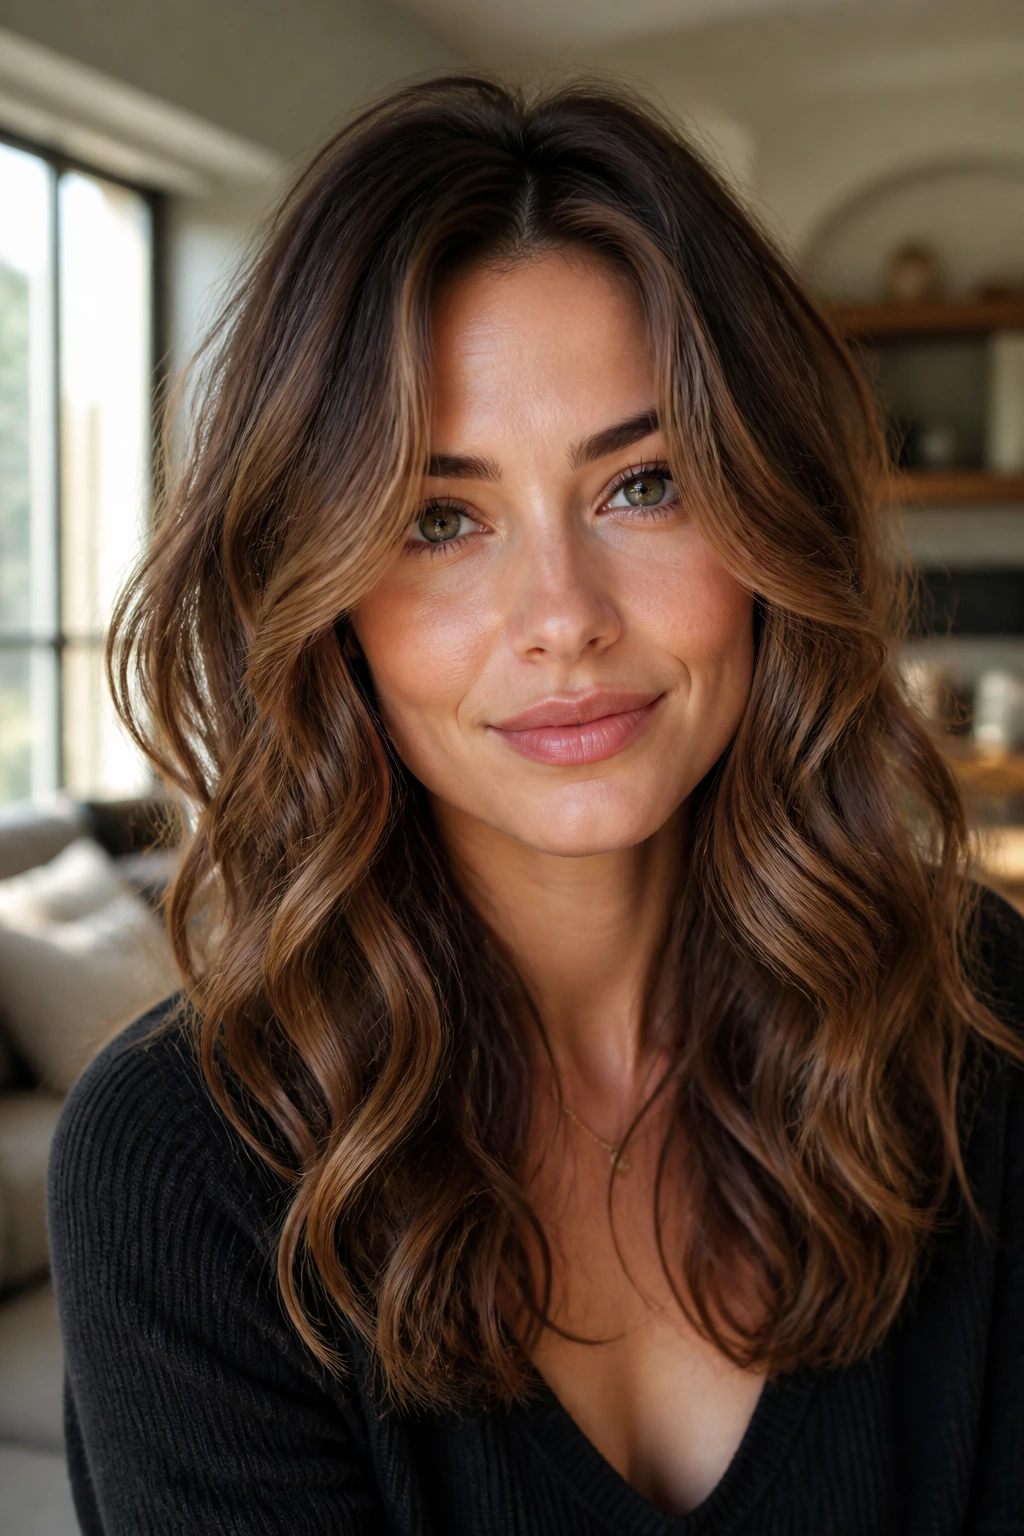
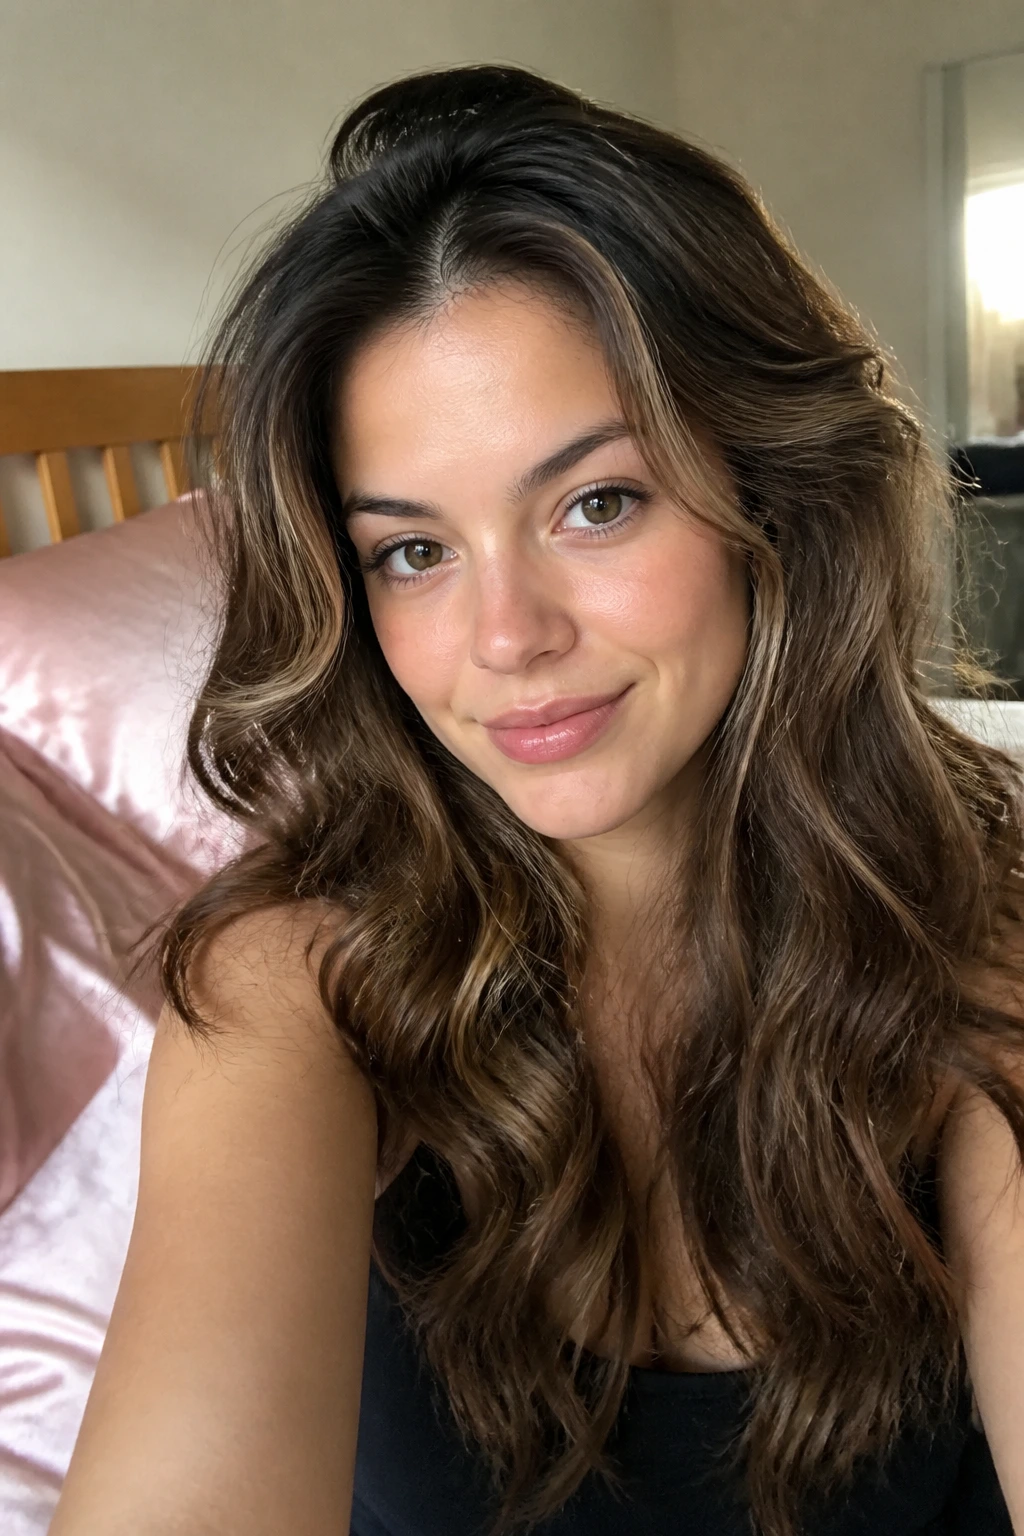
1. Center-Part S-Waves
A center part with loose S-waves is the quietest kind of pretty, and I mean that as a compliment. The shape feels balanced on a heart-shaped face because the wave begins around the cheekbones instead of flaring out at the temples.
Why it flatters
The center line gives the forehead a clean frame, while the loose bend pulls the eye downward in a smooth line. You get symmetry without stiffness, which is a rare combination and the reason this style keeps showing up on date nights.
How to wear it
Use a 1.25-inch iron and wrap medium sections away from the face, then brush everything out once it cools. Keep the top smooth, let the bends happen mid-length, and finish with a tiny mist of flexible spray. If your hair is fine, tuck one side behind the ear to create a little asymmetry.
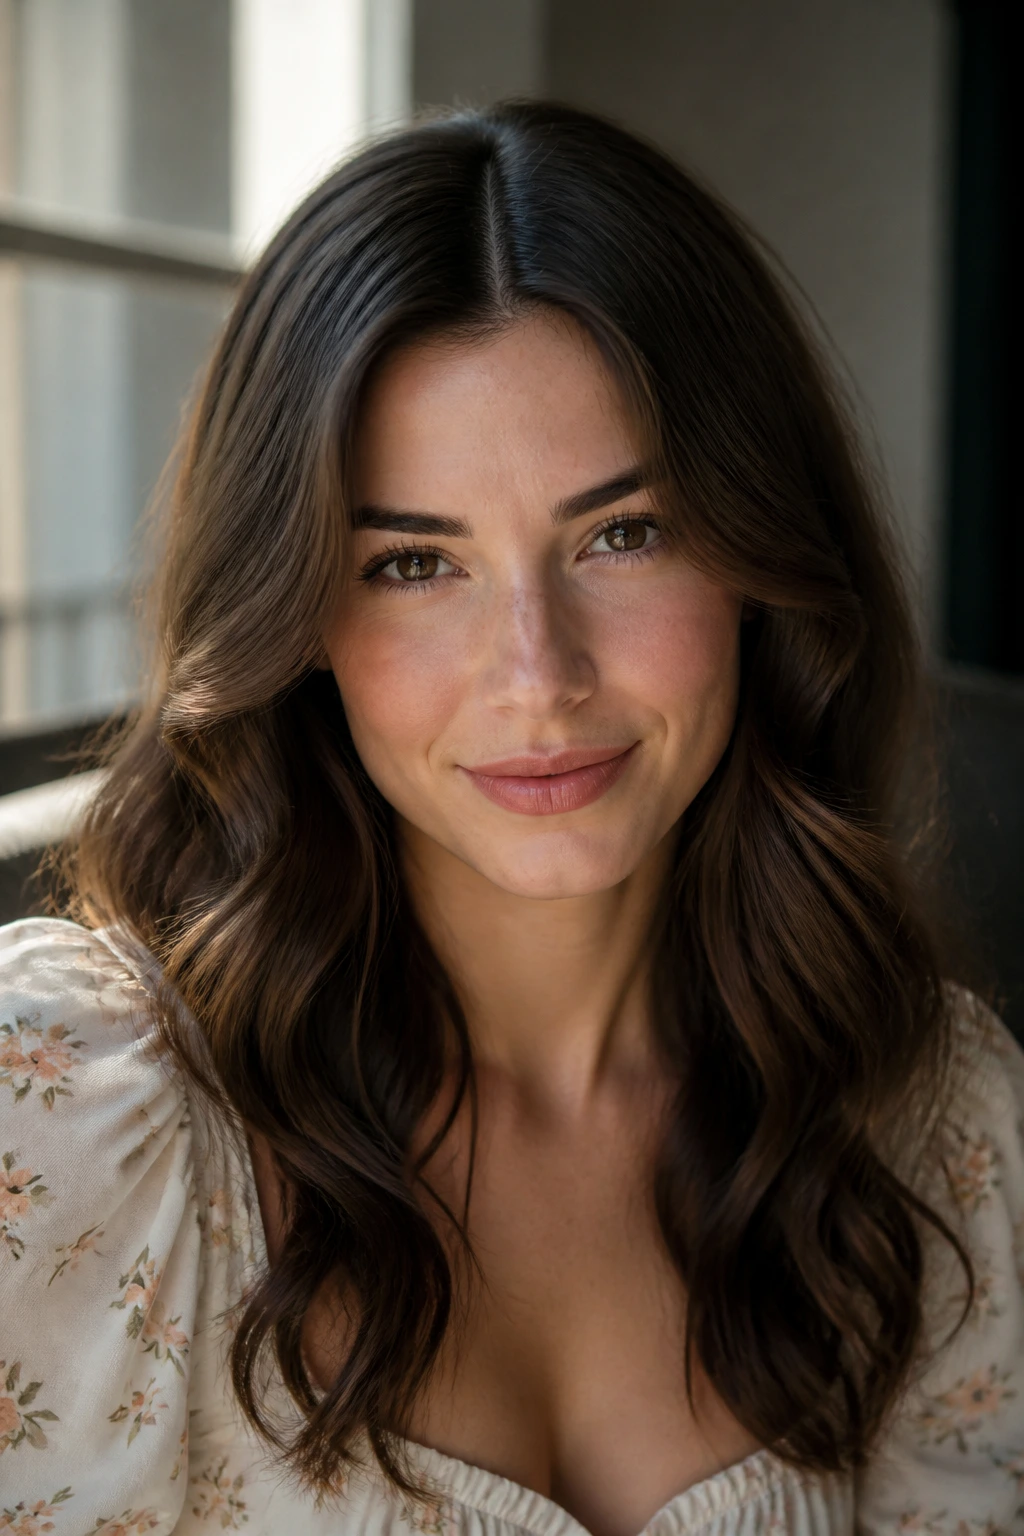
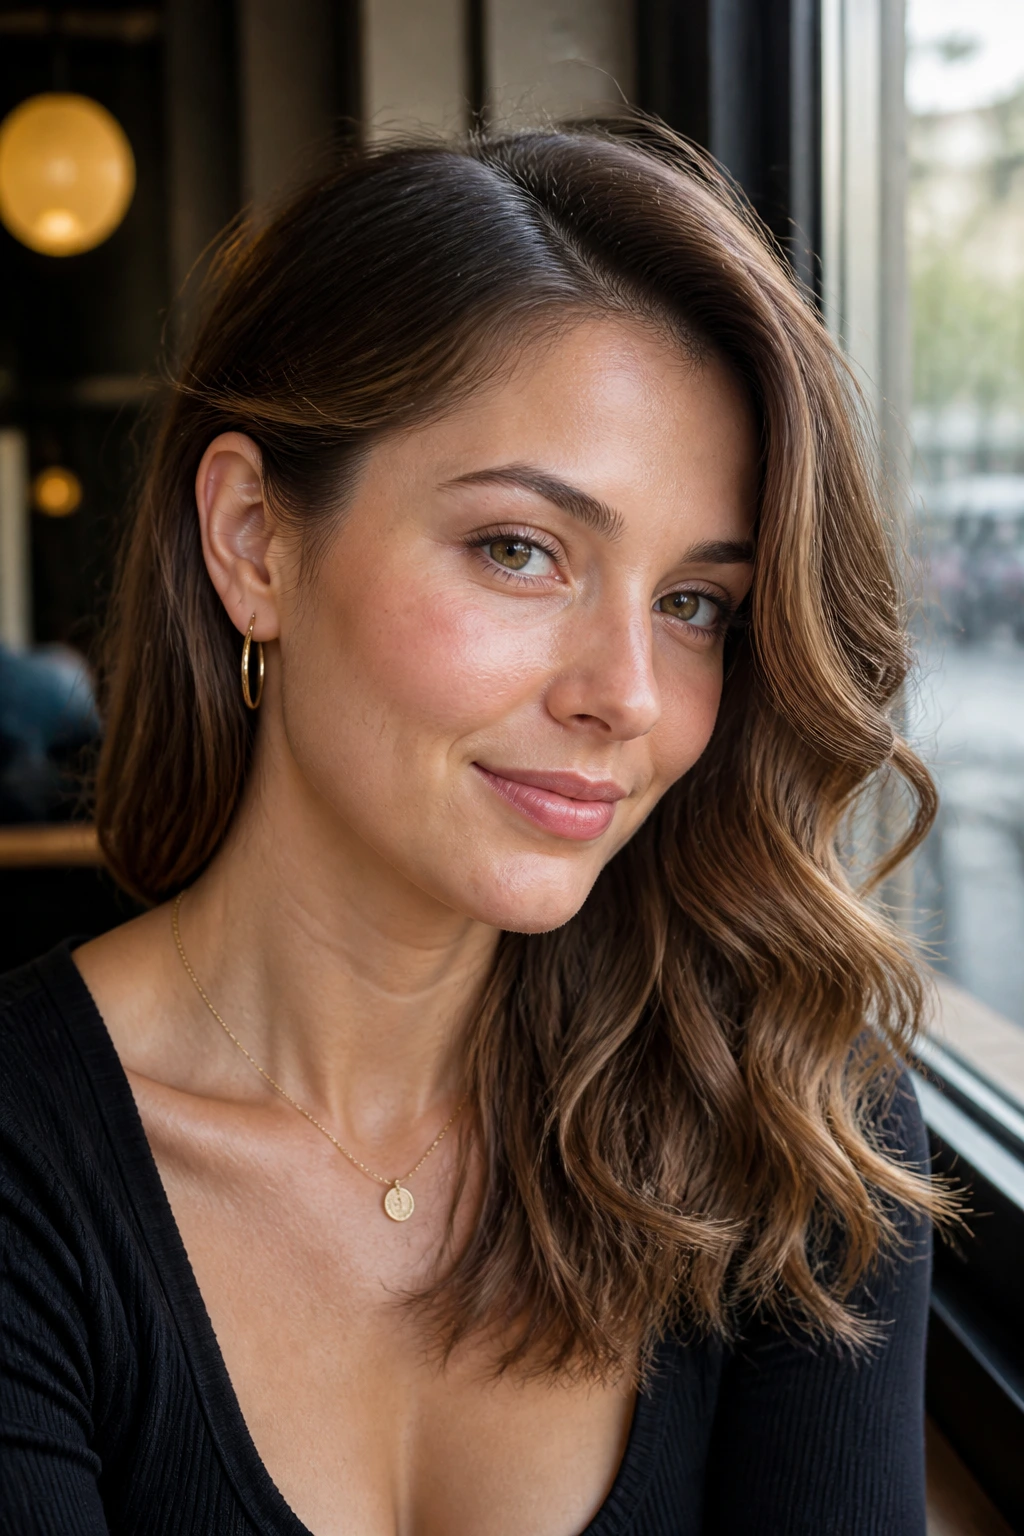
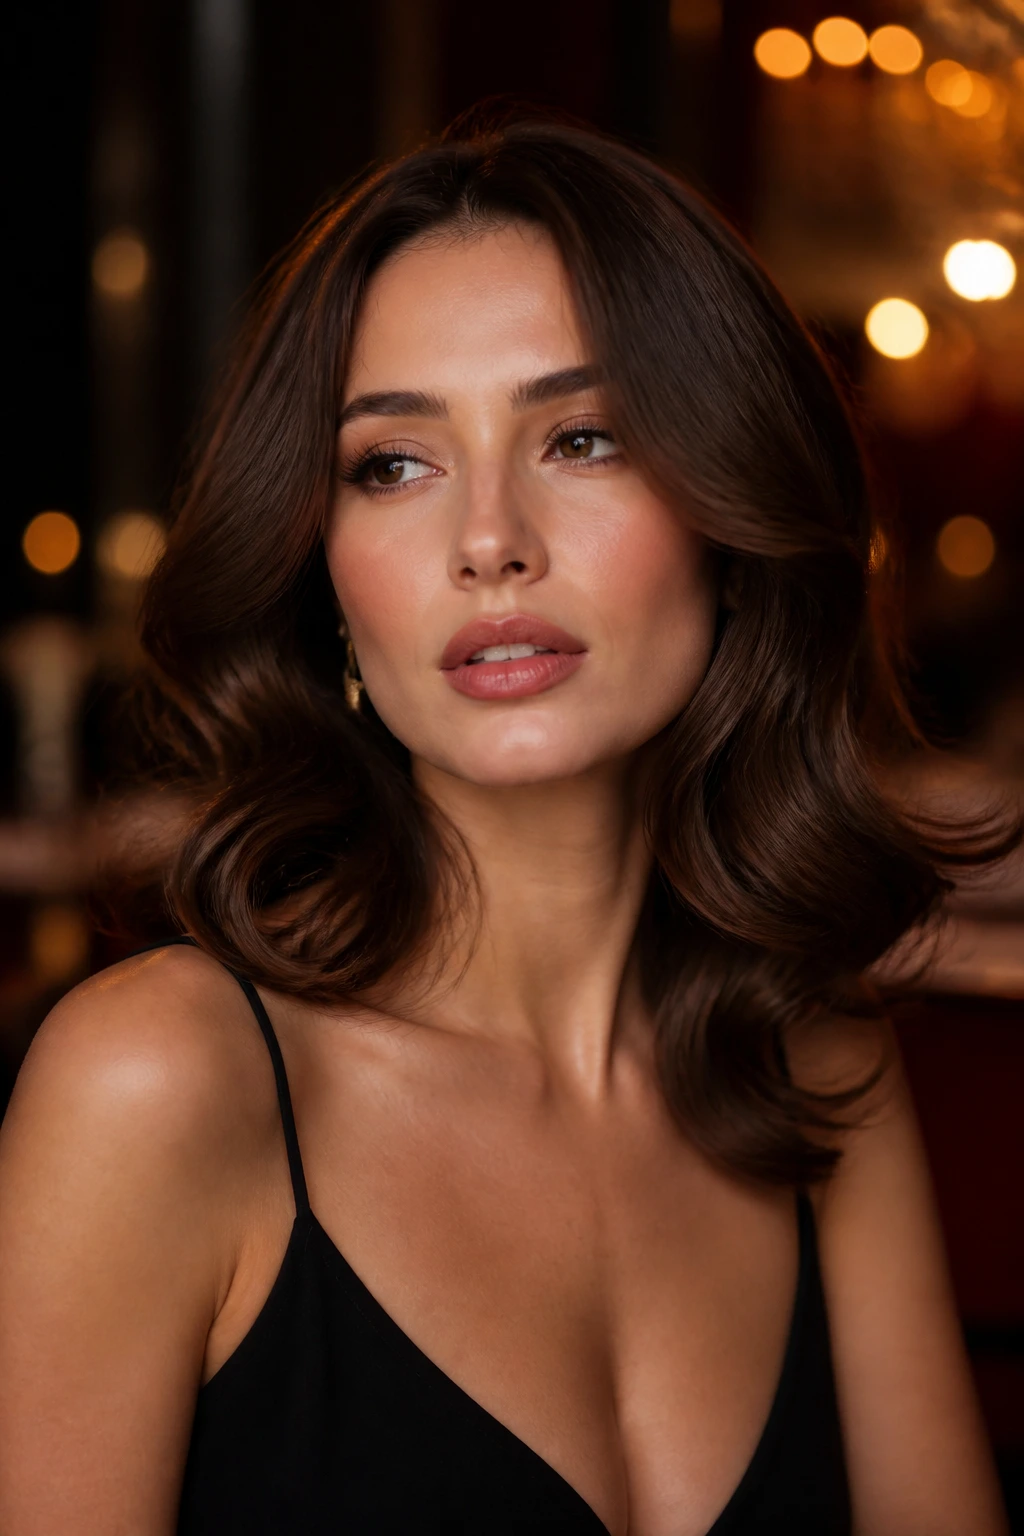
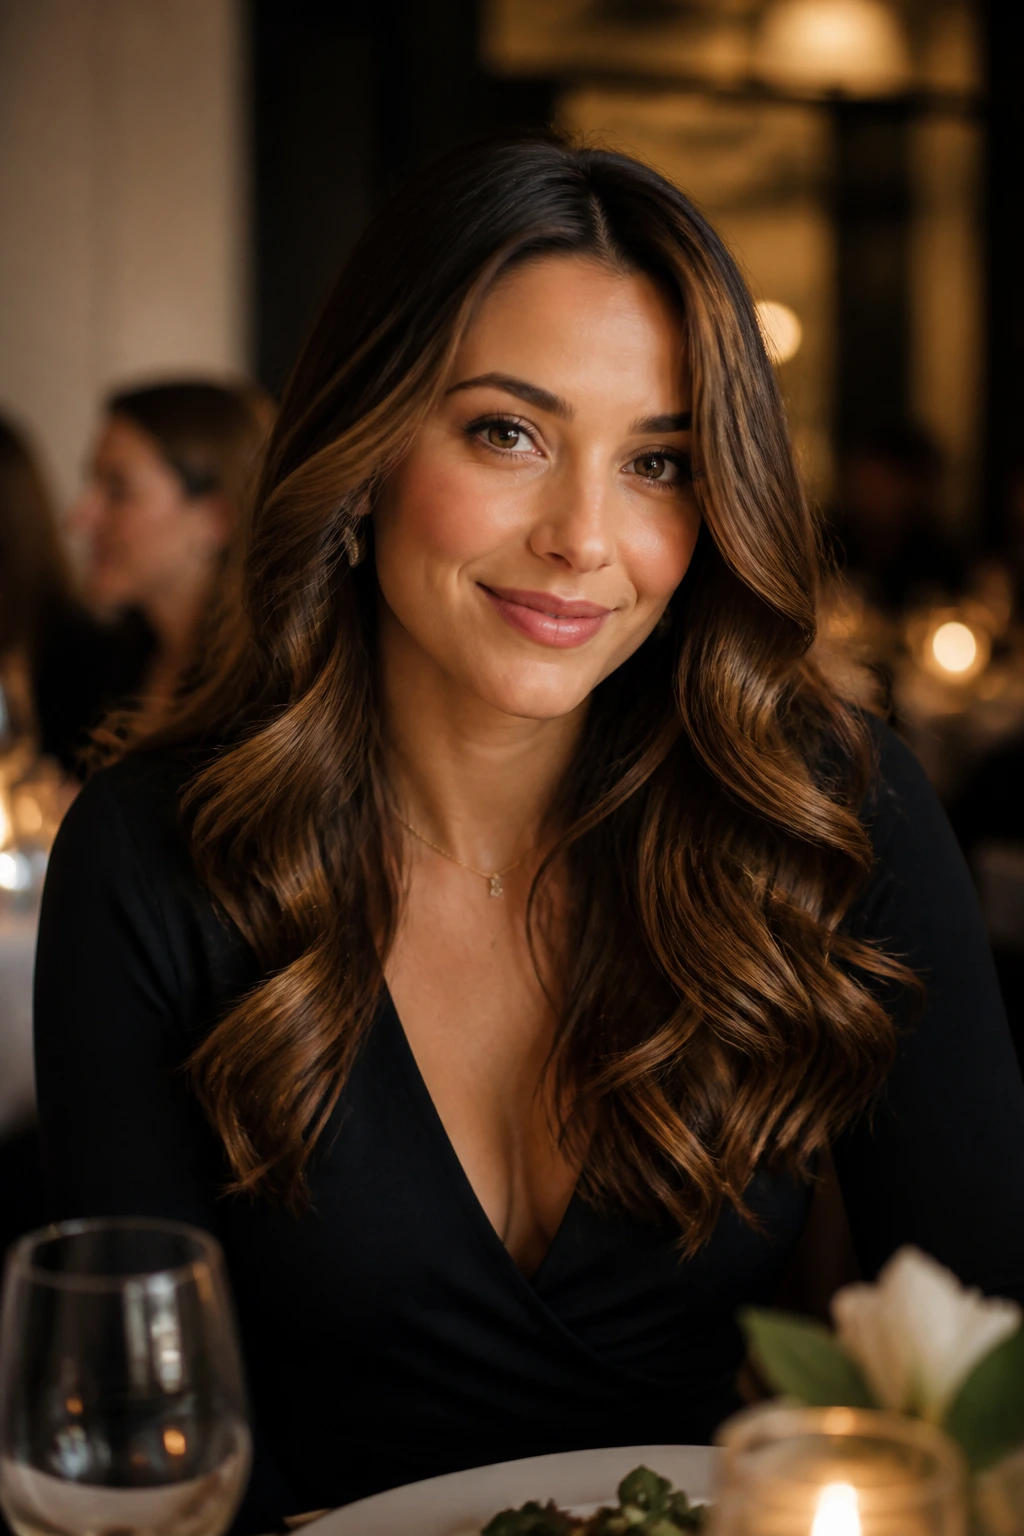
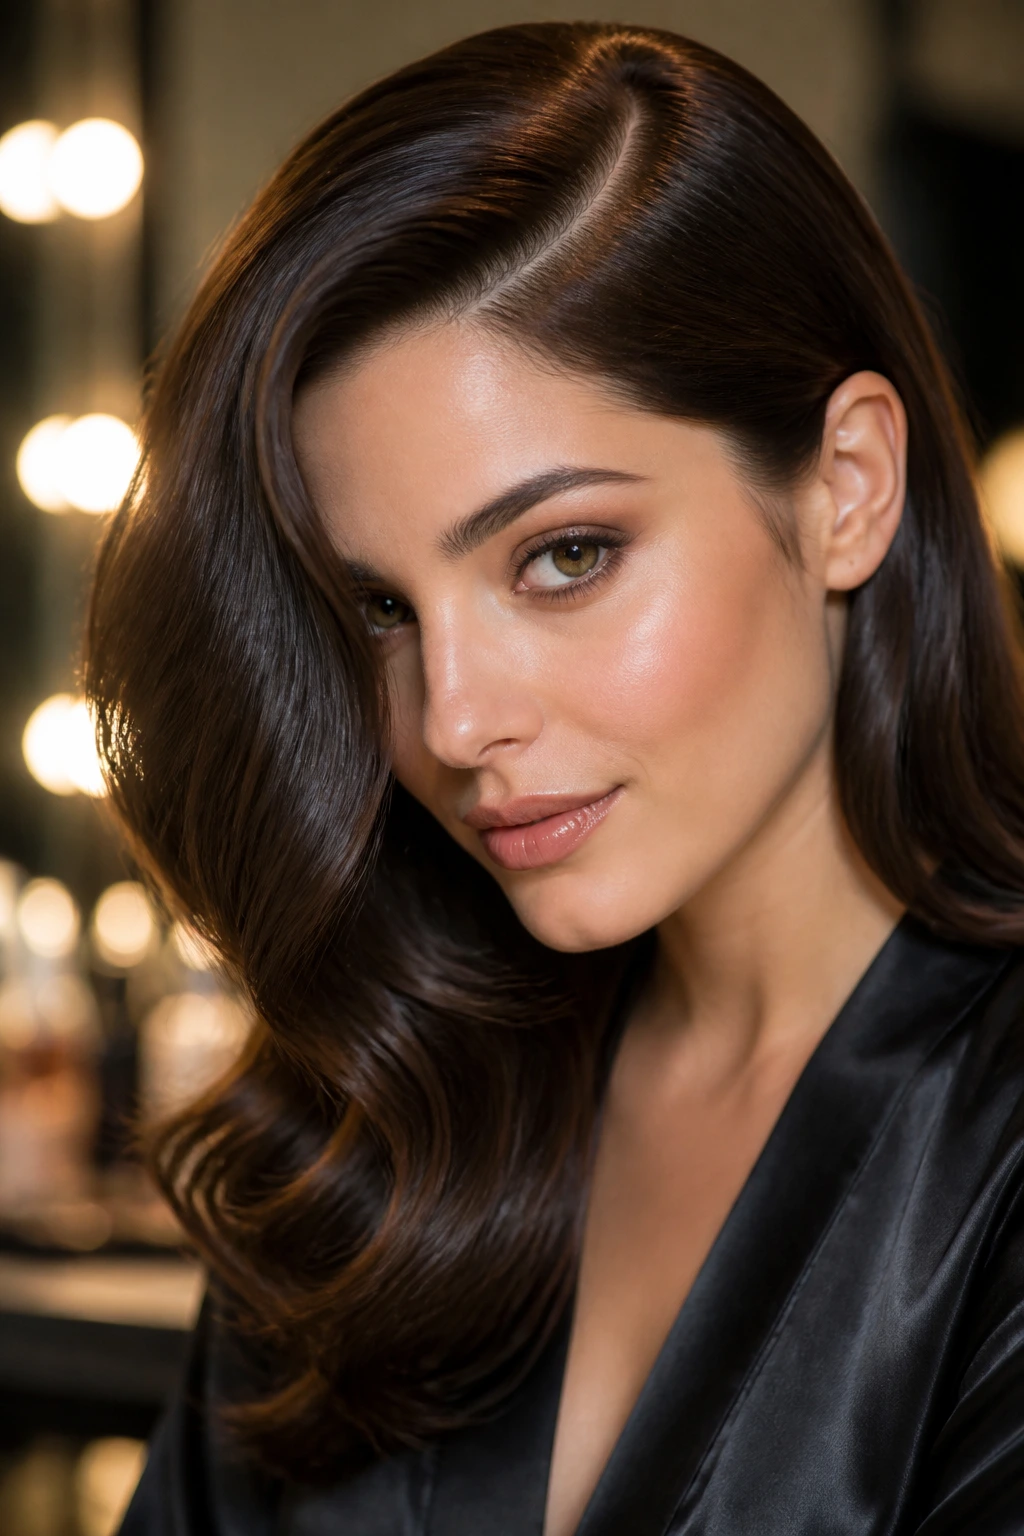
2. Deep Side-Part Gloss Waves
A deep side part changes the whole mood fast. It gives the forehead less visual space and lets the waves sweep diagonally across the face, which is a very useful move on a heart shape.
The finish should look glossy, not crunchy. I like this version when the outfit has a neckline that needs a little elegance, because the hair does part of the styling work for you. One side can sit flatter against the head, while the heavier side drapes over the cheekbone and lands near the collarbone.
A side part also gives you room to play with volume at the lower half of the style. Push the wave out near the jaw, not at the roots. That detail keeps the face from feeling too top-heavy.
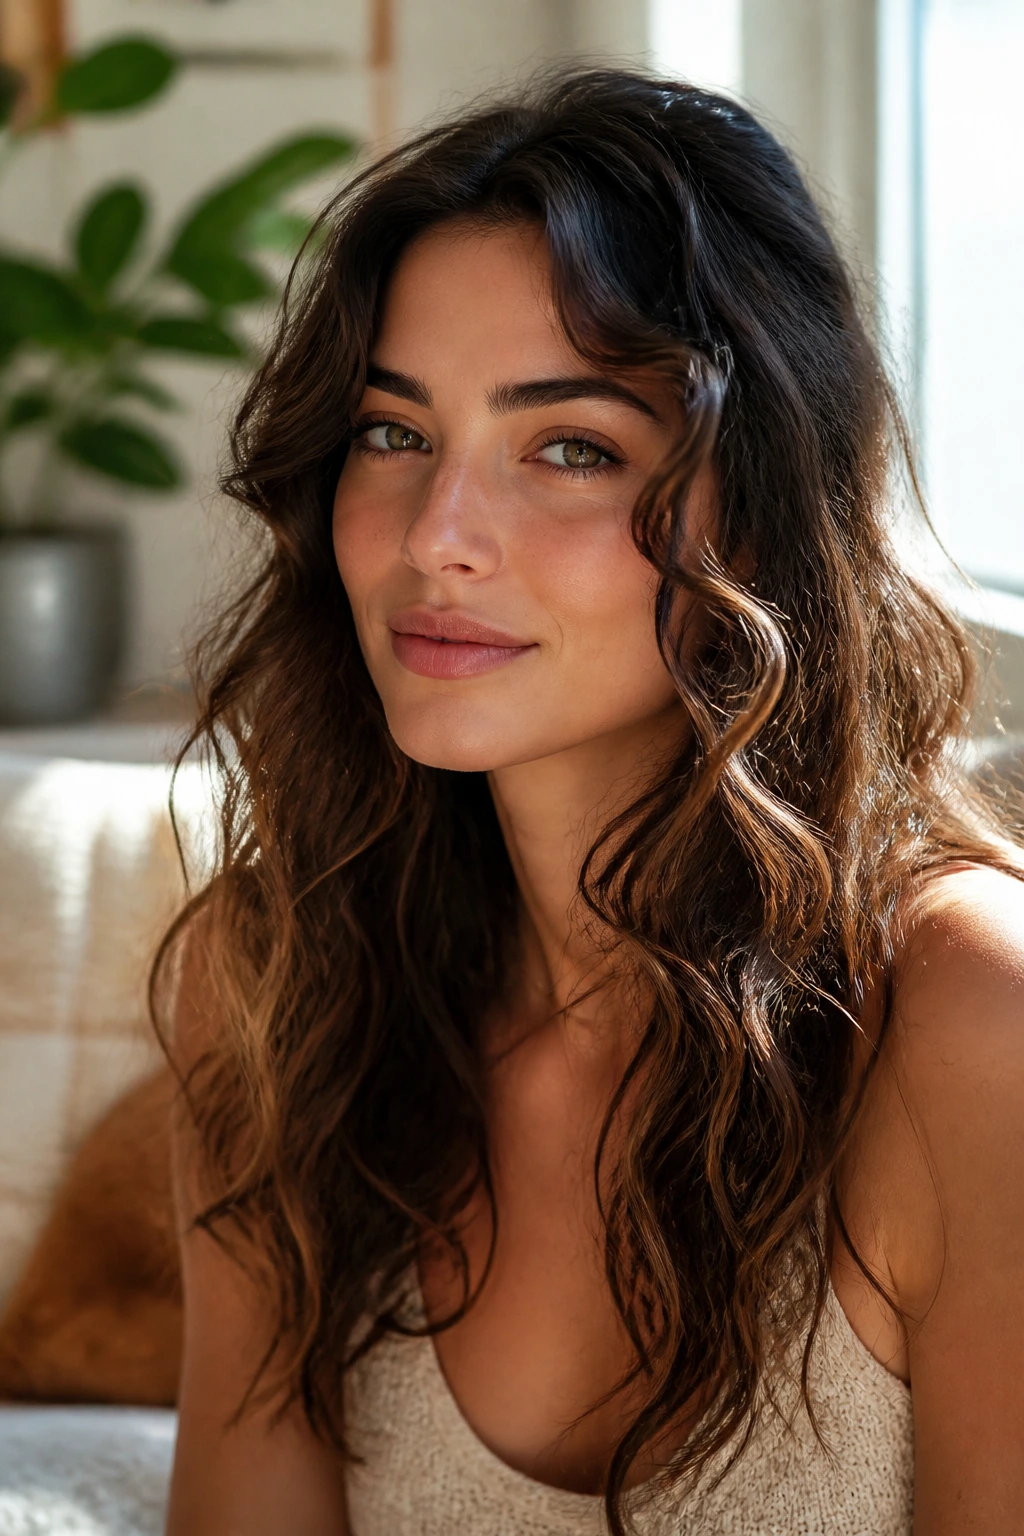
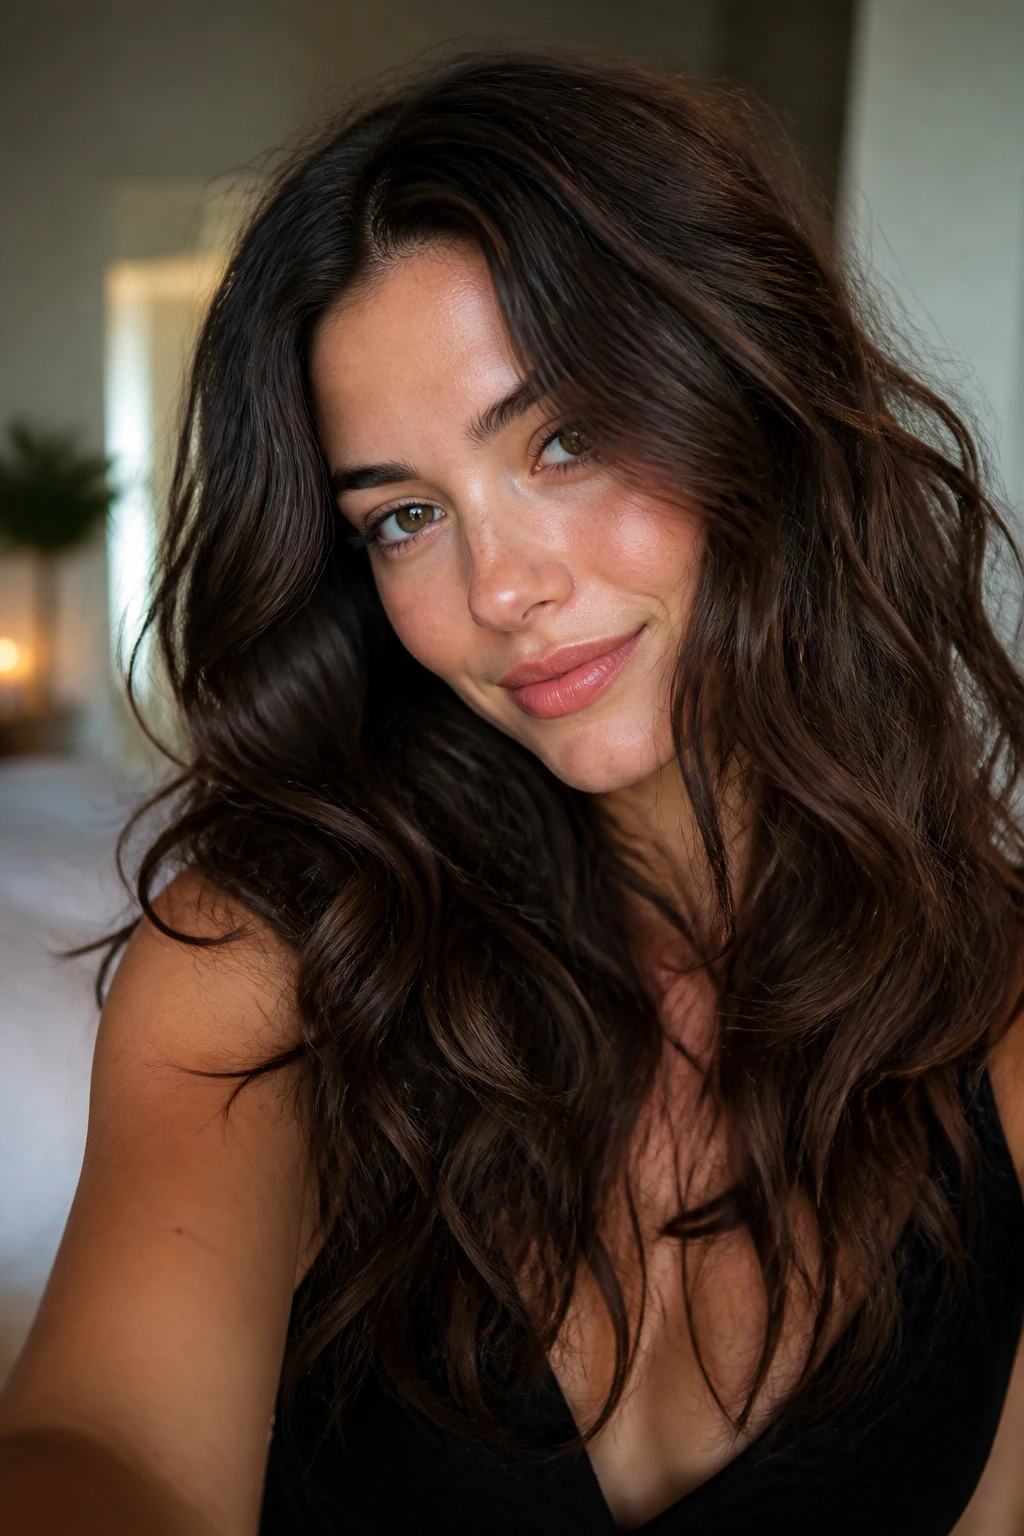
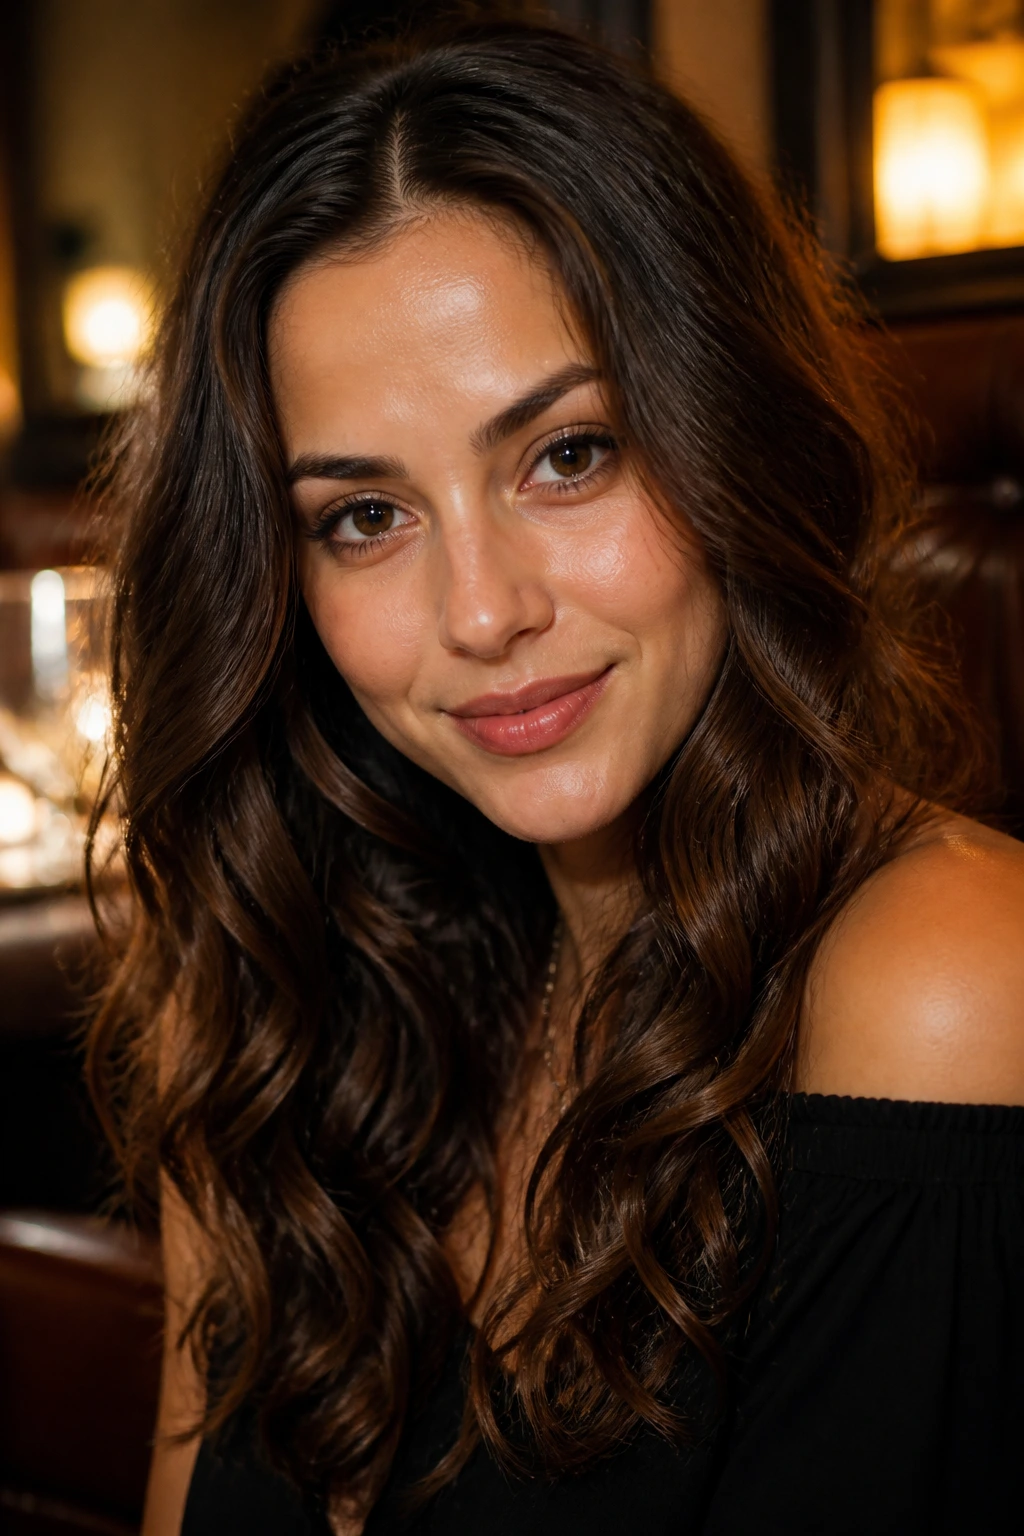
3. Cheekbone-Starting Ribbon Waves
This is the style for anyone who wants the wave to do the flattering for them. The bend starts lower than usual, almost as if the hair decided to pay attention to the face shape instead of fighting it.
The ribbons of hair around the cheekbones and jaw give heart-shaped faces a little width where it helps most. Keep the top flatter than the ends, and do not overbrush it into mush. You want visible movement.
Best when…
- Your forehead feels prominent in photos.
- You want softness without big crown volume.
- Your hair is medium to long and can hold a bend below the ear.
4. Half-Tucked Date-Night Waves
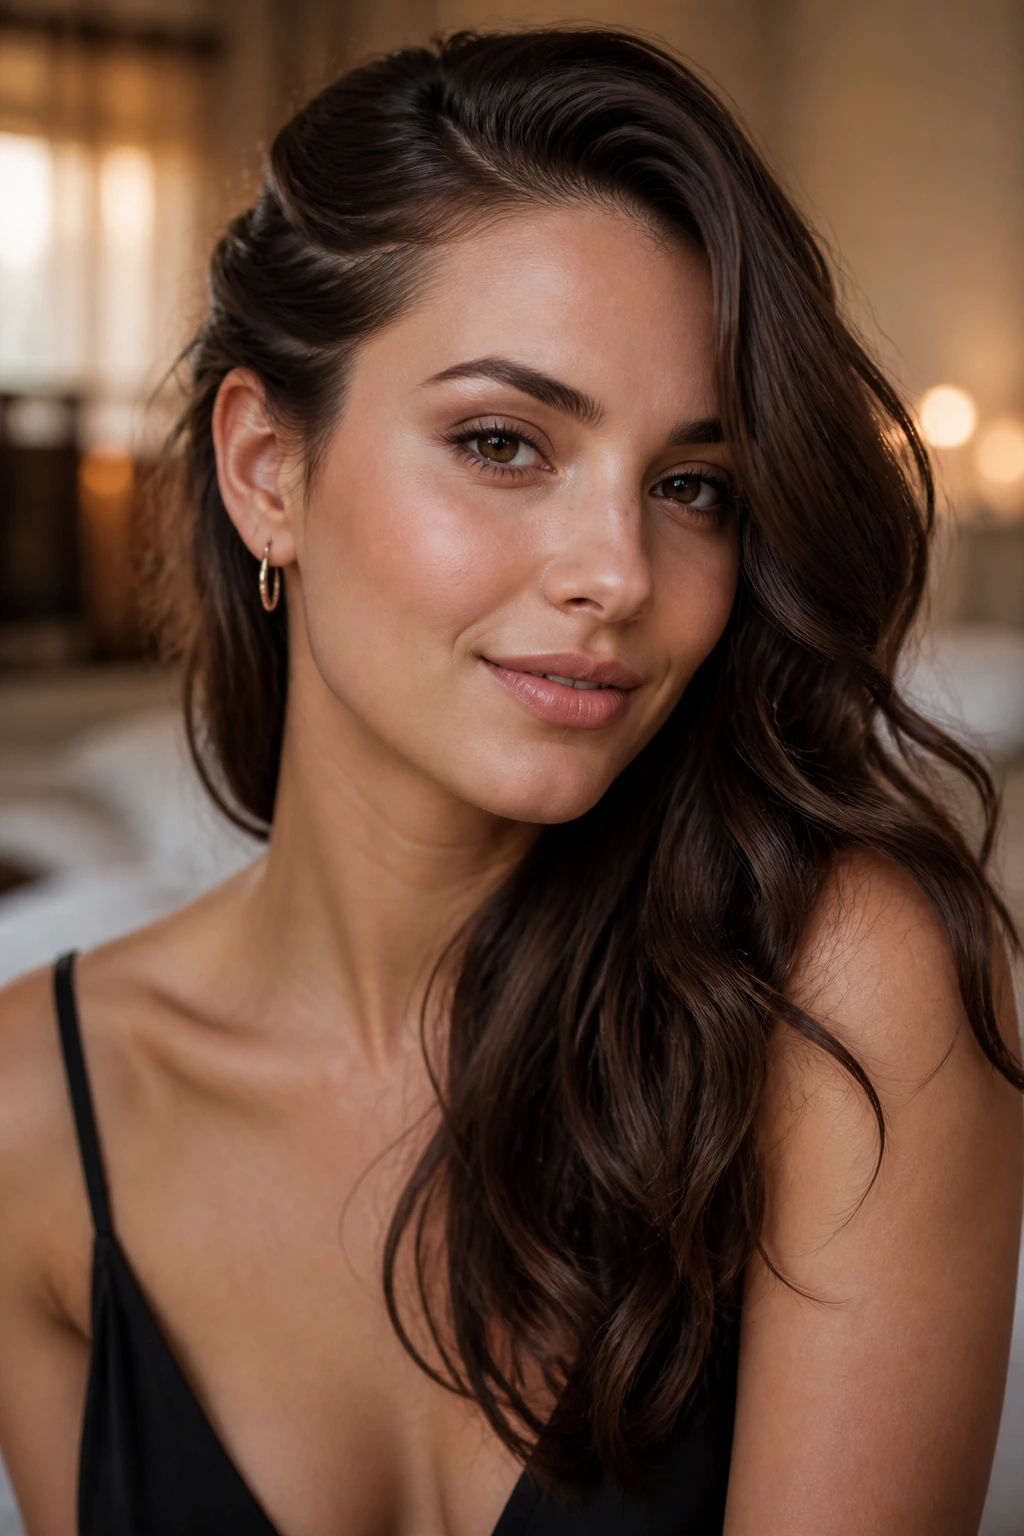
Half-tucking one side behind the ear creates a clean line that heart-shaped faces wear beautifully. It opens the face without exposing everything, which is a nicer move than yanking all the hair back and pretending it is styling.
The tucked side should stay close to the head, while the untucked side carries the wave and movement. That contrast does two things at once: it softens the jaw and keeps the upper face from feeling too wide. It also looks better in motion than a fully symmetrical style.
I like this when the hair has a little shine serum through the ends. The tucked side stays neat, the loose side stays soft, and the whole thing reads as intentional without looking fussy.
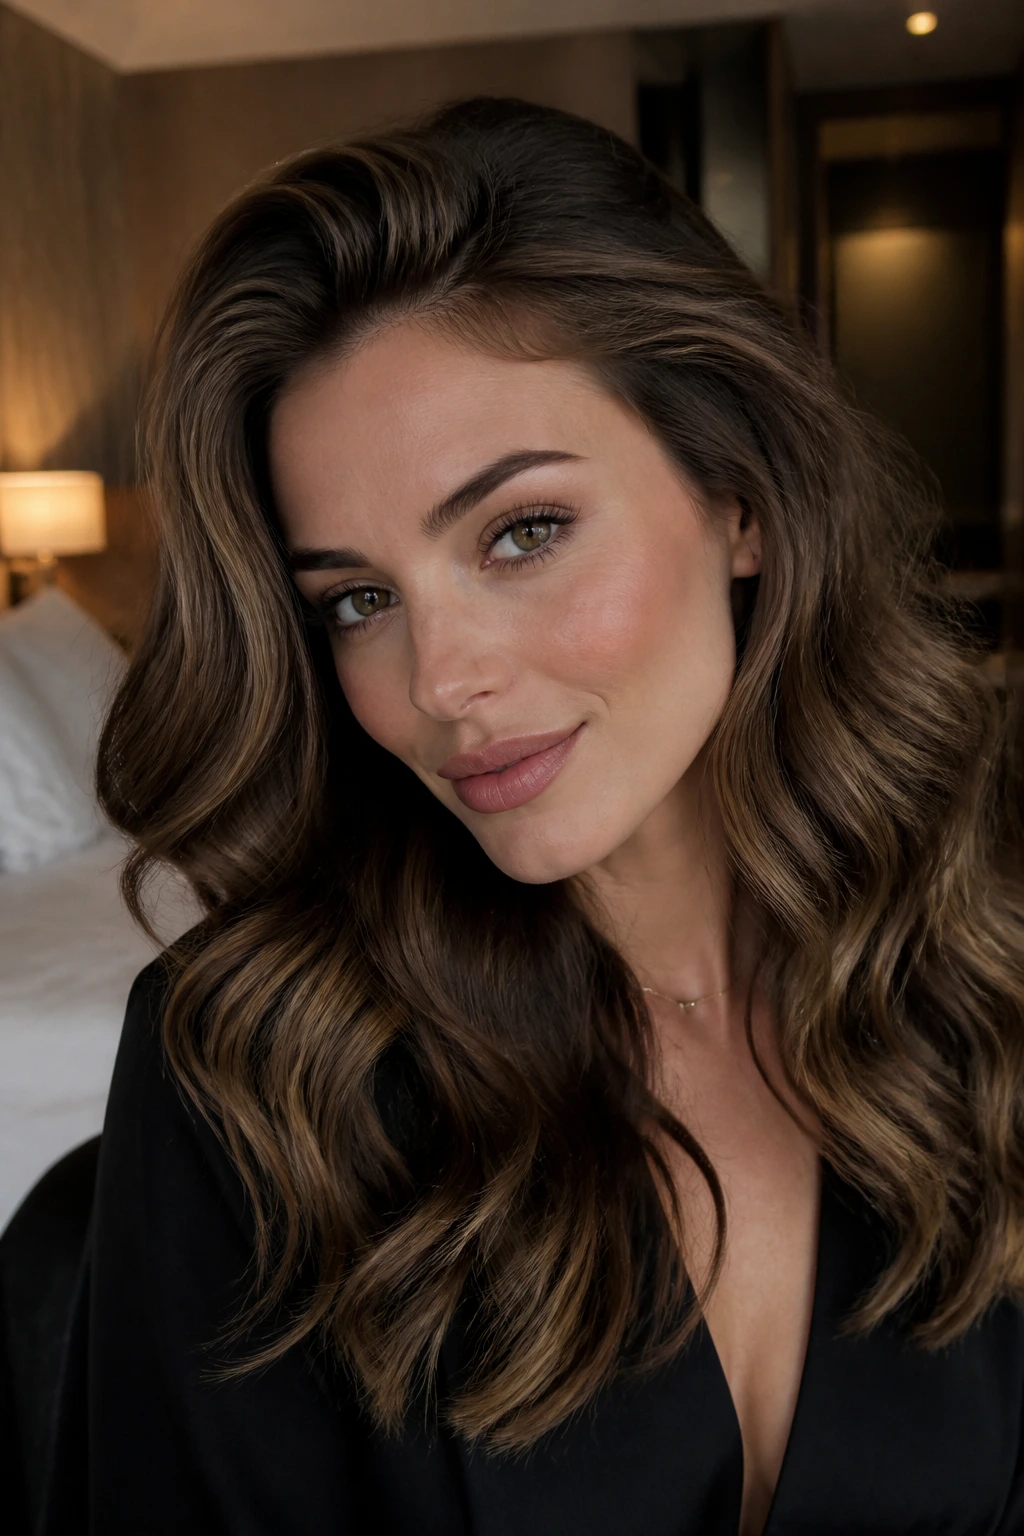
5. Crown-Lift Bombshell Waves
Crown lift can be a trap on a heart-shaped face. Too much of it, and the whole style starts shouting at the forehead.
The better version is gentler: a bit of root lift at the crown, but enough length and bend below it to pull the eye down. Think of it as support, not volume for its own sake. A round brush at the roots, a few seconds with a cool shot from the dryer, and then you stop. That’s the move.
The wave itself should be broader and soft, not tight. Big sections, brushed out once, then left alone. If your hair is thick, clip the top while the lengths cool so the lift settles in a controlled way instead of puffing up.
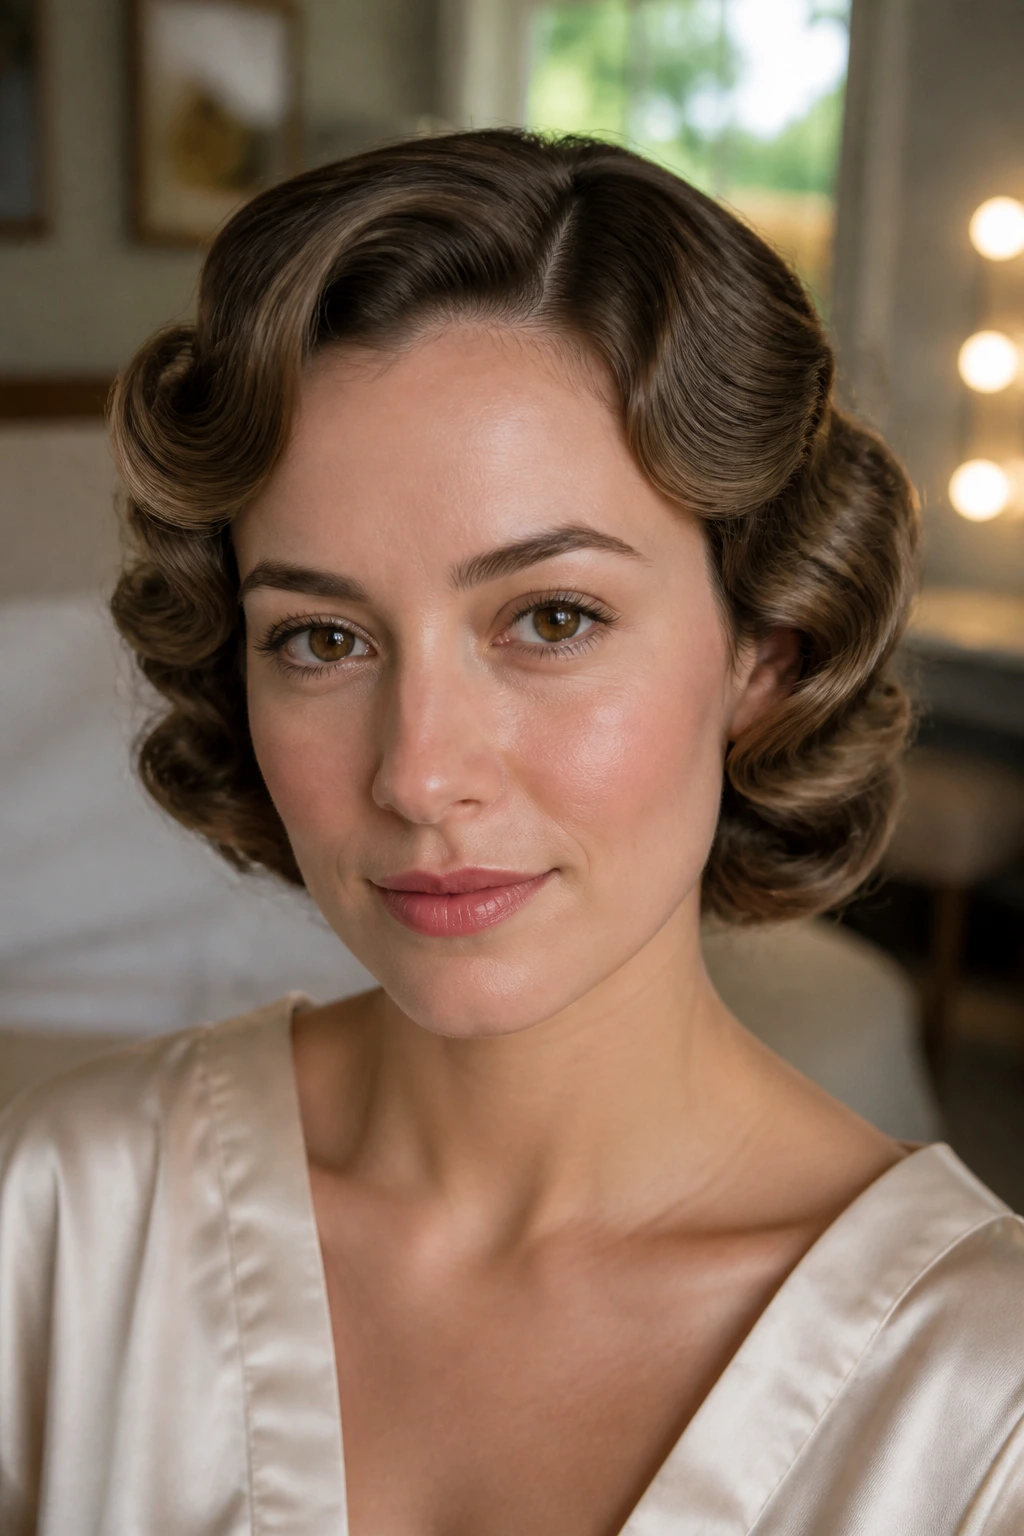
6. Soft Finger Waves at the Hairline

Vintage front waves can be gorgeous on a heart-shaped face because they smooth the forehead line without making the style feel severe. The trick is to keep the fingers soft and the rest of the hair loose.
What makes it different
This is not a full pin-up wave set. You’re shaping just the hairline and the first inch or two near the front, then letting the lengths fall into easier movement. That gives a little polish near the face and leaves the rest of the style open.
A practical way to wear it
Use a light gel or foam only at the front sections, form small waves with a tail comb or your fingers, and let them set before touching them. If that feels like too much work for one night, fake the effect by smoothing the front with a flat iron and bending only the first two sections away from the face. It gives the same soft frame with less effort.
7. Curtain-Bang Flow Waves
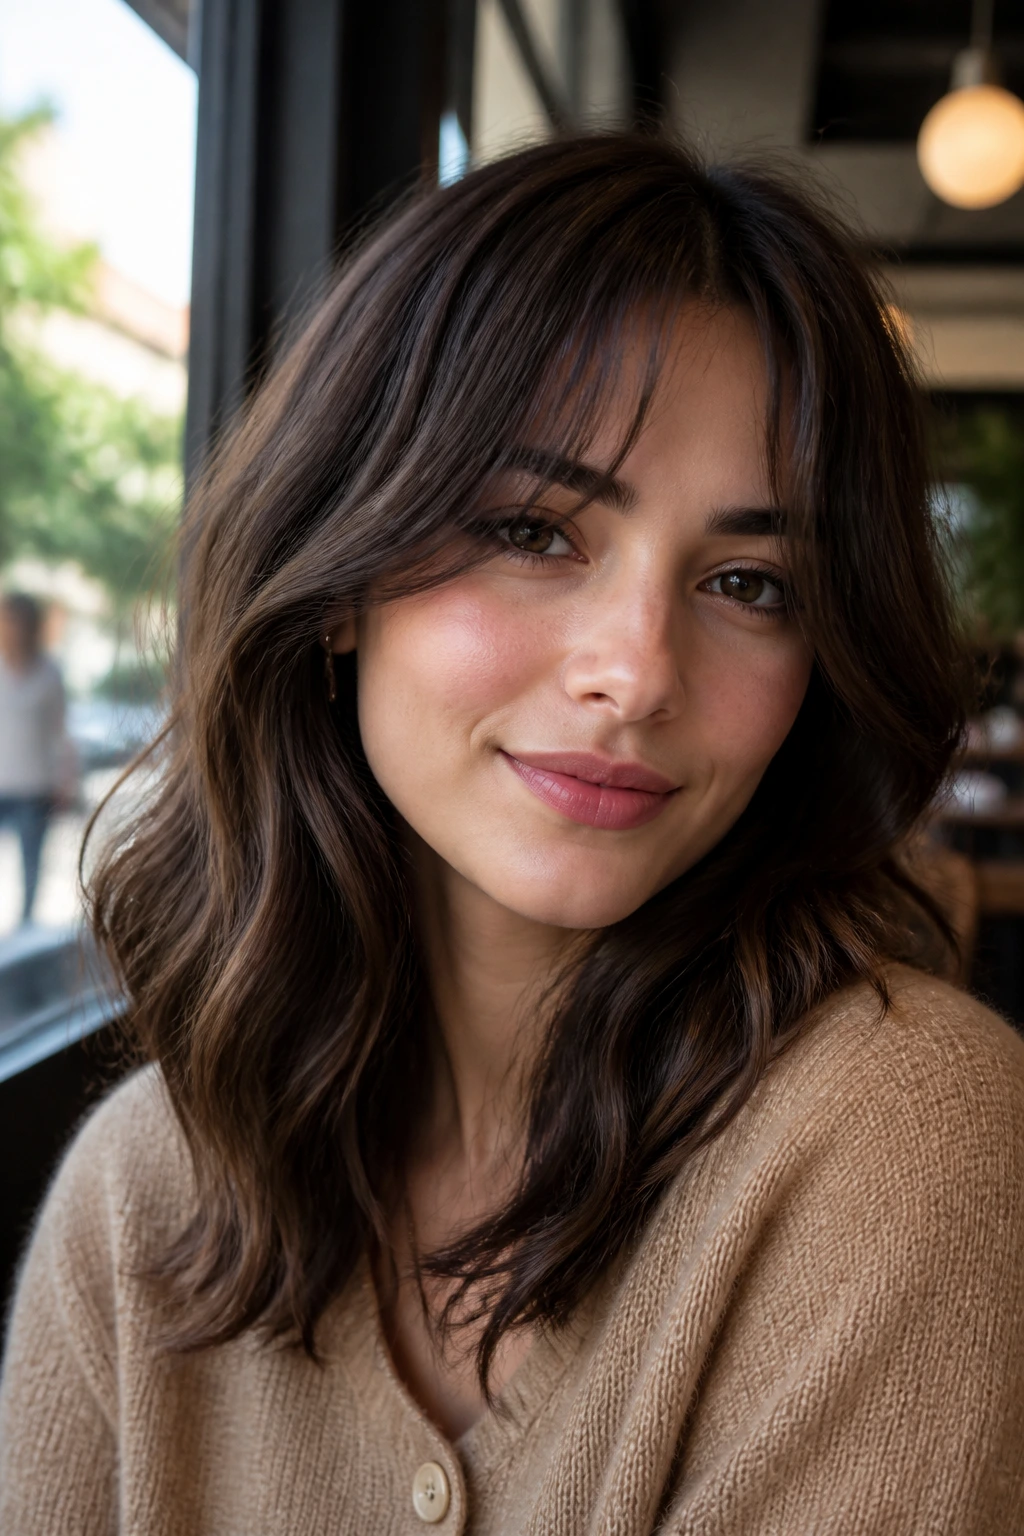
Curtain bangs do a lot of the face-balancing here. They break up forehead width, then blend into loose waves that move down toward the jaw.
The best version is not too curled at the bang itself. Keep the fringe soft, then let the wave take over around the cheekbones and below. If the bangs are too bouncy, they start stealing the attention from the rest of the face. If they are too flat, they disappear into the style.
I like this look on shoulder-length hair because the bangs and lengths can work together instead of competing. A quick bend with a round brush or iron at the front pieces, then a brush-through on the ends, is usually enough.
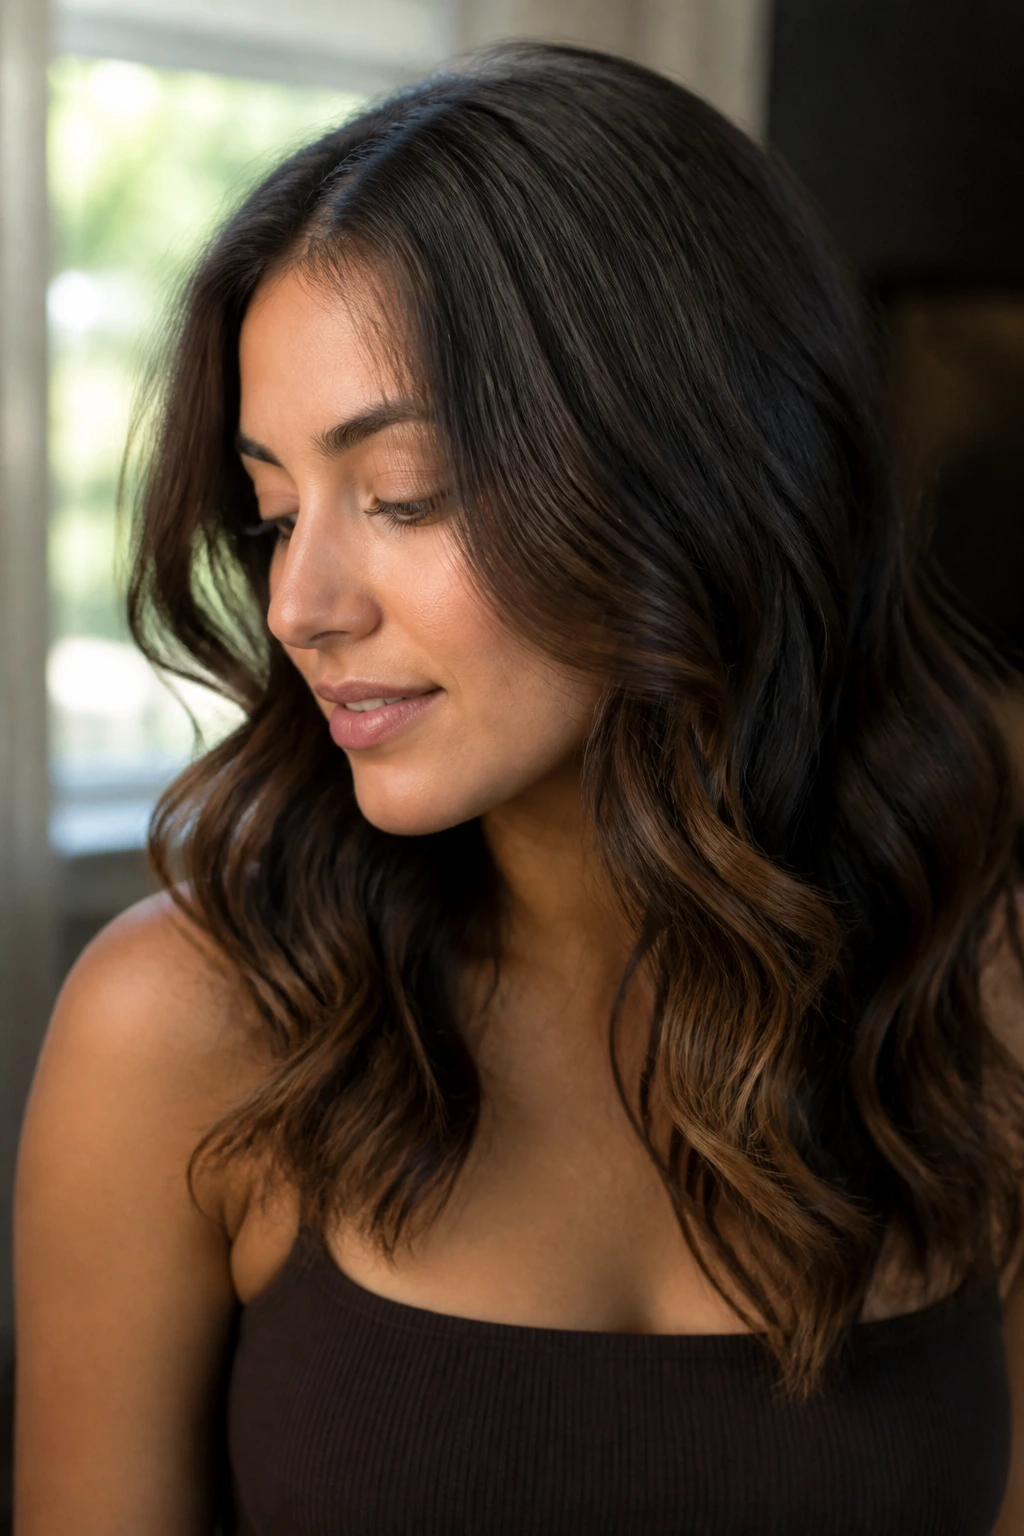
8. One-Shoulder Cascade Waves
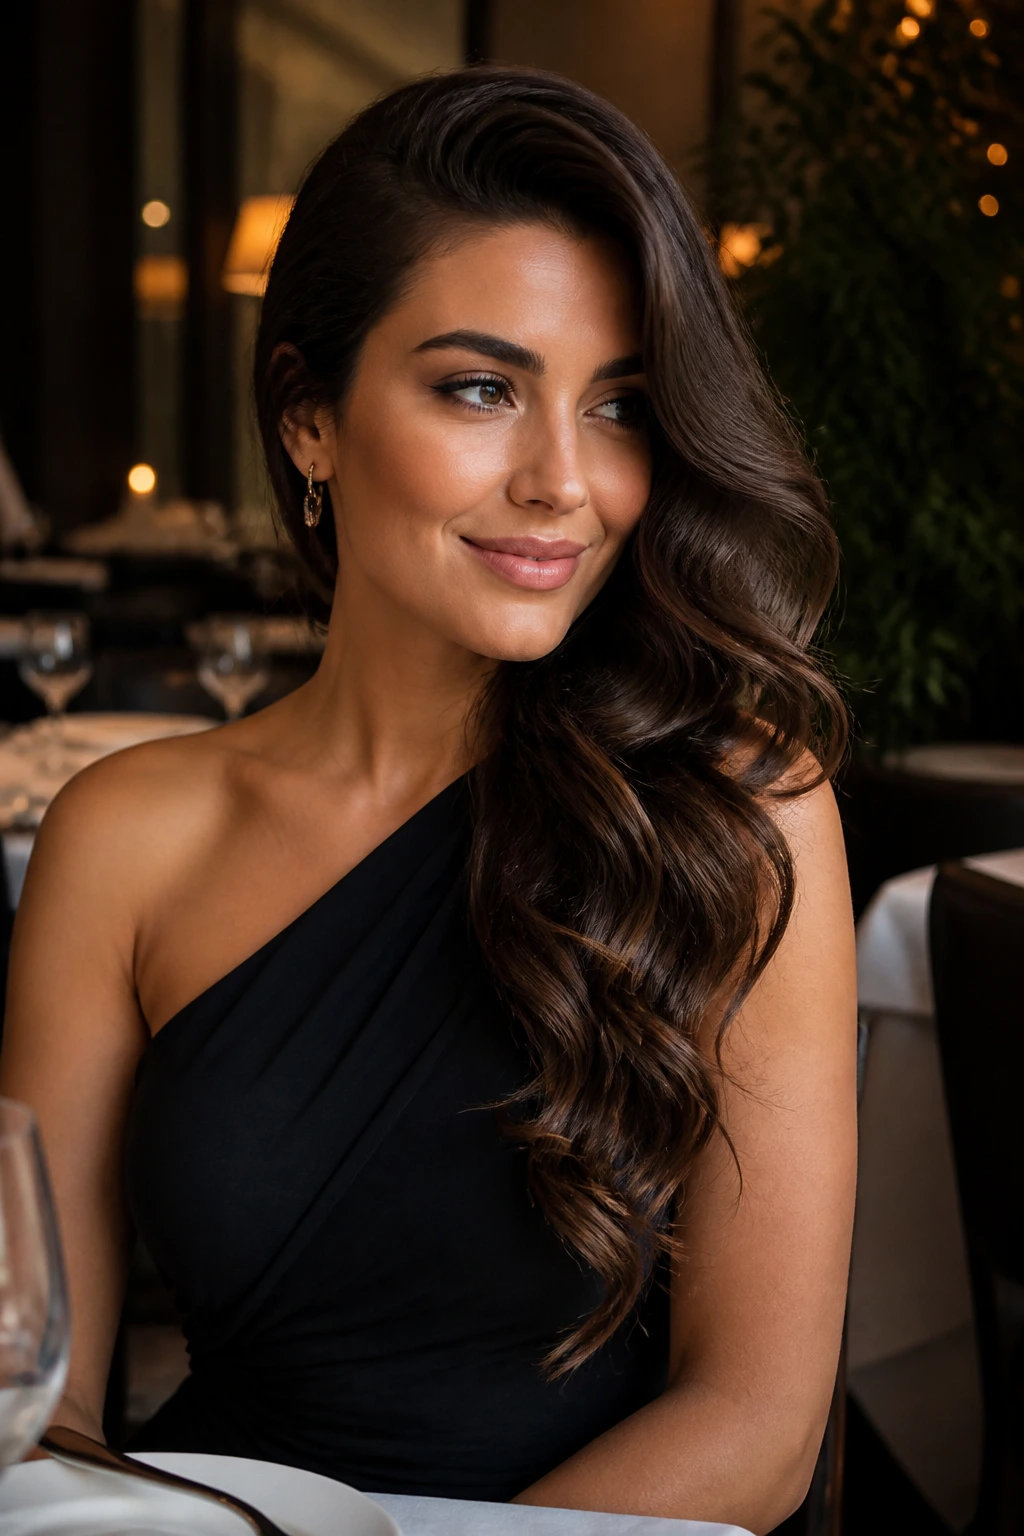
A one-shoulder sweep gives a heart-shaped face a diagonal line to follow, and diagonals are your friend. They soften the top width and let the jaw read more gently.
One side should sit tucked or pinned back, while the other side falls over the shoulder in a heavier wave. The asymmetry is the whole point. It creates movement without needing extra volume at the crown, which is exactly where I’d rather not pile hair on this face shape.
This style looks especially nice with earrings, a boatneck, or any neckline that leaves one side of the face more exposed. The exposed side gets the focus; the wave keeps it romantic.
9. Air-Dried Braid-Out Waves
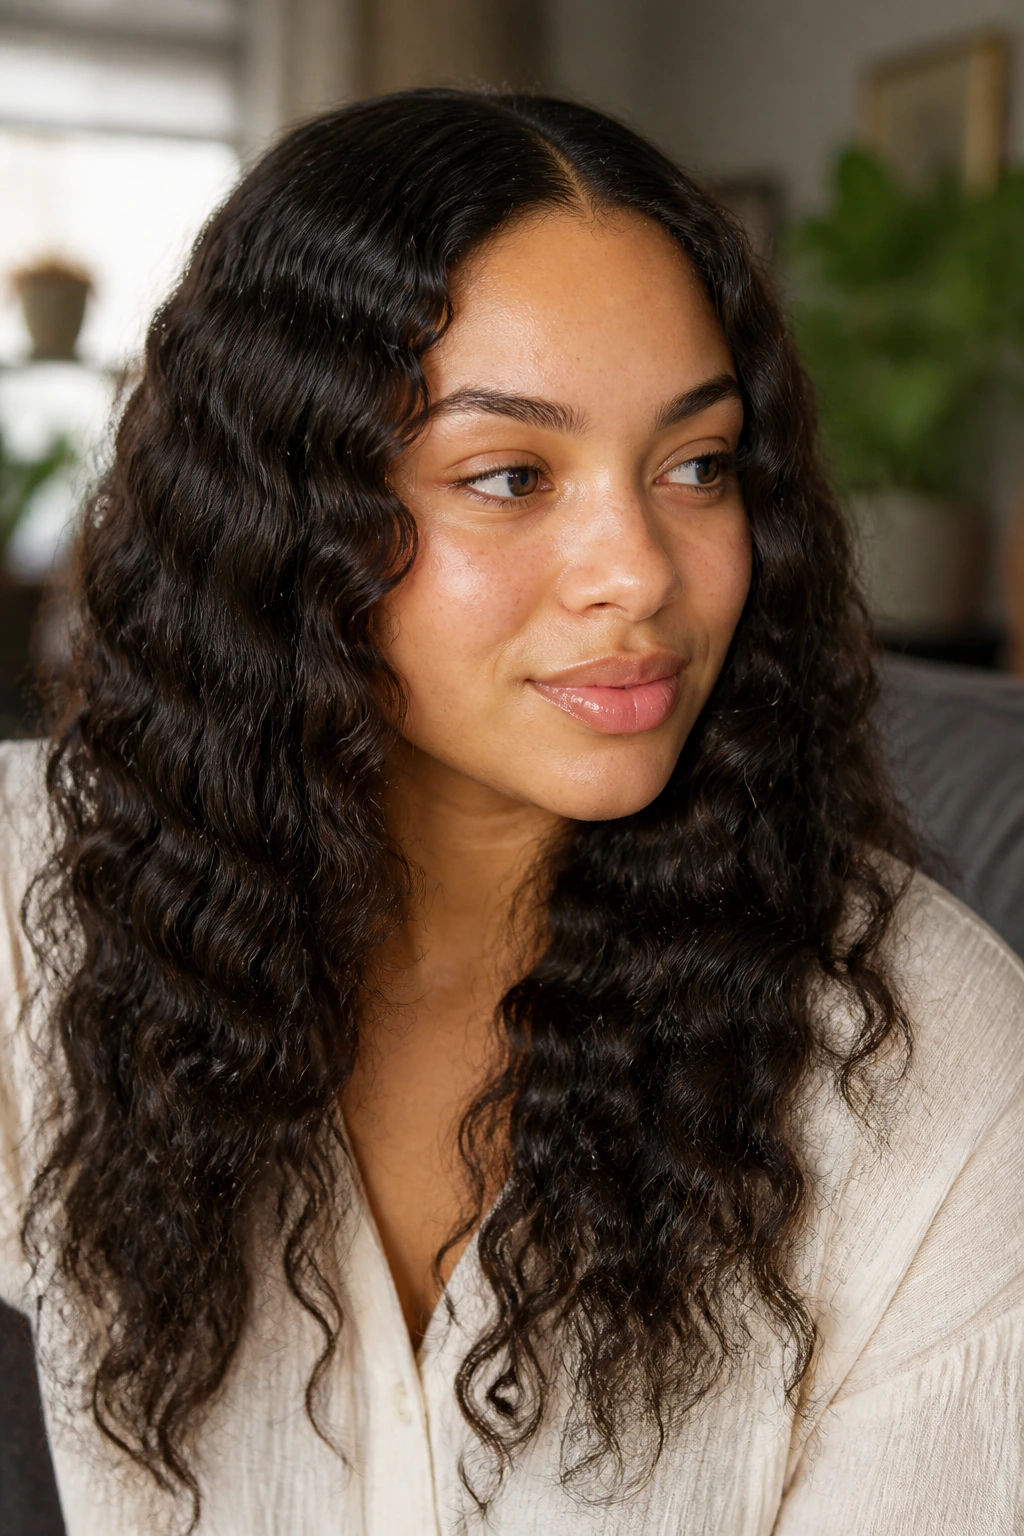
Heatless waves have a softer edge, and that softness plays well on a heart-shaped face. A braid-out gives you bend without the shiny, uniform look that hot tools can create.
The key is not to overbraid. Two loose braids usually give a better result than six tiny ones, because the wave stays broad and touchable. Use a little leave-in or styling cream on damp hair, braid from about ear level down, and let it dry fully before undoing it. If you take them out while the hair is still damp, the wave turns fuzzy fast.
Brush only lightly. You want the braid pattern to relax, not disappear. A little texture near the ends keeps the style from feeling too neat for an evening out.
10. Flat-Iron Beach Bends
Flat-iron waves are useful when you want the hair to look modern instead of curled. The bend is softer, the line is cleaner, and the movement feels less expected.
The secret is to rotate the iron only halfway as you glide. You’re making a broken S-shape, not a ringlet. That keeps the hair from ballooning around the temples, which matters on a heart-shaped face. Smaller sections near the face, larger sections through the back, and then a brush-through with your fingers.
This style works best if you finish with a light texture spray and leave the top smooth. Too much root roughness can make the face look wider. Keep the bend in the lengths and let the front pieces frame the cheekbones.
11. Clipped Red-Carpet Waves
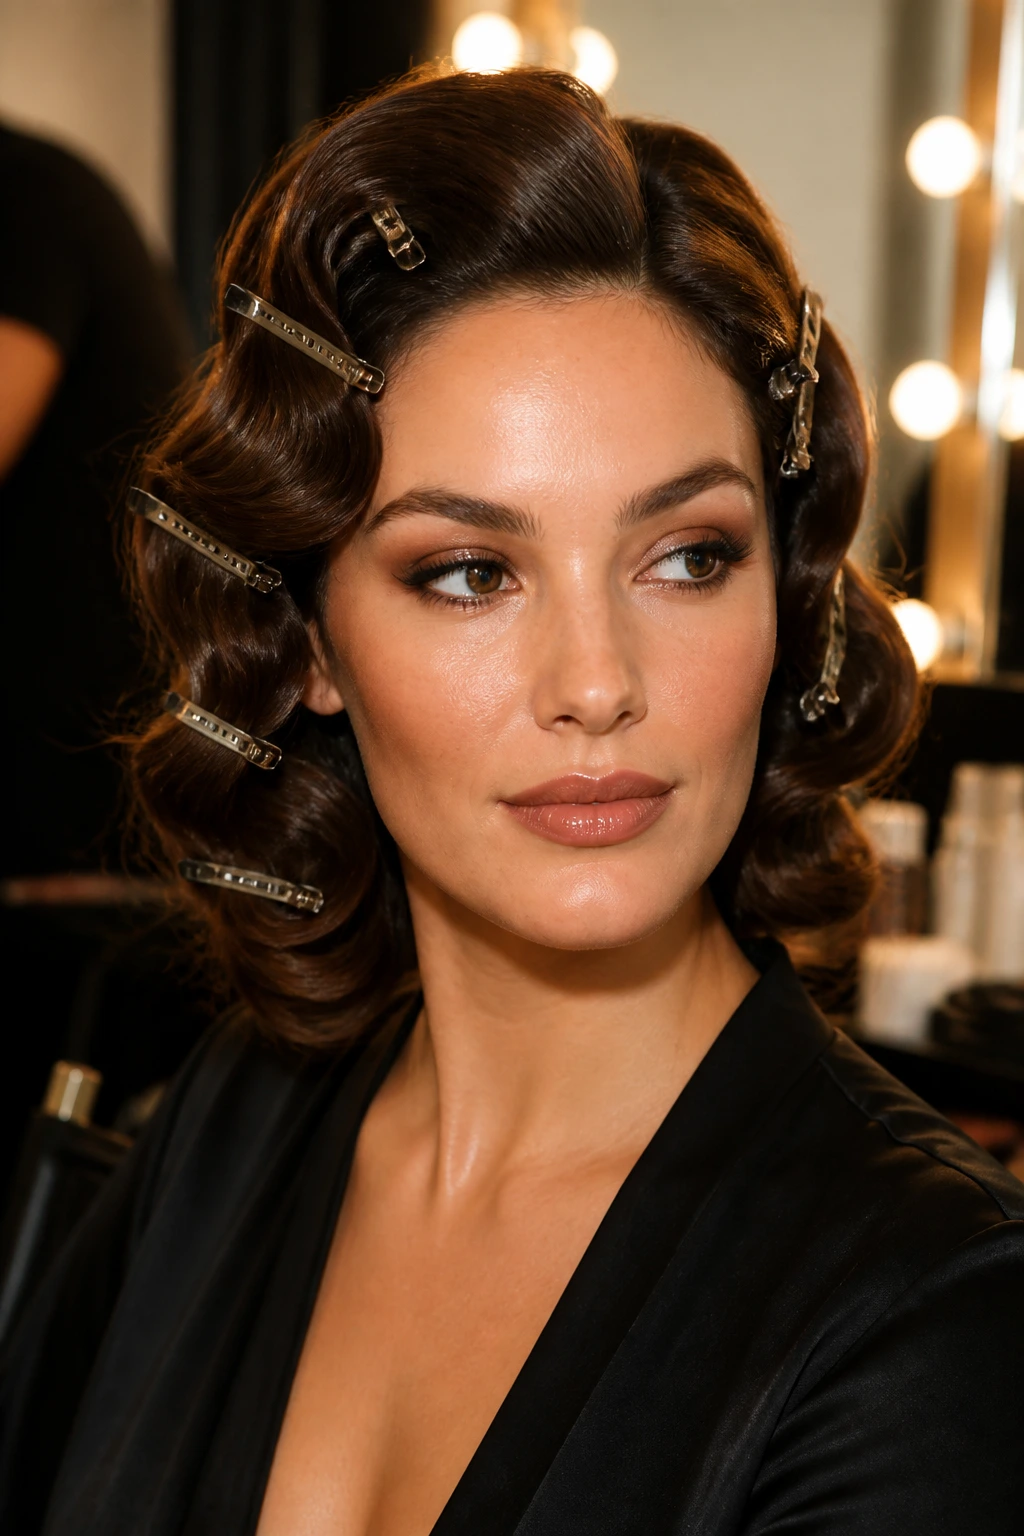
Cooling clips change everything. They let the wave set in a cleaner shape, which is useful when you want the finish to look polished for a dinner or a dressed-up evening.
Why the clips matter
Hot hair is floppy hair. If you brush it before it cools, the wave drops before you leave the house. Clip each curl or bend in place while it cools, then release it only after the section feels room temperature. That one habit gives the style a better memory.
Who this suits
Fine hair that drops in an hour. Thick hair that frizzes when brushed too soon. Hair that looks great for ten minutes and then sulks. If any of that sounds familiar, the clip set is worth the extra few minutes.
12. Rope-Twist Soft Waves
A rope twist creates a smoother, less obvious wave pattern than braids. That makes it a nice choice if you want movement with a softer outline around the face.
Twist two damp sections away from the face, secure the ends, and let them dry fully. When you take them out, shake the hair loose with your fingers instead of brushing hard. The result is a looser wave that sits nicely around a heart-shaped face because it does not add heavy bulk at the temples.
This is a good option when you want the hair to look a little undone but still controlled. It has a relaxed mood. Not sloppy. There’s a difference.
13. Ear-Tuck Asymmetry Waves
An ear tuck can be tiny and still make the whole style read differently. On a heart-shaped face, that little asymmetry keeps the eye moving and stops the forehead from feeling like the main event.
Keep one side tucked flat and let the other side stay loose and full. The tucked side should be smooth at the root; the loose side should carry the bend from mid-length down. I like this with a side part, but a center part works too if the front pieces are soft enough.
Style note
If you wear earrings, this version is especially good. The tuck creates a clean stage for them without needing a severe updo. Simple trick. Big payoff.
14. Collarbone Flip Waves
The collarbone is a better stopping point than the chin for many heart-shaped faces. Hair that ends or flips near that area widens the lower half just enough to balance the forehead.
This style uses a loose outward flip at the ends, not a tight curl. That outward movement gives the impression of width below the cheekbones and keeps the silhouette from narrowing too much. On shorter lengths, the flip can sit right at the shoulders. On longer hair, it happens lower and feels more relaxed.
I’d keep the roots smooth and let the ends do the talking. When the flip is the loudest part, the face tends to look more open and less top-loaded.
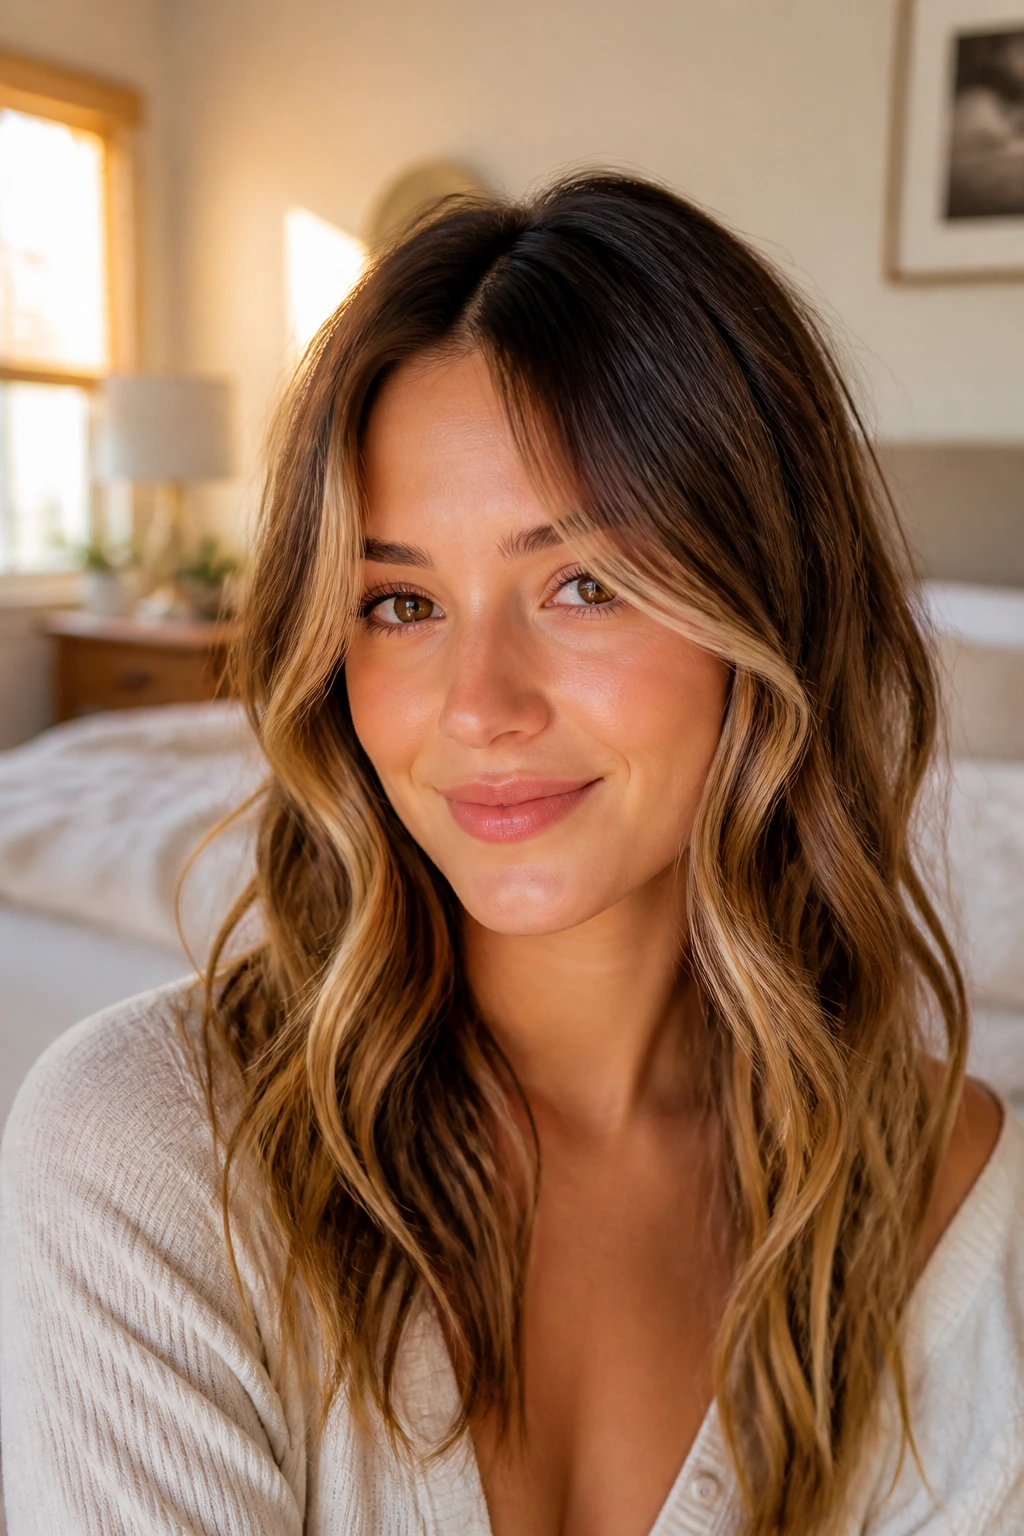
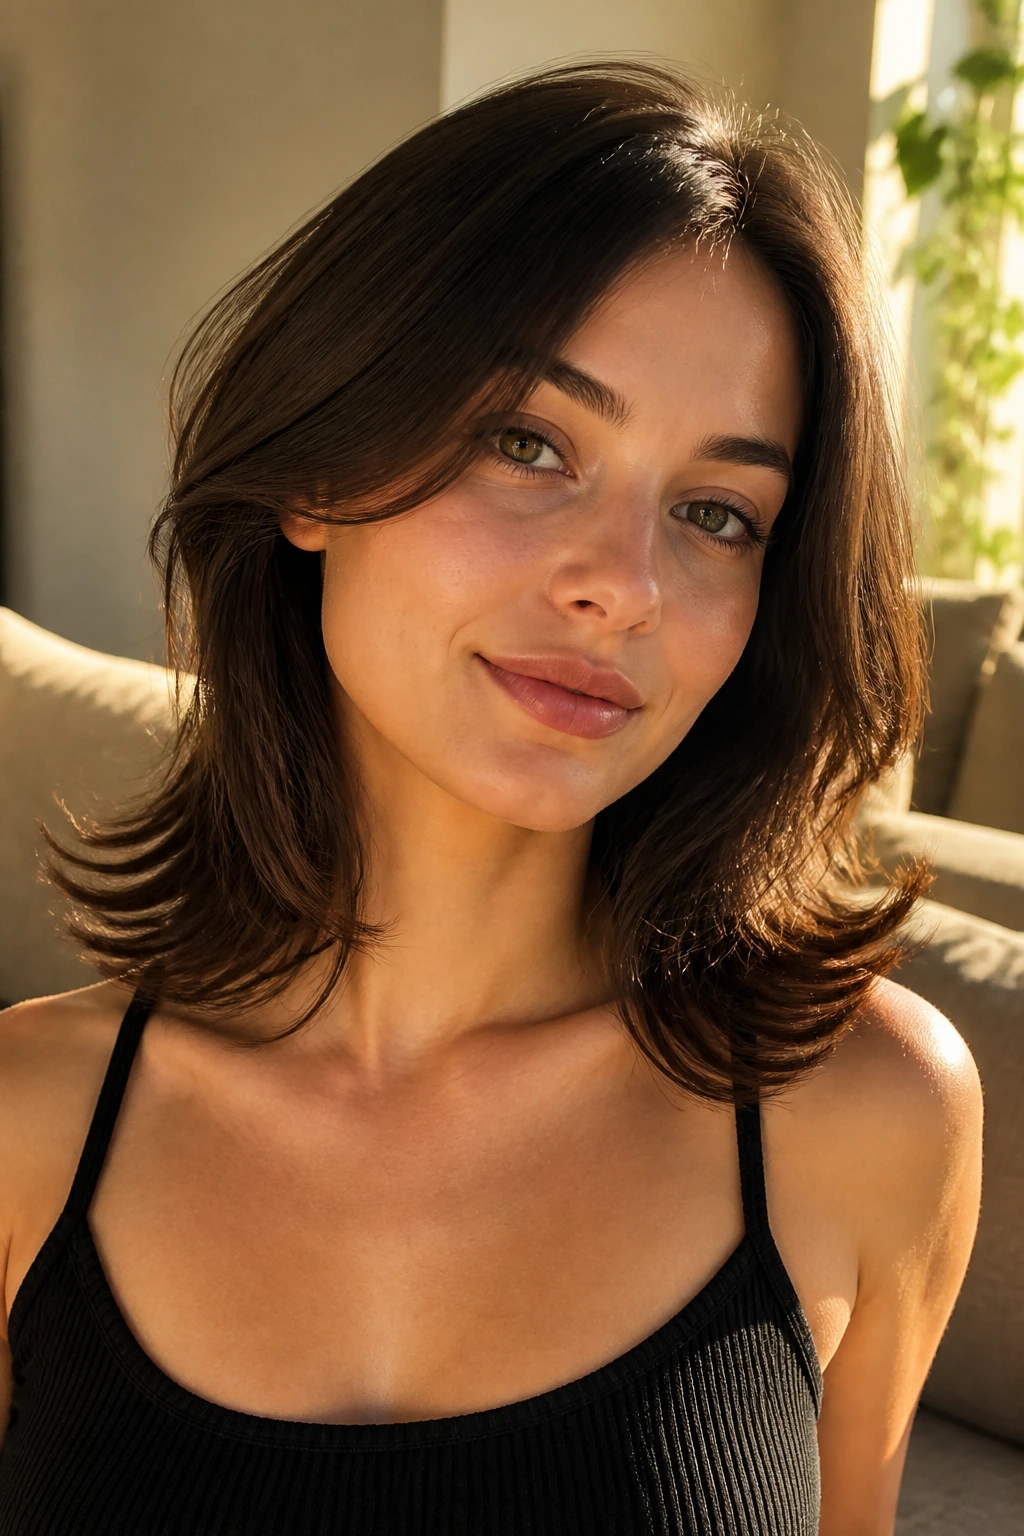
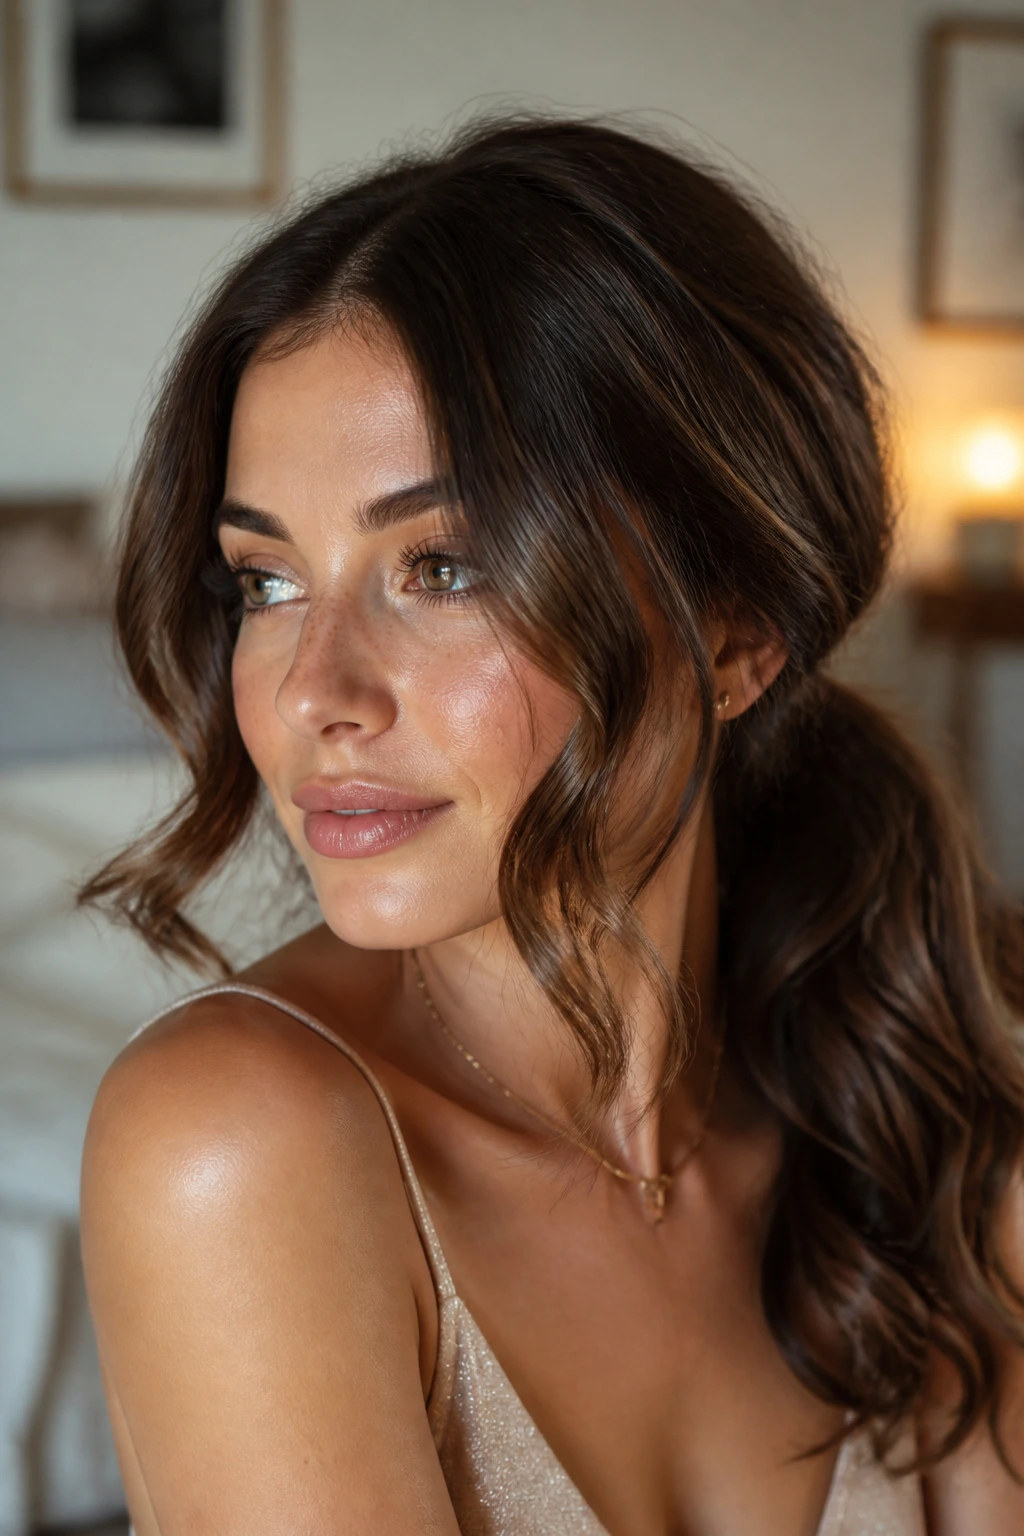
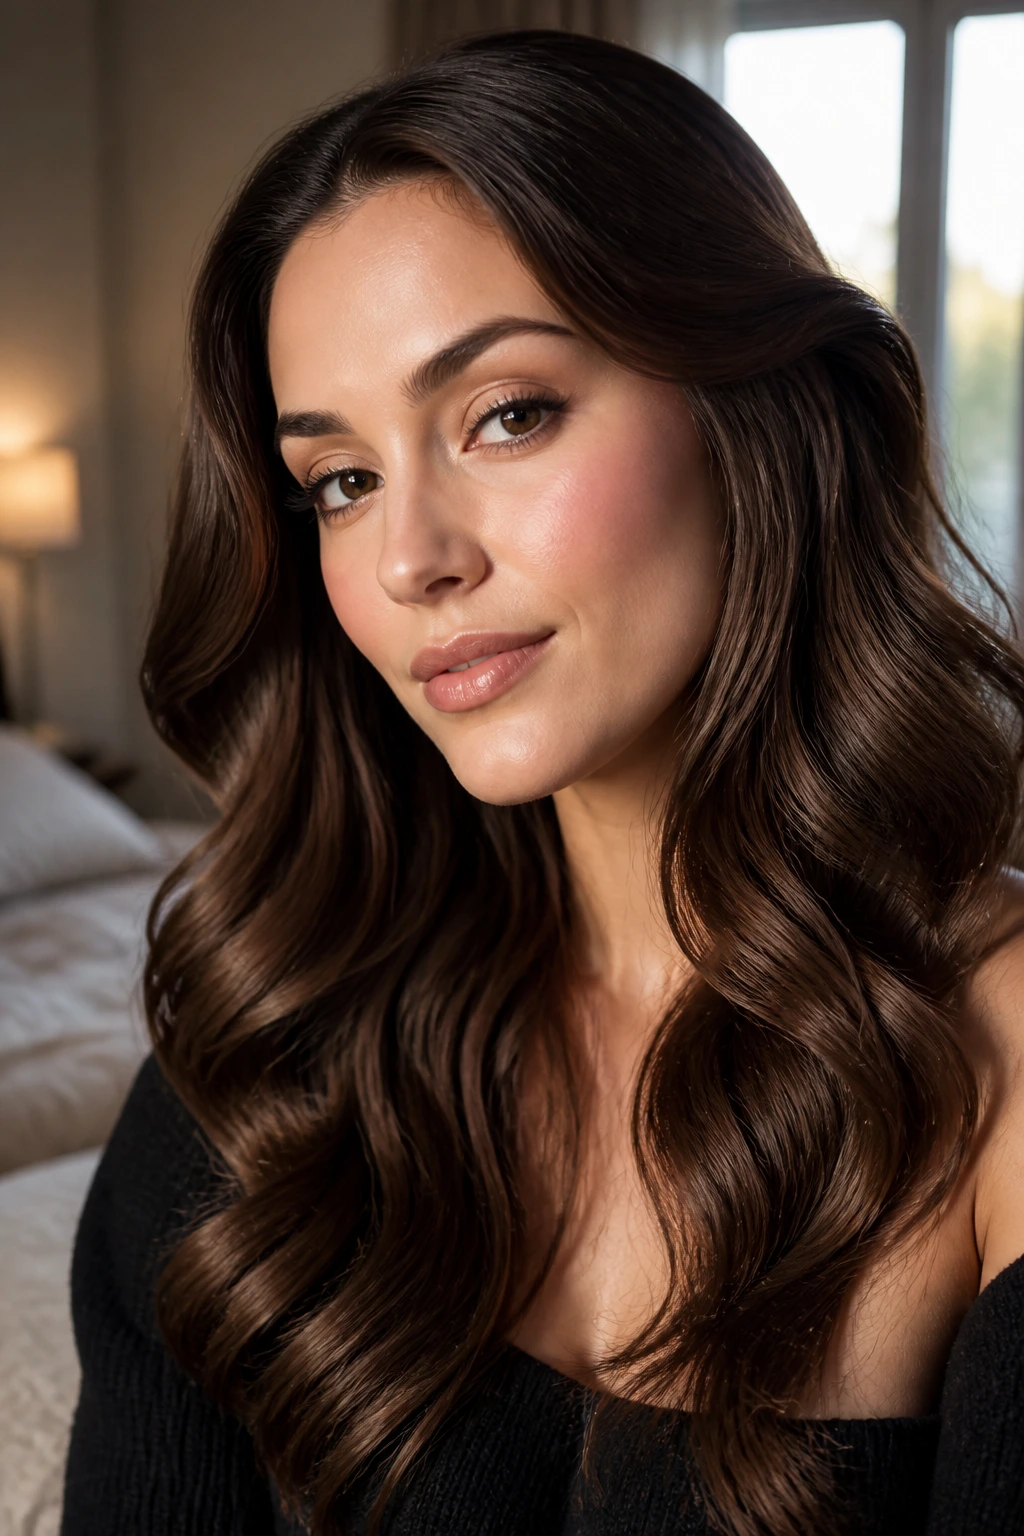
15. Satin-Root Waves
Sleek roots with soft waves through the lengths are one of my favorite combinations for this face shape. The smooth top keeps the forehead area calm, while the bend below adds movement where you need it.
You can get the root smooth with a blow-dryer, a paddle brush, or even a flat iron pass near the scalp if your texture needs it. Then shape the wave through the mid-lengths and ends. The contrast is the point. Too much root volume and the style turns fluffy; too little and it falls flat.
This one works especially well if your hair has natural wave already. You are not fighting it. You are steering it.
16. Shoulder-Grazing Mermaid Waves
Shoulder-grazing lengths give mermaid waves enough room to breathe without hanging too heavy. For a heart-shaped face, that length can be a sweet spot because the wave widens the lower half without dragging everything down.
What to watch for
If the wave is too uniform, the style can feel dated fast. Break it up with a few straighter pieces near the face and a looser bend through the back. You want movement, not a costume. The best mermaid waves look like hair that happened to fall beautifully after some effort.
A 1.25- to 1.5-inch iron helps here, especially if your hair is dense. Smaller sections near the face keep the framing soft.
17. Soft Pin-Curl Waves
Pin-curl waves bring shape without harsh ends. They’re especially nice when you want the style to feel a little more dressed up than a braid-out but not as structured as barrel curls.
Set the sections, pin them flat against the head, and let them cool all the way before you undo them. That cooling time is doing the real work. If you pull early, you lose the curve and the wave ends up limp near the front.
The face-framing pieces can be left slightly looser than the back sections. That gives the face a softer outline and keeps the forehead from looking too boxed in. It’s old-school in the best way.
18. Hidden-Texture Waves
Hidden texture means the wave lives underneath the smooth surface. It’s a smart choice when you want the hair to look polished from across the table and a little messier up close.
The top layer stays smoother, especially around the crown and temples, while the lower layers get more bend and movement. That keeps the face shape from getting swallowed by too much volume. It also makes the hair feel denser without looking overstyled.
I like this for finer hair that needs help filling out the silhouette. You get body where it counts, and you avoid the puffiness that can happen if every layer is waved equally.
19. Low Pony Release Waves
A low ponytail can be a sneaky styling tool. Curl or wave the pony, then release the front pieces and the hair around the face for a soft, loose date-night shape.
The pony does two things: it helps set the back sections, and it keeps the roots calm while the ends take the shape. Once you let it down, the hair falls in a relaxed wave that starts lower than it would if you curled everything from scratch. That lower start is friendly to a heart-shaped face.
Keep the pony low and loose, not tight. A tight tie leaves a dent that can be annoying to work around later.
20. Face-Frame Spiral Waves
A tighter front spiral with looser lengths can be a useful trick when your face needs more framing at the cheeks. The front pieces get more shape, while the rest of the hair stays soft and open.
The front spiral should land around the cheekbone or just below it. That’s the money zone. It pulls the eye away from the width at the forehead and lets the jaw feel a little fuller. The rest of the wave can stay broad and brushed out.
This style is especially nice if your hair cuts a strong line when it’s straight. The spiral breaks that line and gives the face something to lean on.
21. Loose Glam Waves with Outward Ends
Outward ends keep glamorous waves from looking too heavy. On a heart-shaped face, that little flick at the bottom makes a big difference because it opens the lower face instead of narrowing it.
The shape
The wave should be broad through the middle and soft at the finish. Curl the mid-lengths, then let the ends kick away from the neck or shoulders a little. It sounds minor. It isn’t. The eye reads that movement instantly.
Best use case
This works well with satin or silk necklines, structured blazers, and dresses that need hair with a little shape but not a full vintage wave set. You get polish, but the style still moves when you turn your head.
22. Polished Evening Waves
Polished does not have to mean stiff. In fact, the best polished waves are the ones that still fall when you touch them.
Keep the sections clean, use a smoothing serum on the ends only, and brush out the wave just enough to remove the spiral. The forehead area should stay calm, the cheekbones should get the soft frame, and the ends should move in one broad curve. If the hair starts getting too shiny and flat on top, stop adding product. That’s the line.
I reach for this style when the outfit already has texture. The hair doesn’t need to compete.
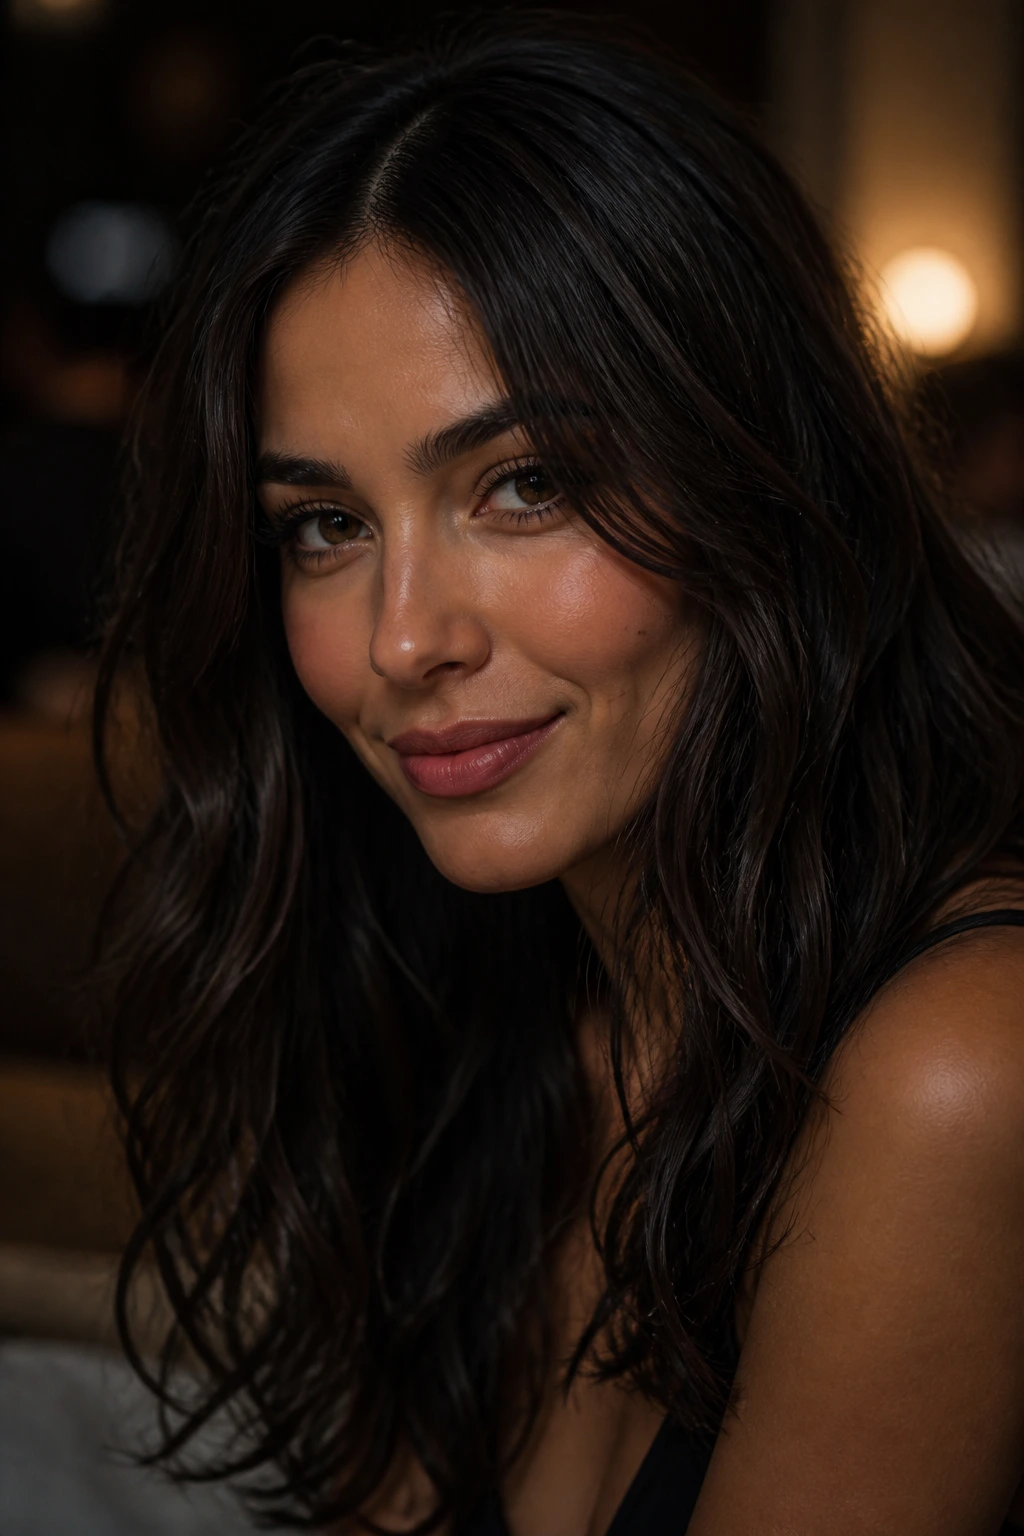
23. Midnight Touchable Waves
This is the least obvious version, and sometimes that’s the one that wins. Midnight waves are loose, piecey, and soft enough that nobody can tell exactly how much work went into them.
The trick is to leave a few straighter strands between the waves. That keeps the style from turning into a uniform pattern, which can be harsh on a heart-shaped face. Keep the front soft, the crown calm, and the middle sections just a little messy. A touch of texture spray at the ends gives the whole look some grip.
It’s a good choice when you want the hair to feel relaxed but not unfinished. There’s a difference.
24. Blowout Waves with Soft Ends
Blowout waves have a different energy from iron-made waves. They feel lighter, a little bouncier, and less structured through the ends.
A round brush gives you the body, then a quick bend with a large iron or brush wrap gives the mid-lengths their shape. I like this because the roots stay airy while the face-framing pieces stay soft. Heart-shaped faces usually do well when the hair is not piling all the lift at the top.
If your hair is long, this style keeps it from dragging down the face. If your hair is medium-length, it gives you a little swing.
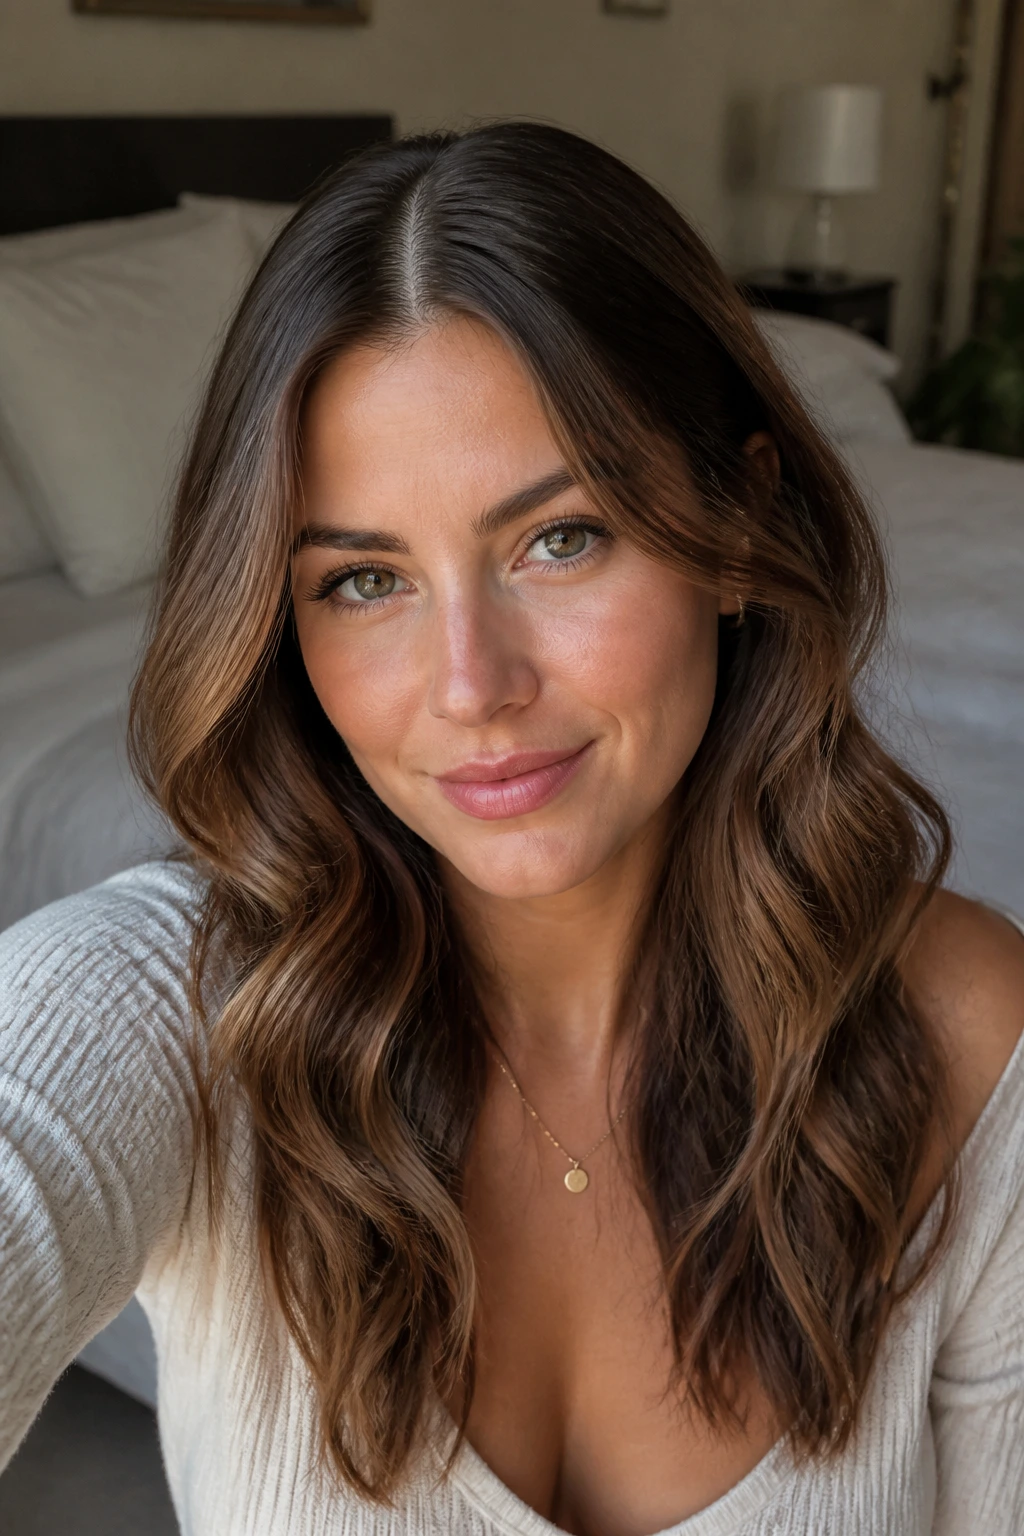
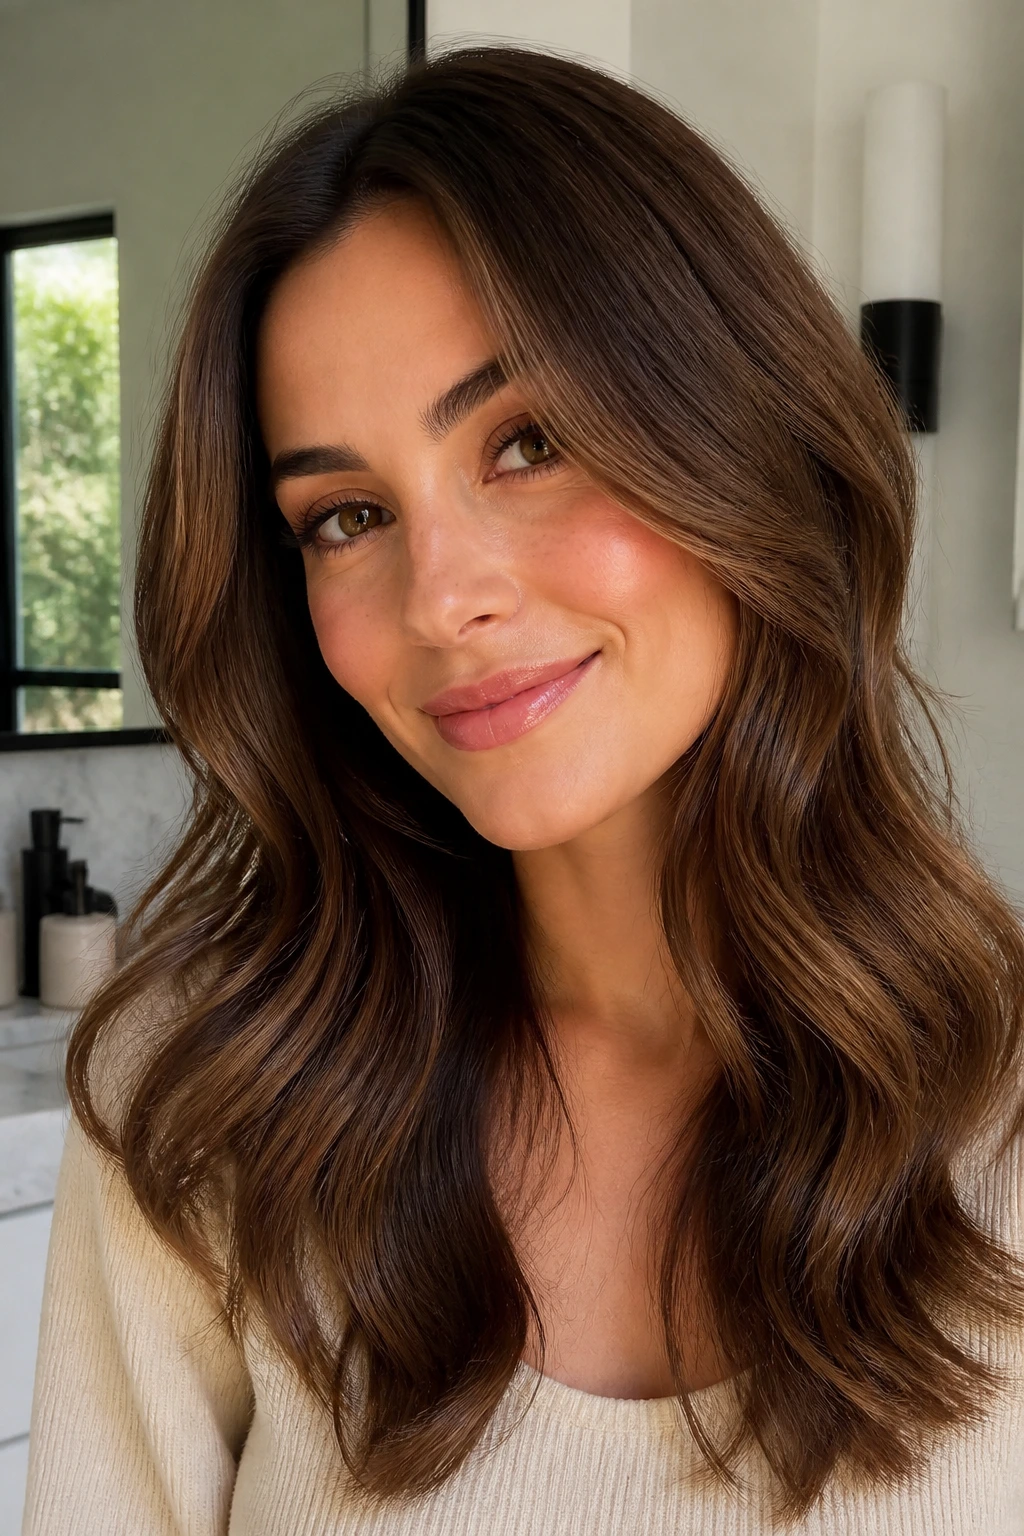
25. Layered Romantic Waves
Layered hair and soft waves are a reliable pair because the layers keep the shape from getting heavy. On a heart-shaped face, that means the hair can widen the lower half a bit without turning bulky.
The wave pattern should respect the cut. Shorter face layers get a lighter bend, longer layers get a broader wave, and the ends should stay airy. That mix keeps the movement natural instead of stiffly matched. I’d avoid overcurling the shortest pieces around the temples; they can make the face look wider than it is.
This is the style I’d pick if you want one that feels romantic without leaning too hard into a glam look. It’s soft, flattering, and much harder to overdo than people think.
How to Make the Shape Last Through Dinner
Set time matters: let each wave cool for at least 10 to 15 minutes before you brush or finger-comb it. Hot hair collapses easily, and most styles die because someone touched them too early.
Use less product than you think: start with a light mist of heat protectant, a small amount of mousse or texture spray, and a flexible hairspray at the end. If you can feel product sitting on the hair, you probably used too much.
Keep your hands out of the front: the pieces near the face are the first to frizz and flatten when you keep tucking and twirling them. Once they’re shaped, leave them alone.
Refresh only the weak spots: if one side drops, mist that side lightly and re-wrap just those pieces around your fingers or a curling iron for 30 to 45 seconds. You do not need to start from scratch.
Carry a small rescue kit: a travel-size hairspray and one clip can save the style if the crown or tuck starts slipping before you get there.
Common Mistakes That Make Heart-Shaped Faces Look Top-Heavy
-
Starting the wave too high at the temples: the symptom is a forehead that looks wider and a style that feels crowded near the top. The fix is to begin the bend lower, around the cheekbones or jaw.
-
Loading the crown with volume: the hair puffs up where the face is already widest, and the whole shape gets louder than intended. Keep root lift small and put the movement in the lengths.
-
Brushing too soon: the wave turns flat and fuzzy, then drops before you’ve even left the house. Let the hair cool first, then break it up gently with fingers or a soft brush.
-
Using the same direction on every section: that creates a rigid, tube-like wave pattern that can look dated and harsh. Alternate direction or leave a few sections looser for more natural movement.
-
Over-oiling the top layer: shine serum on the crown makes the scalp area greasy and takes the life out of the style. Save the oil for the mids and ends.
-
Ignoring face-framing pieces: if everything is curled equally, the face can look boxed in. Keep the front a little softer and a little looser than the back.
Variations and Alternatives When You Want a Different Mood
Heatless Rope-and-Silk Set: Twist damp sections with a little leave-in, then wrap them into loose knots or braids and let them dry fully. This gives a softer, less obvious wave that works well if heat leaves your hair dry at the ends.
Fine-Hair Featherlight Waves: Use a smaller iron, a volumizing mousse at the roots, and very light brush-out. The smaller tool creates a wave that survives long enough to matter, while the light finish keeps the hair from collapsing.
Thick-Hair Airy Control: Section the hair smaller than you think you need, clip each bend while it cools, and finish with a flexible spray. Thick hair can hold shape, but it can also swallow detail if you rush it.
Short-Bob Wave Bend: For shorter cuts, use a flat iron to bend only the mid-lengths and ends, leaving the roots smooth. That gives the bob shape without turning it into a full curl set.
Humidity-Guarded Finish: Use a humidity-resistant spray and keep heavy creams off the top layer. The goal is to seal the style enough to survive outdoor air without making it stiff or sticky.
Overnight Care and Day-Two Revival
If you want the waves to survive past the evening, the way you put them away matters. Loosely clip the front pieces back, twist the lengths into a soft low bun or two loose loops, and sleep on a silk pillowcase. Cotton roughs up the cuticle and makes the front look frayed by morning.
For day two, skip a full restyle unless the shape has completely collapsed. Mist the mid-lengths lightly with water or a leave-in spray, then twist the weak sections around your fingers for a few seconds. If the crown has gone flat, lift just the roots with a round brush or a quick blast from the dryer.
Most wave styles can wear well for 2 to 3 days if the scalp stays clean and the ends do not get overloaded with product. After that, the hair usually looks better washed or at least clarified at the roots. Dry shampoo can buy you time, but too much of it makes the style look dusty.
Questions People Ask About Waves for Heart-Shaped Faces
Which wave shape flatters a heart-shaped face most?
Loose S-waves and soft bends that start around the cheekbones are usually the easiest win. They balance the forehead without making the jaw look narrow, which is the whole game with this face shape.
Should I use a side part or a middle part?
Both can work. A middle part gives symmetry, while a deep side part softens forehead width and adds a little drama; choose based on how strong you want the frame to feel.
How much crown volume is too much?
If the top of your hair starts to stand higher than the cheekbone area, it’s too much for this look. Keep the lift subtle and move the fullness lower.
Can short hair still pull off these waves?
Yes, especially if the cut hits the chin, jaw, or collarbone. Shorter styles usually need a smaller iron or flat-iron bend so the wave reads as movement instead of a curl cap.
What if my hair is pin-straight and won’t hold a wave?
Use a little mousse, set each section while it’s warm, and let it cool fully before brushing. A stronger hold spray at the end helps, but the real fix is section size; too much hair in one wrap will droop fast.
Are heatless waves good for date night?
Absolutely, if you set them early enough and let them dry all the way. Heatless waves tend to look softer and a bit more effortless, which works nicely with a romantic outfit.
How do I keep the front from frizzing first?
Keep your hands off it, use heat protectant before styling, and finish with the lightest possible mist of spray. The front pieces are the first to fray when they get too much touching or too much product.
What if one side of the style falls flatter than the other?
Pin that side back for a cleaner asymmetry, or rewrap just the weak sections for 30 to 45 seconds. You usually do not need to redo the whole head; one stubborn side is normal.
The Soft Finish That Wins the Night
The best waves for a heart-shaped face do one very specific thing: they make the forehead feel a little less dominant and the lower half of the face feel a little fuller, without shouting about it. That’s why these styles work so well for dinner, drinks, and all the moments in between. They move, they soften, and they stay believable.
I’d pick the style the same way I’d pick earrings for an outfit. If the neckline is busy, keep the hair looser. If the dress is simple, let the waves do a bit more work. Either way, the goal is the same: a shape that flatters from the first mirror check to the last photo before heading home.
Pick one version, set it with a little patience, and leave the crown alone once it’s in place. The rest is movement.