Thick hair can hold a wave all day and still look soft at midnight — if you place the bend in the right spots. Miss the mark, though, and the whole style turns heavy at the crown, puffy at the sides, or strangely flat in the middle, like the hair is doing two different jobs at once.
Loose waves for special days with thick hair are a different animal from the airy, spray-and-go texture people use on finer hair. Dense hair has weight. It has more surface area to frizz. It also has a better chance of looking expensive and polished when you give it structure instead of trying to force it into tiny ringlets that collapse under their own ambition.
The good news: thick hair is generous. It can carry side sweeps, brushed-out glamour waves, ribbon-soft center parts, and heatless rope sets without looking sparse or flimsy. The trick is to stop treating every strand the same way. A strong crown, thoughtful sectioning, and the right barrel size change everything.
Why These Waves Work Better on Thick Hair
- The weight helps the shape stay visible: Thick hair doesn’t disappear after a brush-through, so a soft wave still reads from across a room instead of vanishing into the cuticle.
- You can build real side-to-side movement: Dense hair has enough body to hold a deep part, a sweep over one shoulder, or a tucked-back front without needing a mountain of hairspray.
- Accessories actually stay put: Pins, combs, clips, and braids have more hair to grab, which matters when you want a half-up twist or a crystal clip to survive a full evening.
- Different finishes all work: Glossy, brushed-out, undone, or sculpted — thick hair gives you room to choose, not just one safe texture.
- The style can survive long wear: If the curls cool fully and the roots are set with intention, these looks hold through hugs, dancing, and a few too many photos.
- Small changes make a big difference: A one-inch shift in where you place the part or which direction you wrap the front pieces can change the whole mood.
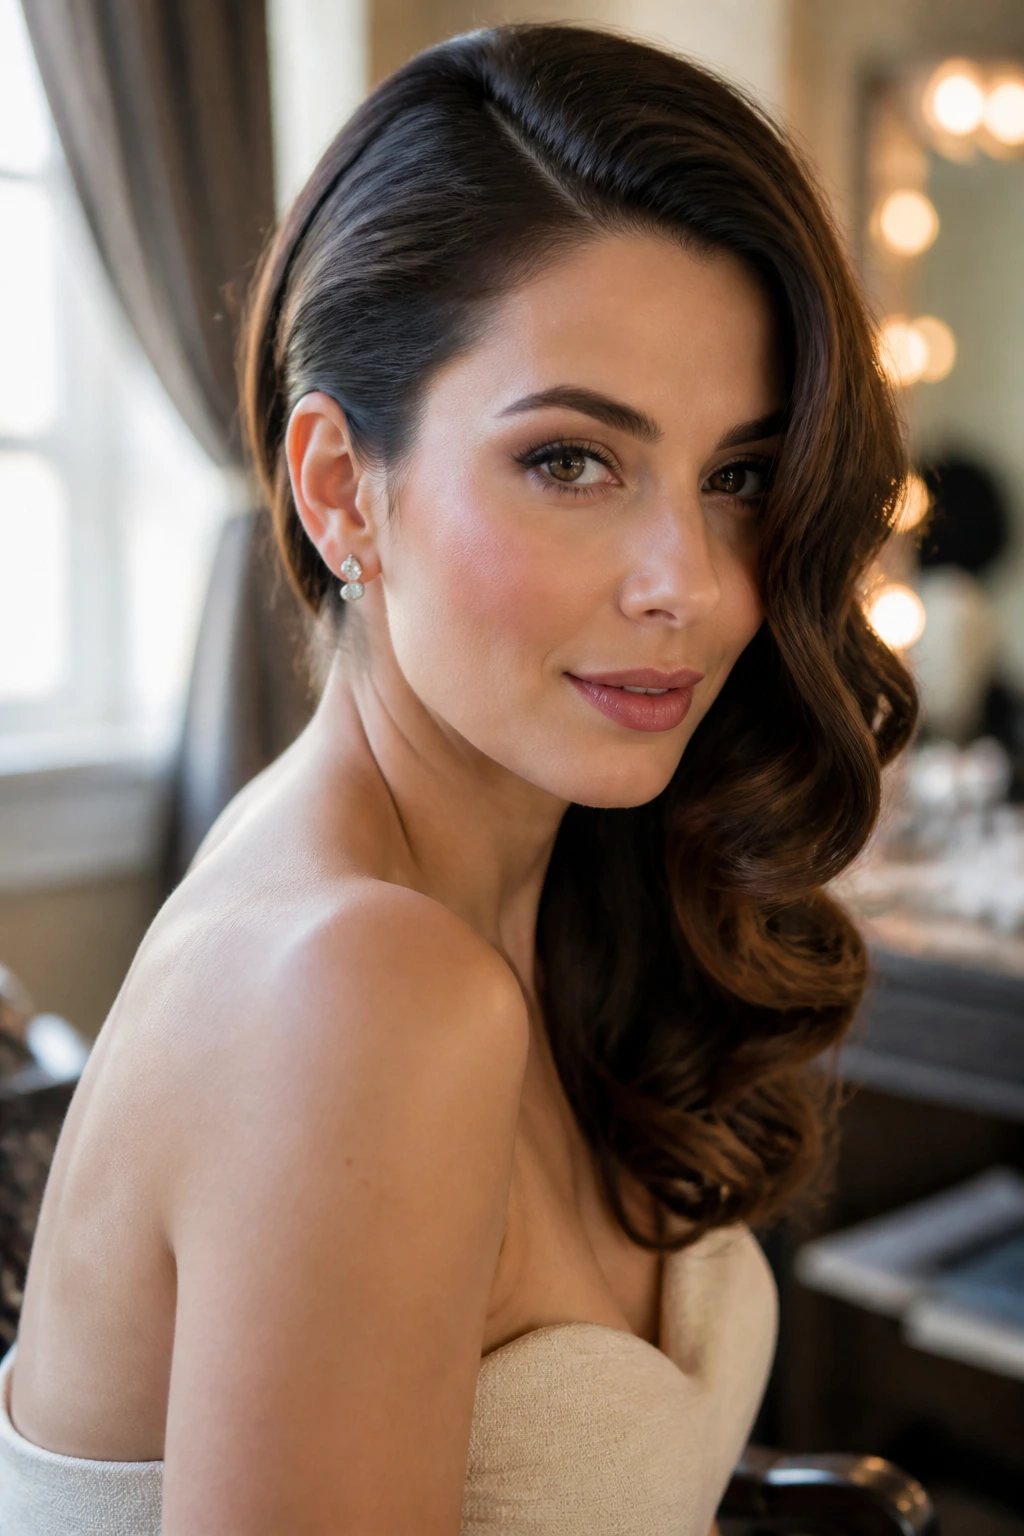
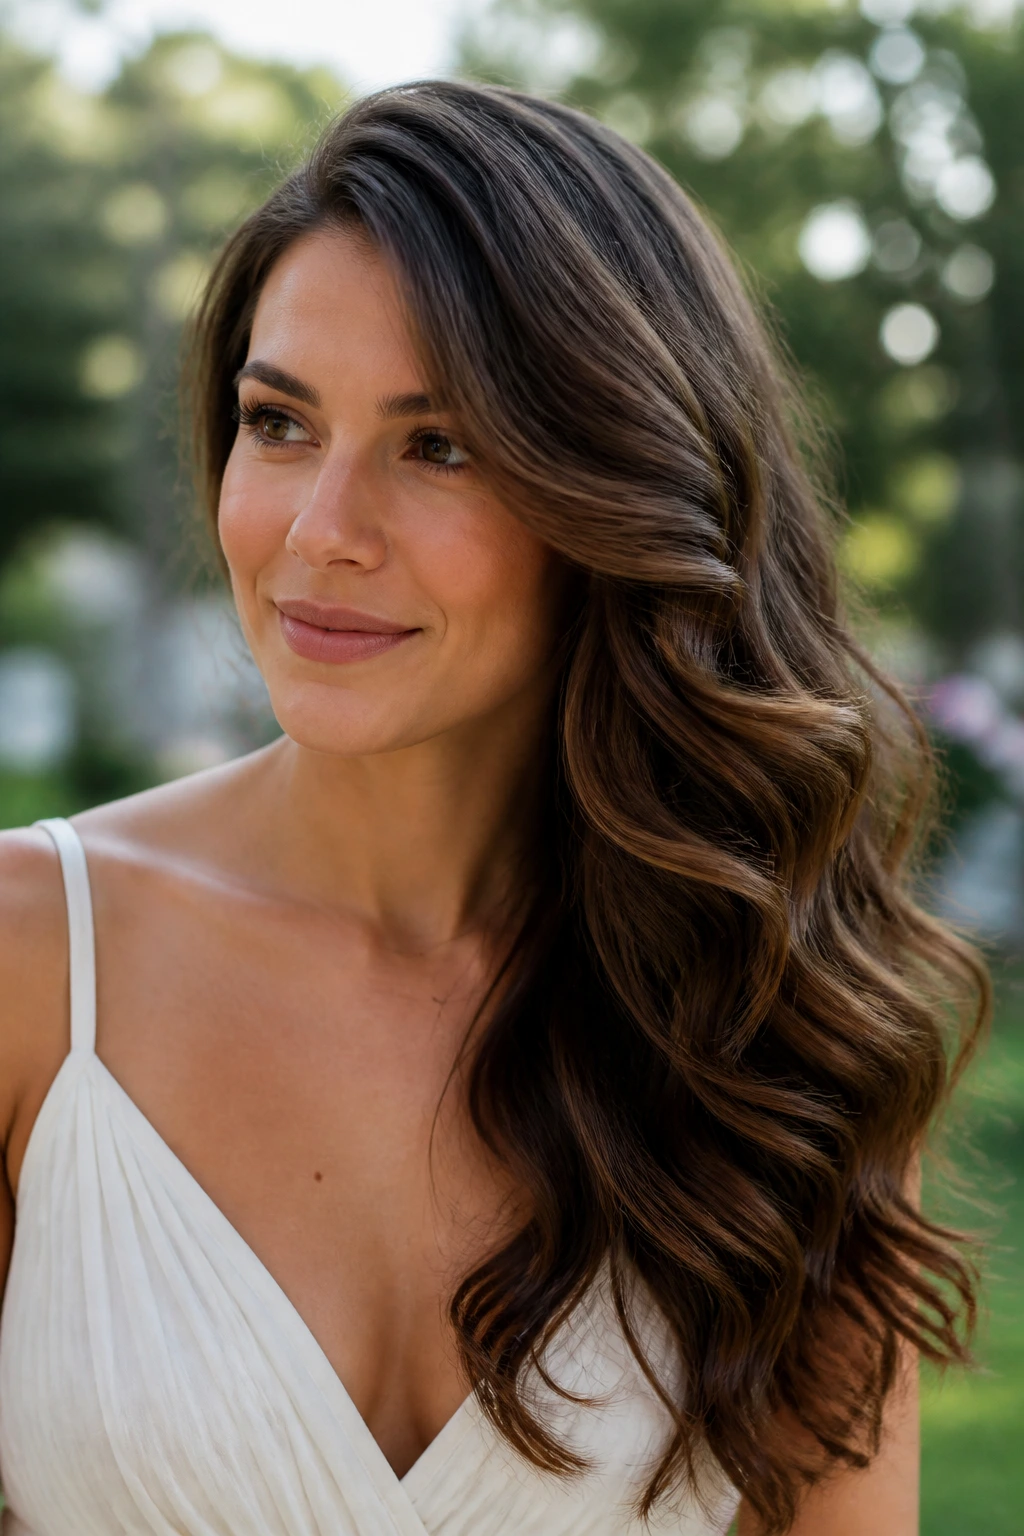
1. Old-Hollywood Side Sweep for Thick Hair
This is the one I reach for when the dress has a bare shoulder or the neckline needs room to breathe. The sweep gives thick hair somewhere to go, instead of letting it sit in a heavy curtain down both sides of the face. Done well, it looks deliberate from the front and lavish from the back.
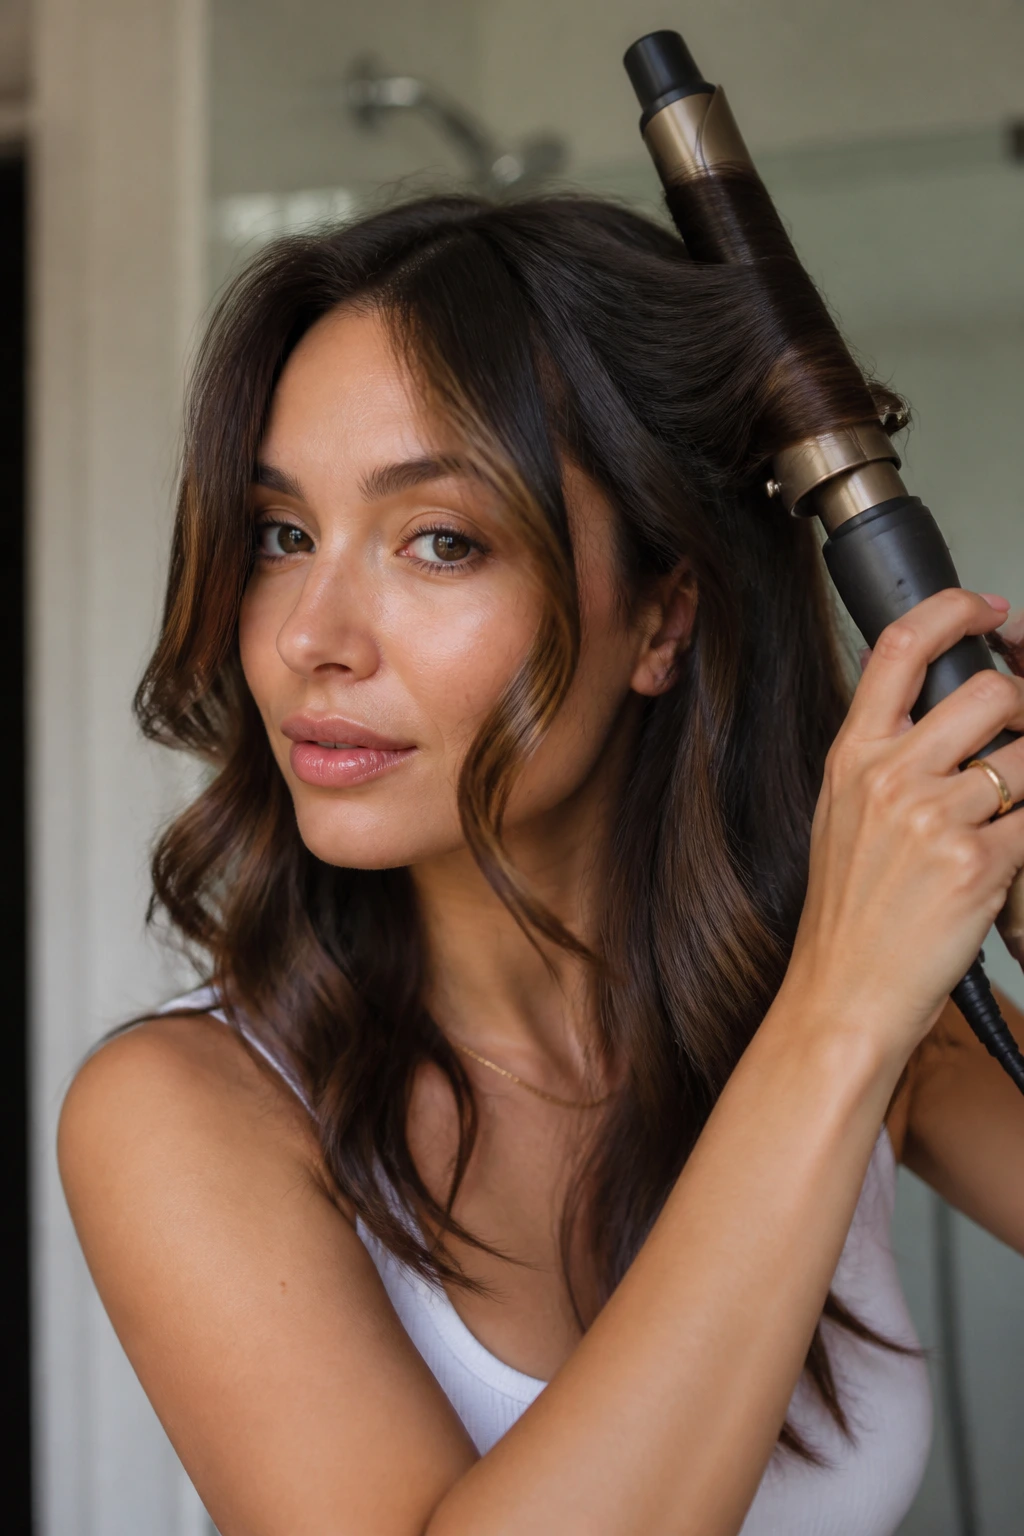
How to Get the Shape
Use a deep side part, then curl 1-inch sections away from the face with a 1.25-inch curling iron. Clip the front pieces at the crown while they cool; that little pause is what keeps the sweep from collapsing by the time you leave the house.
- Let the ends stay slightly softer than the mid-lengths.
- Brush only after the hair is fully cool.
- Pin the heavier side low and hidden, not high and obvious.
Best tip: If the front wants to fall forward, tuck one side behind the ear and secure it with a crisscrossed bobby pin under the top layer. Invisible, but useful.
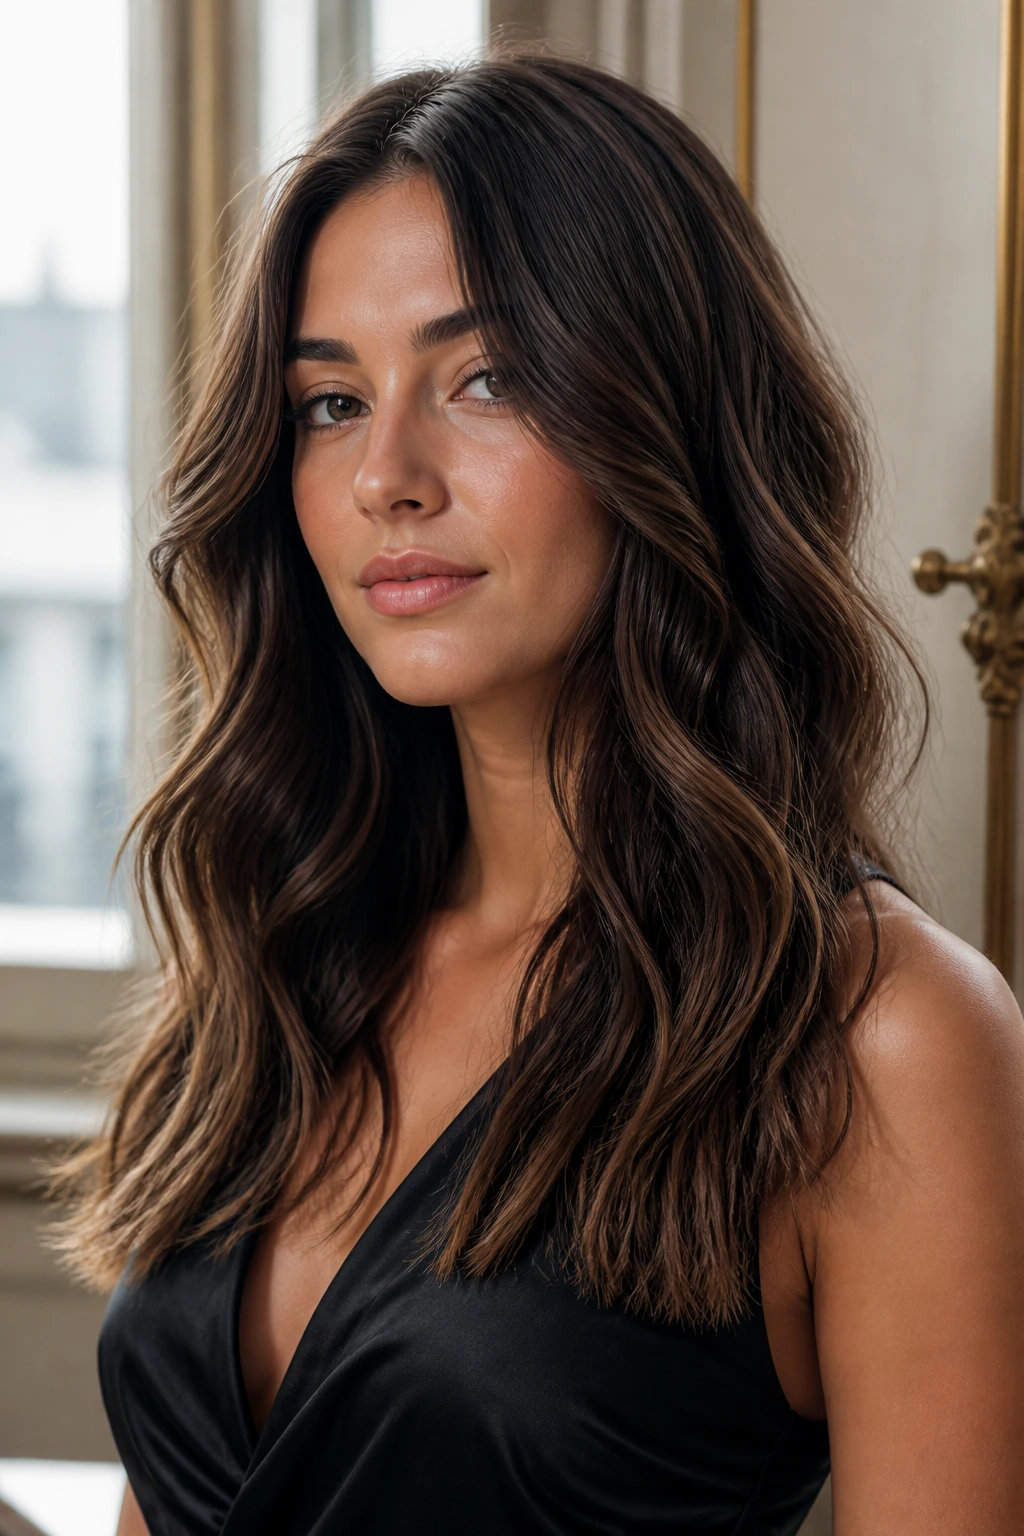
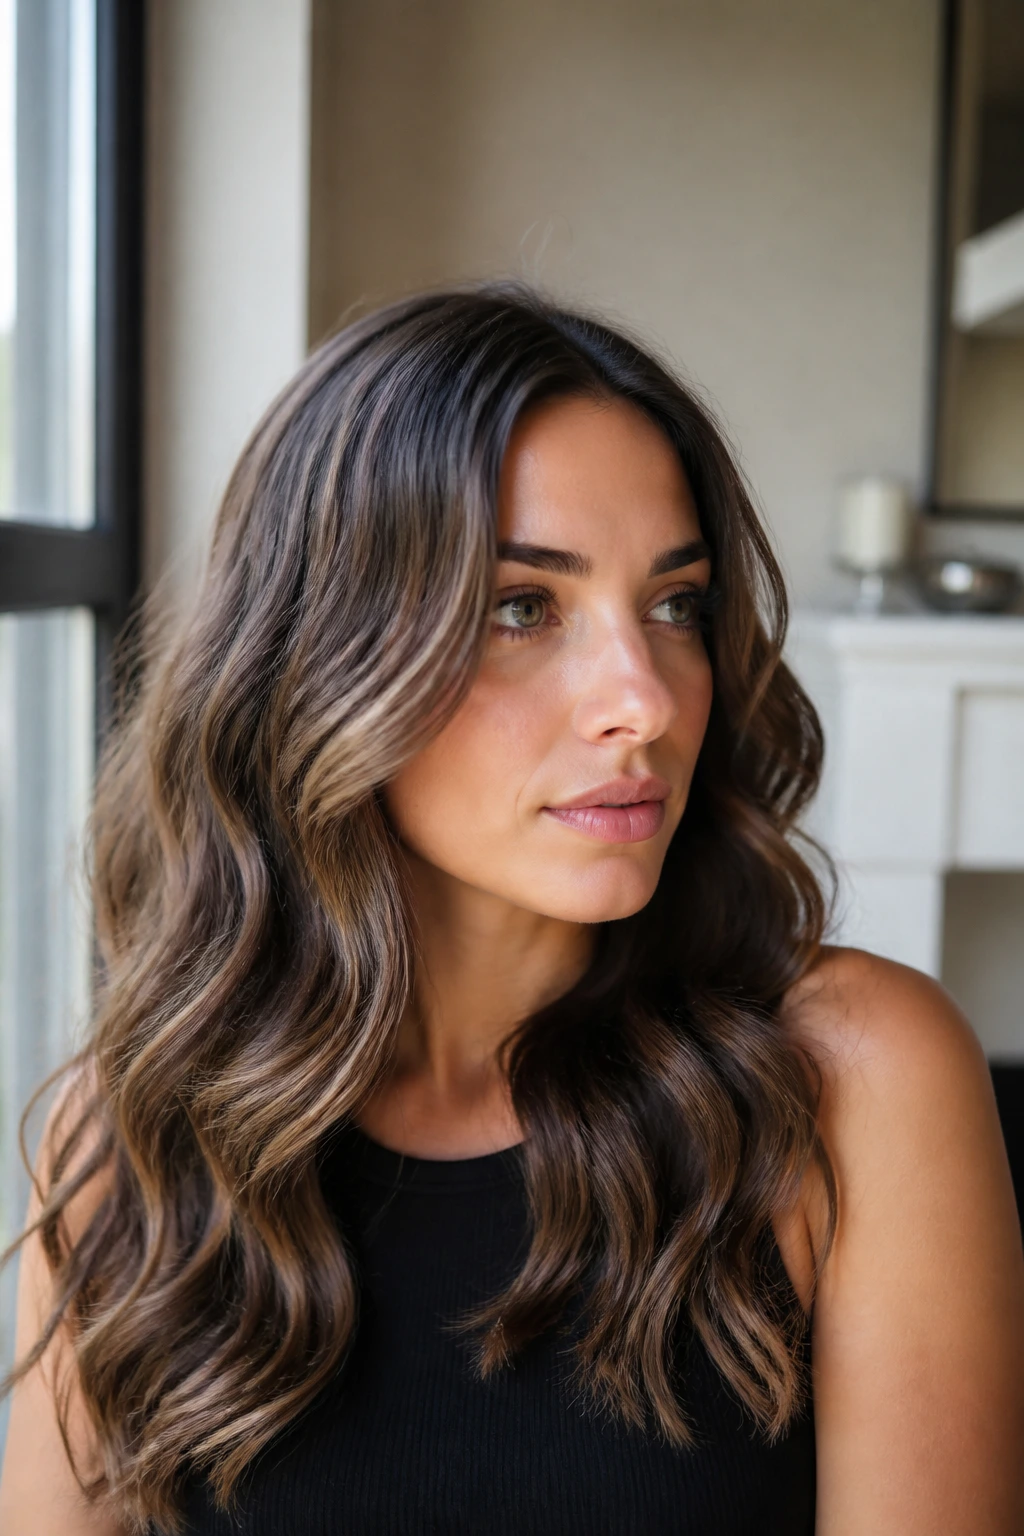
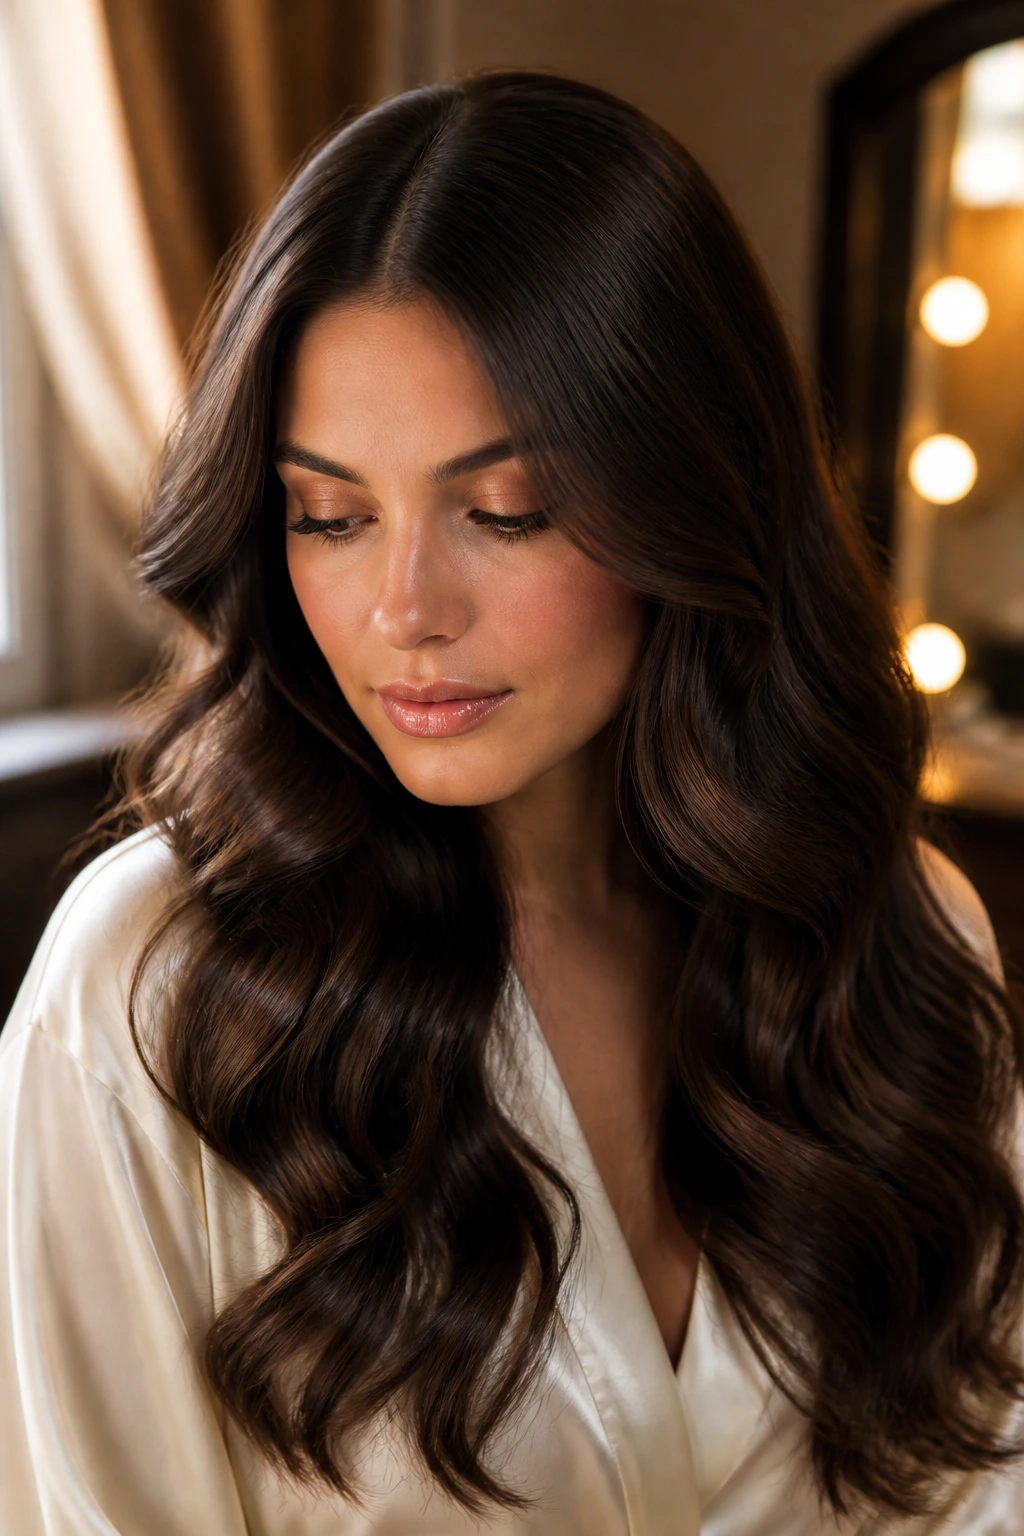
2. Center-Part Ribbon Waves
A clean middle part can be hard to pull off on thick hair if the roots are bulky, but when it works, the result looks clean and expensive without being stiff. The waves fall like wide ribbon strips instead of little corkscrews, which is exactly why this style does so well on denser hair.
The key is restraint. Wrap medium sections around a 1-inch wand, leave the bottom inch or so out, and keep the bend smooth rather than tight. Once the curls cool, use fingers first, brush second. Not the other way around.
What Makes It Different
The center part makes the hair look calmer, which is useful when the actual amount of hair on your head is anything but calm. It’s a smart move for high necklines, long earrings, and dresses that already have a lot of detail at the top.
- Works best on hair that falls past the shoulders.
- Looks especially clean with a satin or crepe dress.
- Needs a light mist of flexible hairspray, not a shell.
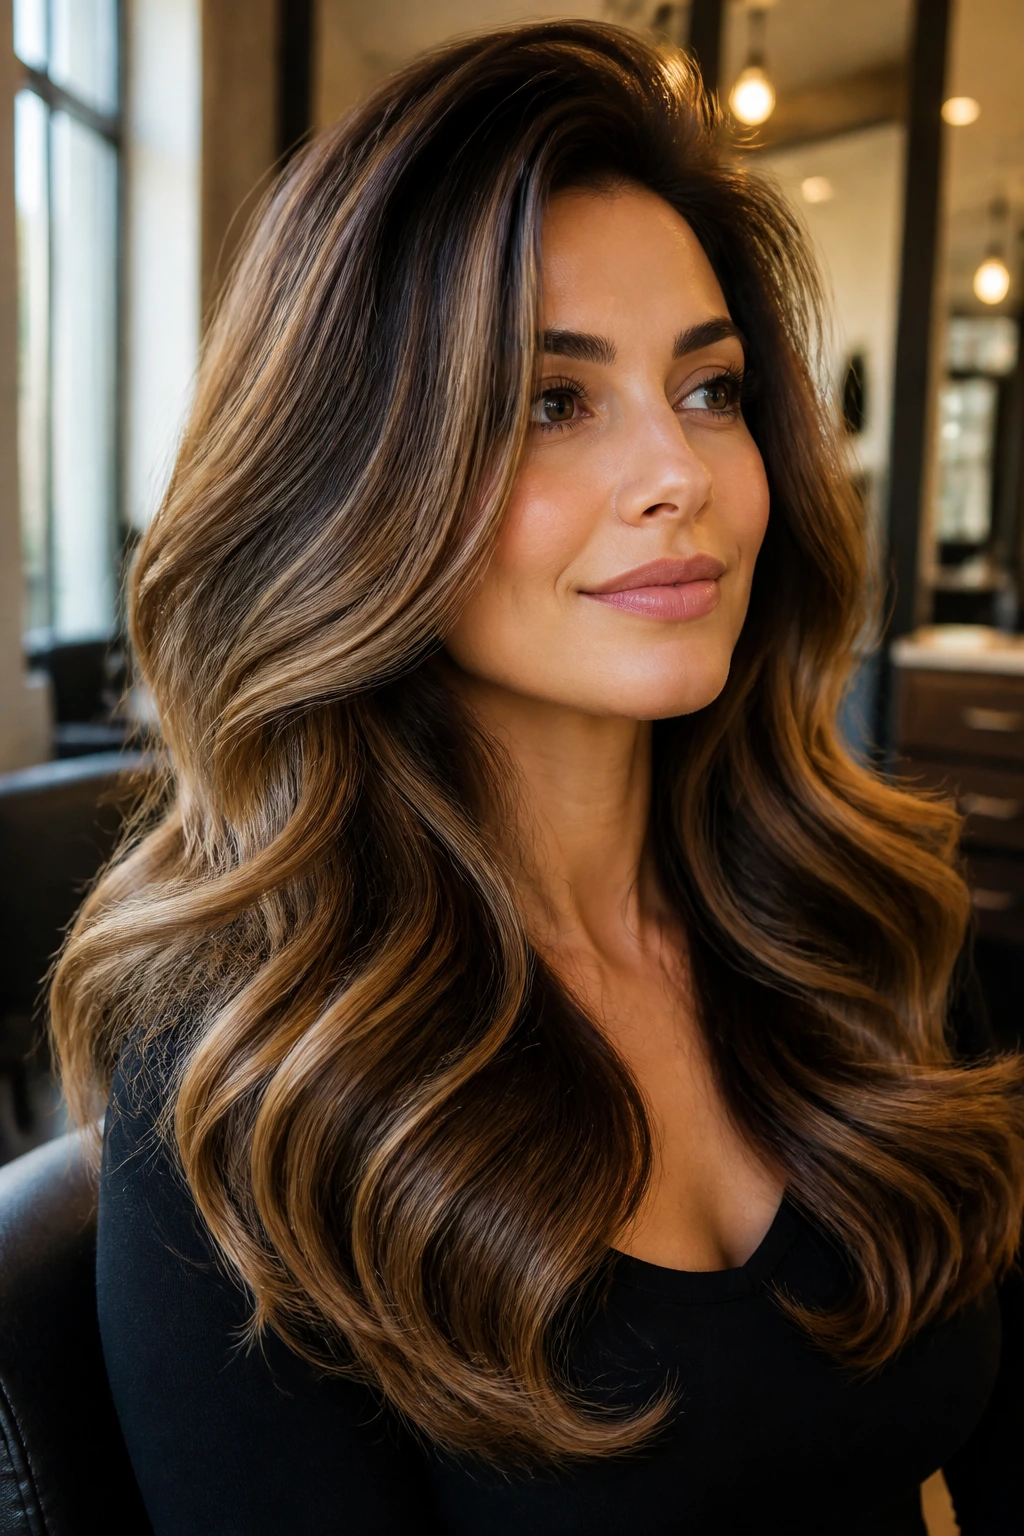
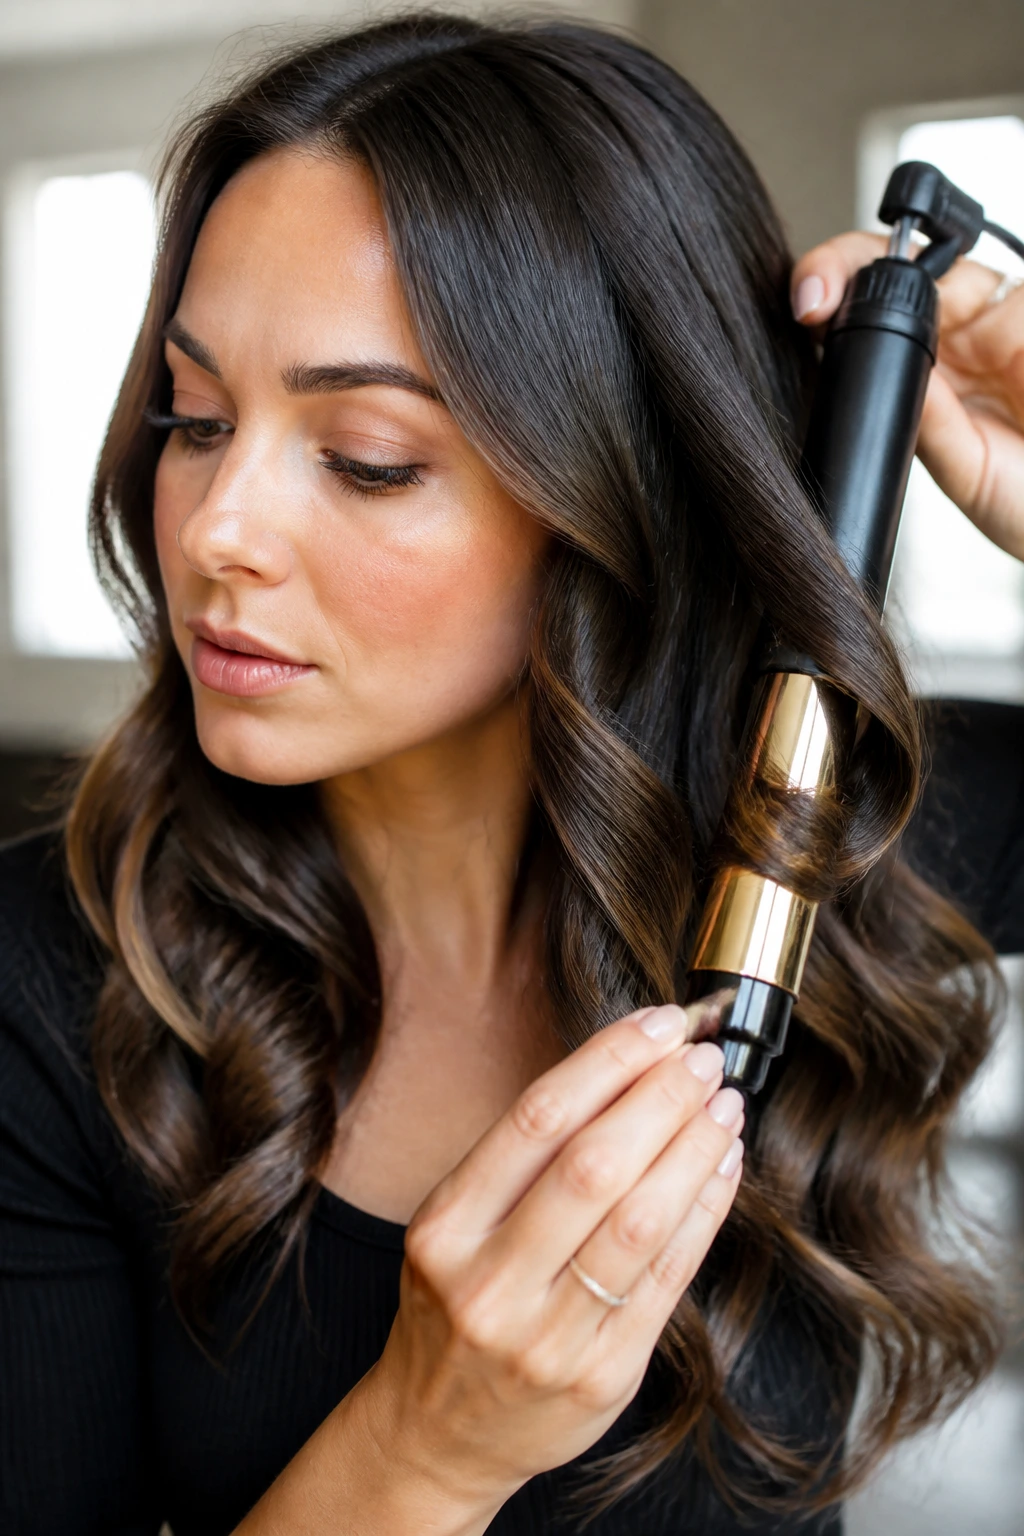
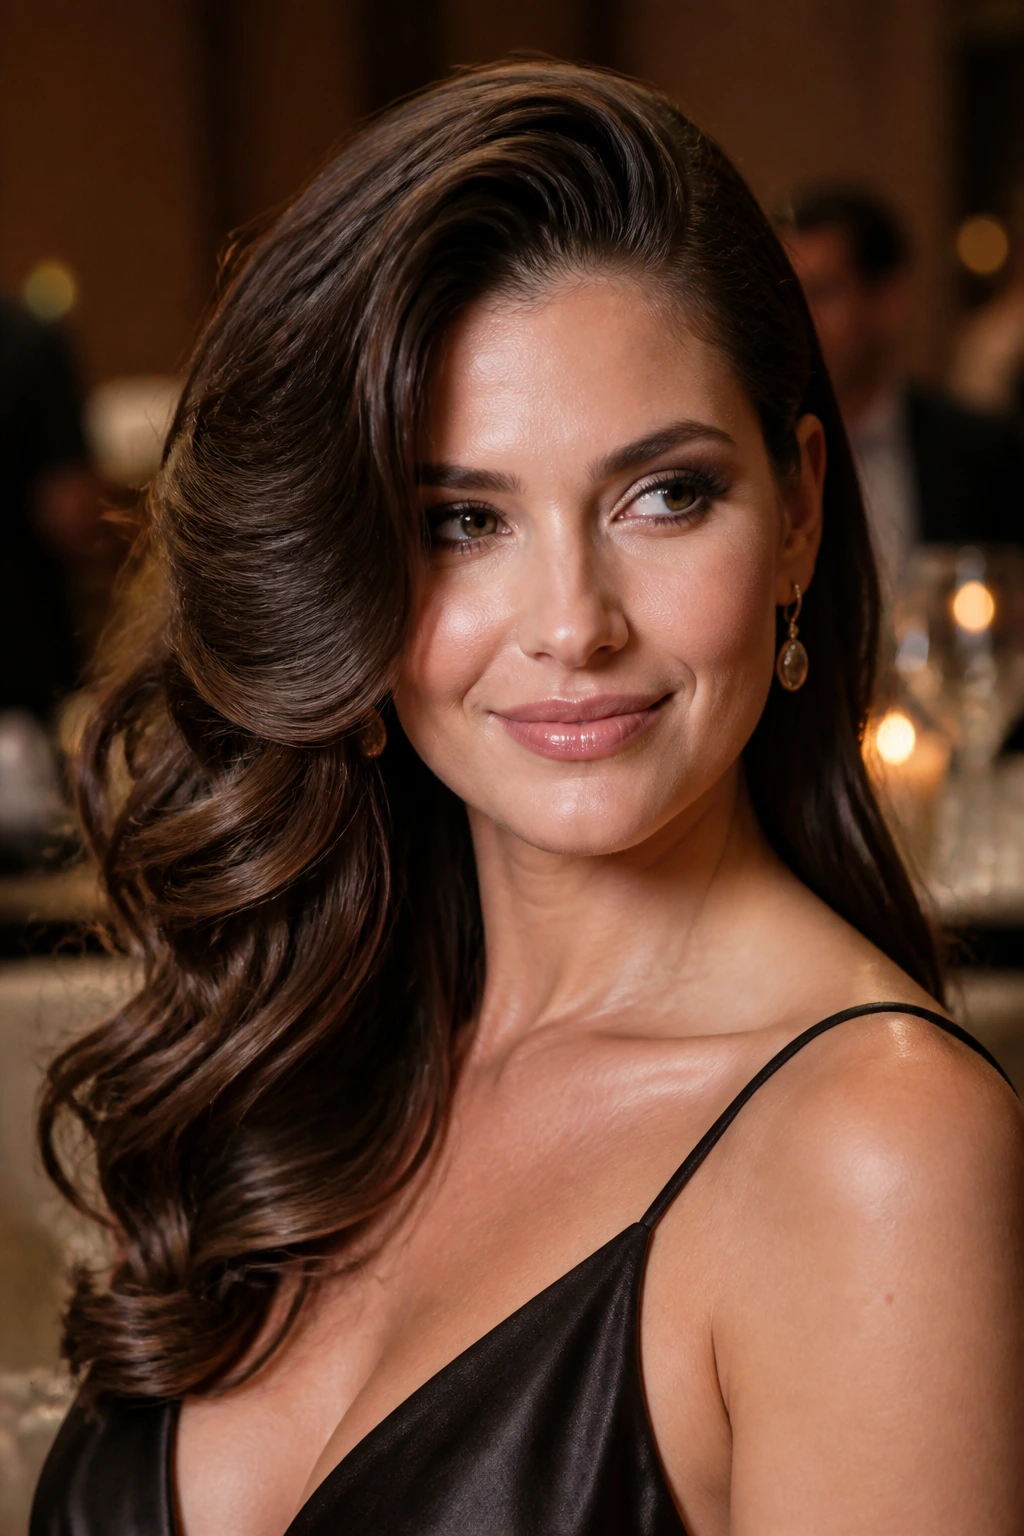
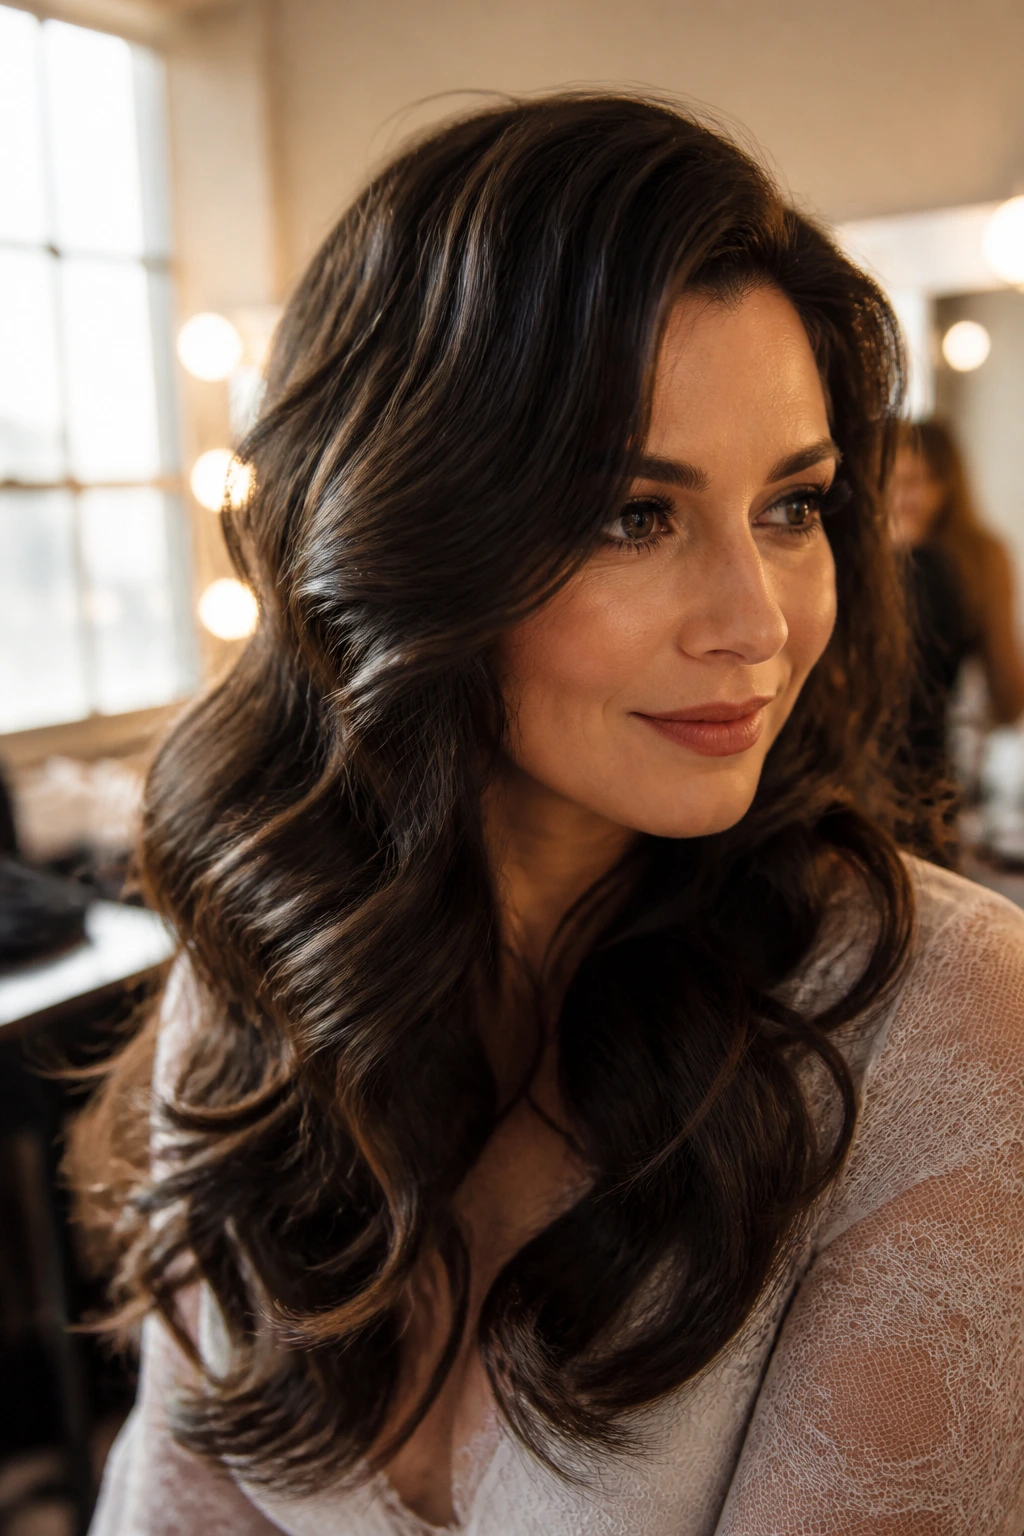
3. Deep Side-Part Glam Waves
Why does a side part change the whole personality of thick hair? Because it gives you instant lift at the crown without asking you to tease the life out of the roots. Thick hair often wants to sit low and heavy; a deep part breaks that line and gives the wave somewhere to fall.
I like this style for dinners, formal photos, and anything with statement earrings. Curl the front section away from the face, then alternate direction only from the ear back. That keeps the front from bunching into one bulky wave and gives the rest of the style some swing.
A Small Detail That Matters
Clip the root at the part while it cools. Not for hours. Ten minutes is enough. That tiny hold gives the whole style more height, and height is what keeps the wave from reading as flat or tired.
4. Brushed-Out Curl Waves
This is the old-school move, and I mean that in the best way. You build the curls first, let them cool completely, then brush them into one soft sheet of movement. On thick hair, this is safer than trying to force softness from the start — the structure is already there underneath.
Use a 1.25-inch iron and take smaller sections near the face, slightly larger ones in the back. Pin every curl up while it cools. Then use a boar-bristle brush or a mixed bristle brush to blend the curls until they become one wave pattern.
Why It Works
The brush takes the edge off the curl, but it doesn’t erase the shape. That matters. Thick hair can look too “done” when every piece is individually curled, and brushing gives you that broad, plush finish that reads as special-occasion hair rather than pageant hair.
Pro tip: Stop brushing the moment the wave starts to merge. If you keep going, you’ll get puff instead of polish.
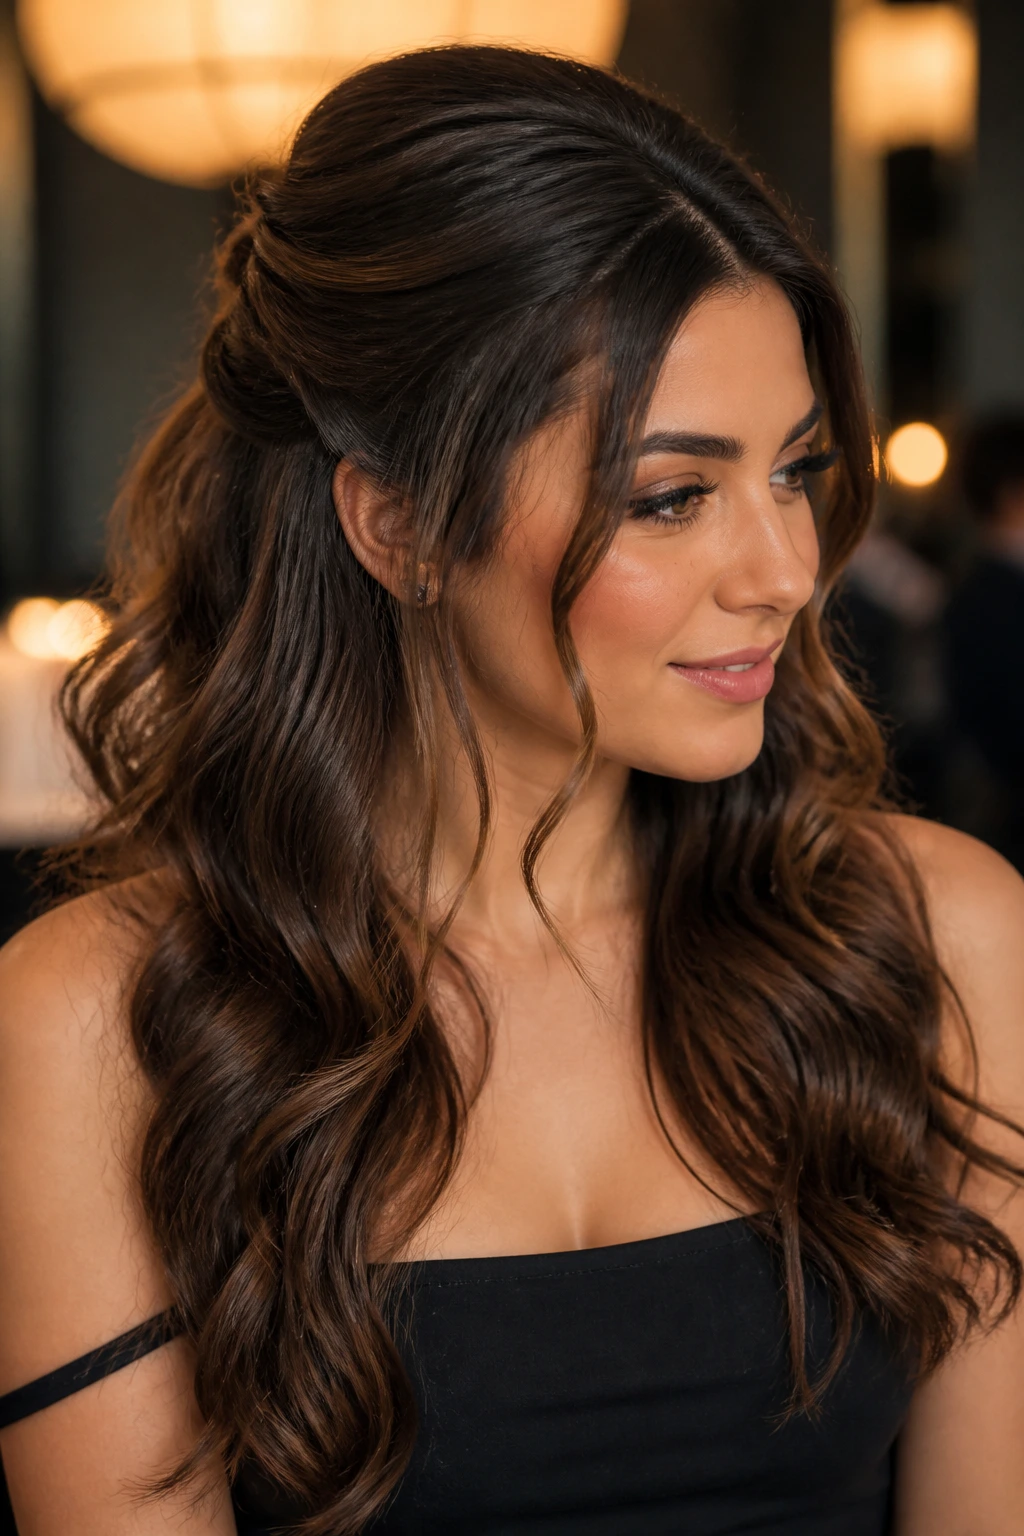
5. Half-Up Twist with Loose Waves
If your hair gets heavy around the face by the second hour, this is the style I’d pick. A half-up twist lifts the front and crown, while the loose waves do the pretty work underneath. Thick hair is ideal here because the twist has enough bulk to look intentional instead of tiny and fussy.
You can twist two side sections back and pin them, or take a small crown section and secure it with a clip that matches your outfit. The rest stays down in soft, brushed waves. The contrast is the point.
One thing I like about this look: it keeps your face open without forcing you into a full updo. And yes, that helps when the event includes long speeches, a lot of photos, or a warm room.
6. Face-Framing Curtain Waves
These waves are built around the front pieces first. That’s the whole trick. On thick hair, curtain pieces can disappear if they’re not styled separately, so I always set them on their own with a smaller section and a slightly cooler iron setting than the rest.
The wave should bend away from the face and then flow back in, almost like a long S. The rest of the hair can stay softer and broader. That contrast gives the front some shape without making the entire head look overworked.
Best For
- Rounder faces that want a little length through the front
- Thick hair with layers around the cheekbones
- Dresses with soft drape or low necklines
A single curl on each side, clipped to cool before brushing, does more for this style than extra spray ever will.
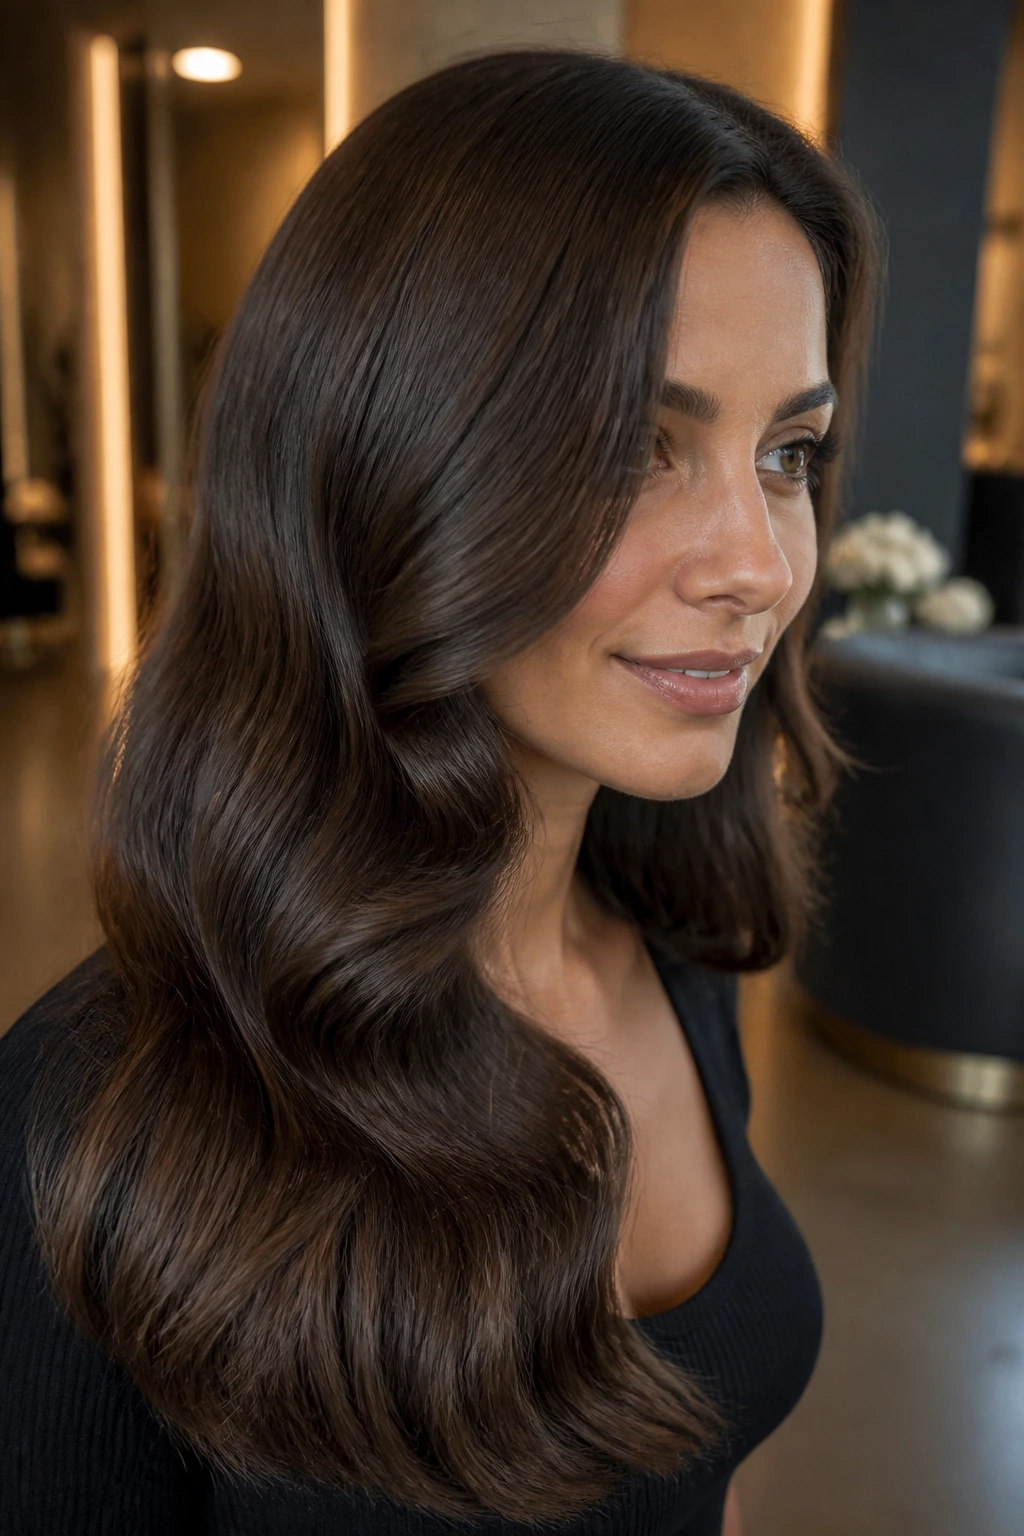
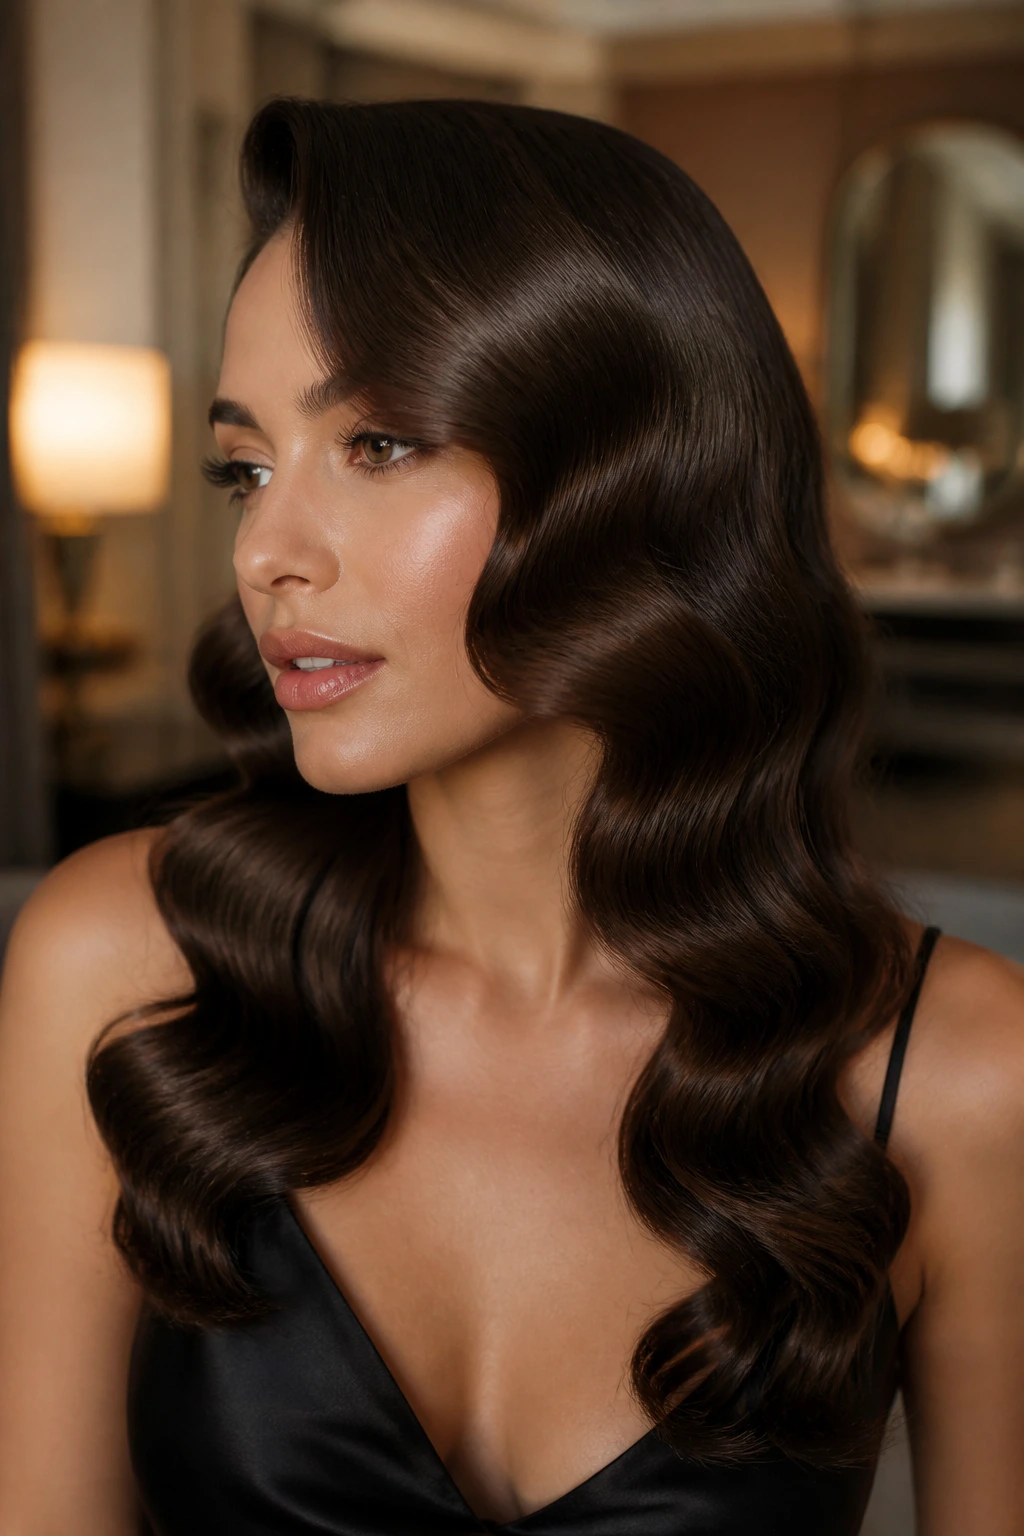
7. Glossy S-Waves
S-waves are the sleek cousin in this group. They’re more sculpted, less fluffy, and a little editorial. On thick hair, they look best when the hair has been blown smooth first, because the wave pattern sits on top of a calm base instead of fighting natural puff.
Use a flat iron or a wide wand to create a gentle bend, then shape the waves with your fingers while the hair is still warm. The goal is a repeating curve, not a loose curl that gets brushed flat later. A shine spray on the mid-lengths helps, but only a light mist. Too much and the style turns slick.
This is the one I’d choose for a black-tie dinner or a formal event with very clean lines in the outfit. It has enough drama, but it never looks busy.
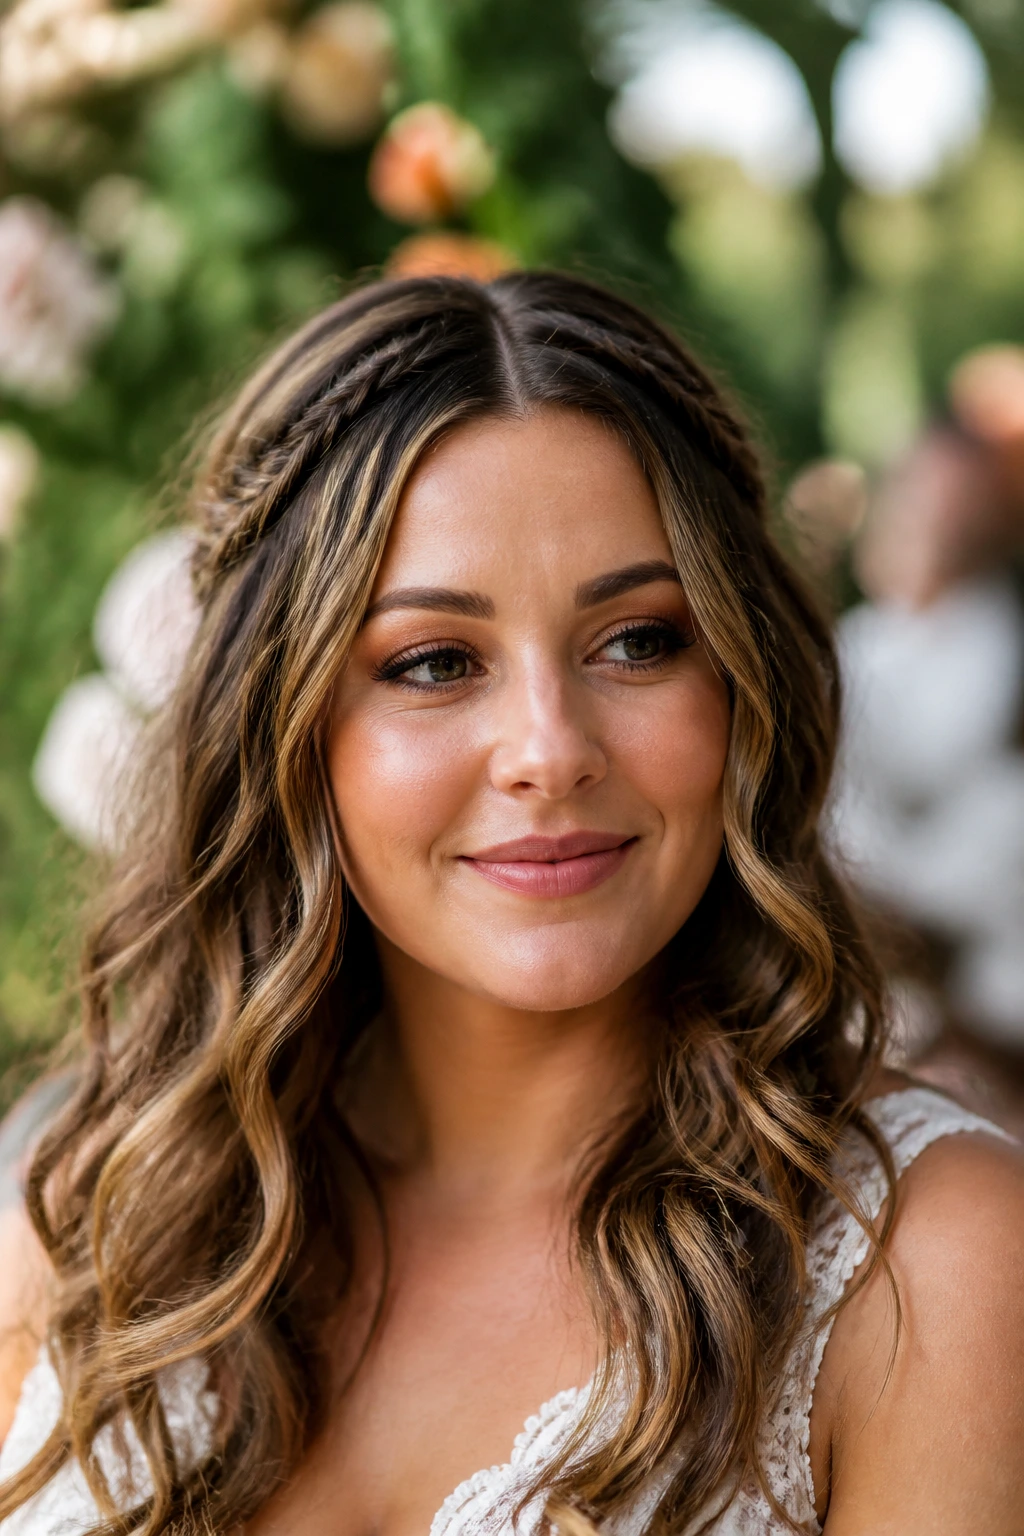
8. Boho Braided-Front Waves
Sometimes thick hair needs a small anchor at the front so the loose lengths don’t swallow the face. A slim braid or two at the hairline solves that without taking away the softness. The waves stay loose; the braid just gives the style a shape to hang from.
You can braid a small section on each side and pin them back, or do one narrow braid along the hairline and leave the rest draped. Keep the braid loose enough that it doesn’t look tight or sporty. This is a special-day style, not a school-day style.
How to Wear It
It works well with outdoor ceremonies, garden dinners, and dresses that already lean soft or romantic. Thick hair gives the braid enough thickness to look substantial, which is a real advantage here. Thin hair often needs extensions for this effect; dense hair does the work on its own.
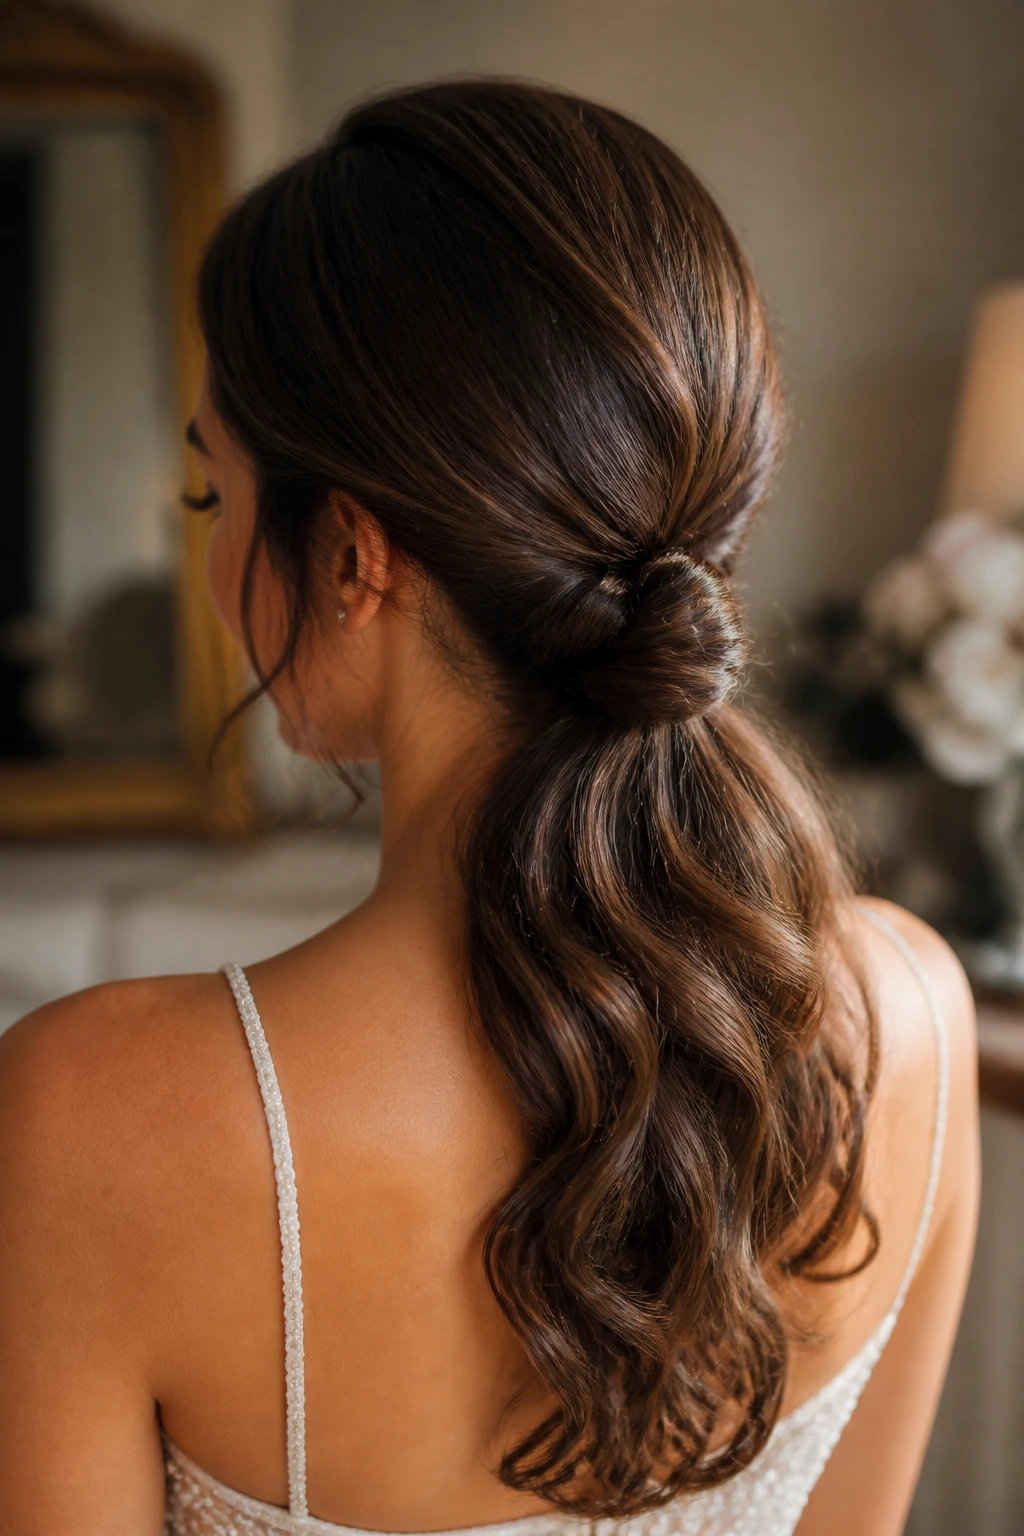
9. Low Knot with Loose Length
This is for the person who wants their hair mostly down but still wants a little structure near the nape. Take the top section back into a low knot or soft twist, then leave the lower half in loose waves. The knot keeps the top controlled, which thick hair often needs after a long blow-dry.
I like this because it’s not trying too hard. The wave still moves, but the back gets a bit of order, and that makes the whole style feel cleaner. If your dress has detail at the back, this is a smart choice because it doesn’t compete with the fabric.
A few hidden pins and a matte clip are all you need. If the knot looks too tight, pull a whisper of hair free at the temples and at the crown. That little looseness softens the whole thing.
10. Mermaid-Length Barrel Waves
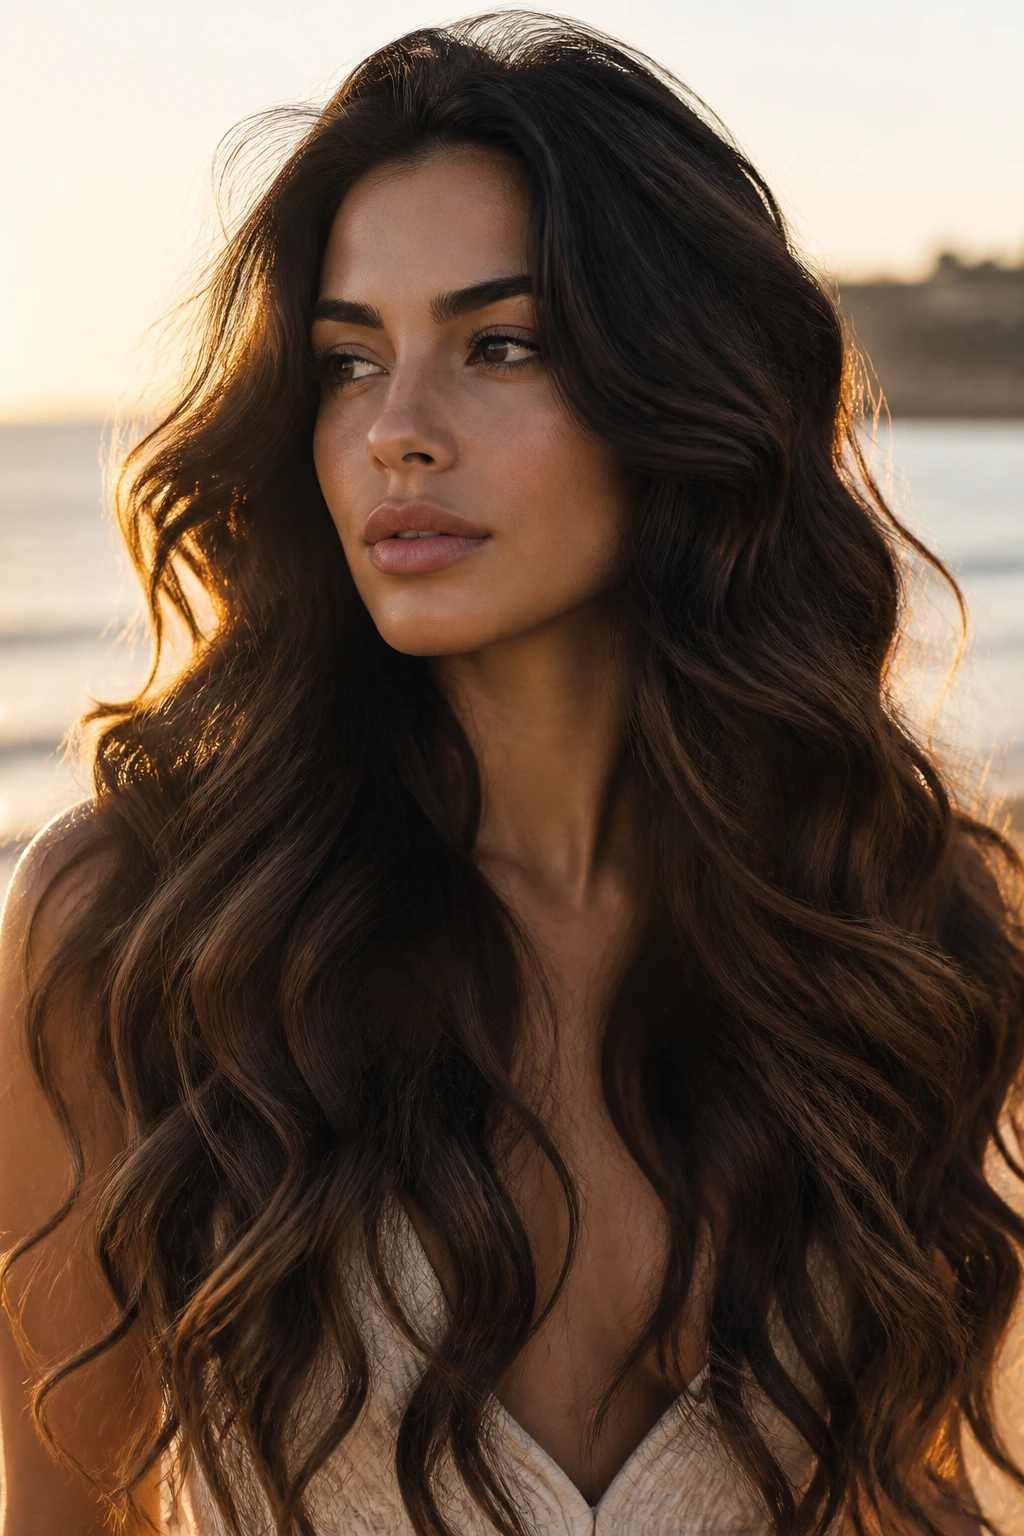
Long, dense hair was built for broad barrel waves. They show off the length instead of shrinking it. Use a 1.5-inch iron if the hair is very long, or a 1.25-inch barrel if you want the bend to read a little stronger.
The sections can be larger than you’d use for tighter curls, but don’t get greedy. Thick hair still needs the heat to reach the center of the section, and oversized pieces leave you with a waved surface over straight interior hair. That’s a sneaky failure, because it looks fine for 20 minutes and then falls apart.
What to Watch For
If the ends flip in too much, leave the last inch out on purpose. Mermaid waves should look long and smooth, not springy. A tiny bit of end control makes the whole style look more expensive.
11. Tucked-Behind-One-Ear Waves
This is a quieter look, but I love it for earrings and satin dresses. One side stays down and full. The other gets tucked neatly behind the ear, with the wave still visible from the front. Thick hair gives the tucked side enough weight to stay put without a dozen pins.
Curl the side you plan to wear forward a bit more carefully so the wave has a clean outline. On the tucked side, keep the front section smooth and let the rest fall behind the shoulder. It’s a small asymmetry, but it changes the face shape in a flattering way.
Why It Feels Fresh
The style doesn’t rely on volume alone. It uses contrast — one side open, one side controlled. That makes thick hair look intentional rather than simply abundant.
12. Waterfall Layer Waves
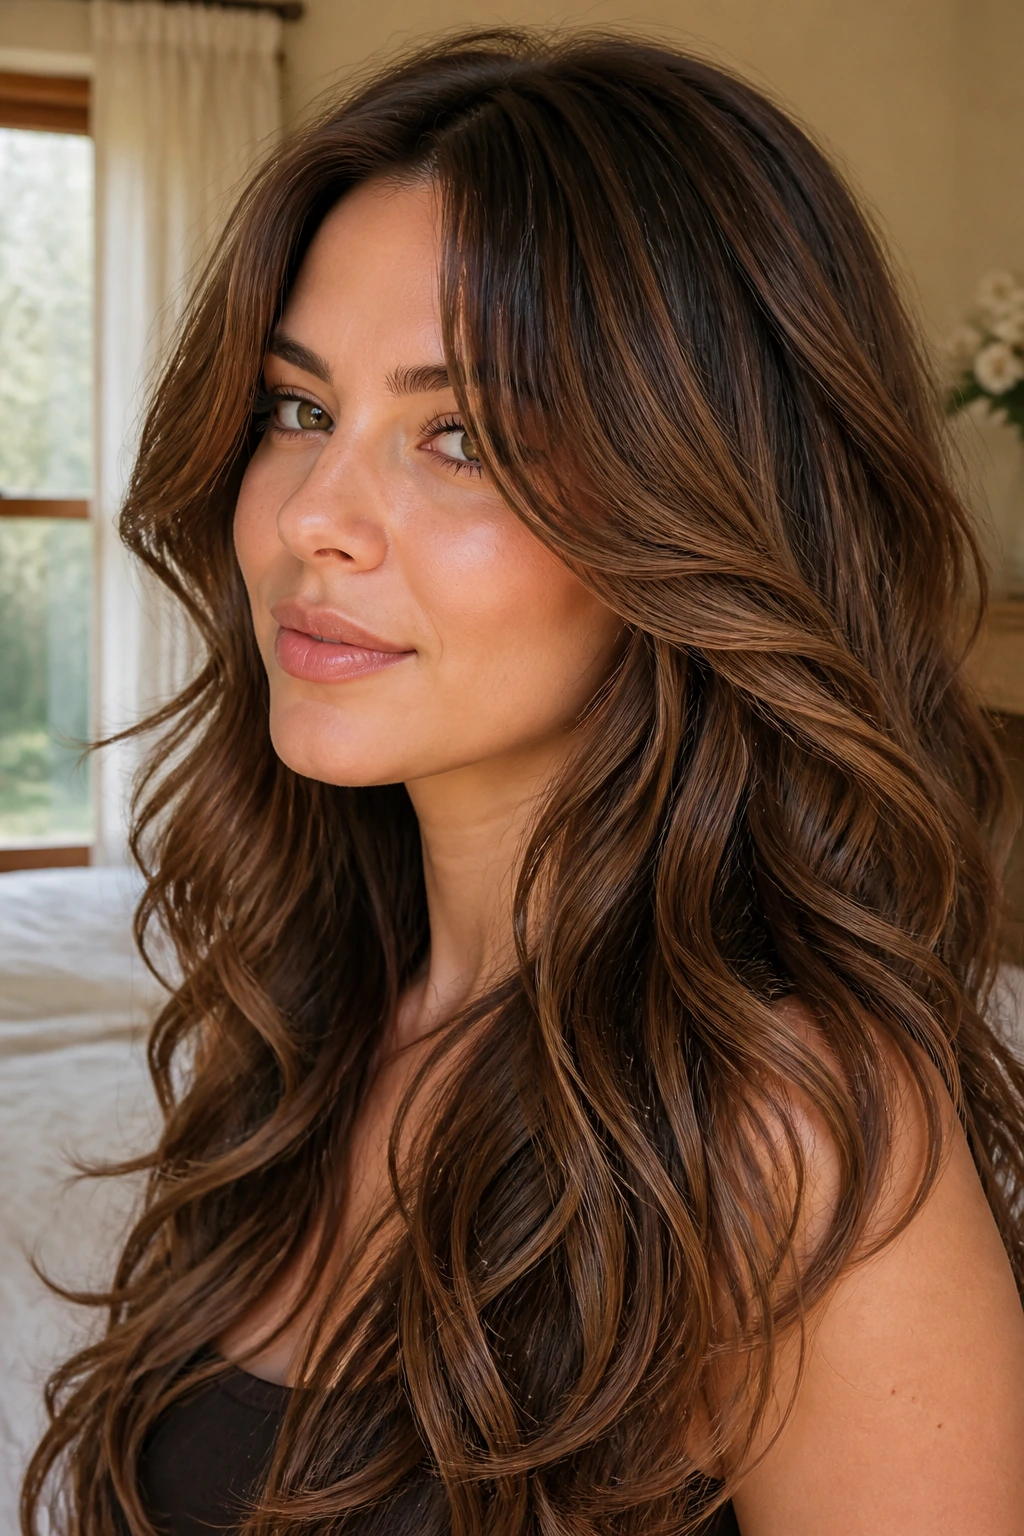
Layered thick hair can look incredible when the wave catches every step of the cut. The hair falls in pieces, not one solid block, and that’s where this style shines. Instead of fighting the layers, you style to them.
Wrap alternate sections in opposite directions from the ears back, then finger-comb the top layer only. The result is a soft fall with movement at each layer line. It’s especially good if your cut has long face-framing pieces or gentle internal layers that tend to disappear when straight.
The one thing I’d skip here is heavy cream. Layers already create a lot of motion; too much product makes the ends look separated in a bad way. A light mist of texture spray at the very end gives the pieces enough grip.
13. Blowout Waves with Root Lift
This is the style for thick hair that tends to go flat at the scalp and bulky at the ends. You blow the roots smooth and lifted, then add waves mostly from mid-length to ends. That split makes the hair look lighter without actually taking away any of the density.
I like to rough-dry the crown with a round brush, then clip the top section up for a few minutes while it cools. After that, the wave work goes faster because the base already has shape. If you skip the blow-dry step, the curls can look pretty but heavy.
The Payoff
The root lift keeps the style from collapsing in photos, and the looser ends keep it from looking curled to death. It’s one of the better special-day choices if your hair usually eats volume by the time you reach the door.
14. Straight-End Beach Waves
Leave the last inch or two straight. Seriously. Thick hair can get too bulky at the ends if every bit is curled, and that’s one reason this look works so well. The straight ends act like a quiet finish line.
Use a wand or iron and stop short of the tips. Then shake the hair out with your hands, not a brush. The contrast between the soft wave and the cleaner ends keeps the style from going puffy at the bottom, which is a common problem on dense hair.
This is a better formal option than people think. Paired with a tailored dress or a sleek suit, it reads modern and relaxed instead of beachy in the obvious sense.
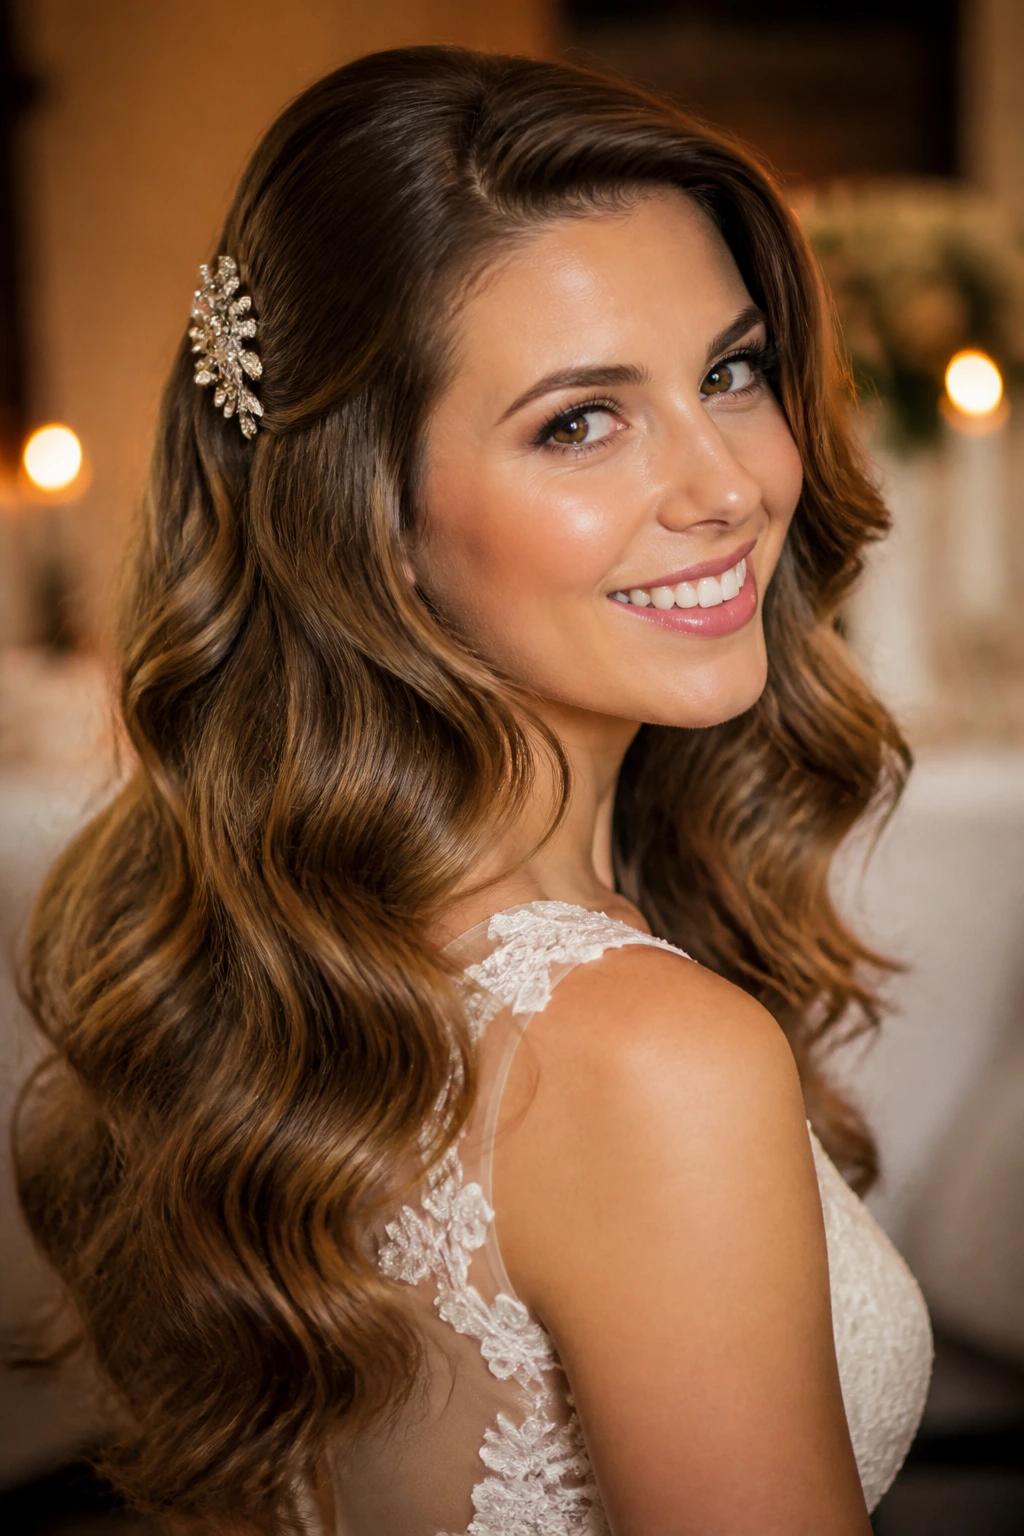
15. Crystal Clip Wedding Waves
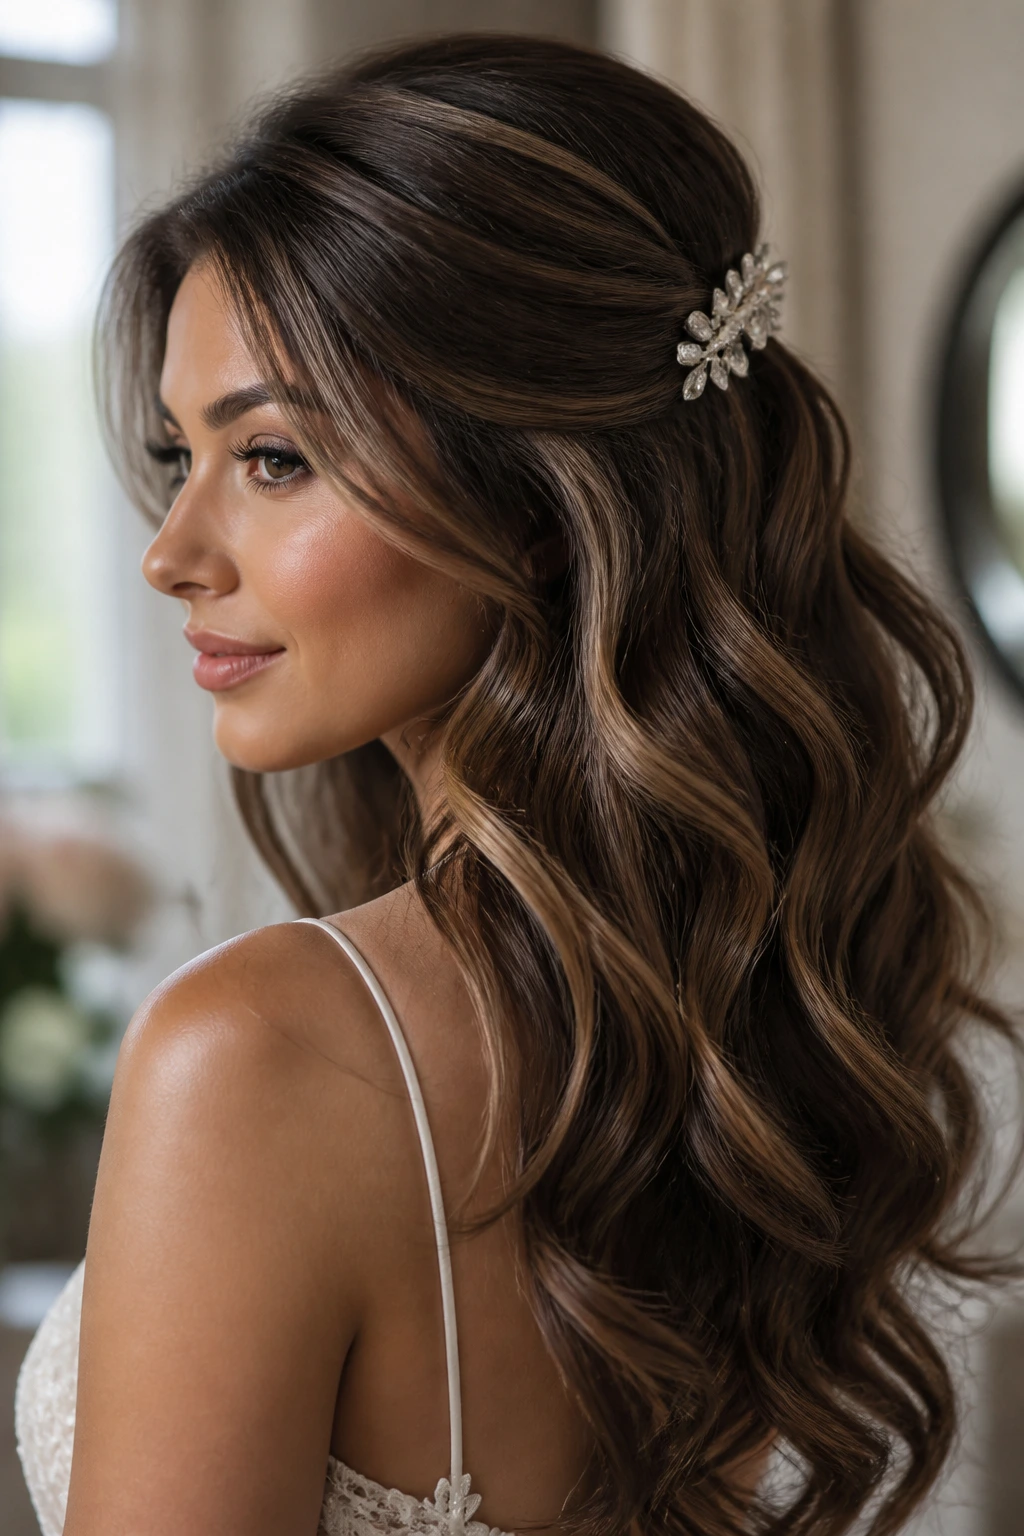
A single accessory can do a lot when thick hair already has shape. A crystal clip, comb, or barrette tucked into one side or just behind the crown turns loose waves into event hair fast. The trick is to keep the wave pattern underneath soft enough that the clip stands out.
Set the waves first, then place the accessory after the hair is fully cool. If you add the clip too soon, it can leave a dent you don’t want. Thick hair is excellent for this style because the accessory has something sturdy to grip. No sliding. No fussing every ten minutes.
This is one of my favorite looks for guests, bridesmaids, and anyone who wants a polished finish without a full updo. It looks more tailored than plain waves, but it still moves when you walk.
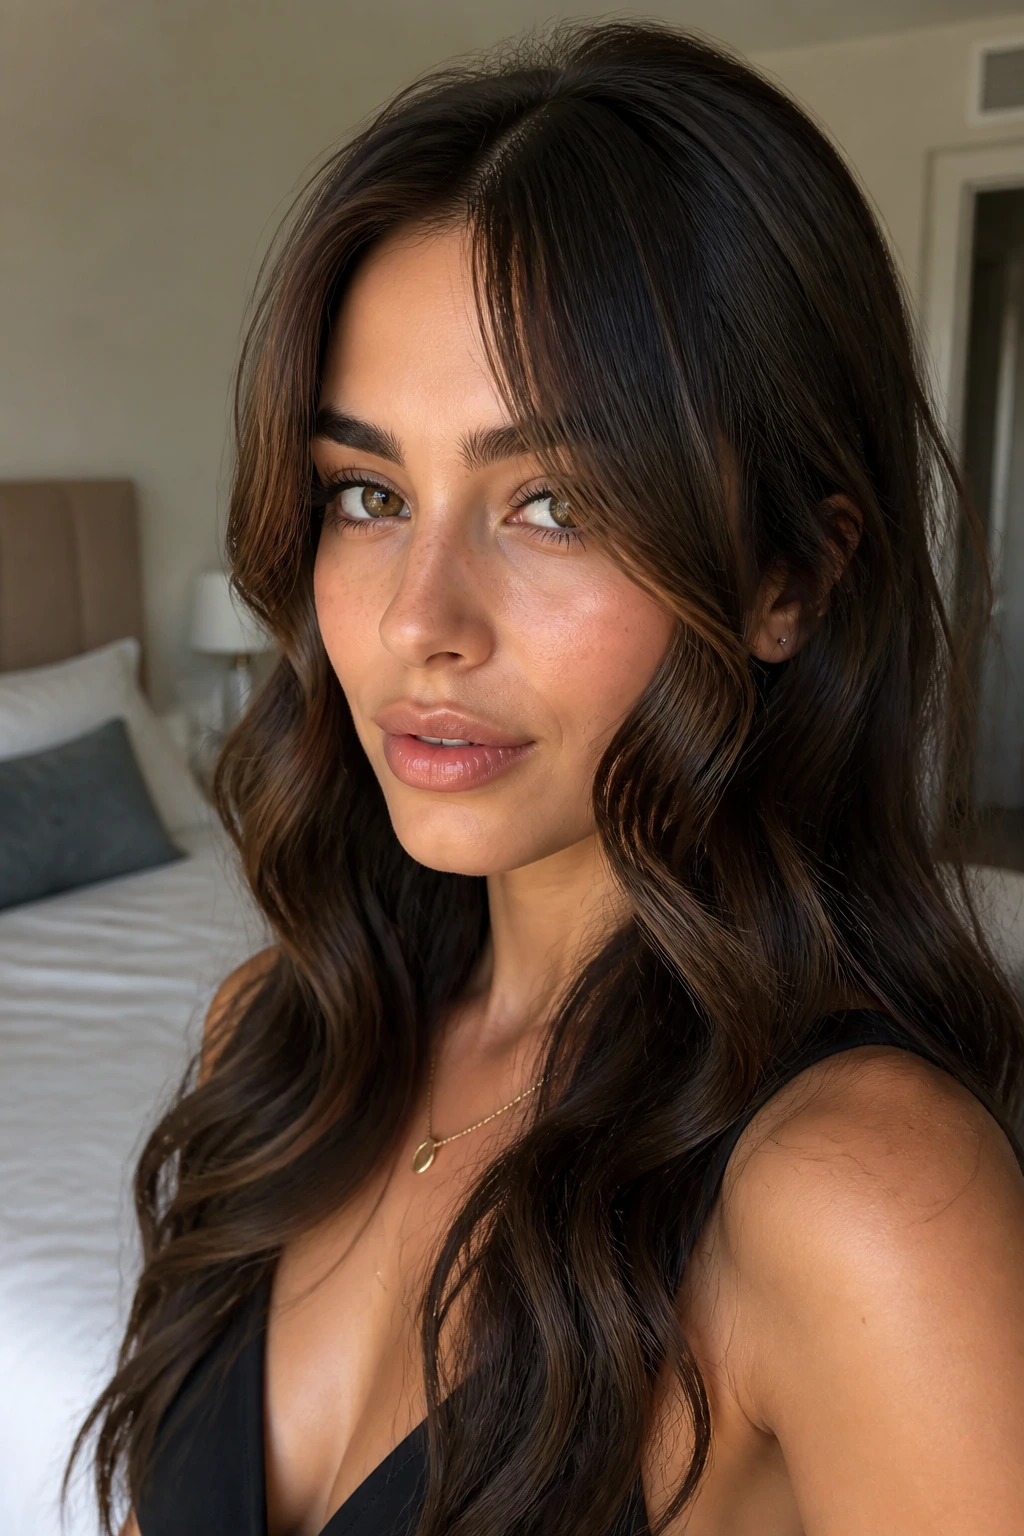
16. Soft Waves with Bangs
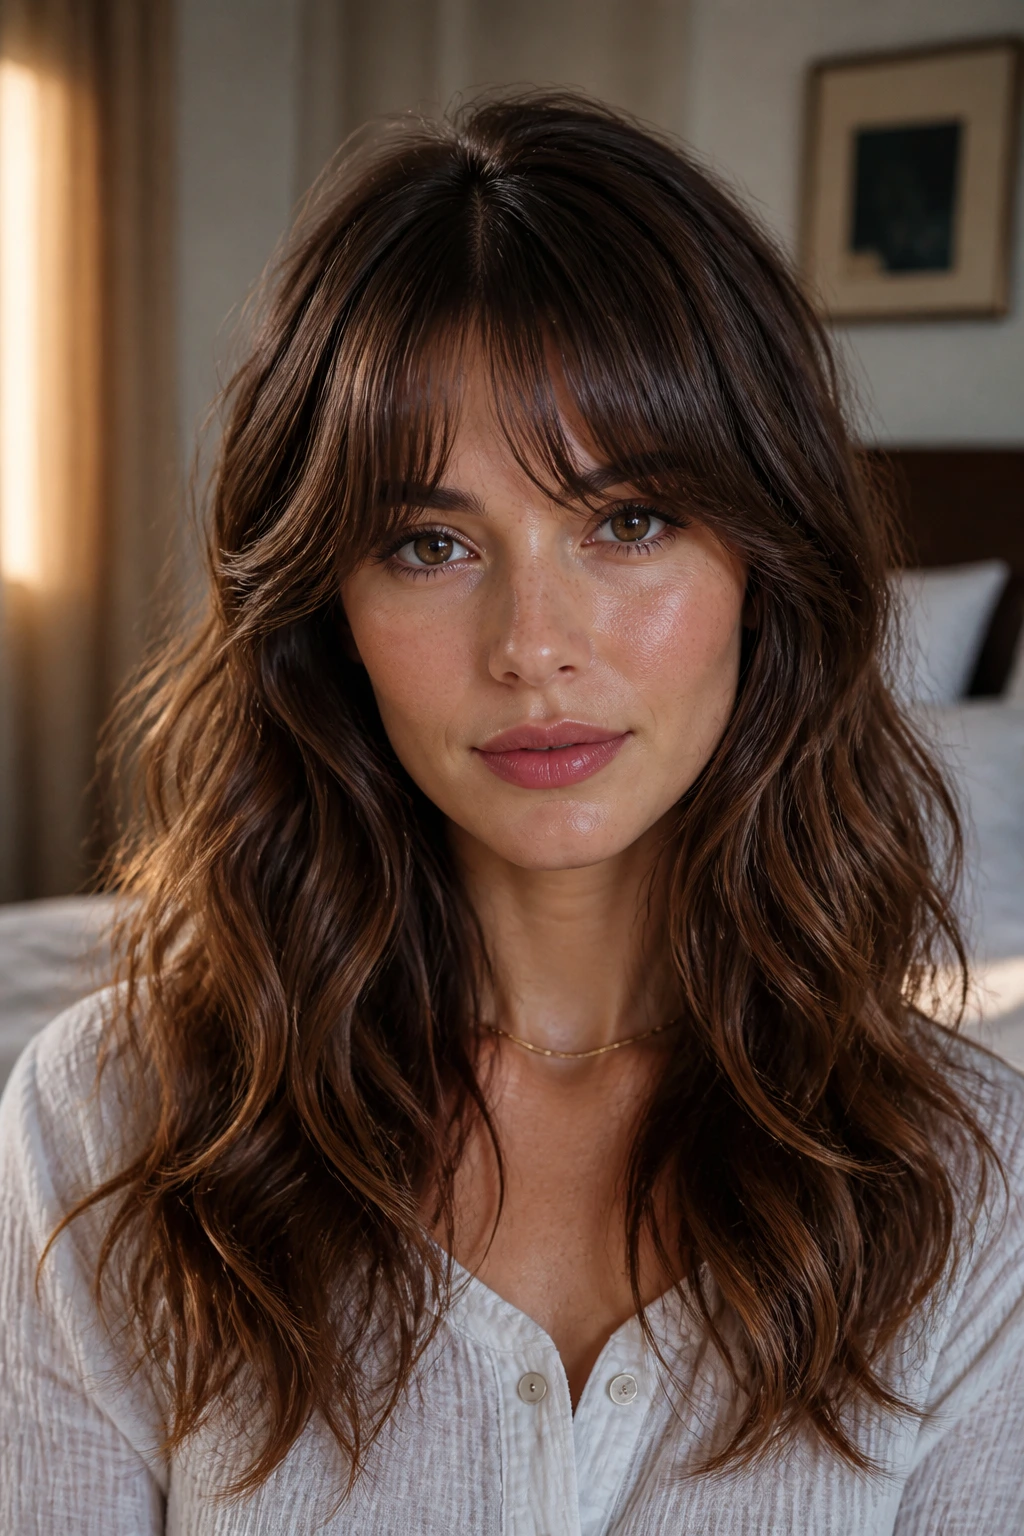
Bangs change the whole equation. Curtain bangs, wispy fringe, or heavier fringe need to be styled almost separately from the rest of the wave set. If you curl them the same way you curl the long pieces, they can puff out or split in weird places.
Keep the bangs smooth, then shape the rest of the hair into a loose wave that begins below the cheekbones. That gap between fringe and wave gives the style room to breathe. Thick hair usually benefits from that space because it keeps the front from looking crowded.
A Small Rule
Do not overload the fringe with product. A tiny touch of styling cream or a light brush with a round brush is enough. Bangs get greasy faster than the rest of the hair, and thick hair can hide that for only so long.
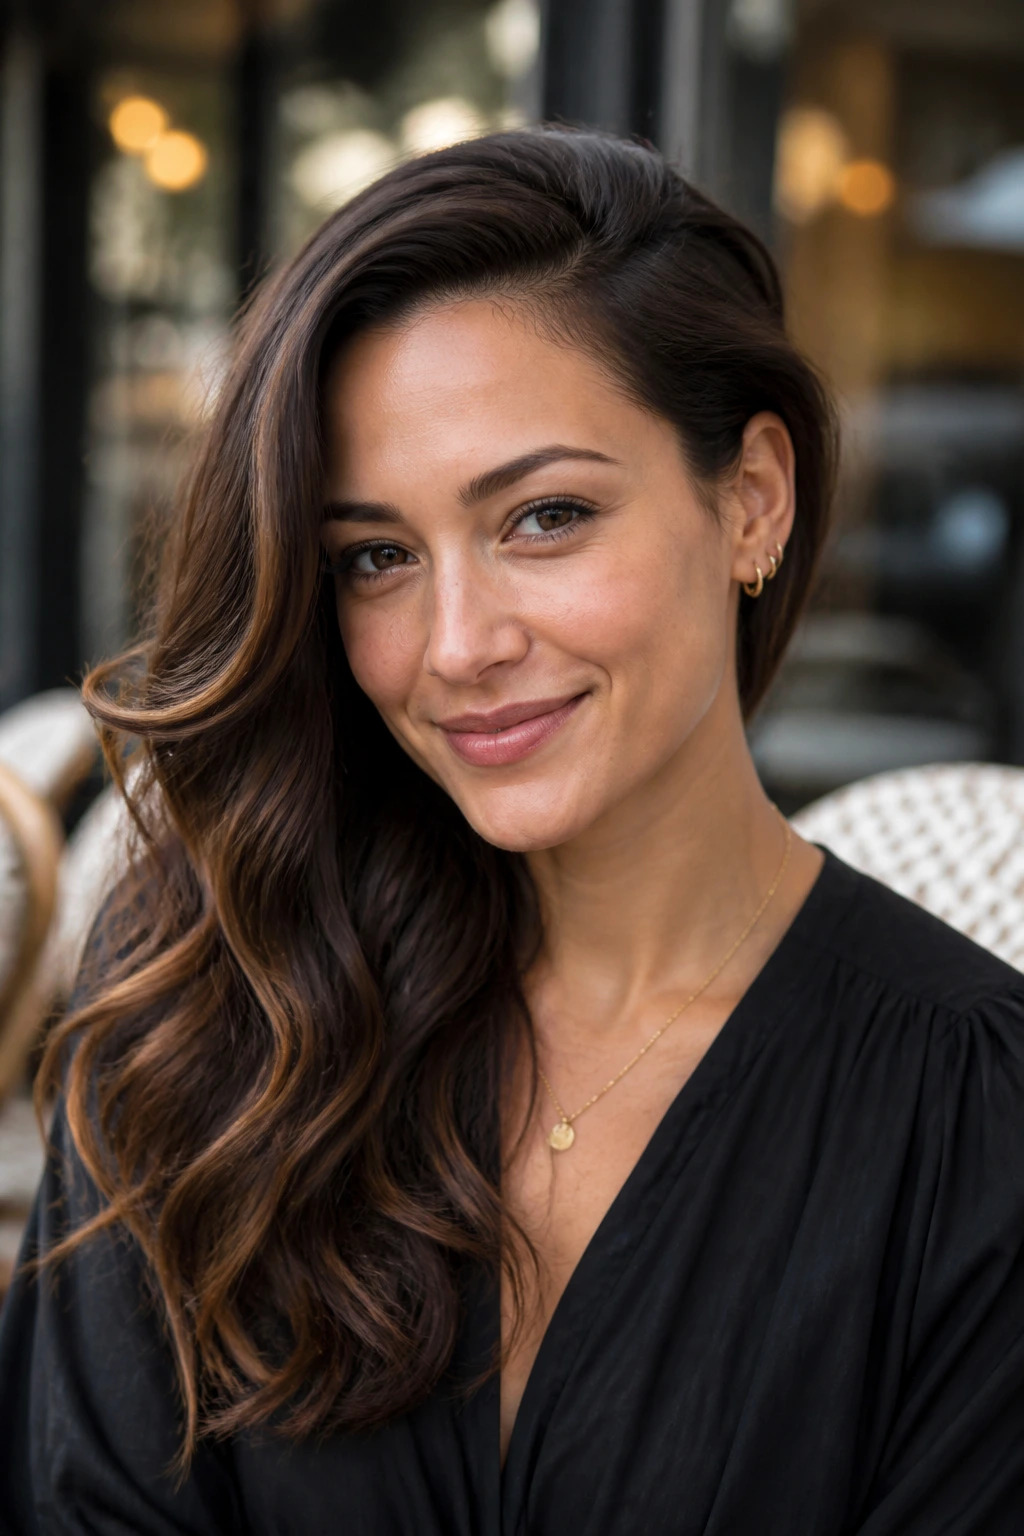
17. Side-Swept Wave Cascade
This is the more relaxed cousin of the full Hollywood side sweep. Instead of one large sculpted wave, the hair falls over one shoulder in a soft cascade, with the back still moving and visible. It’s a little less formal, a little more fluid.
I’d use a medium side part and curl all the hair away from the face on the front side, then alternate direction through the back for movement. Pull everything over the same shoulder at the end and pin just enough at the nape to keep it there. Not too much. The whole point is flow.
Thick hair can make this look lush in a way fine hair can’t. The wave stack has real substance, so the shoulder side looks full rather than flimsy. That matters if your outfit has one sleeve or an off-the-shoulder cut.
18. Heatless Overnight Rope Waves

If heat is not your thing, rope waves are the sleeper hit here. Twist damp or slightly damp hair into two or four rope sections, secure them gently, and leave them overnight or until fully dry. Thick hair likes this method because the density helps the wave set with more shape than thin hair usually gets.
The key is dryness. If the interior of the rope is still damp when you undo it, the wave will look good for about fifteen minutes and then lose its nerve. Let the hair dry all the way through. That may mean starting earlier than you think.
When It’s Best
Use this style for daytime events or any occasion where you want movement without heat damage. It looks softer than iron-set waves and a little less polished, which can be a relief if the outfit already has a lot going on.
19. Flat-Iron Bend Waves
Flat-iron waves are crisp in a way wand curls aren’t. The bend starts and stops in a more modern line, and that makes thick hair look controlled instead of overly soft. I like this style when the dress or makeup is sharper — structured shoulders, matte lipstick, a clean neckline.
Work in medium sections and bend the iron away from the face, then back toward the face, moving down the hair with a steady wrist. The result is a wave that still has movement but feels a little graphic. Think of it as sculpted, not fluffy.
The nice part? This method can tame bulky ends on dense hair without flattening the whole head. It’s one of the few wave styles that can make very thick hair look neat and bold at the same time.
20. Curling-Iron Polished Ends
If your ends get frayed or dry-looking, this one is worth keeping in your pocket. Curl the mid-lengths and leave the bottom inch more controlled, then smooth the tips with your fingers and a touch of serum. The wave looks finished, but not overworked.
This is a good choice when thick hair has some length but not enough to carry huge barrel curls. The polished ends keep the style from ballooning out at the bottom, which can happen fast with dense hair. And because the ends aren’t over-curled, the whole look holds a little longer.
Best Pairing
It works well with simple dresses, clean tailoring, and events where you want your hair to look cared for without shouting. Quiet hair, if you want to call it that. I do.
21. Crown Halo Waves
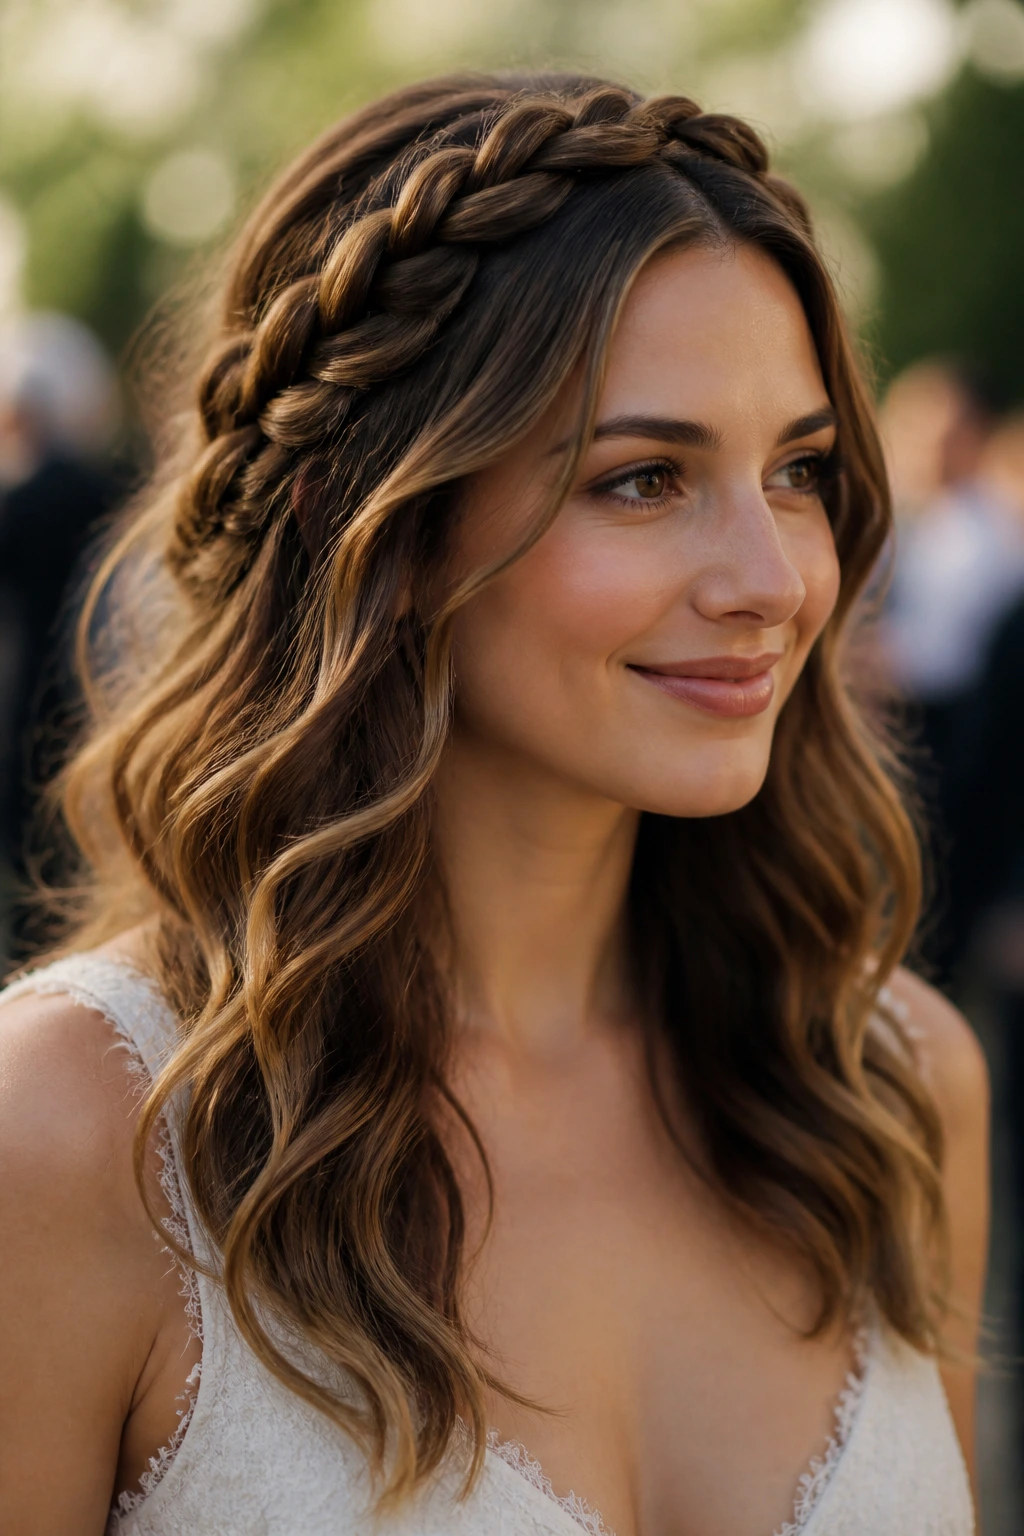
A halo braid or a braided crown gives thick hair a real frame. The loose waves sit below it like a soft curtain, while the crown keeps the front controlled and the shape lifted. It’s a smart fix for hair that wants to slide forward or fall into the face.
Make the crown braid loose enough that it doesn’t pull hard at the hairline, then soften the wave beneath it with a quick finger rake. Thick hair gives the braid enough body to look full, which is half the appeal. Thin hair can get wispy here; thick hair looks rich.
This is especially nice for outdoor events, because the crown gives the style structure even if the air is doing what it wants. A few small pins hidden under the braid hold everything together.
22. Five-Minute Emergency Waves
When time is short, stop trying to curl every strand. Pick the front pieces, the top layer, and the ends that show the most, then add a quick wave with a large iron or heated brush. Thick hair hides that selective styling better than most textures do.
I’d split the hair into four sections, wave the top two first, then the face-framing pieces, and leave the hidden underlayer alone if needed. A mist of flexible spray and a quick shake with your hands finishes the look. It will not be as detailed as a full set, but it can still look intentional.
Why It Saves the Day
The style leans on the visible parts of the hair instead of fighting the whole mass. That’s the reason it works. Thick hair gives you enough visual density that a partial wave set still reads as polished.
Why Thick Hair Needs a Different Wave Formula
Thick hair isn’t hard to wave. It just asks for more specific choices. The biggest mistake I see is treating dense hair like it’s a bigger version of fine hair. It isn’t. A thick head has more weight at the roots, more resistance in the mid-lengths, and more chances for the surface to frizz before the center of the section is actually set.
That’s why section size matters so much. Go too big, and the outside of the section takes the wave while the middle stays stubborn and straight. Go too small, and the style can start to look too curly or too formal for a special day. For loose waves, the sweet spot is usually around 1 inch to 1.5 inches, depending on the barrel and the length of the hair.
Heat timing matters too. Thick hair usually needs a little more time on the iron, but not endless time. You want the hair hot enough to shape, then fully cool before you brush. Cooling is where the style locks in. Skip that, and the waves sag fast.
The other thing thick hair needs is smart product placement. Put hold at the roots if the style is supposed to last, but keep cream and oil mostly on the ends. Dense hair can swallow product at the top and still look greasy at the root if you get heavy-handed. I’d rather start light and add a little more at the end than clean up a flat crown later.
Tools That Make Thick Hair Easier to Wave
- 1-inch curling iron or wand: Best for tighter bends, shorter layers, and front pieces that need a bit more shape.
- 1.25-inch curling iron: The safest all-around barrel for loose waves on thick hair; it gives bend without turning the whole head curly.
- 1.5-inch curling iron or wand: Use this on long hair when you want broad, soft movement and less curl at the tips.
- Flat iron: Useful for S-waves, bend waves, and polished ends when you want a smoother finish.
- Sectioning clips: Thick hair needs control while you work; these keep the rest of the head out of the way.
- Duckbill clips or pin curl clips: Essential if you want to cool the waves before brushing.
- Tail comb: Makes clean parts and tidy sections, which thick hair absolutely benefits from.
- Heat protectant spray: Non-negotiable for any hot-tool style; thick hair takes heat, but it does not need to fry.
- Flexible-hold hairspray: Holds the wave while still letting it move.
- Boar-bristle or mixed bristle brush: Smoother than a big plastic brush and better for brushed-out glamour waves.
- Wide-tooth comb: Good for loosening heatless sets without tearing the pattern apart.
- Silk bonnet or silk pillowcase: Helps preserve the style overnight and cuts down on friction.
- Dry shampoo: Handy for the root on day two, especially if you used serum or a smoothing cream.
- Round brush and blow-dryer nozzle: Useful when you need root lift before you curl.
Smart Product Picks for Dense Hair
Thick hair usually needs a split personality in products: a little grip at the roots, a little slip at the ends, and not much in between. That’s why I like mousse at the crown and a tiny bit of smoothing cream or serum only on the bottom third if the ends look dry. Put that same cream near the scalp and the style can go limp faster than you’d expect.
If your hair is coarse or frizzes the second you walk outside, look for a heat protectant with silicone-based slip. The point isn’t to coat the hair in grease; it’s to lay down a thin surface that helps the wave stay cleaner. If your hair is already fine but thick in amount, go lighter on the cream and heavier on flexible spray. The density gives you enough body on its own.
I’m also a fan of flexible-hold hairspray over hard-shell spray for most of these looks. Hard spray can freeze the wave into a helmet shape, which is a shame when the whole point is movement. Save the extra-strong stuff for a high-humidity wedding or a style with a lot of pins.
Texture spray has its place, too. Use it after the hair is fully cool, not while it’s still warm. Warm hair absorbs product in a messy way. Cool hair responds better and keeps its bend longer.
How to Finish the Look Around the Waves
Necklines: One-shoulder, strapless, and off-the-shoulder outfits usually like a side sweep or a tucked-back front because they leave room for the fabric to breathe. High necks work better with center parts, brushed-out waves, or a half-up style that opens the face.
Jewelry: Big earrings pair well with tucked-behind-the-ear waves, side sweeps, and low knots with loose length. If the wave is already dramatic, skip a bulky necklace and let the hair do the framing. Thin chains or a clean collarbone line usually read better.
Makeup Balance: Glossy S-waves and crystal clip styles can carry a stronger lip or sharper liner. Softer brushed-out waves and heatless rope sets usually look better with a fresher face and less structure around the eyes. The hair and the makeup should not both be shouting.
Best Event Types: Formal dinners, weddings, rehearsal dinners, photo-heavy parties, and any occasion with long wear benefit from the more structured looks in this list. The softer, heatless, and braid-accented versions work when you want movement without feeling overdressed.
Little Adjustments That Change the Finish
Root Lift: Clip the top crown section up for 10 to 15 minutes after blow-drying or after the curls cool. Thick hair tends to sit low, and that tiny lift keeps the style from swallowing your face.
Gloss: A pea-size amount of serum, warmed between your palms, goes only on the lower half of the hair. That’s enough to make the waves read smoother without flattening the root.
Hold Without Crunch: Mist hairspray from about 10 inches away, then give the hair one soft pass with your hands. You’re looking for movement that survives a room, not a shell that cracks when you move.
Make-It-Yours: If your hair is very long, go bigger with the barrel and keep the ends straighter. If it’s dense but shorter, use a smaller barrel and a more pronounced part so the wave doesn’t disappear into the length.
Common Mistakes That Make Thick Hair Waves Fall Apart
- Taking sections that are too wide: The top layer waves, the inside stays stubborn, and the style collapses by the end of the event. Fix it by working in smaller sections, especially near the face and crown.
- Brushing before the hair cools: Warm waves turn into loose puff. Let the set cool completely, then loosen with fingers or a soft brush.
- Putting serum too high up the head: The crown goes flat and the wave loses lift. Keep shine products on the ends only.
- Using one barrel size everywhere: The front pieces can look too tight while the back falls flat. Use a smaller barrel near the face and a larger one through the lengths if needed.
- Overloading hairspray: The style gets stiff, and thick hair can turn helmet-like fast. Use light layers instead of one heavy blast.
- Skipping root prep: If the crown is limp before you even start waving, the final style will sit low. A little mousse or a quick blow-dry at the roots changes that.
Variations and Adaptations to Try
Bridal Glow Waves: Make the front pieces softer, add more crown lift, and finish with a crystal pin or comb. This version looks best when the wave is smooth and the accessory has room to show.
Modern Matte Bend: Use a flat iron and skip the shine serum entirely, or keep it very light. The wave reads cleaner and more contemporary, especially with tailored clothes.
Heatless Rope Set: Swap hot tools for rope twists and let the hair dry fully before opening it. Thick hair gives this version a better chance than most textures because the weight helps the wave settle.
Humidity-Guarded Waves: Build the style with mousse, then finish with flexible spray and a tiny amount of anti-frizz serum on the ends. Good for outdoor events or any place where the air likes to meddle.
Shorter Hair Version: If your hair sits above the shoulders, use a 1-inch barrel and keep the wave broad. Too much bend can make shorter thick hair look triangular, and that’s not the look we want.
Keeping the Shape After the Event
Once the style is set, leave it alone until it’s fully cool. That sounds obvious, but thick hair can tempt you to touch and adjust before the wave has finished settling. Don’t. Let the shape lock in for 15 to 20 minutes before brushing or moving it around.
For overnight wear, gather the hair into a loose low twist or a soft pineapple and secure it with a silk scrunchie. A silk pillowcase helps too, because friction is the enemy of soft waves. If the style is for a second-day event, a light mist of water on the outer layer and a quick re-bend of the front pieces is usually enough. You do not need to rebuild the whole head.
If the roots start to flatten by day two, dry shampoo at the crown first, then wait a few minutes before brushing it through. That pause matters. Give the powder time to absorb, or you’ll just smear it around. For styles with pins or clips, take the hardware out before sleeping so the shape doesn’t crease in one spot.
A good thick-hair wave usually wears best in the first 12 to 18 hours, depending on humidity, product load, and how much you move the hair. After that, it can still look fine, but the front pieces may need a quick refresh.
Questions People Actually Ask About Loose Waves on Thick Hair
What barrel size works best for thick hair?
A 1.25-inch barrel is the safest all-purpose choice. Go up to 1.5 inches if your hair is long and you want a broader, softer bend; go down to 1 inch if your hair is very dense, layered, or resistant and needs more shape.
Should thick hair be waved on clean hair or day-old hair?
Day-old hair usually holds better because it has a little grip. If you have to start with freshly washed hair, rough-dry the roots and use a light mousse before heat styling so the wave has something to cling to.
How do I keep the crown from going flat?
Use a slight off-center part, clip the crown while the curls cool, and avoid heavy oil near the roots. A small root-lift spray or mousse before blow-drying helps a lot more than people expect.
Can I make loose waves without heat?
Yes, but give the set enough time to dry all the way through. Rope twists, braids, or rollers work well on thick hair when they’re fully dry before you take them out. Damp centers are what ruin the finish.
Why do my waves turn into puff instead of softness?
Usually because they were brushed too early or product was layered too high on the head. Let the wave cool, brush only the surface, and keep serum away from the roots.
How do I stop thick hair from looking too heavy at the ends?
Leave the last inch straighter, especially on long hair. That small choice keeps the bottom from ballooning and makes the wave look smoother overall.
Are layers necessary for these styles?
No, but layers help certain looks move better. If your hair is one solid length, choose broader styles like brushed-out waves, side sweeps, or ribbon waves. Those handle bulk better than tighter patterns do.
What if my waves fall out fast?
Pin the curls to cool, use smaller sections near the face, and finish with flexible-hold spray in light layers. Thick hair often needs setting time more than extra product.
A Soft Finish That Still Has Shape
Thick hair does not need to be bullied into submission to look good on a special day. It needs direction. The wave needs to start in the right place, cool in the right shape, and stay light enough at the crown that the whole style can move without collapsing.
That’s why the best loose waves on thick hair usually have one thing in common: they respect the hair’s weight. Side sweeps, brushed-out glamour, center parts, half-up twists, and heatless rope sets all work because they use that weight instead of fighting it.
Pick the version that fits the neckline, the event, and how long you need the hair to last. Try it once before the big day if you can, note the barrel size and section size that worked, and keep those notes somewhere you’ll actually find them later. The next time a special day shows up, you’ll spend less time guessing and more time getting dressed.