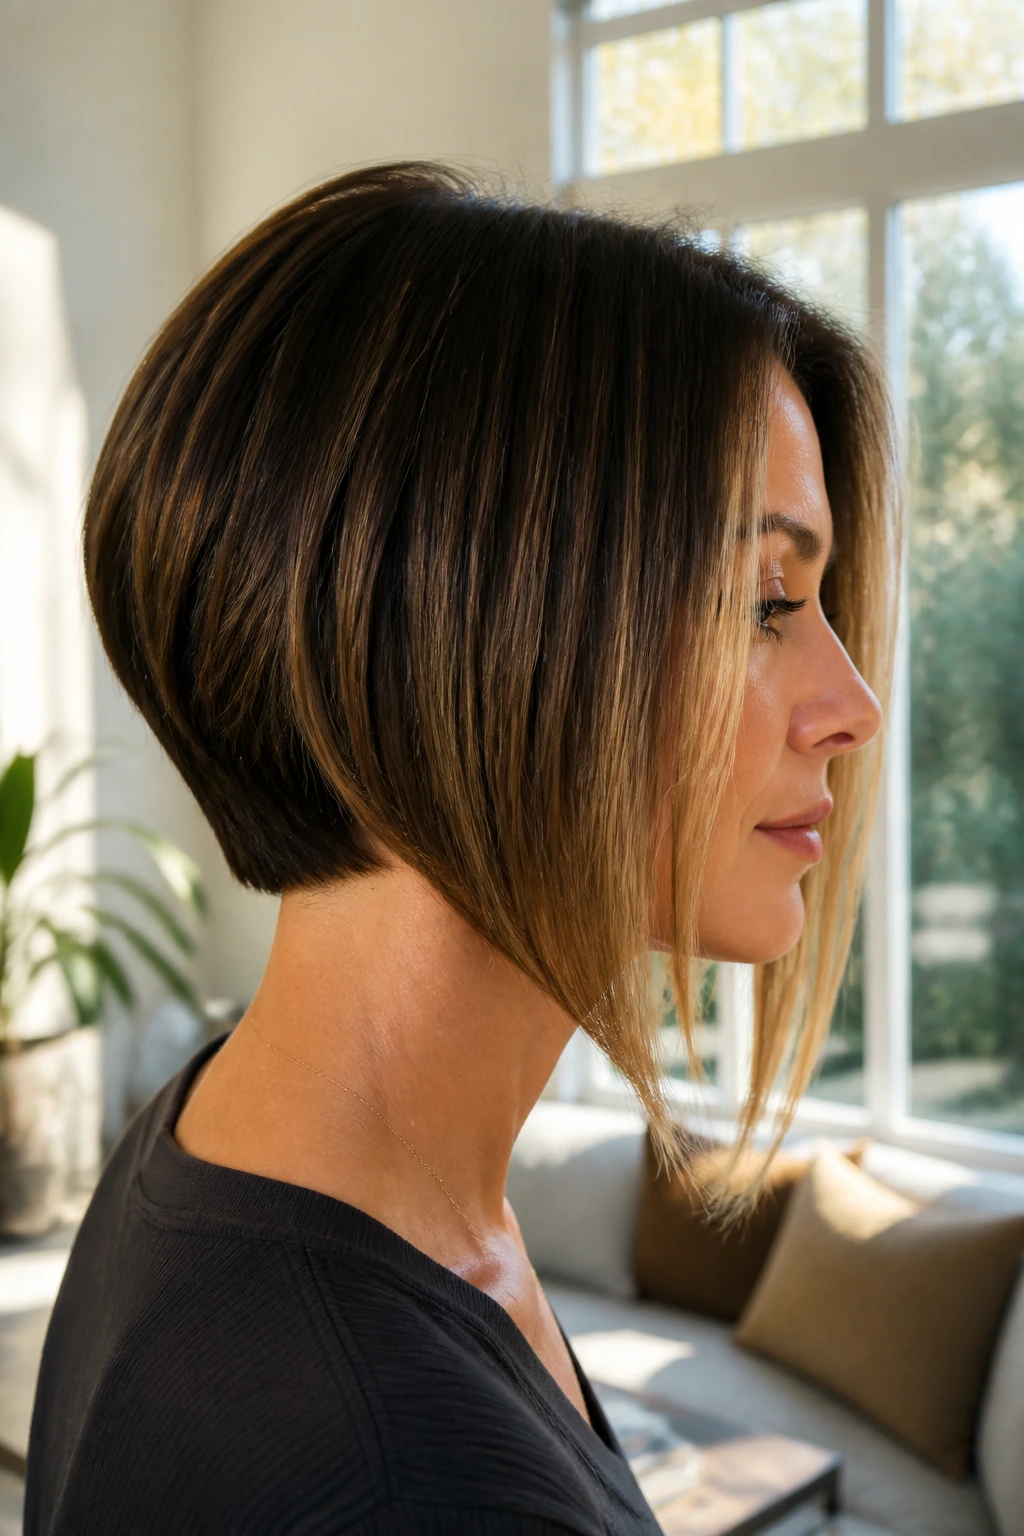
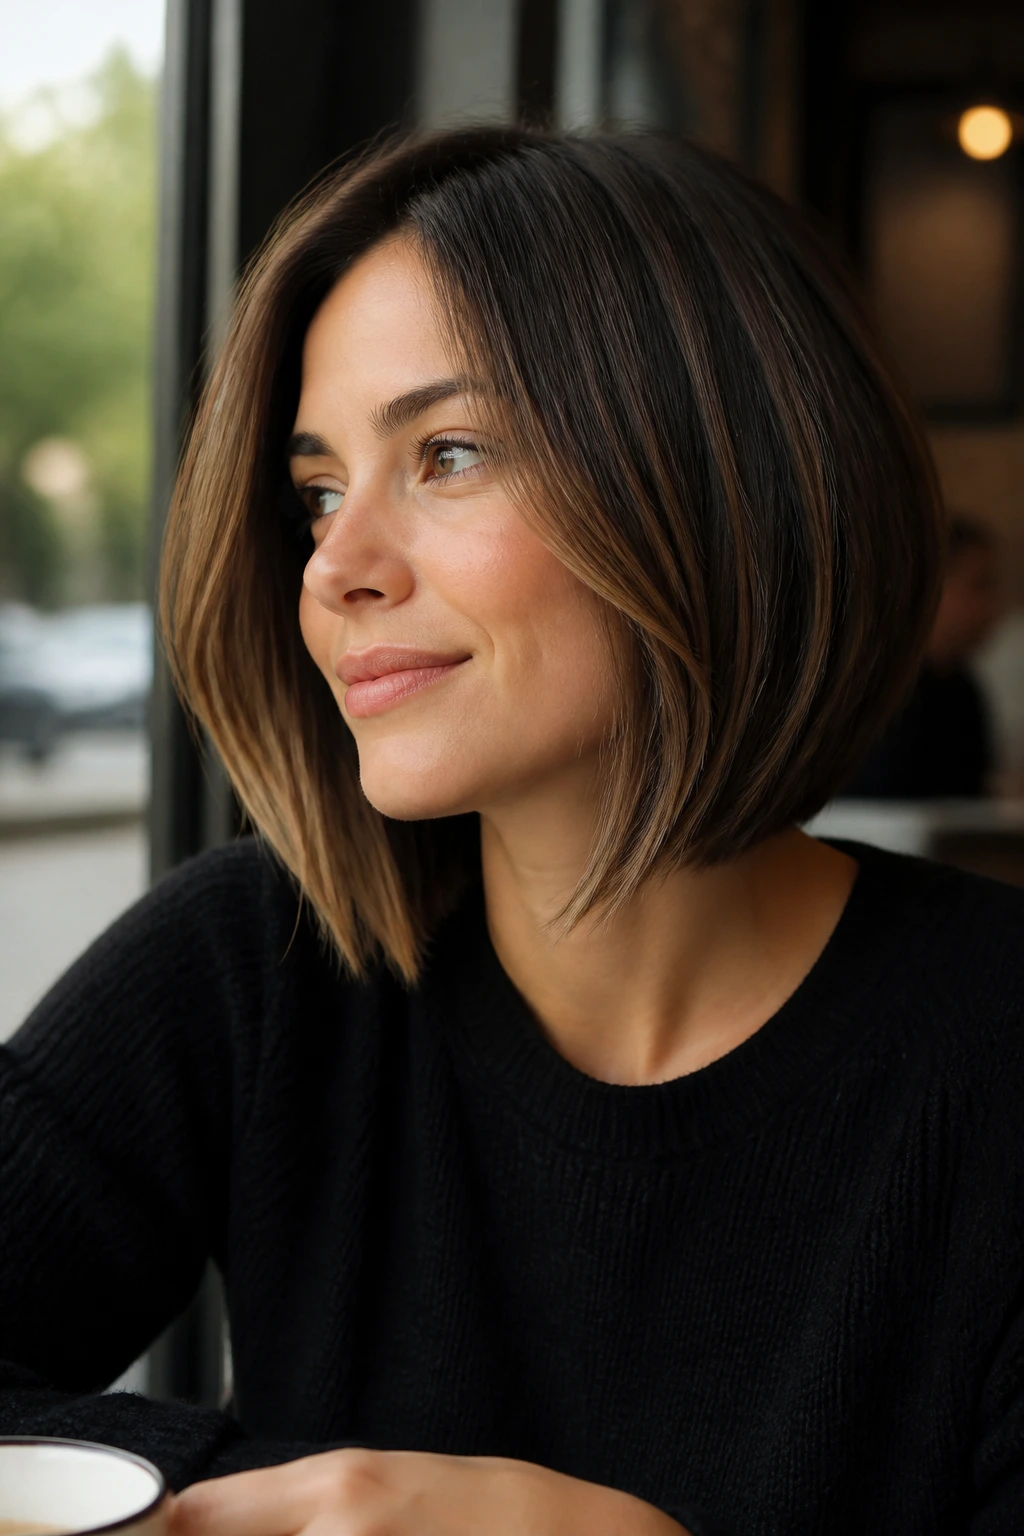
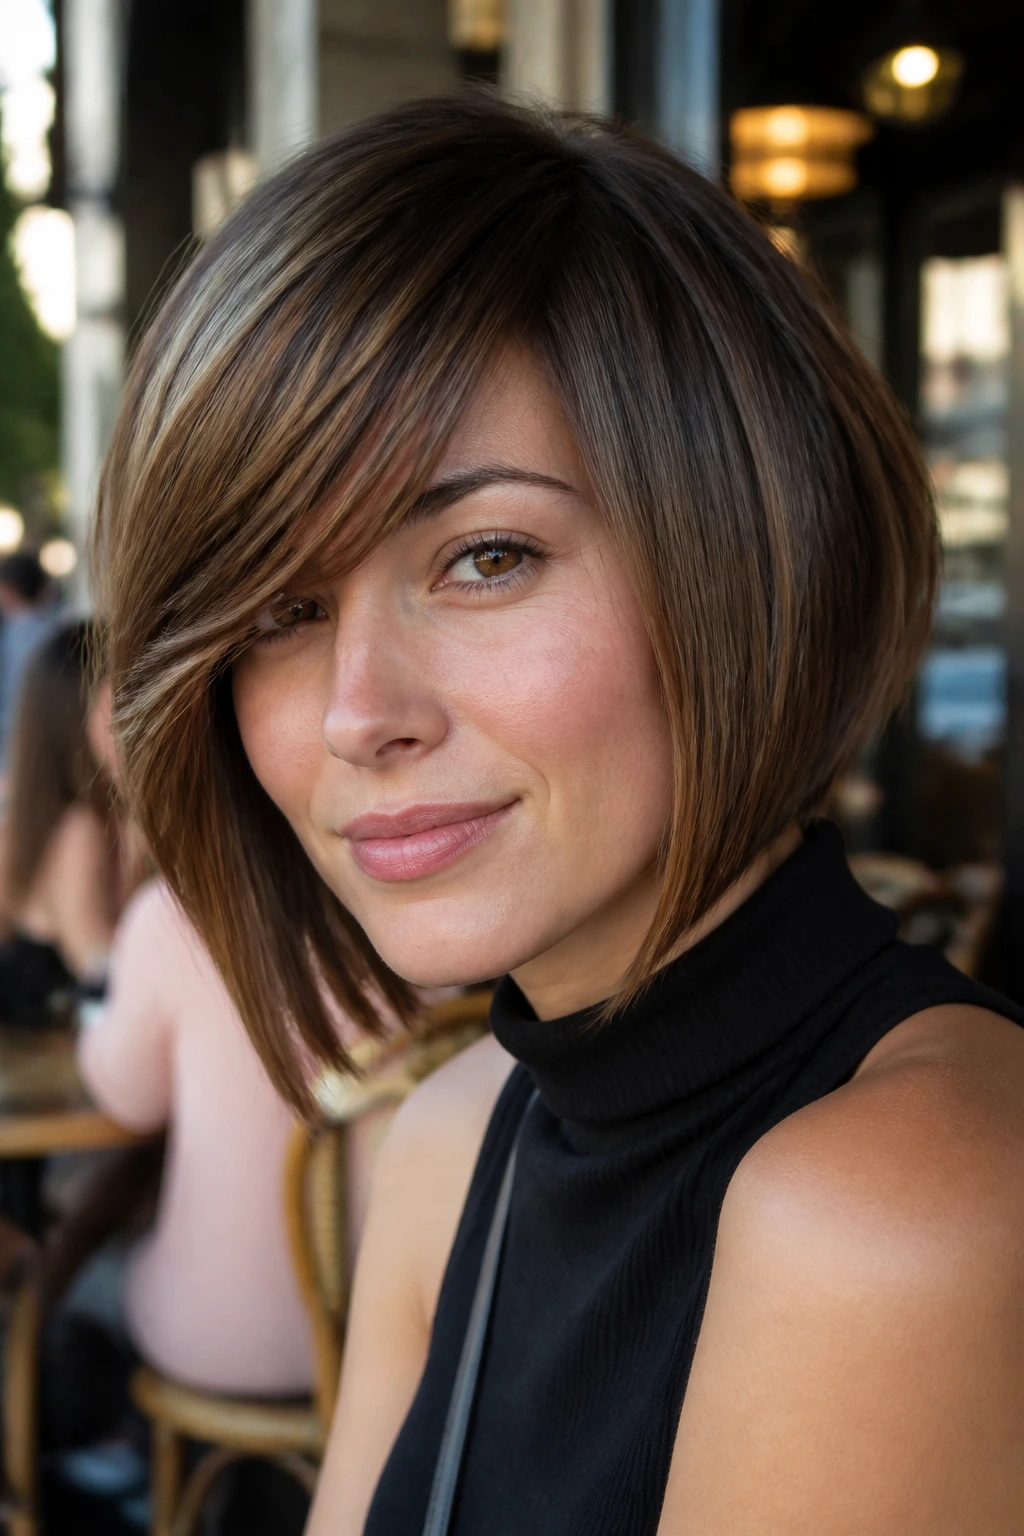
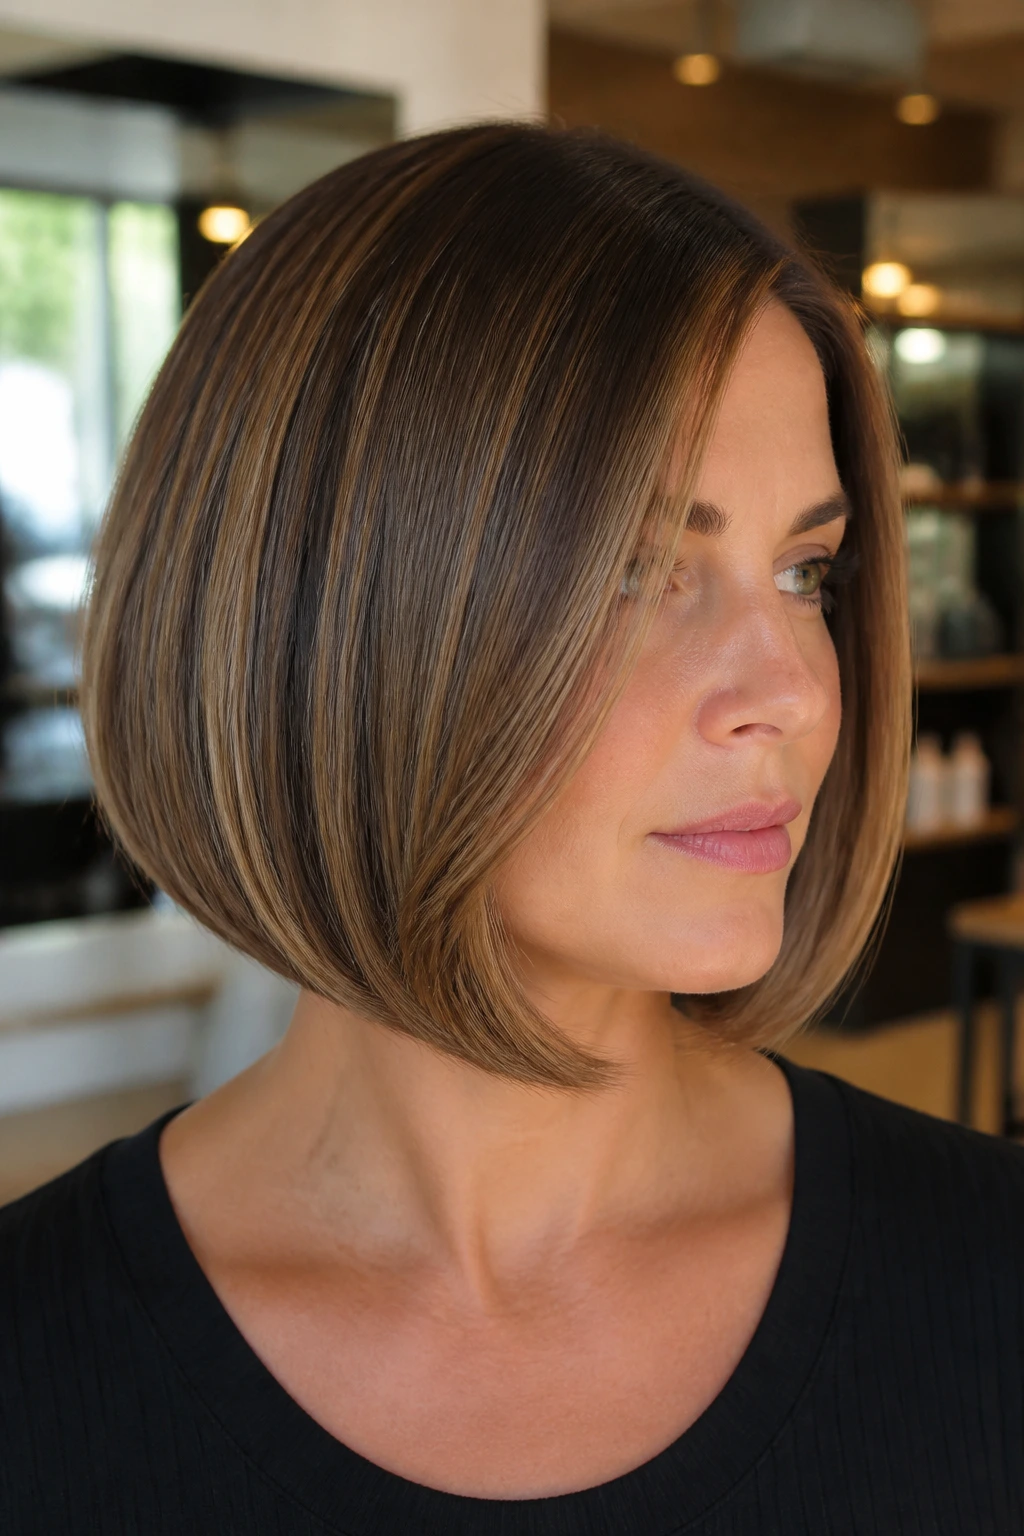
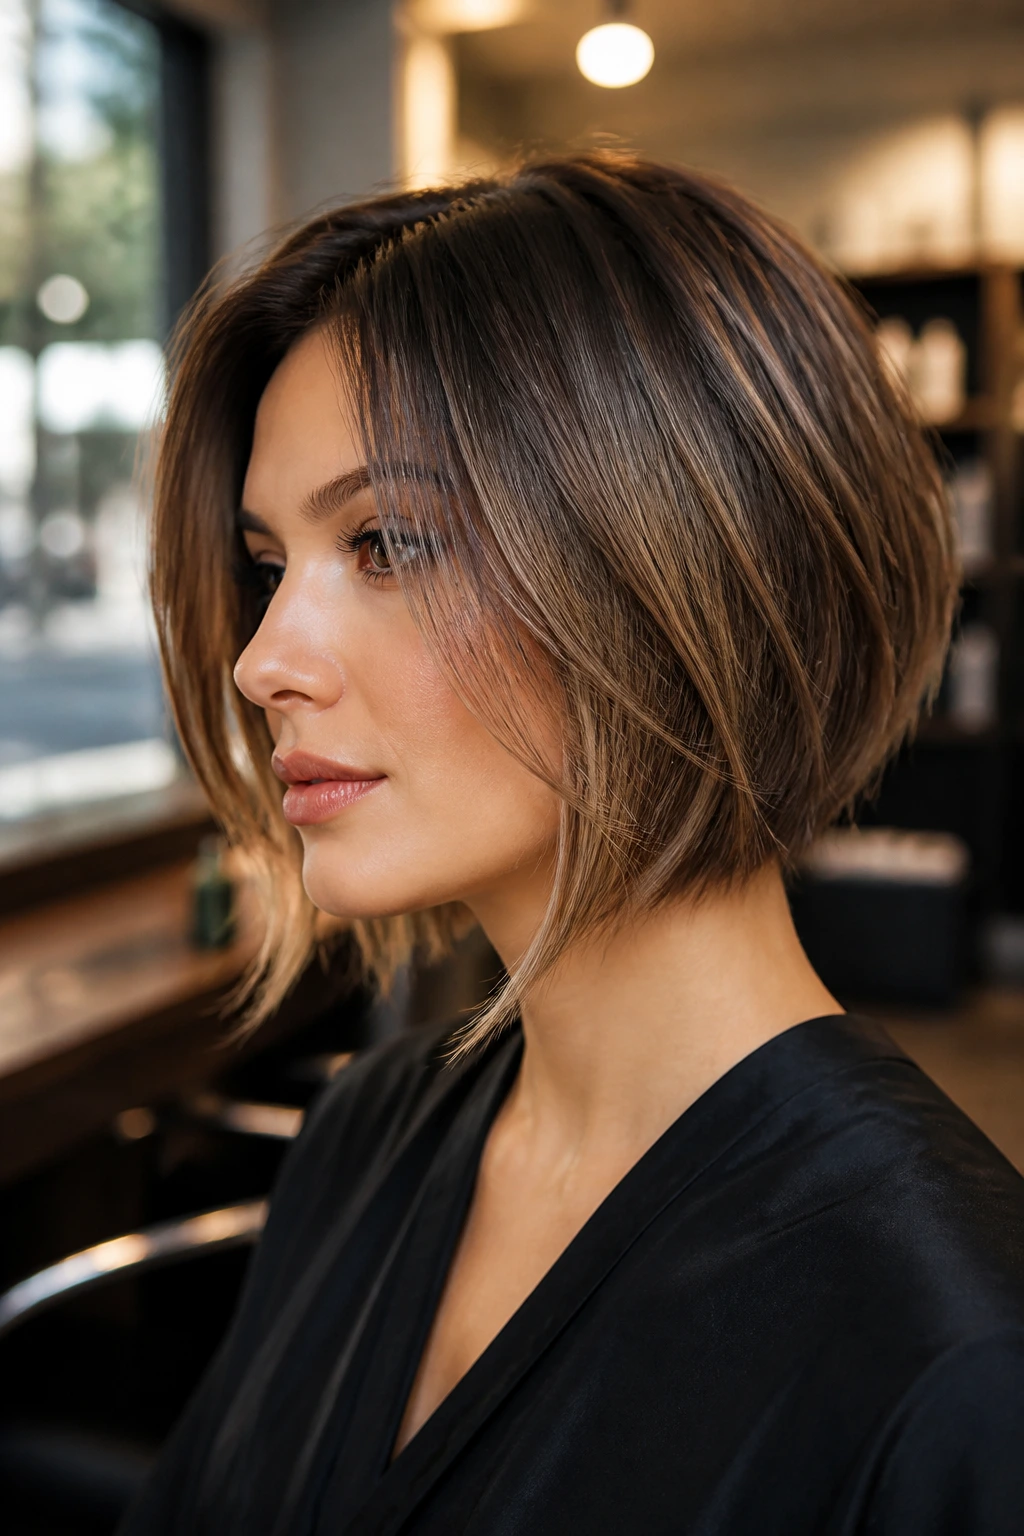
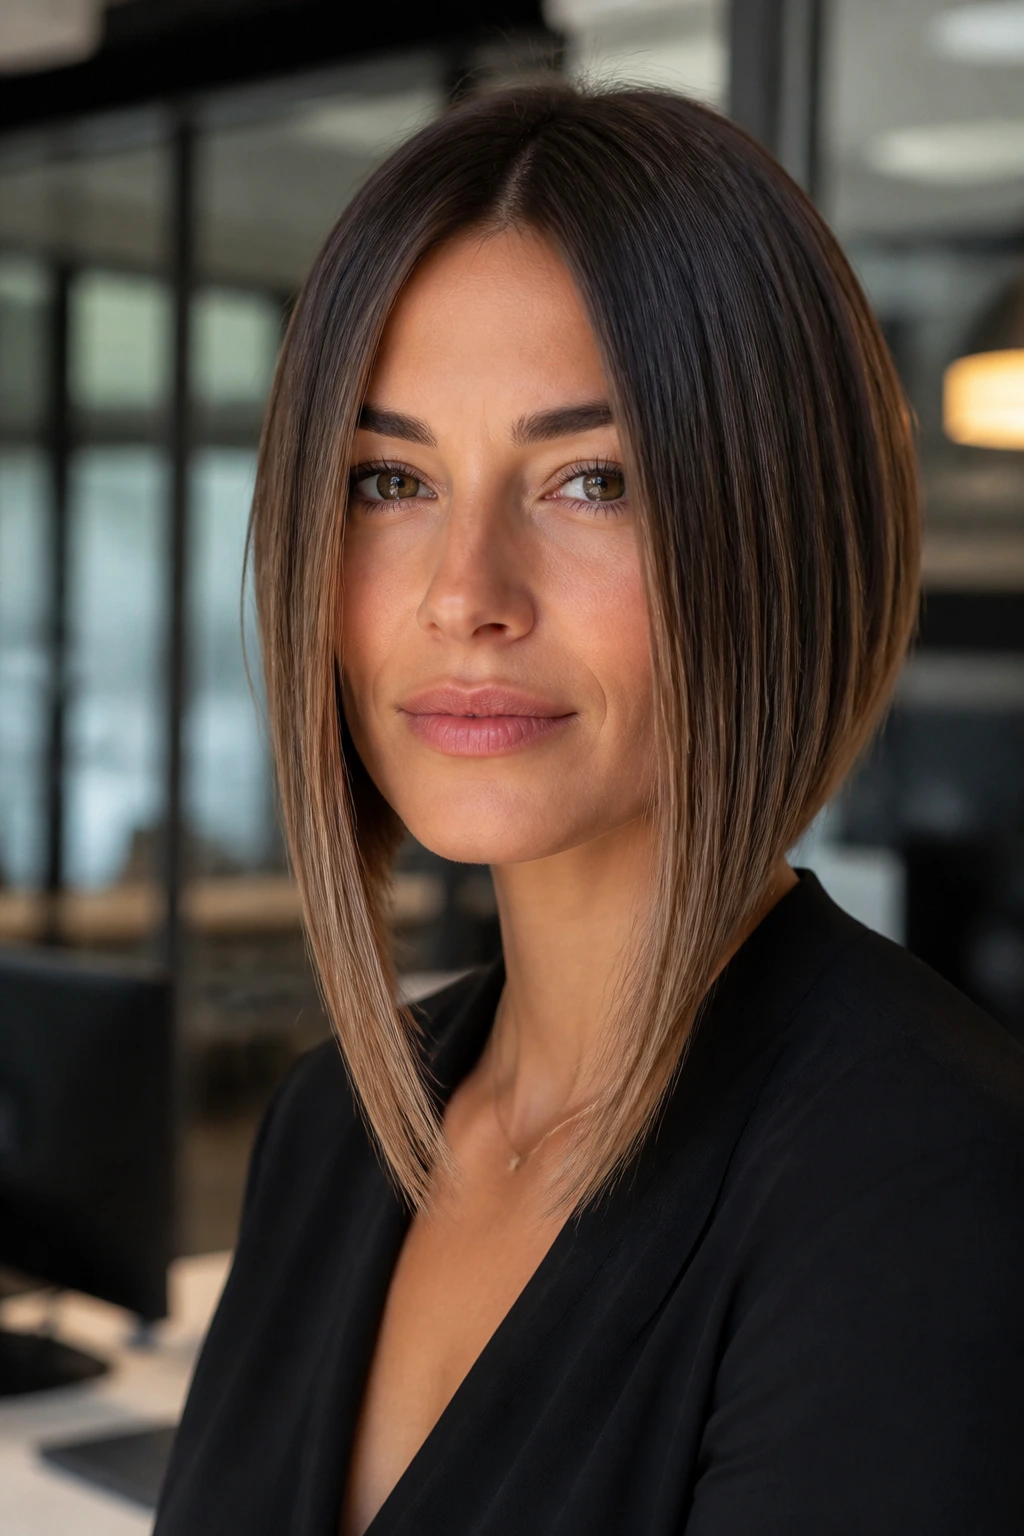
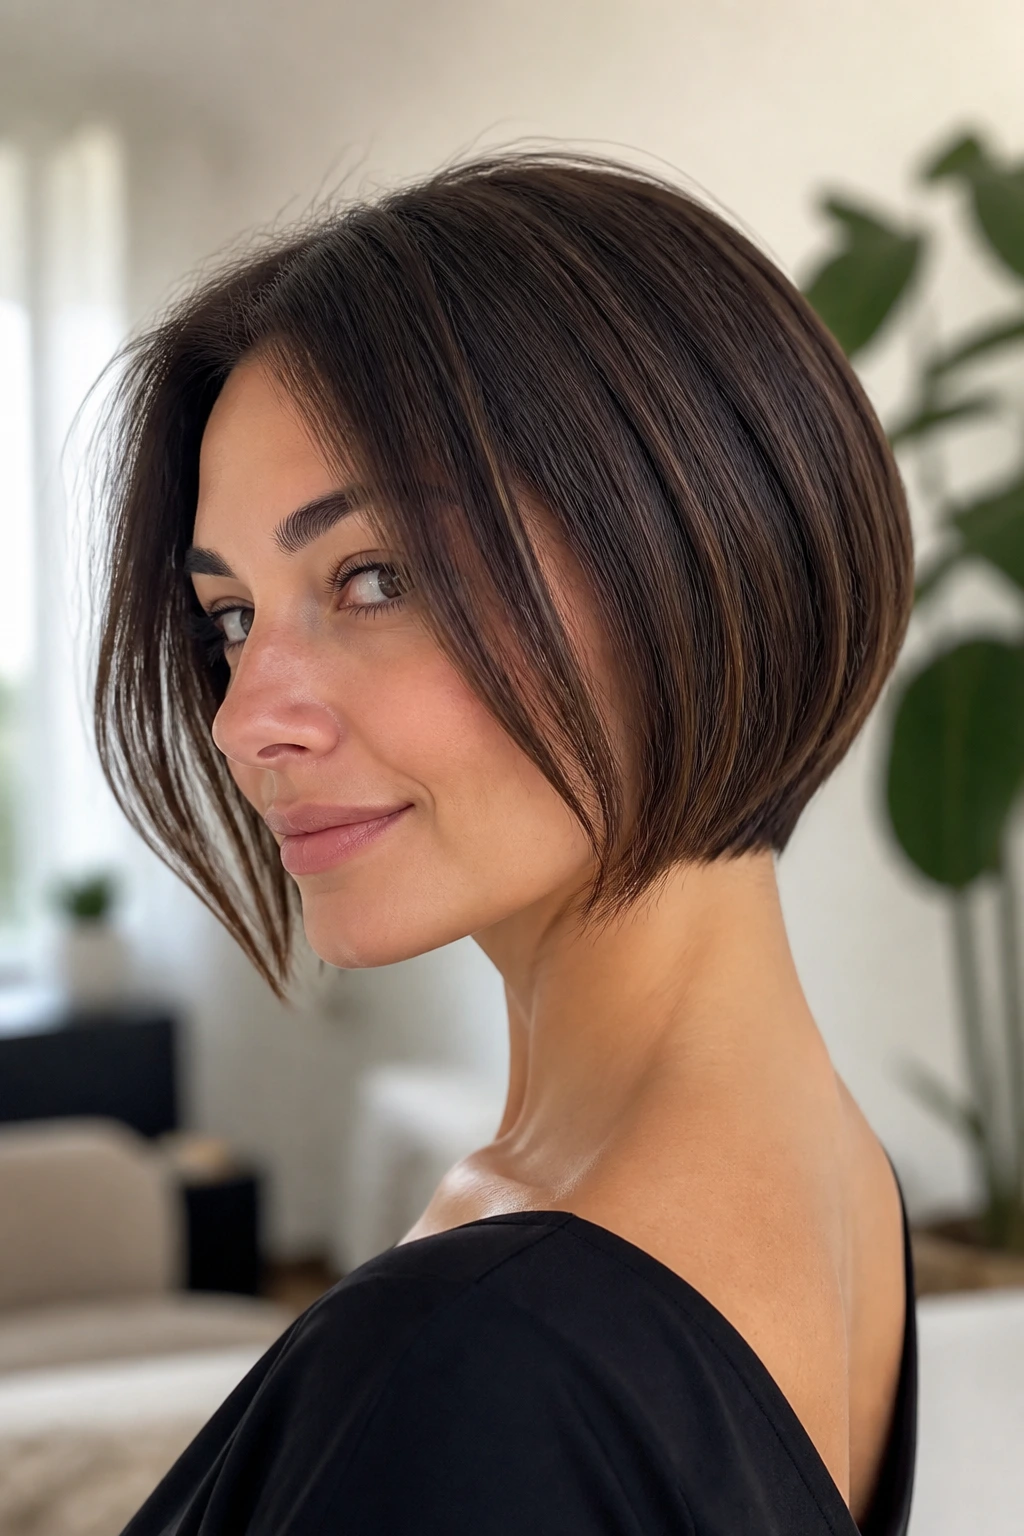
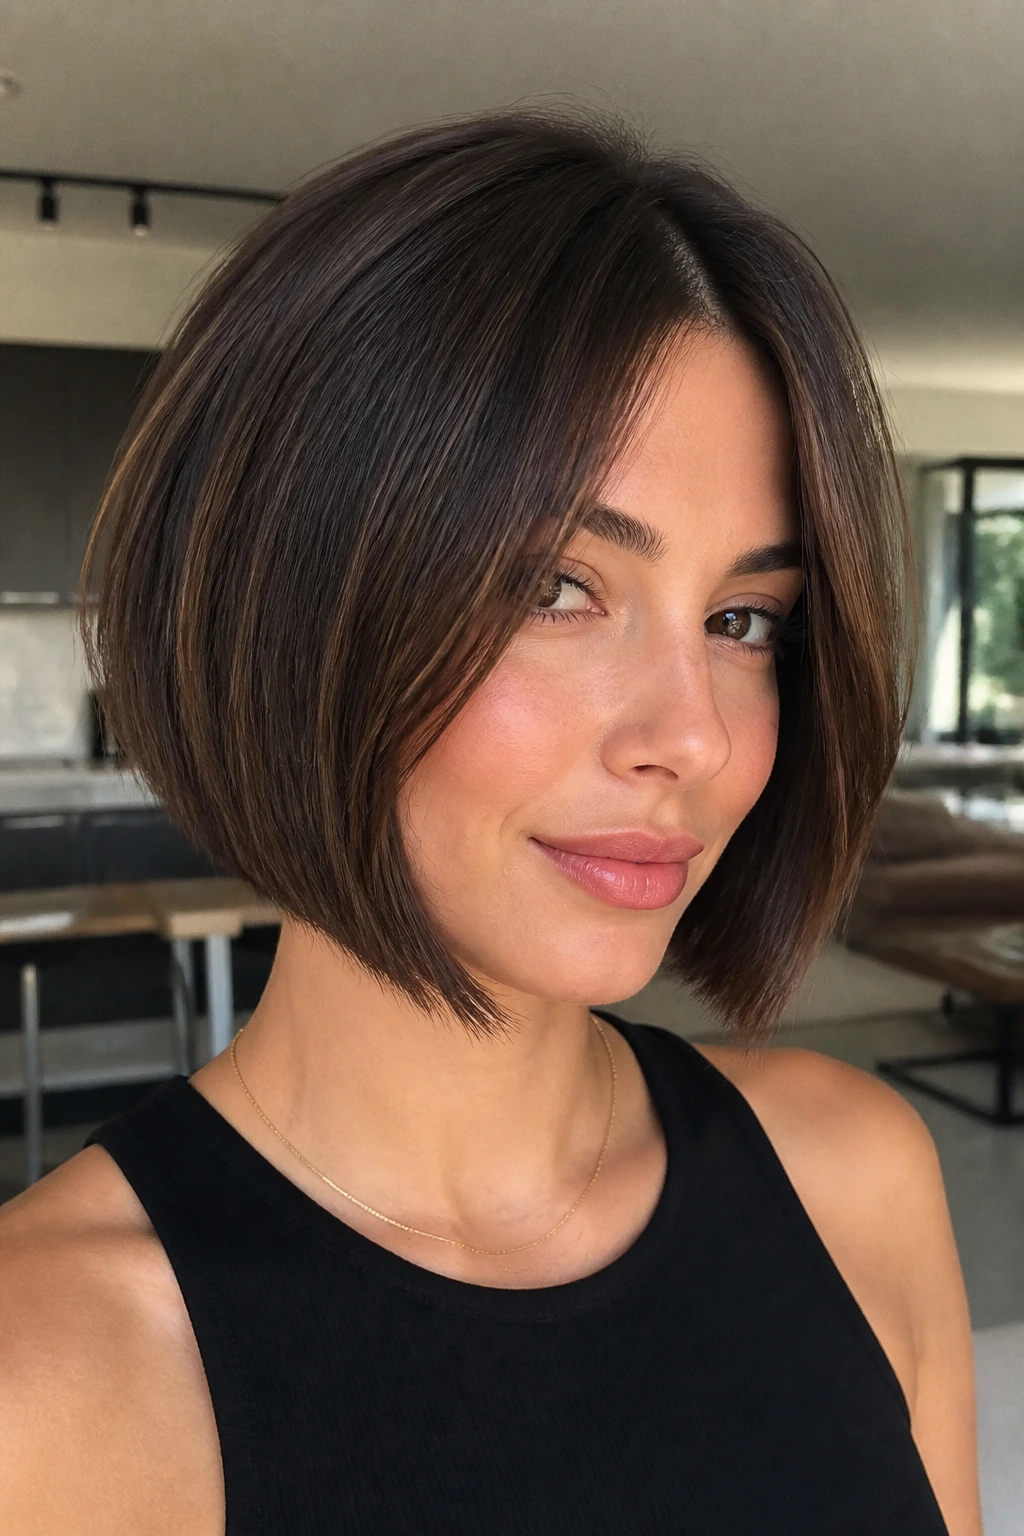
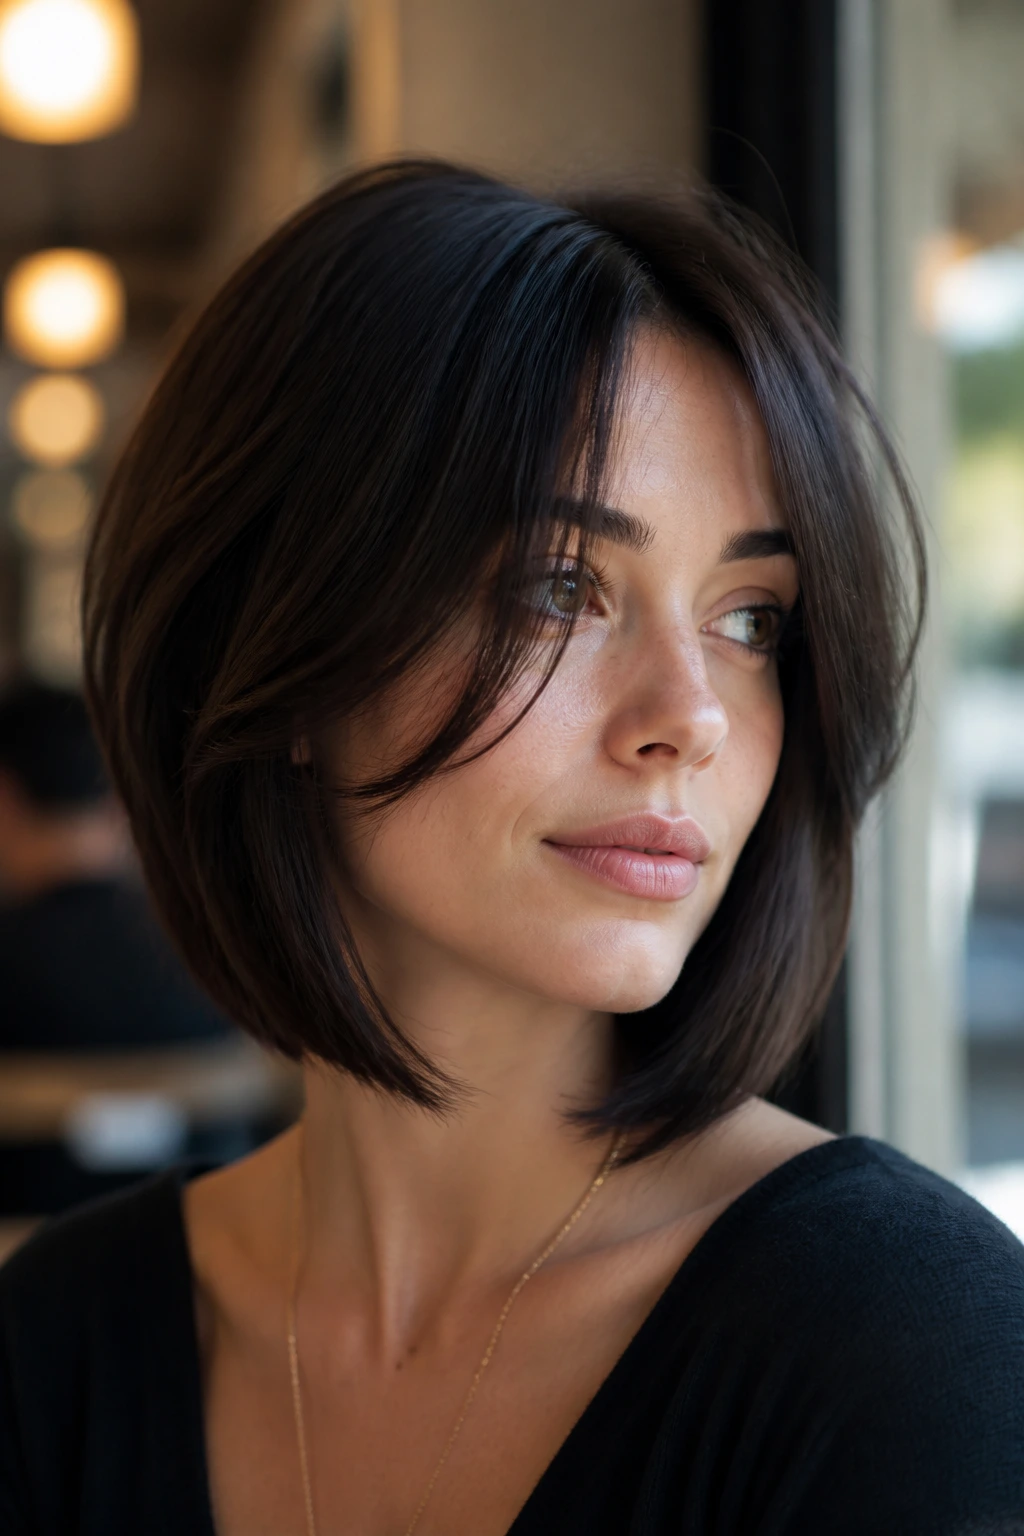
Straight hair shows an inverted bob with almost rude honesty. There’s nowhere to hide a sloppy angle, a heavy front edge, or a face frame that starts too high and ends up looking like a shelf. That’s exactly why the cut can look so good when it’s done well: the diagonal line reads clean, the nape looks neat, and the front pieces fall around the face instead of hanging there like afterthoughts.
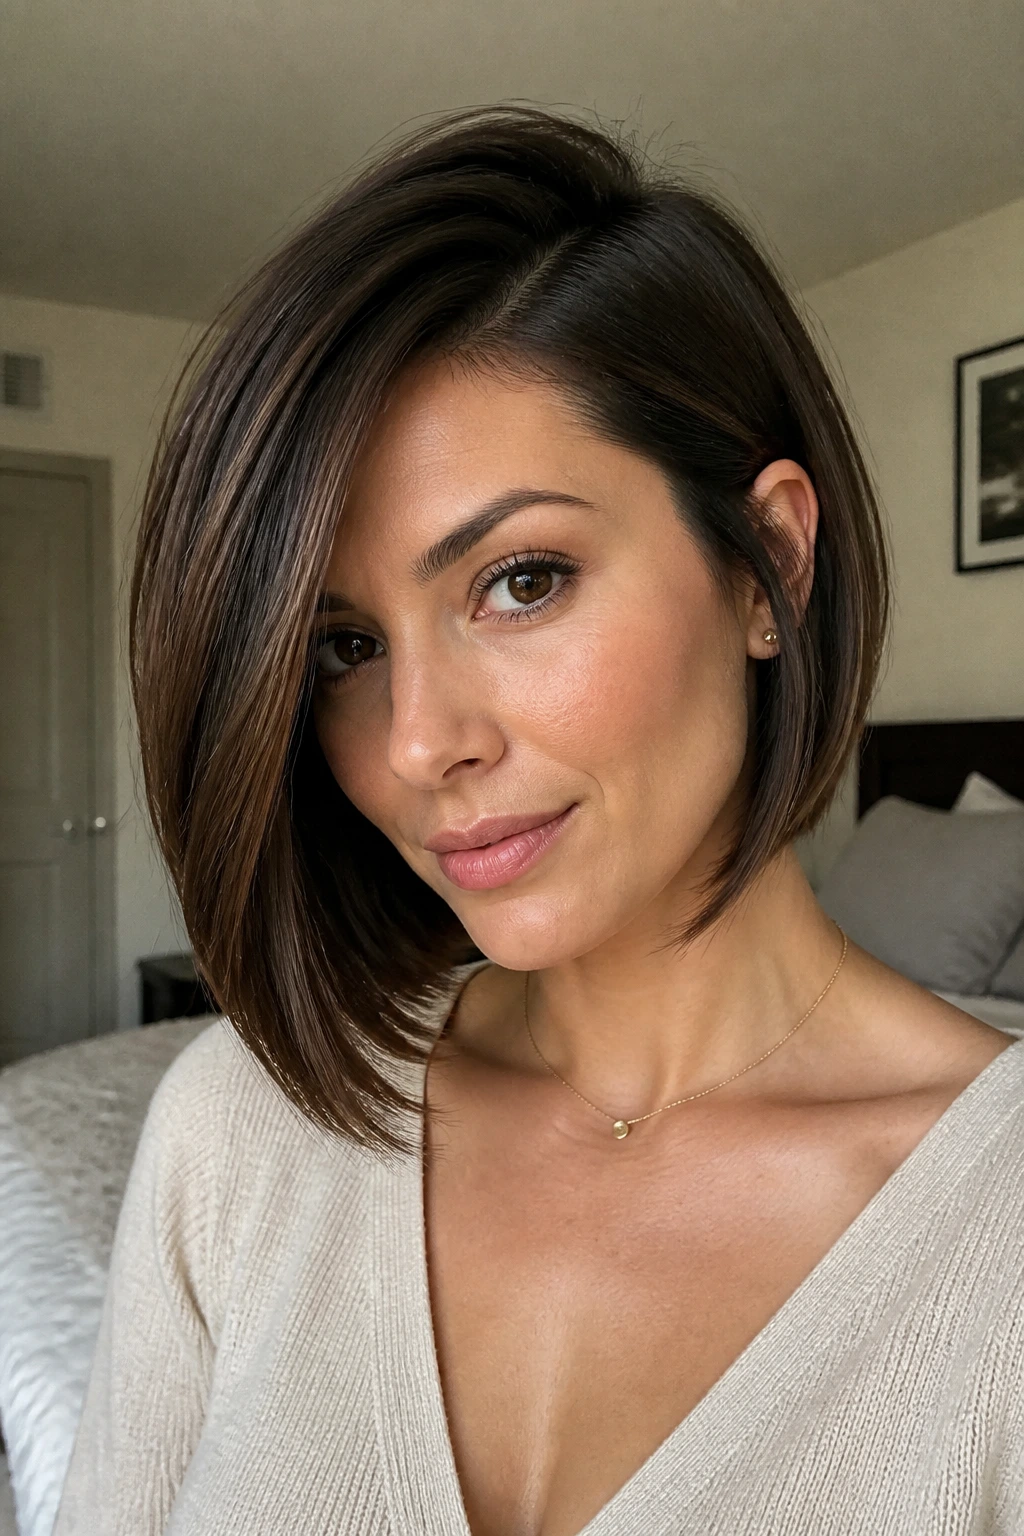
The best versions of an inverted bob for straight hair with face-framing layers do two jobs at once. They build shape at the back so the haircut doesn’t collapse by lunch, and they keep enough softness around the cheeks, jaw, and chin that the whole thing feels deliberate instead of severe. On straight hair, even half an inch matters. A face-framing piece that lands at the cheekbone gives a different mood than one that hits at the jawline, and that tiny change can make the whole cut feel sharper, sweeter, or more expensive.
I keep coming back to this haircut because it solves a problem a lot of straight-haired people know well: hair that looks clean at the salon and flat two days later. A good inverted bob makes the geometry do the heavy lifting. Add the right front layers, and the result has movement without curl, structure without helmet-head, and enough personality to carry itself with very little fuss.
Why These 25 Shapes Work So Well on Straight Hair

- The line stays visible: Straight hair doesn’t blur the angle the way waves do, so every inch of the back-to-front graduation reads clearly.
- Face-framing layers soften the edges: A few strategically placed front pieces keep the cut from turning boxy around the jaw.
- The crown gets a lift from the shape, not just product: A stacked back or subtle graduation creates the illusion of fullness without piling on mousse.
- It’s easy to adjust for density: Fine hair, thick hair, and medium hair all handle an inverted bob differently, which is why the cut has so many good variations.
- You can wear it sleek or bent: A flat iron gives a crisp, polished finish; a round brush gives a softer curve at the ends.
- It grows out with more grace than a blunt short cut: When the front is left a little longer, the shape doesn’t fall apart the second your trim date slides by a week.
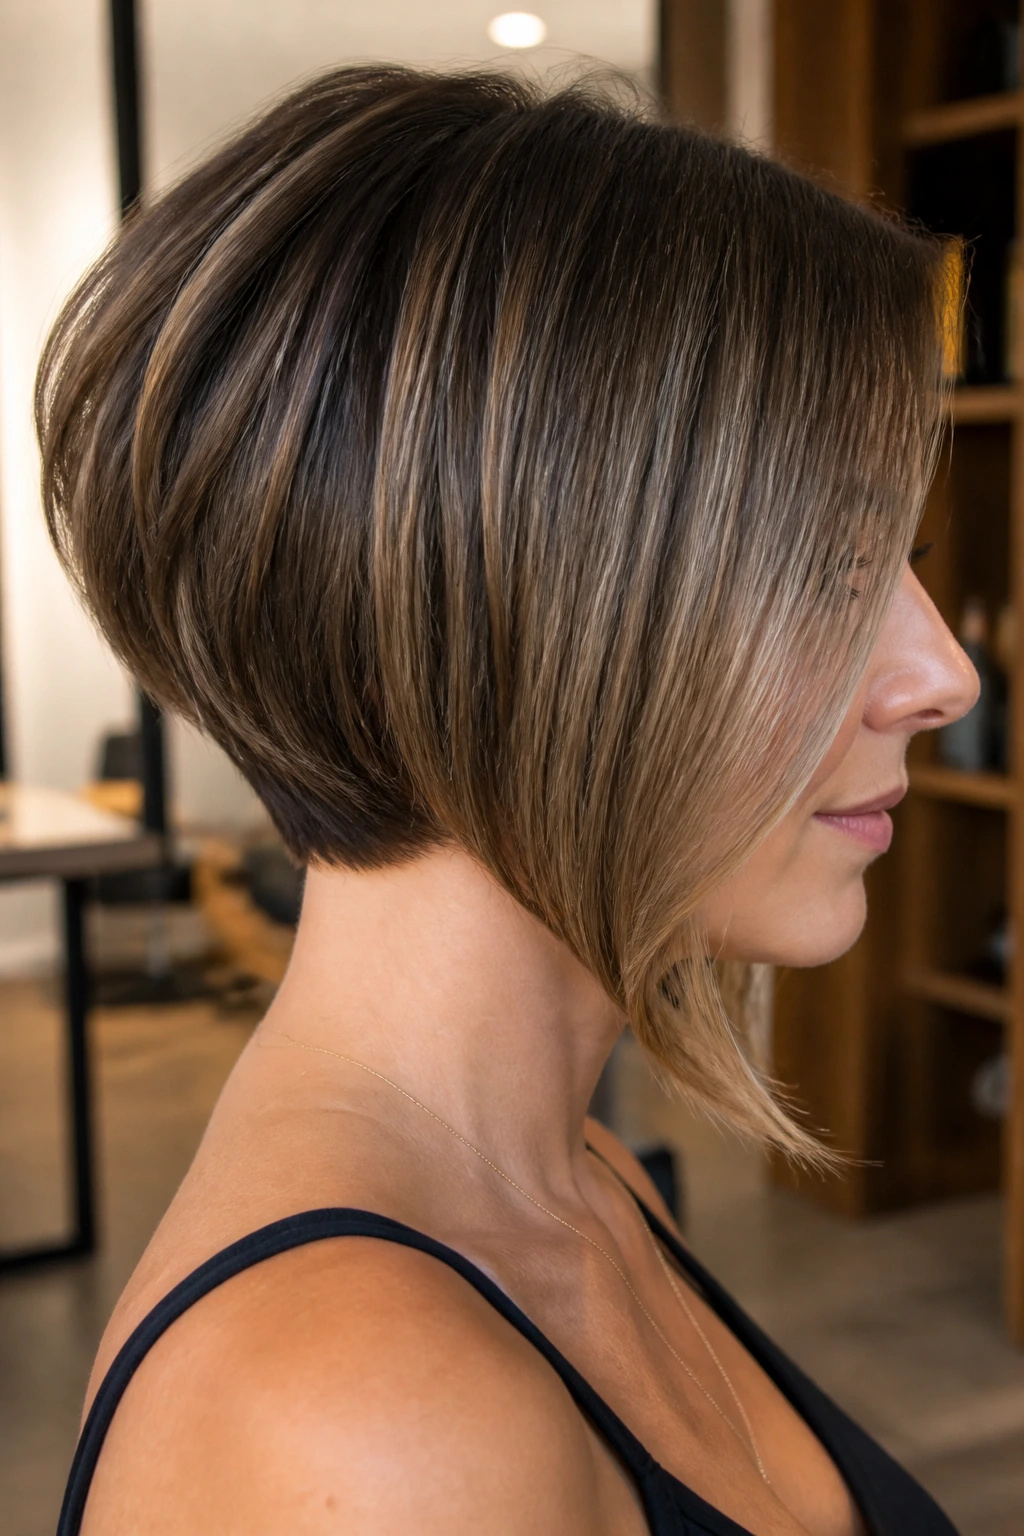
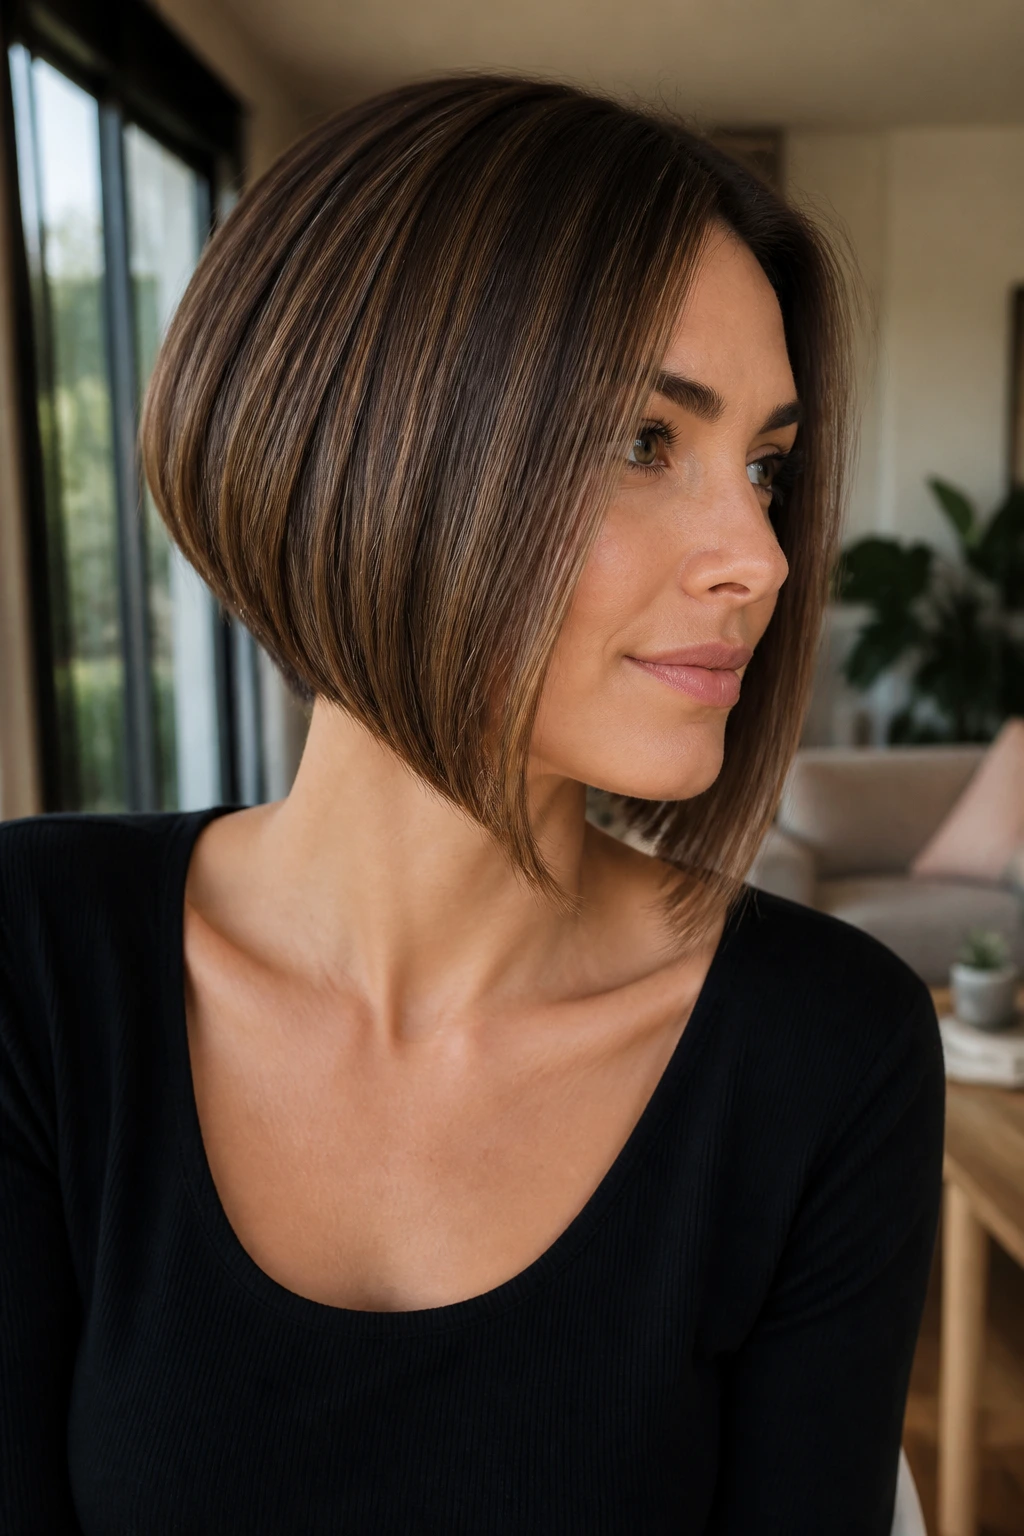
How the Angle Changes the Whole Mood
The angle is the whole story here. A short nape with a longer front panel creates lift in the back and length where the eye wants it. That’s why an inverted bob can look airy on one person and fierce on another, even when the basic haircut is nearly the same.
Straight hair makes this even more obvious. There’s no curl pattern to hide a heavy line or soften a harsh edge, so the placement of the front layers matters more than people think. Start them too high and the cut can look choppy. Leave them too long and the face-framing effect disappears into the rest of the hair.
A stylist I trust usually thinks in three zones: the nape, the jaw, and the cheekbone. Each one changes the way the haircut lands on the face. A shorter nape creates the cleanest angle. Cheekbone-framing pieces add lift around the eyes. Jaw-skimming layers can make a strong jaw feel softer, which is handy if you do not want the haircut shouting at everyone from across the room.
The sweet spot depends on what you want the haircut to do. Some versions feel neat and tailored. Others feel airy, cool, and a little undone — even when they’re blown out straight.
1. Soft Angled Collarbone Bob
This is the version I’d hand to someone who wants to test the inverted-bob waters without jumping straight into a dramatic chop. The back sits near the nape, the front drifts down toward the collarbone, and the face-framing layers start low enough to soften the cheeks without stealing too much length. It’s tidy, but not fussy.
Why it reads so clean
Straight hair loves this shape because the angle is visible from every side, yet the longer front pieces keep the cut from feeling severe. If your hair slips flat by midafternoon, this version still holds its line better than a one-length lob, partly because the back is lighter and the front has room to move.
Quick details
- Best for: oval, heart, and soft-square faces
- Front layer start point: just below the cheekbone
- Styling note: a 1-inch round brush gives a gentle bend at the ends
- Maintenance: trim every 6 to 8 weeks to keep the angle crisp
Best trick: bend the front pieces away from the face on both sides; it makes the angle show up without turning the haircut stiff.
2. Sharp A-Line Bob with Curtain Pieces
A sharper A-line bob is for the days when you want the haircut to look intentional from ten feet away. The back is clean and compact, while the front stretches forward in a smooth diagonal that doesn’t rely on curl or texture to make a point. Add curtain pieces, and the whole thing stops feeling hard.
The curtain layers should open somewhere between the cheekbone and nose bridge, then taper into the rest of the front length. On straight hair, that split gives the eyes a place to land and keeps the face from being boxed in by the perimeter. I like this look with a center part because it keeps the line balanced, but a slight off-center part works if your hair falls stubbornly to one side.
This is a good cut if you like the feeling of a crisp shirt collar. Polished. Straightforward. A little blunt, in the good sense.
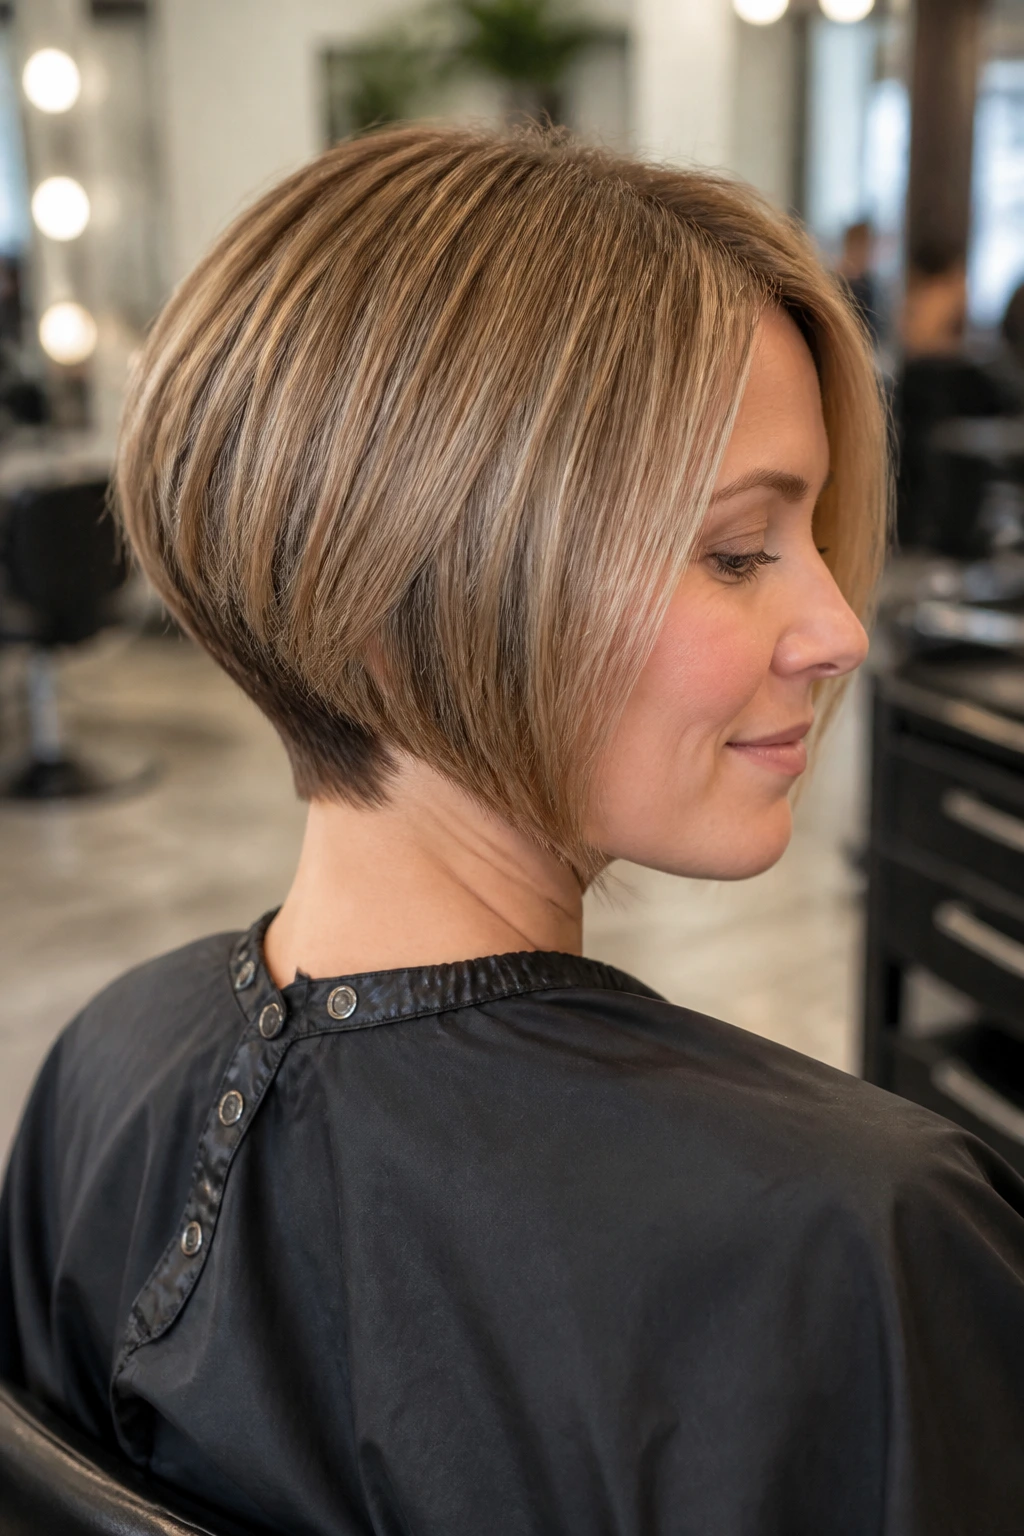
3. Stacked Nape Bob with Long Front Sweep
Want fullness at the back without turning the crown into a mushroom? Stack the nape and leave the front pieces long enough to sweep past the chin. That contrast is what gives this cut its shape.
What makes it work
The stacking adds internal lift where straight hair usually lies the flattest, right at the back of the head. The long front sweep keeps the profile elegant instead of chunky. When the front pieces hit below the jaw, they pull the eye forward and down, which helps the back feel even more lifted.
A lot of people think stacked means short and spiky. It doesn’t have to. On straight hair, a smooth stack with carefully blended layers can look cleaner than any amount of texturizing spray. If you want the haircut to read as sleek rather than edgy, ask for the graduation to stay tight and the top layers to remain soft.
4. Chin-Length Inverted Bob with Wispy Jaw Layers
I’ve seen this haircut rescue more round faces than I can count. The chin-length perimeter gives the cut a clear end point, then the wispy layers around the jaw break up the heaviness that can happen with straight hair.
A chin-length inverted bob has a little attitude. Not loud attitude. More like a raised eyebrow. It sits high enough to show the neck, and the front pieces can be cut to skim the jaw instead of sitting on top of it, which makes the whole shape feel lighter. If your hair is dense, this version stops the front from building into a block.
Best for: round, square, and petite faces.
How to style it: blow-dry the roots first, then use a flat brush to turn the ends in by a half-inch. That tiny inward bend keeps the jawline layers from looking too piecey.
Watch for this: if the layers start too high, the cut can flip out in odd little hooks. Keep the wispy pieces low.
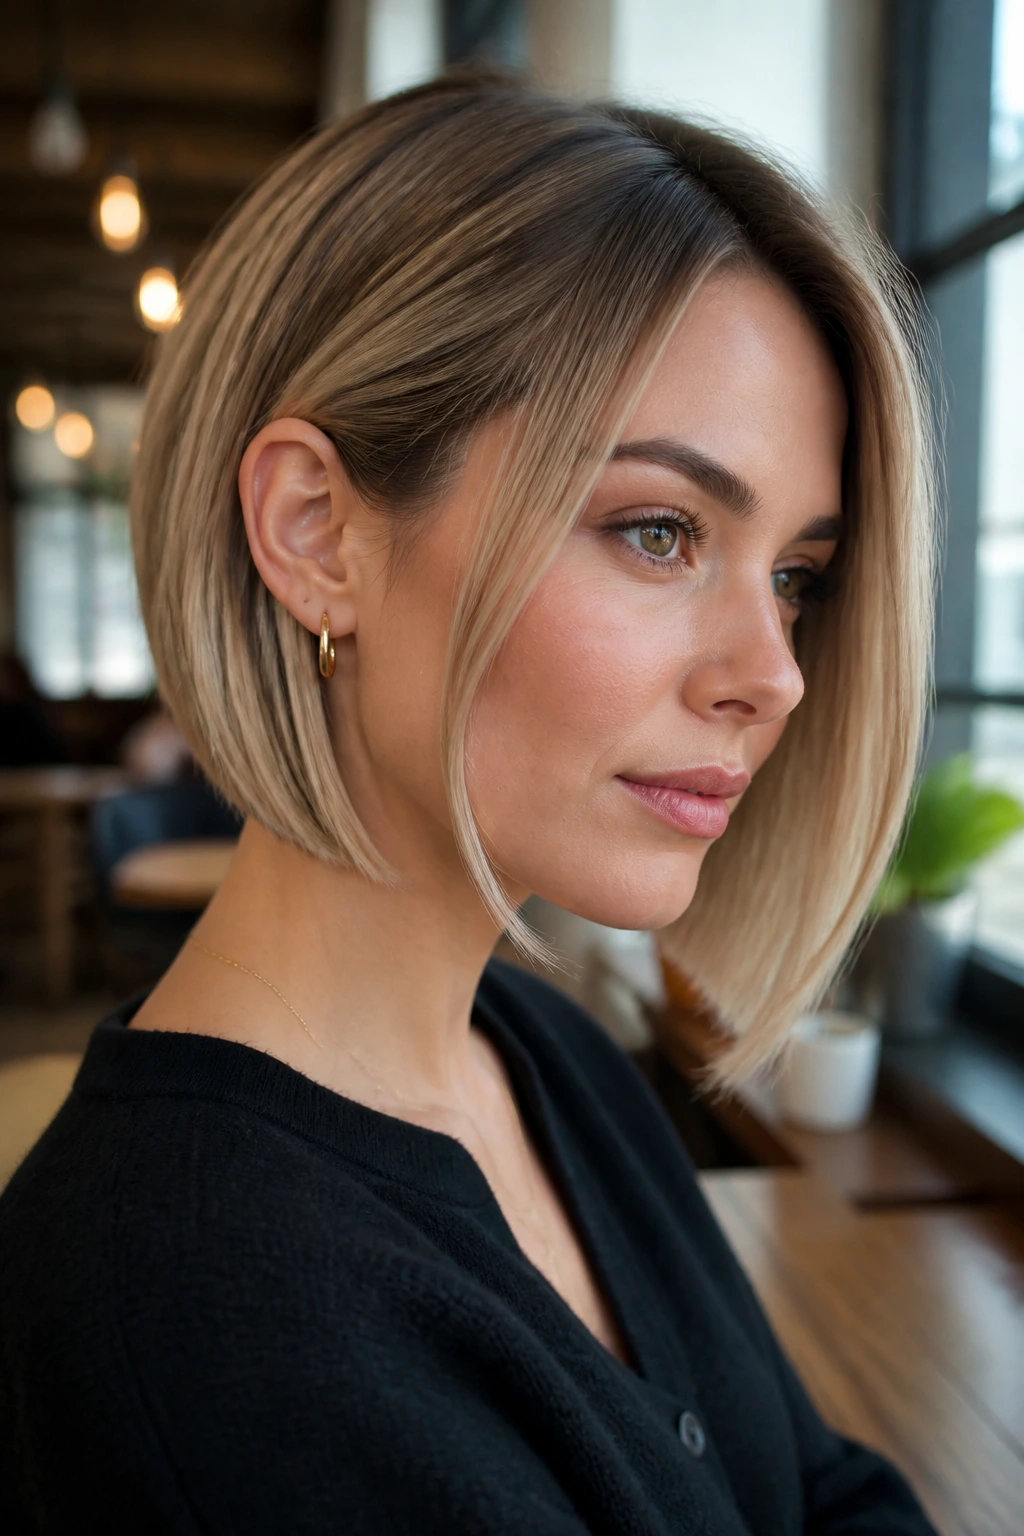
5. Deep Side-Part Inverted Bob
A deep side part changes the haircut more than most people expect. Suddenly the longer side gets extra weight, the shorter side lifts, and the whole inverted bob feels less symmetrical and a little more styled, even if you did almost nothing to it.
Straight hair often benefits from this because the root lift happens naturally at the part line. The heavier side can brush the cheek, while the opposite side opens the face. It’s a nice choice if one side of your hair has always been the flatter one. You know the side. We all have one.
This cut looks especially good when the front layers are cut to follow the part, not fight it. Ask for the shortest face-framing piece to land near the cheekbone on the heavier side and slightly lower on the open side. That keeps the shape from looking lopsided in a bad way.
6. Glass-Hair Bob with Invisible Layers
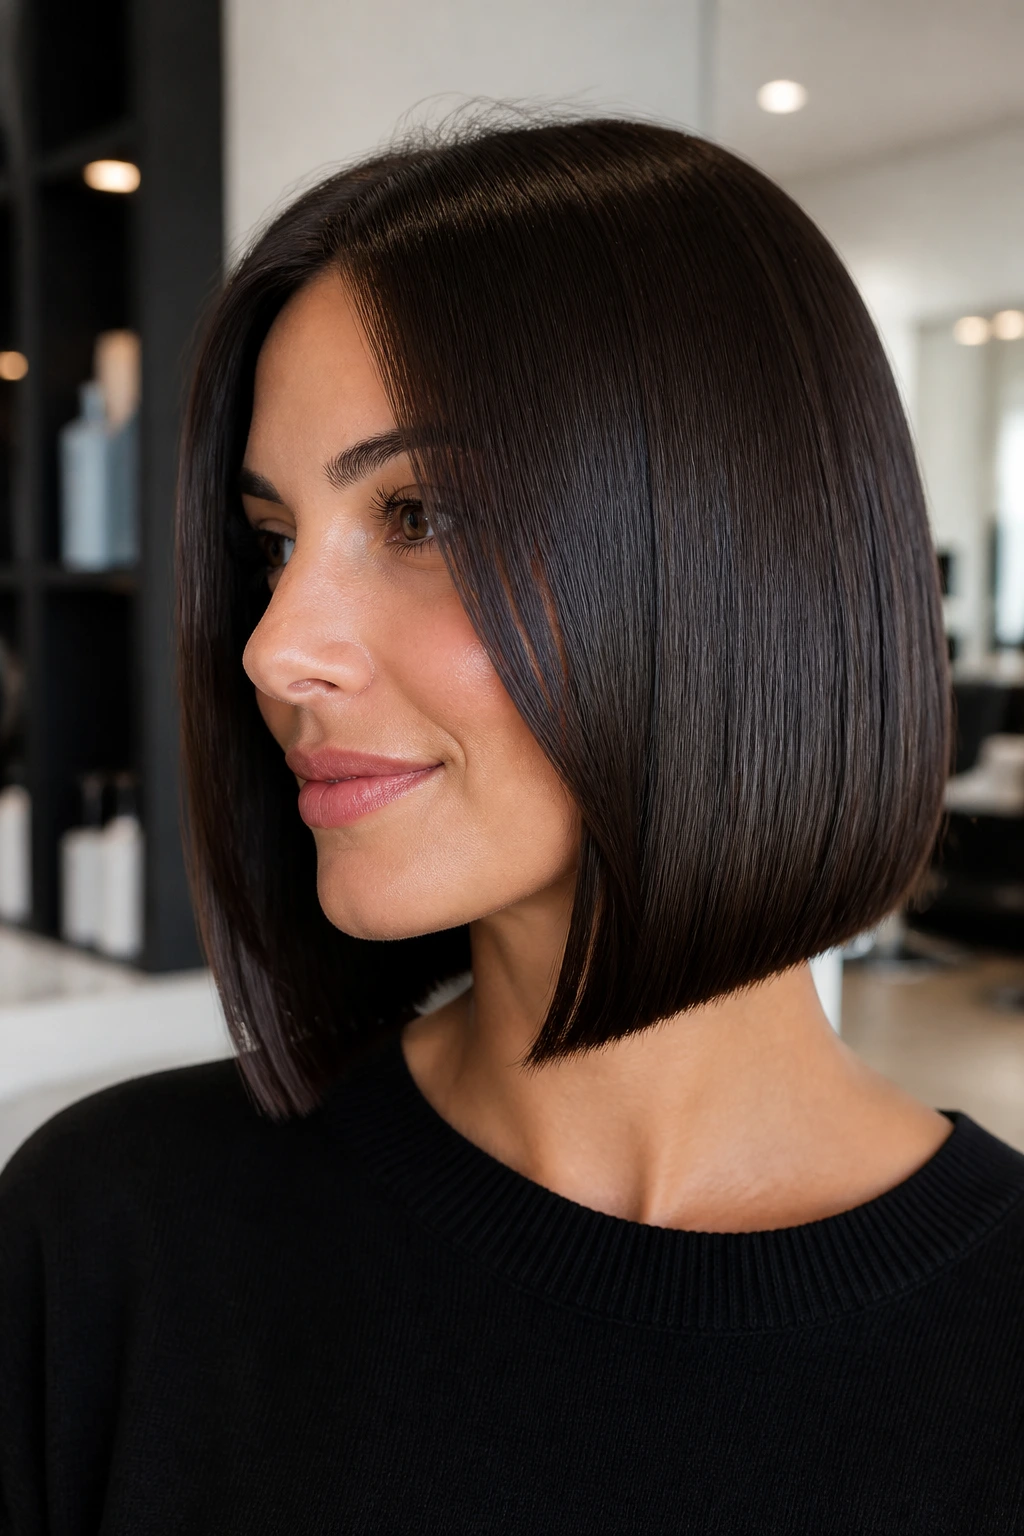
If you like hair that looks like it was pressed with a ruler, this is your cut. The perimeter stays clean and shiny, while the face-framing layers are hidden just enough to move when you turn your head.
Invisible layers are the quiet trick here. They remove weight from the inside without making the ends look choppy. On straight hair, that matters because visible layers can break the line too fast. I prefer this version for anyone who wants the inverted-bob shape but hates the feathered look that shows every cut mark.
The styling is simple, which is part of the appeal. Heat protectant, a paddle brush blow-dry, then a flat iron pass from mid-lengths to ends. Stop short of the root if you want the crown to keep a bit of lift. If the ends bend under too aggressively, the haircut loses that glassy finish.
7. Lob-Length Inverted Bob for Grown-Out Ease
This is the one for people who want the angle without committing to a shorter bob every six weeks. The back still sits a little higher, but the front hangs longer, often grazing the collarbone. It feels relaxed, and that extra length buys you room between trims.
Why it’s worth considering
A lob-length inverted bob gives straight hair a better chance to stay smooth. The longer front pieces don’t kick up as fast, and the shape survives casual air-drying better than a very short cut. Face-framing layers can start low, around the jaw or just below it, which keeps the style soft and wearable.
- Best for: anyone growing out a shorter bob
- Styling note: a middle part keeps the length visible
- Maintenance: the angle can still be trimmed every 8 weeks
- Bonus: enough length for a tiny low ponytail or clipped-back sides
My take: if you’re nervous about short hair but want the cleaner line of an inverted cut, start here.
8. Feathered Bob with Cheekbone Pieces

Feathering changes the mood from tailored to airy in a single snip. The perimeter stays bobbed, but the front pieces are softened so they don’t sit like flat panels against the face.
What makes this version useful on straight hair is the way the cheekbone pieces break the line just enough. Straight strands can cling too neatly to the cheeks, which can feel harsh around the lower face. A feathered approach lets the front layers brush outward a touch, catching the air when you turn your head. Not curl. Air.
This cut flatters medium-density hair especially well because it has enough body to show the movement. If your hair is very fine, ask for only light feathering; too much can make the ends look wispy and thin.
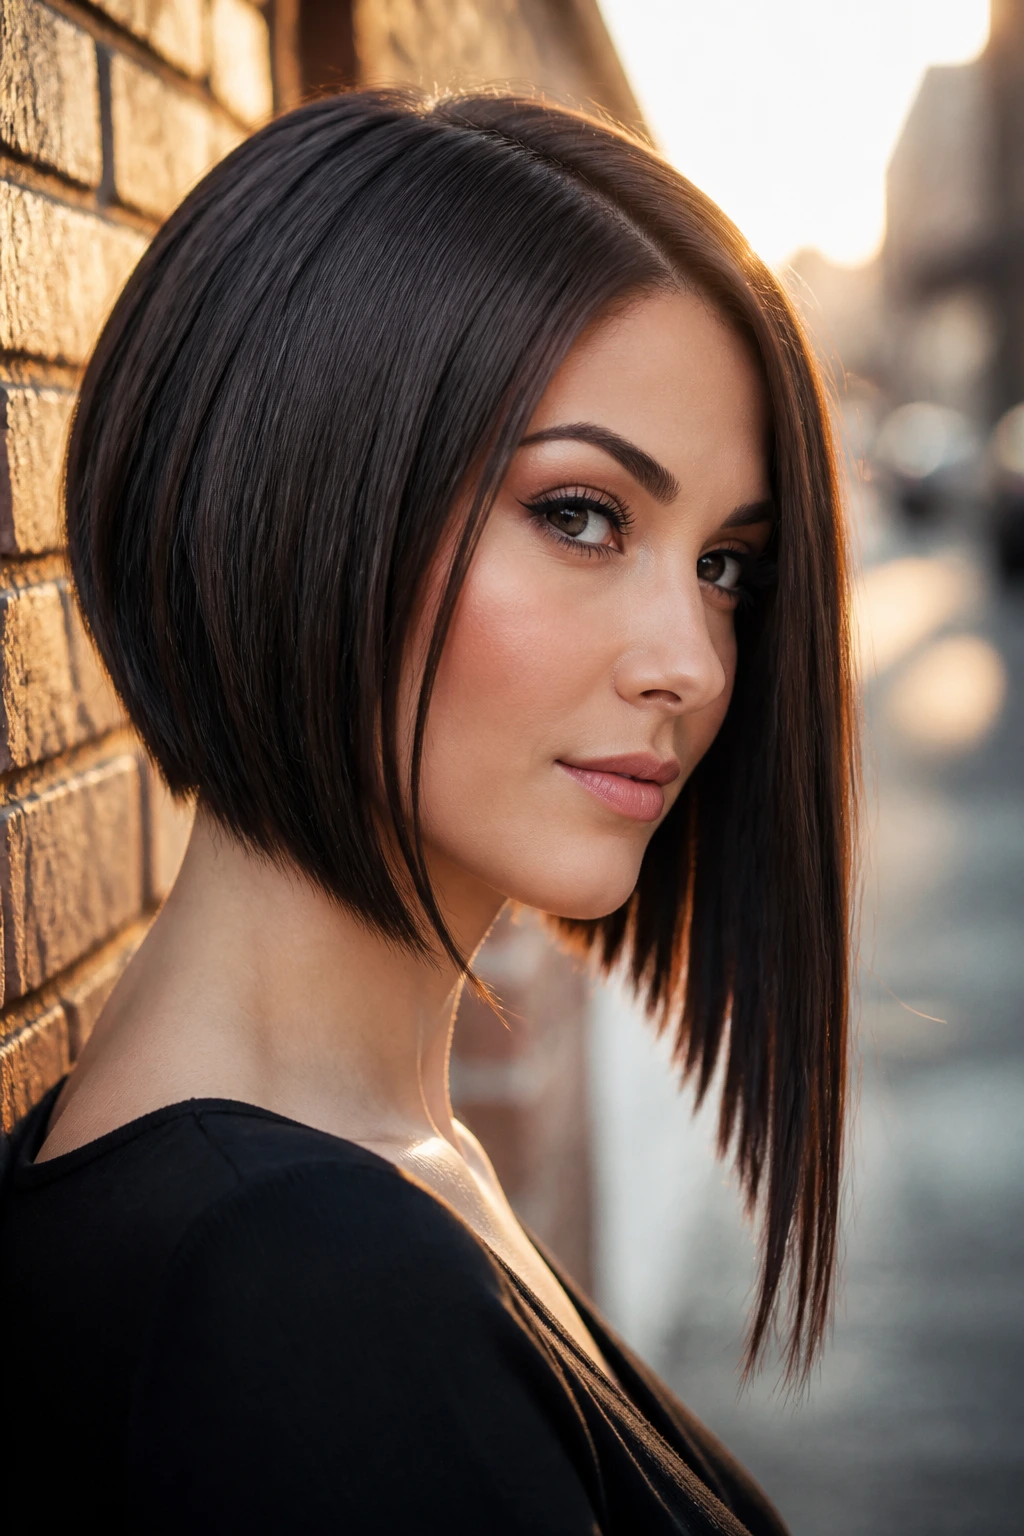
9. Blunt Front, Tapered Back Bob
This one has a bit of swagger. The front edge is blunt and solid, which gives the haircut a strong visual line, while the back tapers up cleanly toward the nape so the shape still reads as inverted.
The contrast is what makes it interesting. On straight hair, bluntness can look expensive when the ends are thick enough to hold a straight line. The tapered back keeps it from feeling boxy. If your jaw is narrow or your face needs a little width near the front, this shape can help the cheeks look fuller without adding volume everywhere else.
Wear it with a sleek center part or a subtle off-center part. Either way, the front line is the star. Don’t bury it under heavy product. A little serum on the ends is plenty.
10. Rounded Inverted Bob for Narrow Faces
Why does a rounded version matter? Because some inverted bobs can look too pointy on long or narrow faces, like the haircut is aiming at the chin instead of framing it. A rounded version softens that.
What to ask for
Ask your stylist to keep the crown smooth and let the front curve inward slightly instead of dropping in a hard diagonal. The face-framing layers should blend from the cheekbone toward the jaw without sudden steps. On straight hair, that rounded silhouette helps the cut feel balanced rather than severe.
If you wear glasses, this shape is sneaky-good. The rounder line sits near the frames without competing with them. It also works well if you want the haircut to soften a sharp nose or a longer chin. That’s the kind of detail people notice even if they can’t name it.
11. Micro-Inverted Bob with Long Bang Blend

Shorter than a classic bob, but not as bold as a pixie-bob hybrid, this version hugs the nape and leaves long blended bang pieces to frame the face. It’s a nice choice when you want neck exposure and a little drama around the eyes.
Straight hair makes the micro-inverted shape feel crisp, almost architectural. The long bang blend keeps it from turning too hard. You can tuck the front behind the ears, sweep it down over the cheeks, or split it in the middle and let the pieces fall like soft brackets. The cut does the work; you don’t need a lot of styling tricks to keep it alive.
It suits smaller faces especially well, but it can also sharpen up broader cheekbones by narrowing the outline around the jaw.
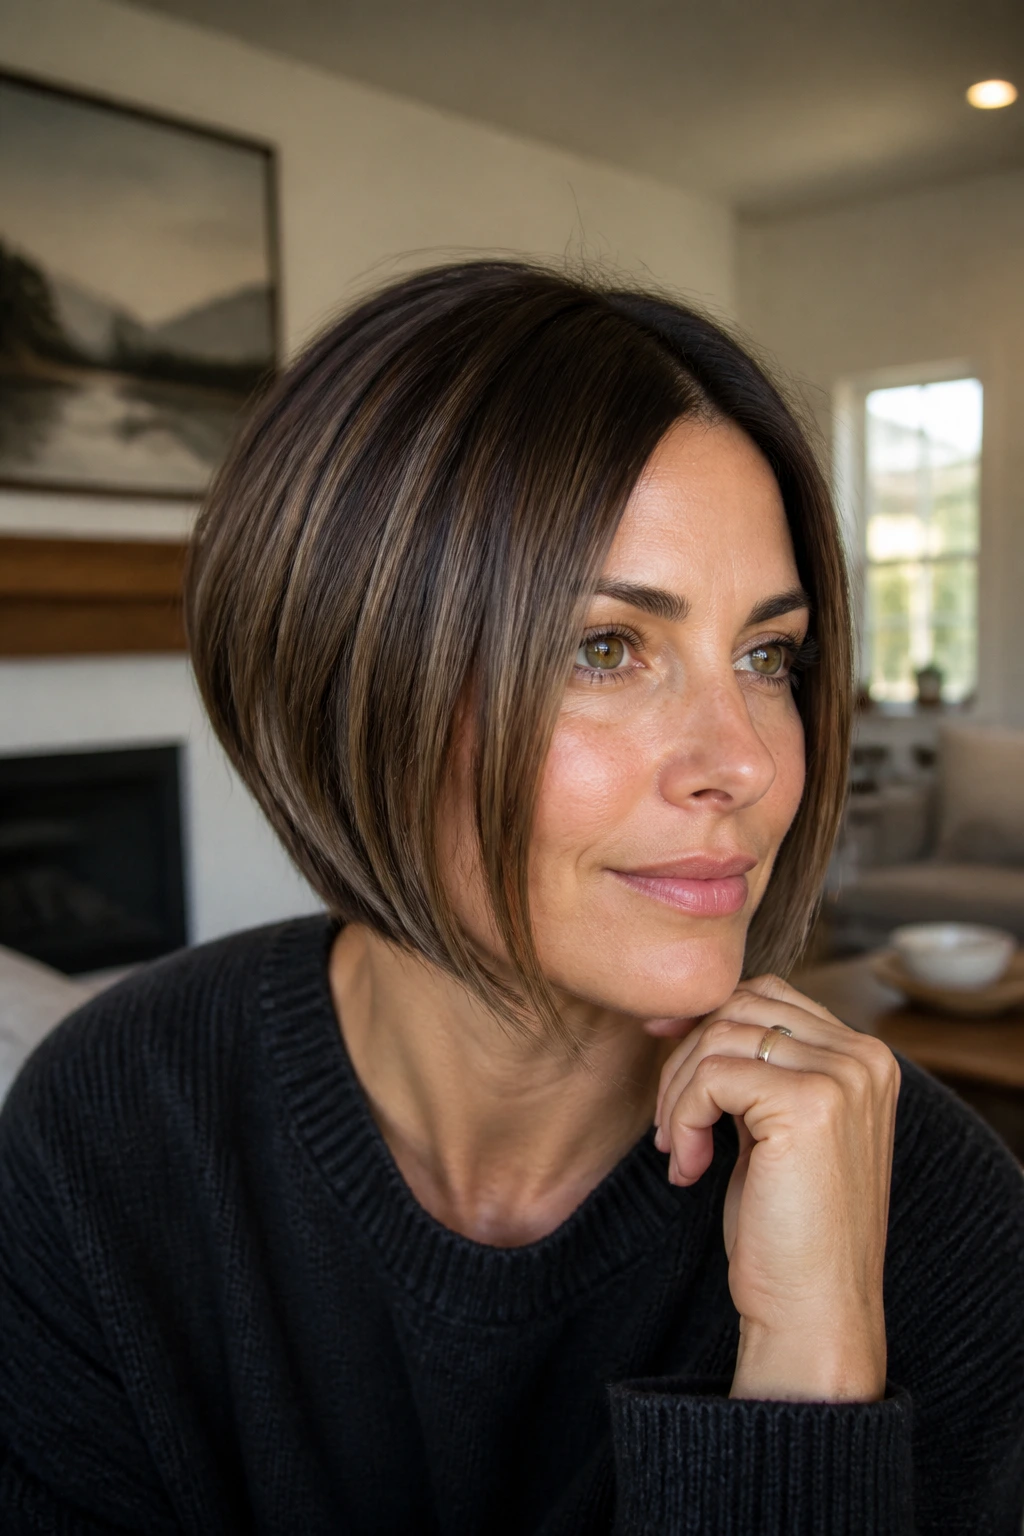
12. Debulked Thick-Hair Bob
Thick straight hair can turn into a triangle fast if the cut is too blunt and too heavy. Debulking solves that, but only if it’s done with restraint. You want the shape to move, not collapse.
The trick is removing weight from the interior, especially through the back and lower sides, while leaving the outline strong enough to read as an inverted bob. Too much thinning near the ends gives you frayed tips that won’t sit neatly. Too little and the haircut balloons out after a blow-dry.
This version often looks best with front pieces that start around the jaw. That gives the face some room and keeps the bulk from crowding the cheeks. If your hair is coarse, a smoothing cream and a nozzle attachment on the dryer will do more for the final shape than a pile of finishing products ever will.
13. Fine-Hair Lift Bob with Crown Stack

Fine hair needs structure, not fluff. A crown stack gives it that structure by building height where the scalp tends to lie flat, then keeping the front pieces long enough to preserve the illusion of density.
Small details, big payoff
- Ask for the shortest layers to stay concentrated at the nape and crown.
- Keep the front pieces blunt enough to look full at the ends.
- Use a root-lift spray at the crown, not through the lengths.
- Blow-dry with the head slightly forward to set the root bend.
Straight fine hair can lose volume fast, so the stack has to be smart, not aggressive. I like this cut with a side part if the crown is very flat; the lift at the root gives the style a little more staying power. A center part works too, but it demands a little more heat styling to keep the top from splitting open.
14. Center-Part Inverted Bob
A center part gives the inverted bob a calm, balanced look. No drama from the part itself. The shape has to come from the cut.
That’s why this version relies on clean face-framing layers. The front pieces should mirror each other with enough length to soften the sides of the face, especially if your features are symmetrical and you don’t want the haircut to fight them. Straight hair makes the center line obvious, which can be beautiful if the ends are cut neatly and the nape graduation is tidy.
I like this one for people who wear a lot of minimal clothes — white tees, crisp shirts, simple jewelry. The haircut becomes part of the outfit instead of a separate event.
15. Side-Swept Fringe Bob
A side-swept fringe can change the entire feeling of an inverted bob. It draws the eye diagonally across the face, which pairs naturally with the cut’s back-to-front angle.
This works especially well on straight hair because the fringe stays visible instead of disappearing into texture. Keep the fringe long enough to move into the front layer, not short enough to sit apart from it. Around the cheekbone or just below is usually the sweet spot. If the fringe stops too high, the haircut can start looking chopped into pieces.
Square jaws tend to like this version. The side sweep softens the corners, and the inverted shape keeps the haircut from looking too round. It’s a solid choice if you want the face-framing effect to start earlier and feel more obvious.
16. Tucked-Behind-Ear Bob with Face Frame
You know that little moment when one side of your hair gets tucked behind your ear and suddenly the whole haircut looks more intentional? This version builds on that on purpose.
Why it’s handy
The front pieces are cut long enough to tuck back without disappearing. That means you can show off earrings, glasses, or a strong jawline without losing the inverted bob shape. Straight hair helps because the tucked section stays smooth instead of puffing out at the ear.
- Best for: people who wear glasses or small hoops every day
- Face frame start point: around the mouth or jawline
- Styling note: bend the tucked side under slightly so it doesn’t kick out
- Look: clean, practical, and just a little polished
This is one of those cuts that looks casual in motion and sharp in photos. Which is rare. And useful.
17. Curved Ends Bob
A curved-end bob takes the hard edge off the haircut without erasing the inverted shape. The ends turn inward by design, giving the perimeter a soft sweep that reads clean on straight hair.
The curve matters because straight hair can show every blunt edge. If the cut is too sharp, the whole style can feel a touch boxy. A gentle underbend at the ends fixes that. Ask for the front pieces to maintain their length and the lower sections to be shaped so they settle under with a round brush, not curl into a ball.
This is a very good version if you like your hair to look finished even on a simple day. The style doesn’t need much. Just a blow-dry, a touch of smoothing cream, and a brush that isn’t fighting your hair the entire time.
18. Razor-Soft Inverted Bob
Razor-soft does not mean shredded. It means the ends have a little air in them, enough to keep the haircut from feeling blocky, but not so much that the line disappears.
Compared with a blunt inverted bob, this version moves more easily around the jaw and neck. Straight hair shows the difference fast. A clean razor finish can make the perimeter swing a little more, which is useful if your hair is dense or your face framing needs a softer edge. Just don’t let the razor work too high into the shape, or the front pieces can start looking thin before they even reach the chin.
I like this cut with a slightly messy blow-dry rather than a pin-straight ironed finish. That contrast brings out the texture in the ends.
19. Modern French Bob Variation

Do you want the bob to sit shorter and still feel easy? This is the answer. The French-leaning version trims closer to the jaw, then leaves the front pieces just long enough to brush the cheek or lip line.
It feels chic without being precious. On straight hair, the key is keeping the face-framing layers soft so the cut doesn’t land like a helmet. The perimeter should be neat, but the front should have a little give. That combination makes the style feel lived in instead of overworked.
This one suits people who prefer a shorter neck line and don’t mind seeing the haircut. It’s not hiding anywhere. It also looks good with red lipstick, black collars, and very little else.
20. Long Front Panel Bob for Square Jaws
Square jaws can handle a bob, but not every bob handles them back. Long front panels help by creating a vertical line beside the face that softens the corners without hiding the jaw altogether.
The front pieces should usually fall below the chin, sometimes closer to the top of the neck, so the angle doesn’t stop right at the strongest point of the jaw. Straight hair makes those panels clean and visible. That’s the whole advantage. They act like framing, not camouflage.
This is a good one if you want to keep the haircut sleek and a little serious. The front has length. The back has lift. The whole shape feels tailored, like it belongs with a blazer even when you’re wearing a sweatshirt.
21. Minimal-Stack Bob for Low Maintenance
Not every inverted bob needs a dramatic back. A minimal-stack version gives you just enough graduation to prevent the cut from going flat, then leaves the rest calm and wearable.
That balance is the selling point. Straight hair can look polished without needing obvious layers, and this cut respects that. The front pieces should still frame the face, but the back shouldn’t be so stacked that you notice a shelf. It’s the kind of haircut that looks good when you’re running late and even better when you take 10 minutes to blow-dry it properly.
If you want a shape that grows out without looking awkward, this is one of the safest bets.
22. Dramatic Angle Bob
Some people want to see the angle from the parking lot. Fair enough. A dramatic angle bob gives you that. The front is noticeably longer than the back, and the difference is the whole point.
On straight hair, this shape looks crisp in a way that can feel almost graphic. The face-framing layers are important here because they keep the front from feeling like two heavy panels. Start them around the cheekbone and let them taper forward. That keeps the drama in the line rather than the bulk.
This cut suits people who like strong outlines, darker hair colors, or a very polished finish. It does not hide. That’s the appeal.
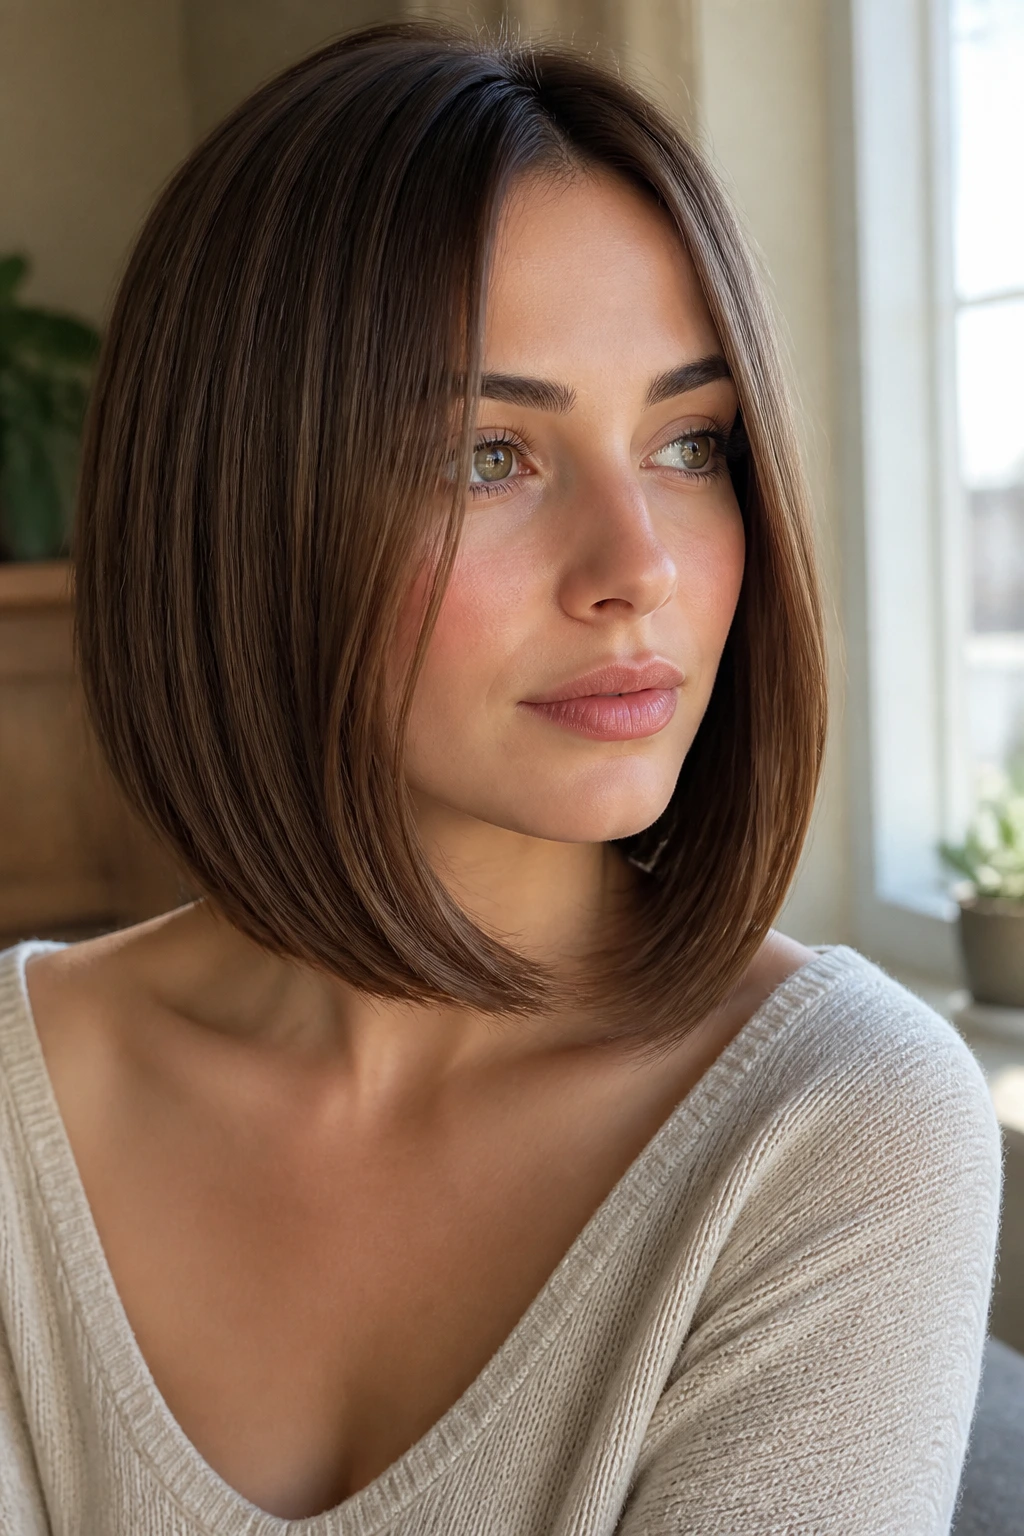
23. Softly Layered Lob with Face-Frame
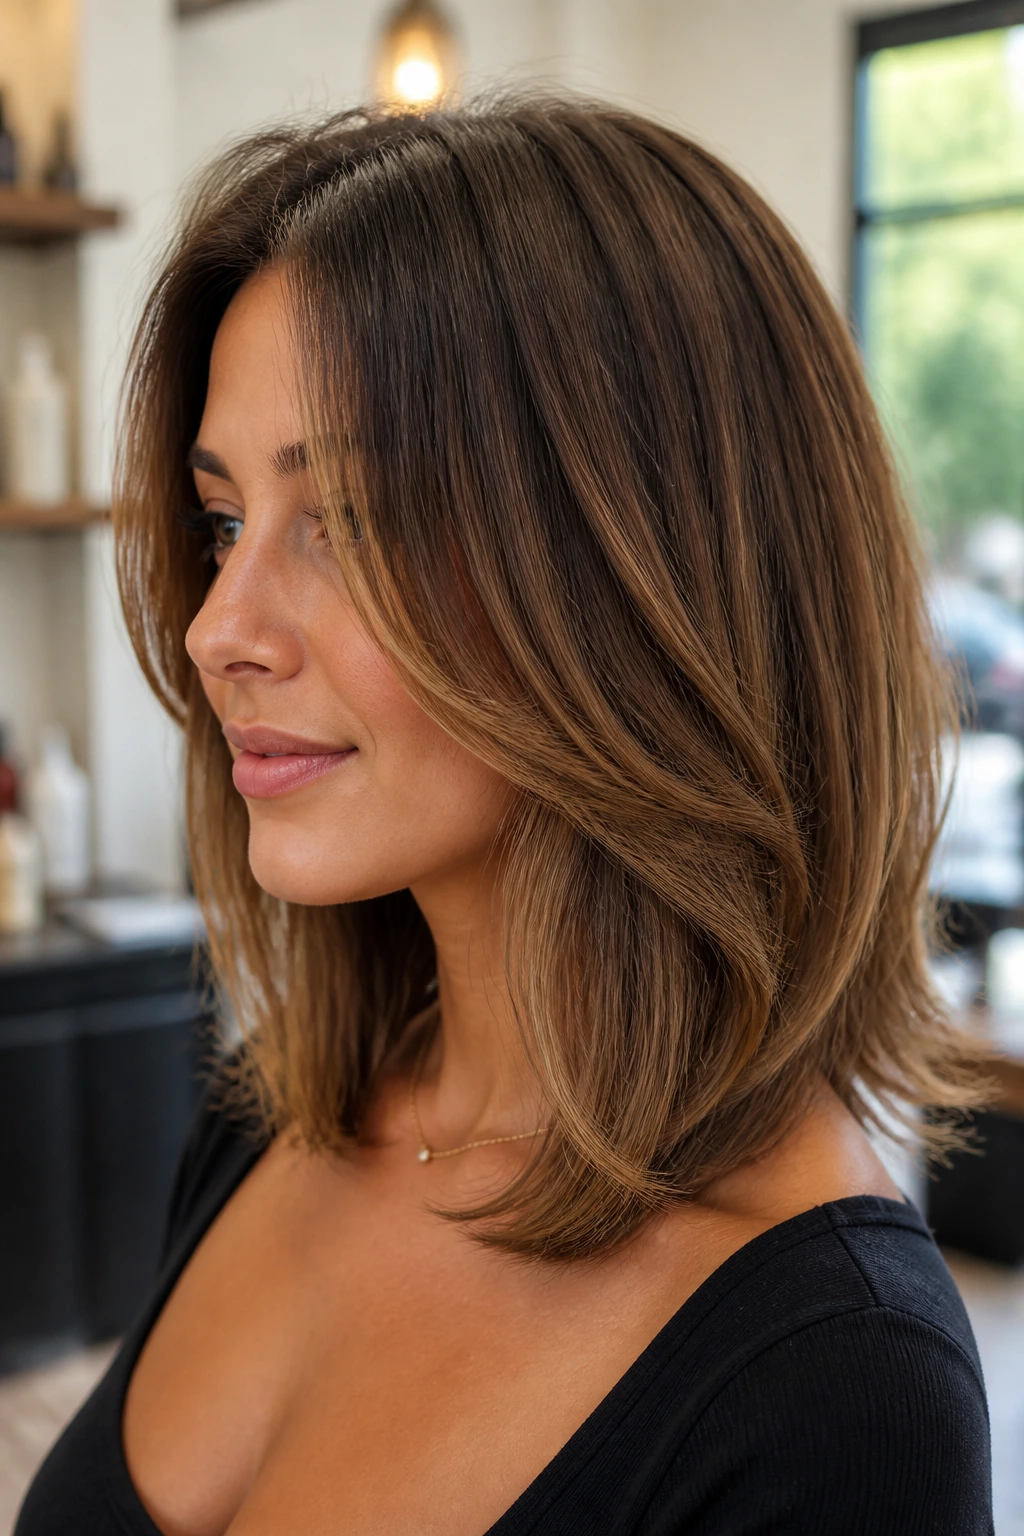
This is the gentler cousin of the classic inverted bob. The length sits at or below the shoulders, but the back is still shorter and the front still has that forward sweep that gives the shape its name.
Why choose the lob version? Because straight hair sometimes needs room. The extra length makes the haircut less high-maintenance, and the soft layering around the face keeps it from sagging into one long sheet. If you like ponytails, clips, and half-up styles, this is the easiest version to live with.
I especially like it for people who want a more understated change. It’s still a shape, not just long hair with a trim.
24. Neckline-Focused Bob
This cut is all about the nape. The back edge sits neat and close to the neck, which makes the haircut feel sharp even before you style the front.
The face-framing layers here are not the loudest part, but they matter. They should guide the eye down from the cheekbone toward the neck, keeping the silhouette tidy and slightly elongated. Straight hair shows this off beautifully because the clean neckline stays visible instead of getting swallowed by texture.
If you wear high collars, jackets with structure, or small earrings, this version looks especially good. The haircut and the clothes talk to each other, which is one of those little things that makes a simple style look considered.
25. Polished Night-Out Bob with Ear-Grazing Pieces
This is the version I’d choose when I want the haircut to look dressed up without actual drama. The front pieces graze the ears, skim the jaw, and then fall into a clean inverted line that looks especially sharp once the hair is smoothed down.
The ear-grazing pieces are doing more work than they get credit for. They open the face, show off earrings, and keep the bob from feeling too closed in. On straight hair, they also catch light neatly, which helps the front look sleek rather than flat.
A flat iron pass and a touch of shine spray are enough here. Keep the ends clean, keep the part neat, and let the shape do the rest. It’s a grown-up haircut with a little edge.
How to Ask for the Right Angle at the Salon
A good inverted bob starts before the scissors come out. Bring two or three photos that show the back, the side, and the front, because a single front-facing picture hides the part that matters most: how much shorter the nape actually is.
Tell your stylist where you usually part your hair and how much time you want to spend styling it. That sounds basic, but it changes everything. Straight hair can look incredibly precise with a strong angle, or it can look too strict if the front layers start too high and the graduation in back gets cut too aggressively. I’d also say out loud whether you wear glasses, tuck one side behind your ear, or hate having hair hit your chin. Those tiny habits tell the stylist more than a pretty photo does.
If your hair is fine, ask for the perimeter to stay full. If it’s thick, ask where weight should come out so the line doesn’t puff. And if you want the cut to move, ask for the face-framing layers to be point-cut or softly chipped rather than left as one hard slice. Straight hair records every decision.
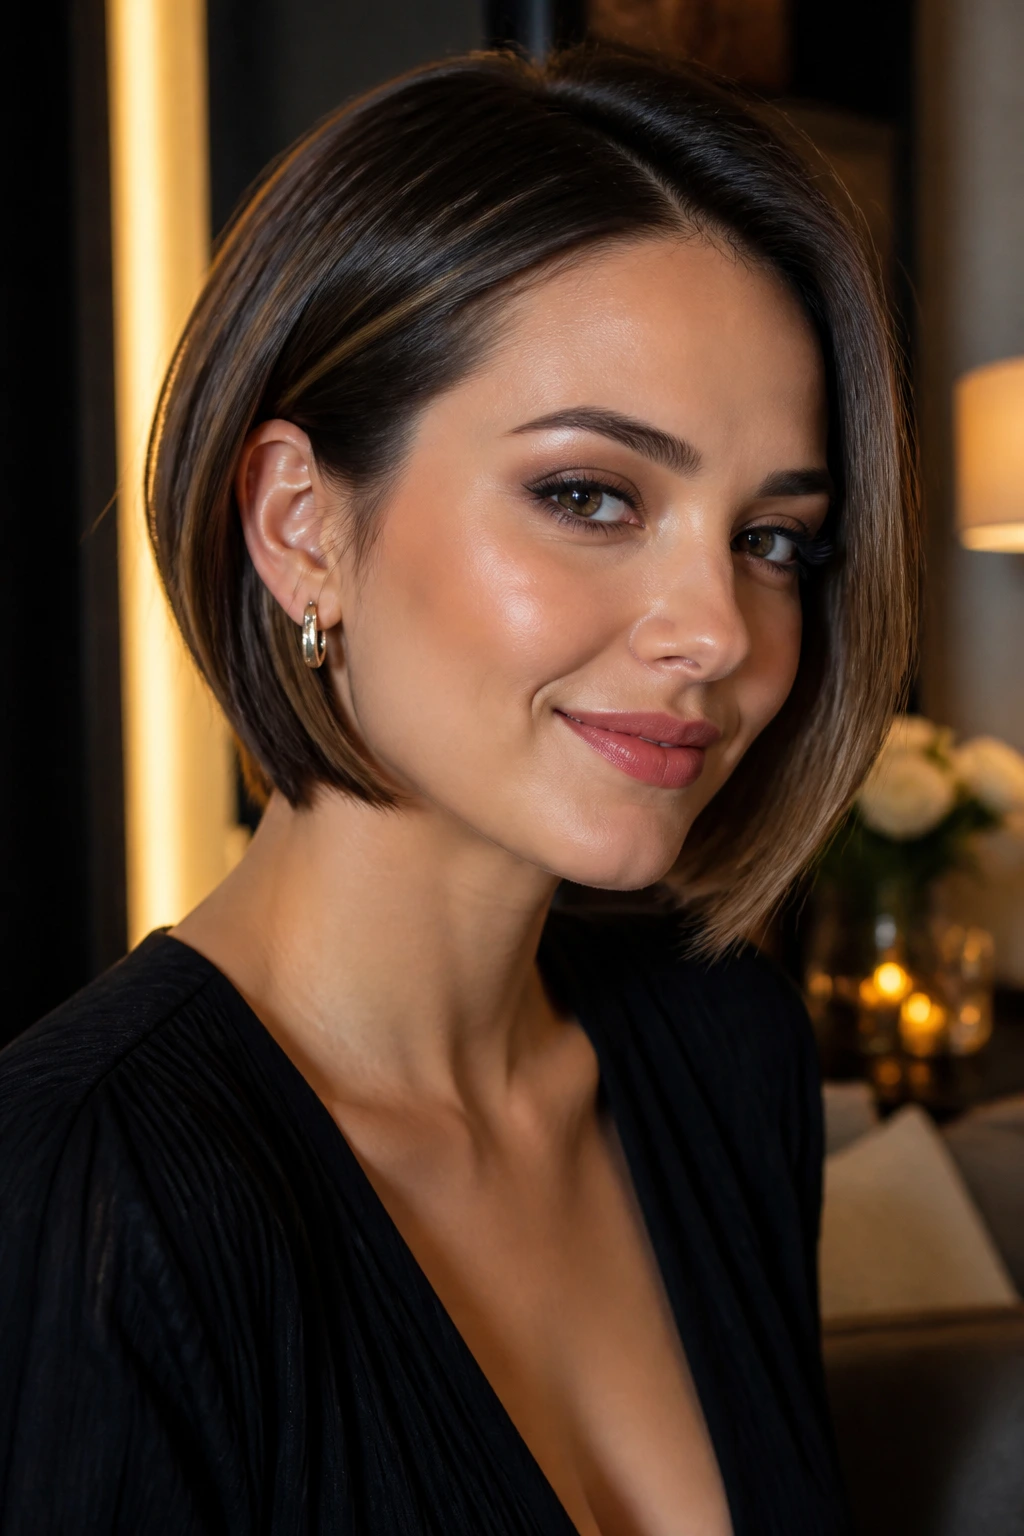
How to Wear It With Glasses, Earrings, and Necklines

Presentation: Let the shortest front pieces sit just above or just beside your frames if you wear glasses. When the front lands exactly on the arm of the glasses, the hair and frame can compete in a way that feels fussy.
Accompaniments: Small hoops, short drop earrings, and clean necklines suit these cuts best. A sharply angled bob next to a turtleneck can look fantastic; a very soft curved bob next to a scoop neck feels calmer and more open.
Proportions: If you have a longer neck, you can go shorter in the back without the cut looking abrupt. If your neck is shorter or fuller, a longer front panel helps the whole silhouette breathe.
Finish: Sleek styling shows off the geometry. A softer bend through the ends makes the face-framing layers look gentler and works better if you want the haircut to feel lived-in rather than severe.
Essential Tools for Straight-Hair Styling
- Fine-tooth cutting comb: Helps keep part lines and sectioning clean when you’re blow-drying or maintaining your fringe.
- Paddle brush: Good for smooth, straight blowouts and for keeping the nape flat.
- 1-inch round brush: Useful for adding a small bend to the front pieces and curving the ends under.
- Blow dryer with nozzle: The nozzle matters. It directs airflow downward so straight hair doesn’t frizz at the surface.
- Flat iron: A single pass at a medium setting can sharpen the front line, but don’t turn every day into a heat-styling marathon.
- Heat protectant spray: Non-negotiable if you’re ironing the ends or smoothing the face frame.
- Lightweight smoothing serum: Keeps the perimeter glossy without making the cut limp.
- Root-lift spray or mousse: Best for fine hair or any cut with a crown stack.
- Sectioning clips: Small, cheap, and worth keeping around. They stop the front pieces from mixing with the back while you style.
- A good mirror setup: One mirror is not enough for this haircut; you want to see the nape and the side angle, especially when you trim between salon visits.
Smart Styling and Maintenance Habits
Straight hair rewards small habits. Start with a dry cut or a precision wet cut from a stylist who knows graduation, then keep the shape alive at home with low-drama styling. A rough blow-dry leaves the nape fuzzy and the front pieces uneven; a smooth blow-dry with the nozzle pointed downward keeps the whole line tidy.
For the face-framing layers, wrap the brush away from the face for a second or two, then let the ends cool in place. That tiny cooling step matters more than people think. If you release the brush while the hair is still warm, the bend vanishes almost immediately. For a sleeker version, pass the flat iron once through the front panels and stop. Repeated passes don’t make the cut better; they just fry the ends.
Maintenance is part of the deal. Book trims every 6 to 8 weeks if you want the angle to stay obvious. If you wear a fringe or short face-framing pieces, a quick clean-up every 3 to 4 weeks can keep them from falling into your eyes or disappearing into the rest of the haircut. Sleep on a smooth pillowcase. It sounds small. It isn’t.
Common Cutting Mistakes That Flatten the Shape
The biggest mistake is cutting the face-framing layers too high. The symptom is easy to spot: the top of the haircut looks broken up, and the front pieces never quite blend into the bob. The fix is to let the shortest layer begin lower, usually near the cheekbone or jaw, depending on the effect you want.
Another one is over-thinning straight hair. Fine strands do not need aggressive thinning shears. They need shape. If the ends start looking see-through, the haircut loses the very structure you paid for. Ask for weight removal only where it helps the silhouette, not across the whole head.
People also tend to ignore the part. A center part can make the cut look balanced, but if your cowlick forces the hair off-center, fighting it every morning gets old fast. Work with the natural fall unless you enjoy a daily argument in the bathroom mirror.
Last, don’t let the back stack climb too high if your hair is already dense. A tall stack on thick straight hair can puff into a wedge. Keep the graduation controlled and the front long enough to counterbalance it.
Variations and Adaptations to Try
The Sleek Office Angle: Keep the back tidy, the front long, and the face-framing layers nearly invisible. It’s sharp enough for a blazer and calm enough for everyday wear.
The Soft Curtain Version: Ask for curtain pieces that open around the nose bridge and feather into the front length. This is the friendliest option if you want movement without losing that clean bob outline.
The Thick-Hair Control Cut: Remove weight from the inside and keep the perimeter blunt. That gives coarse straight hair a better chance of lying flat without exploding at the sides.
The Fine-Hair Lift Version: Concentrate graduation at the crown and keep the ends full. A little root spray and a round brush go a long way here.
The Long-Grow-Out Lob: Push the front below the collarbone while preserving the shorter back. It looks intentional even when it’s grown for a few extra weeks.
Frequently Asked Questions

Will an inverted bob make straight hair look thinner?
It can, if the layers are too aggressive or the ends are over-thinned. A well-cut inverted bob usually does the opposite on straight hair because the angle gives the illusion of lift at the back and fullness at the front.
Where should the face-framing layers start?
Cheekbone start points soften the face the most. Jawline start points feel a little stronger and work well if you want the cut to contour the lower face instead of opening it up.
How often do I need a trim?
Most versions hold their shape for about 6 to 8 weeks. If the face-framing layers are short or you like a very crisp angle, shorter appointments help the haircut keep its line.
Can I style this cut without heat every day?
Yes, if your hair is naturally straight and cooperative. A lightweight leave-in, a smoothing cream, and air-drying with the part set in place can work, though the inverted line usually looks sharper with a quick blow-dry.
What if my hair flips out at the ends?
That usually means the perimeter was cut too blunt for your growth pattern or the ends were dried without direction. Wrap the ends under with a round brush or ask for a softer curve next time.
Does an inverted bob work on thick straight hair?
Absolutely, but the inside weight has to be handled with care. Thick hair needs strategic debulking and a controlled stack, not a pile of layers that make the outline puffy.
Can I tuck this haircut behind my ears?
If the face-framing pieces are long enough, yes. That’s one reason the tucked versions work so well; they give you the option without erasing the shape.
Is a center part or side part better?
A center part looks balanced and modern. A side part gives more lift at the root and can soften one side of the face, which is useful if your hair falls flat on one side or your face is more angular.
A Shape That Keeps Its Line
A good inverted bob on straight hair doesn’t need much help once the cut is right. That’s the part I love. The angle gives you structure, the front pieces give you softness, and the whole thing keeps its edge long enough to survive a busy week without losing its point.
If you’re showing this to a stylist, bring photos that show the side and the back, not just the front. That’s where the real haircut lives. The best versions are the ones that respect your hair’s natural fall while still giving it a cleaner line than it had before.
And if you’re choosing between two lengths, take the version that leaves a little more room around the face. Straight hair can look severe fast. A few extra inches in the front usually make the difference between “fine” and the cut you keep reaching for in the mirror.