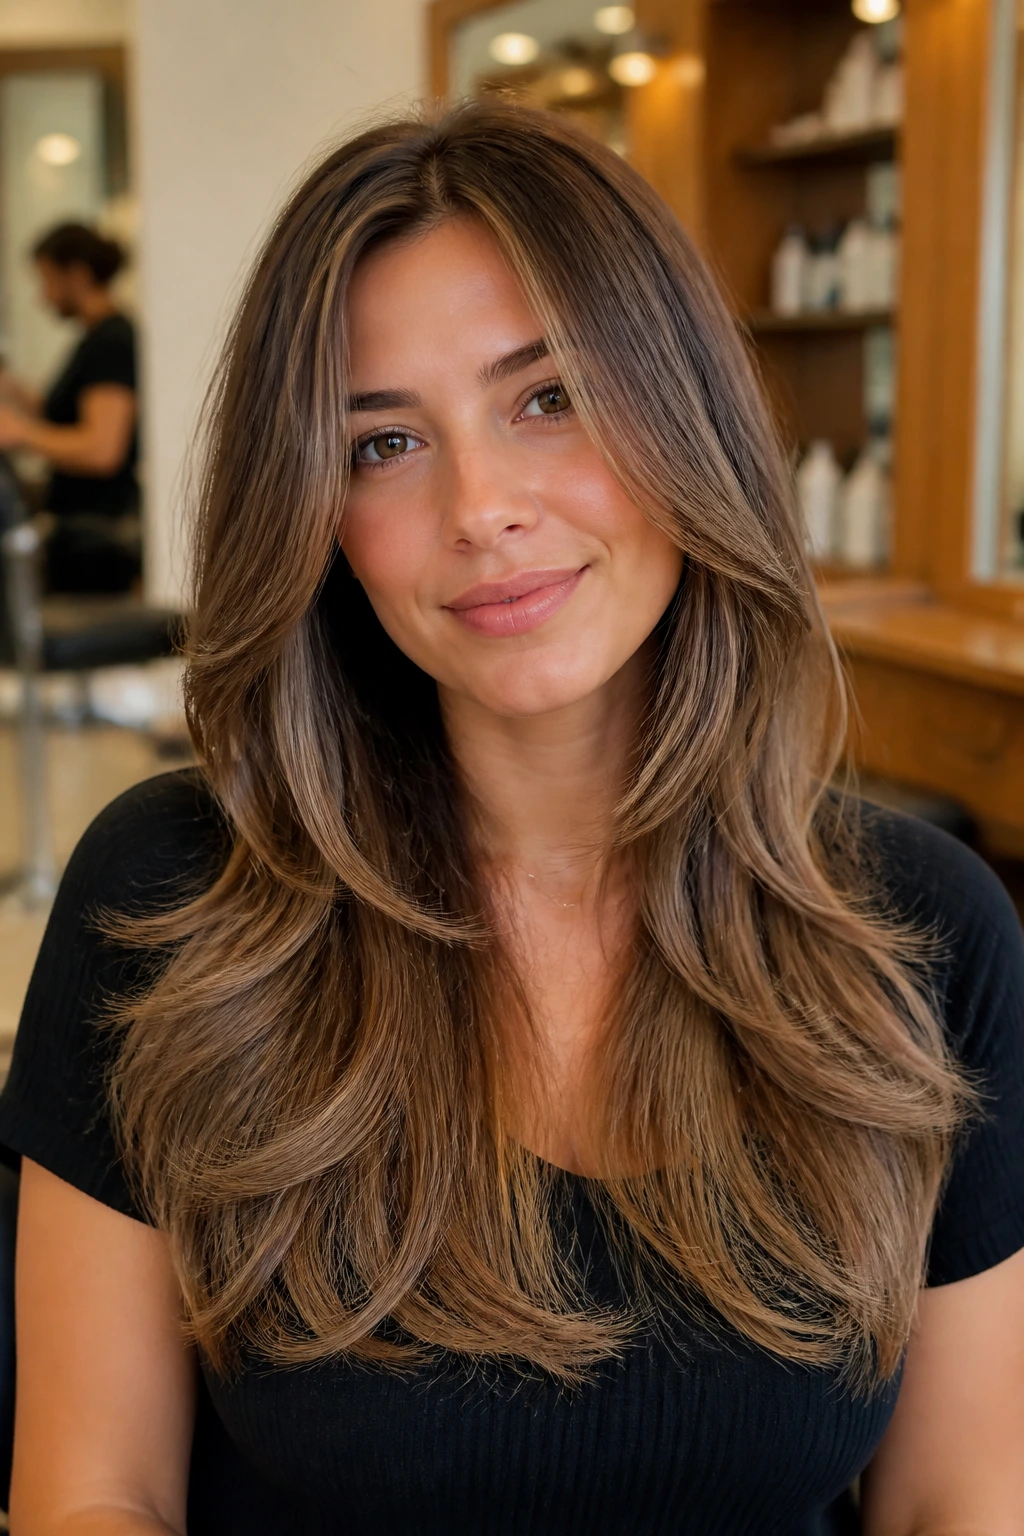
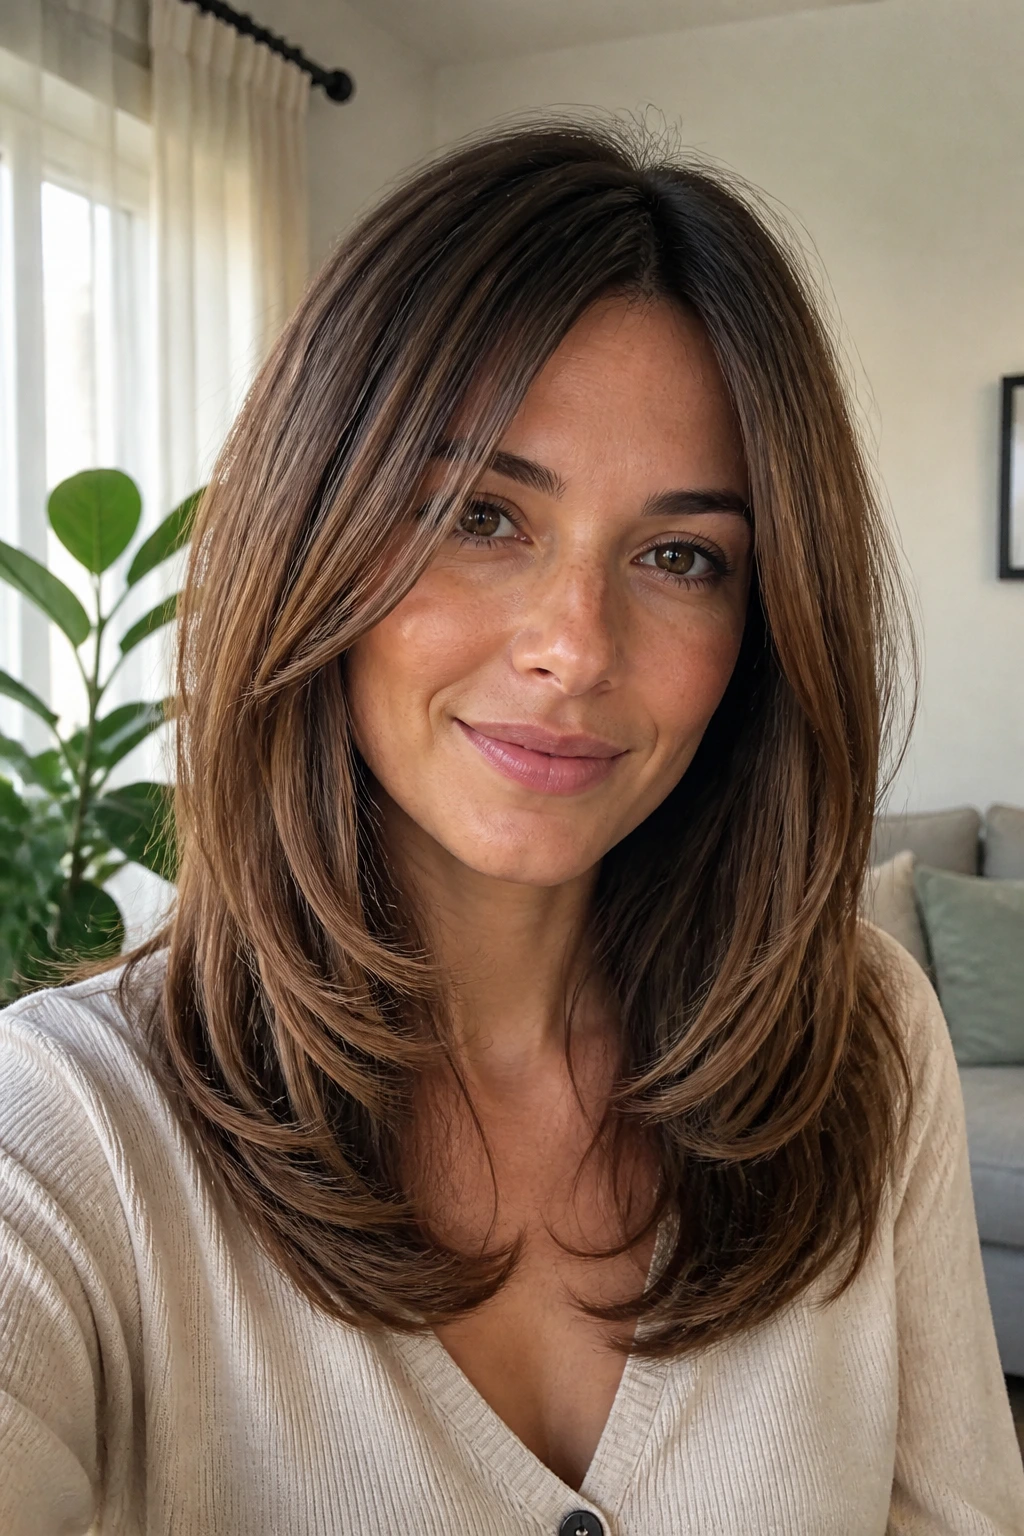
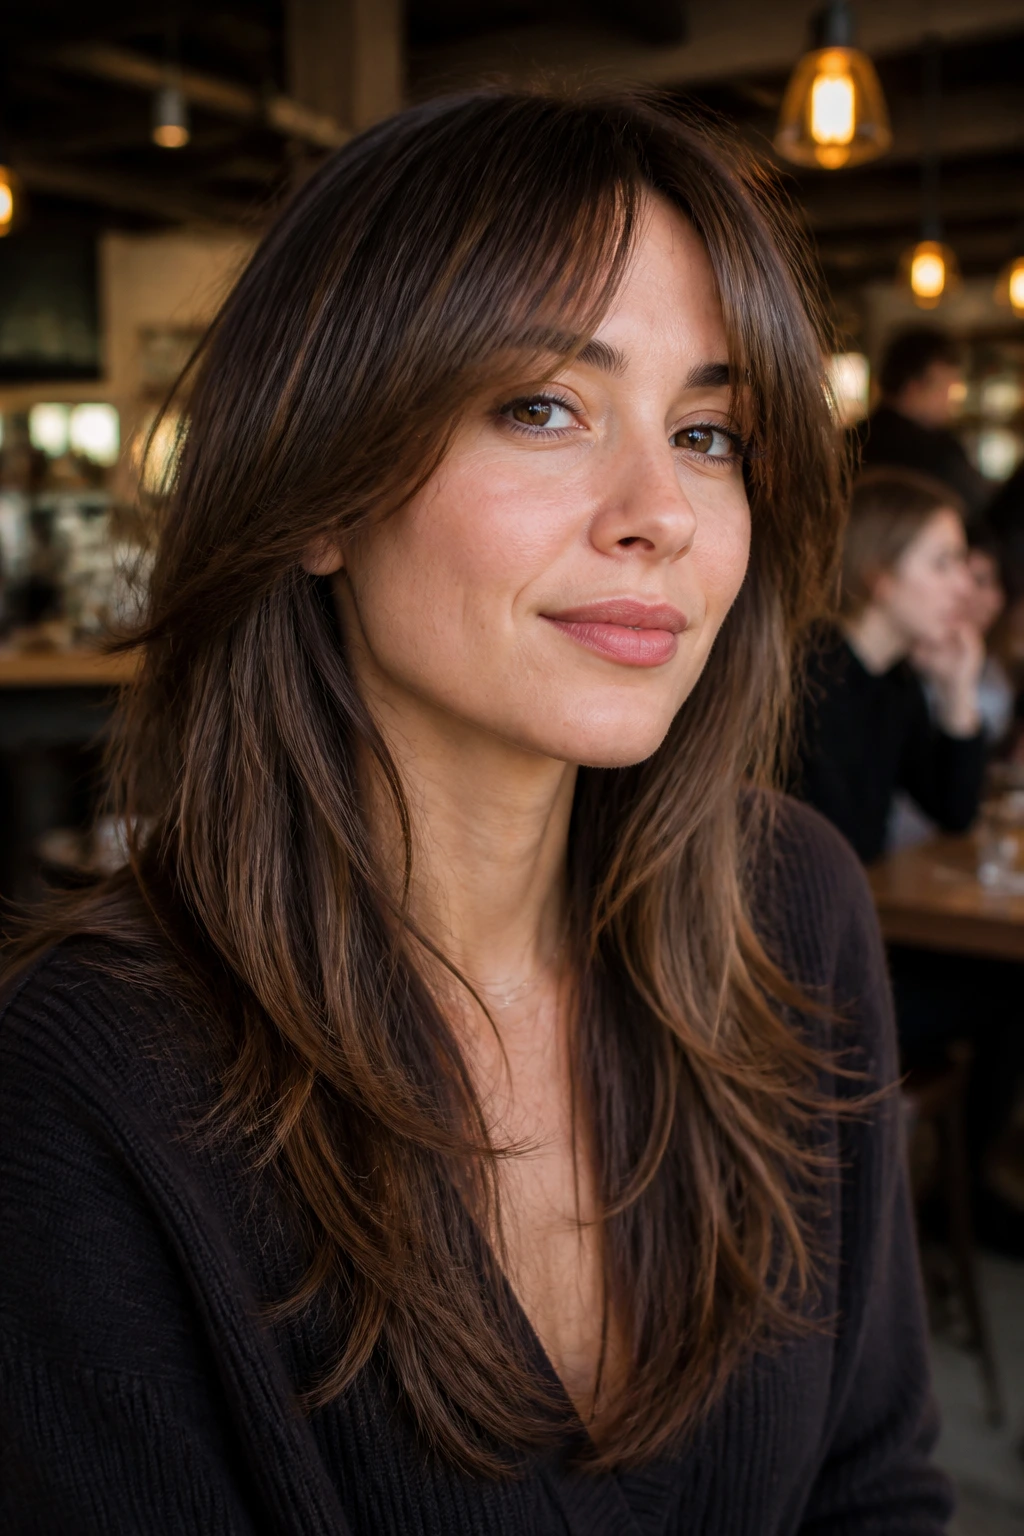
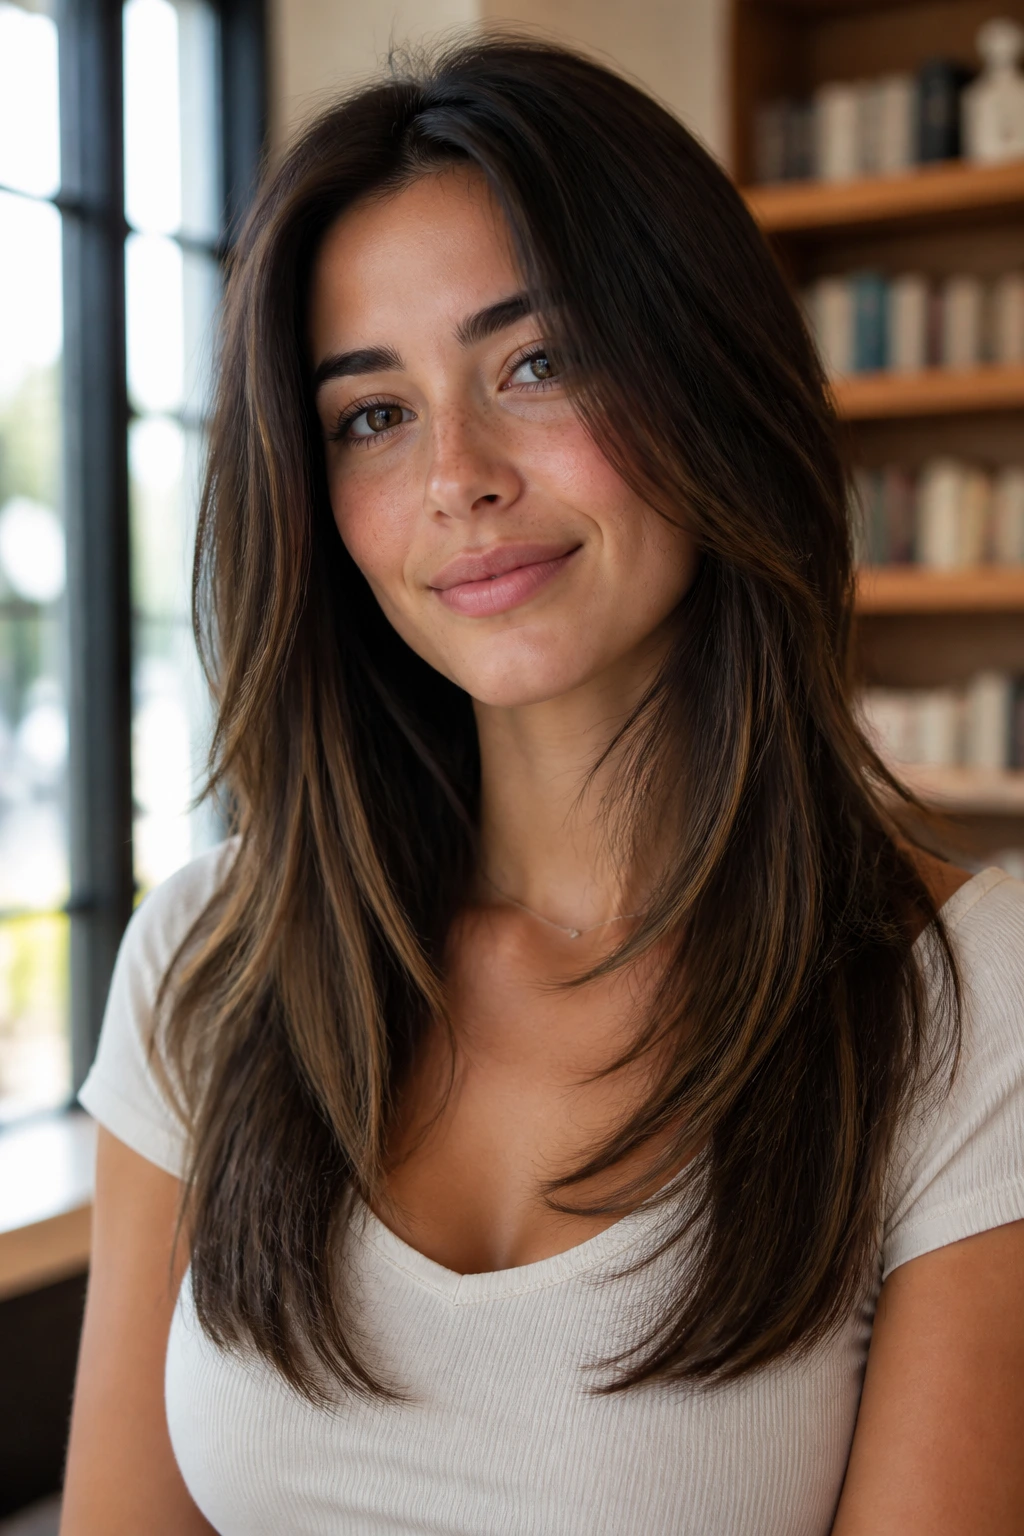
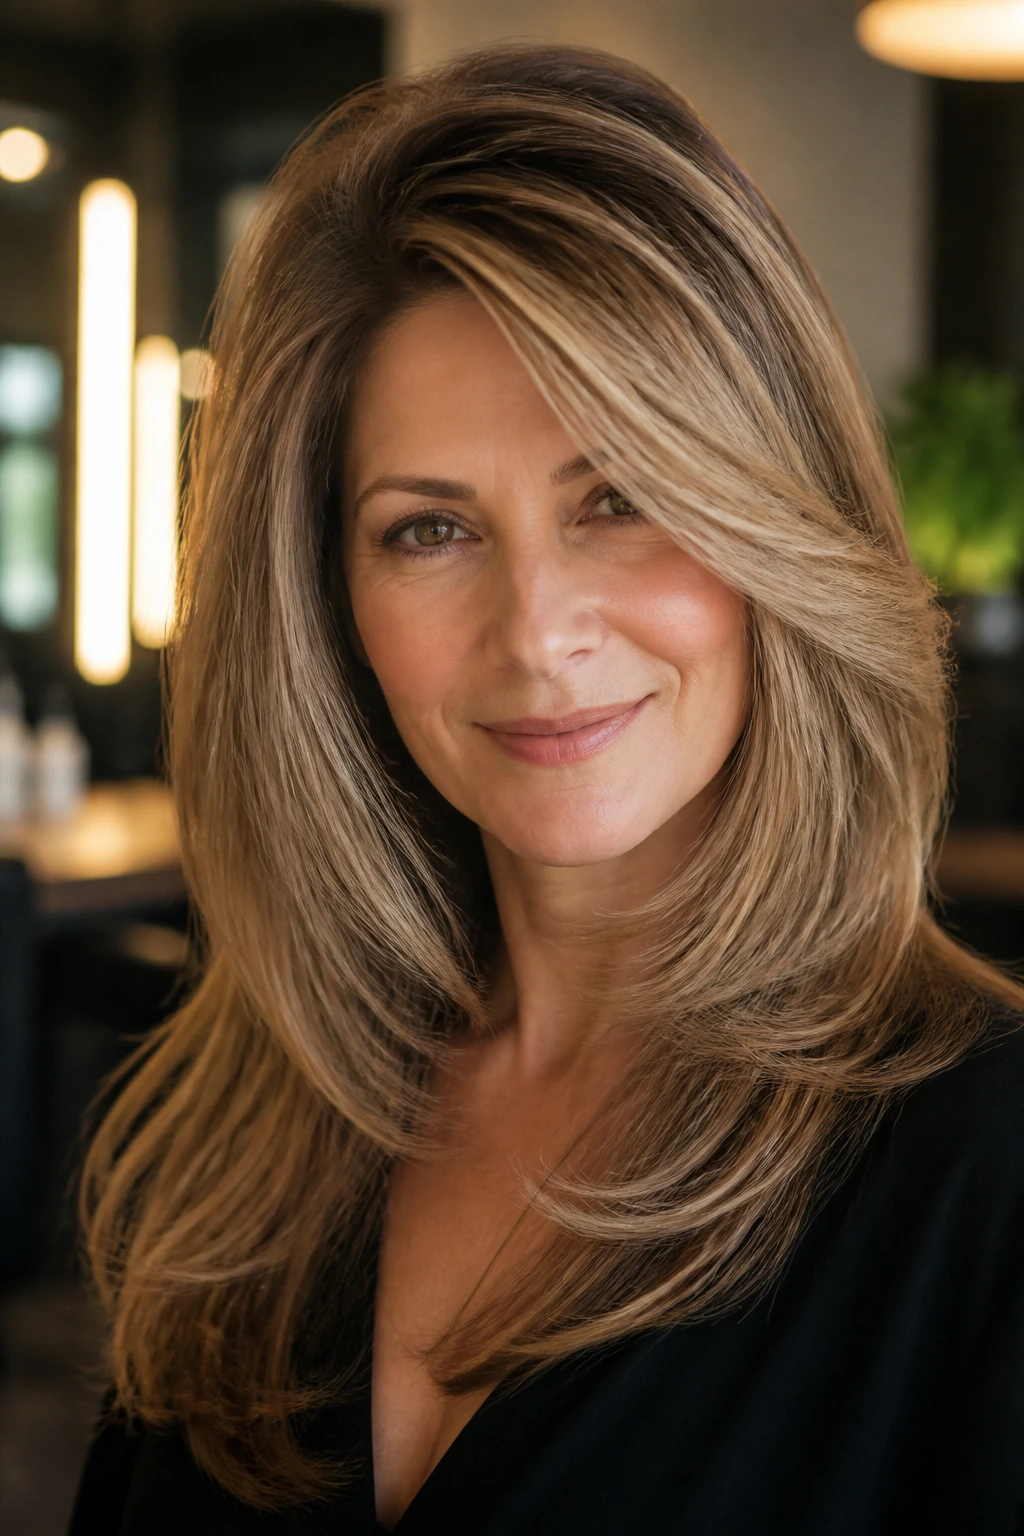
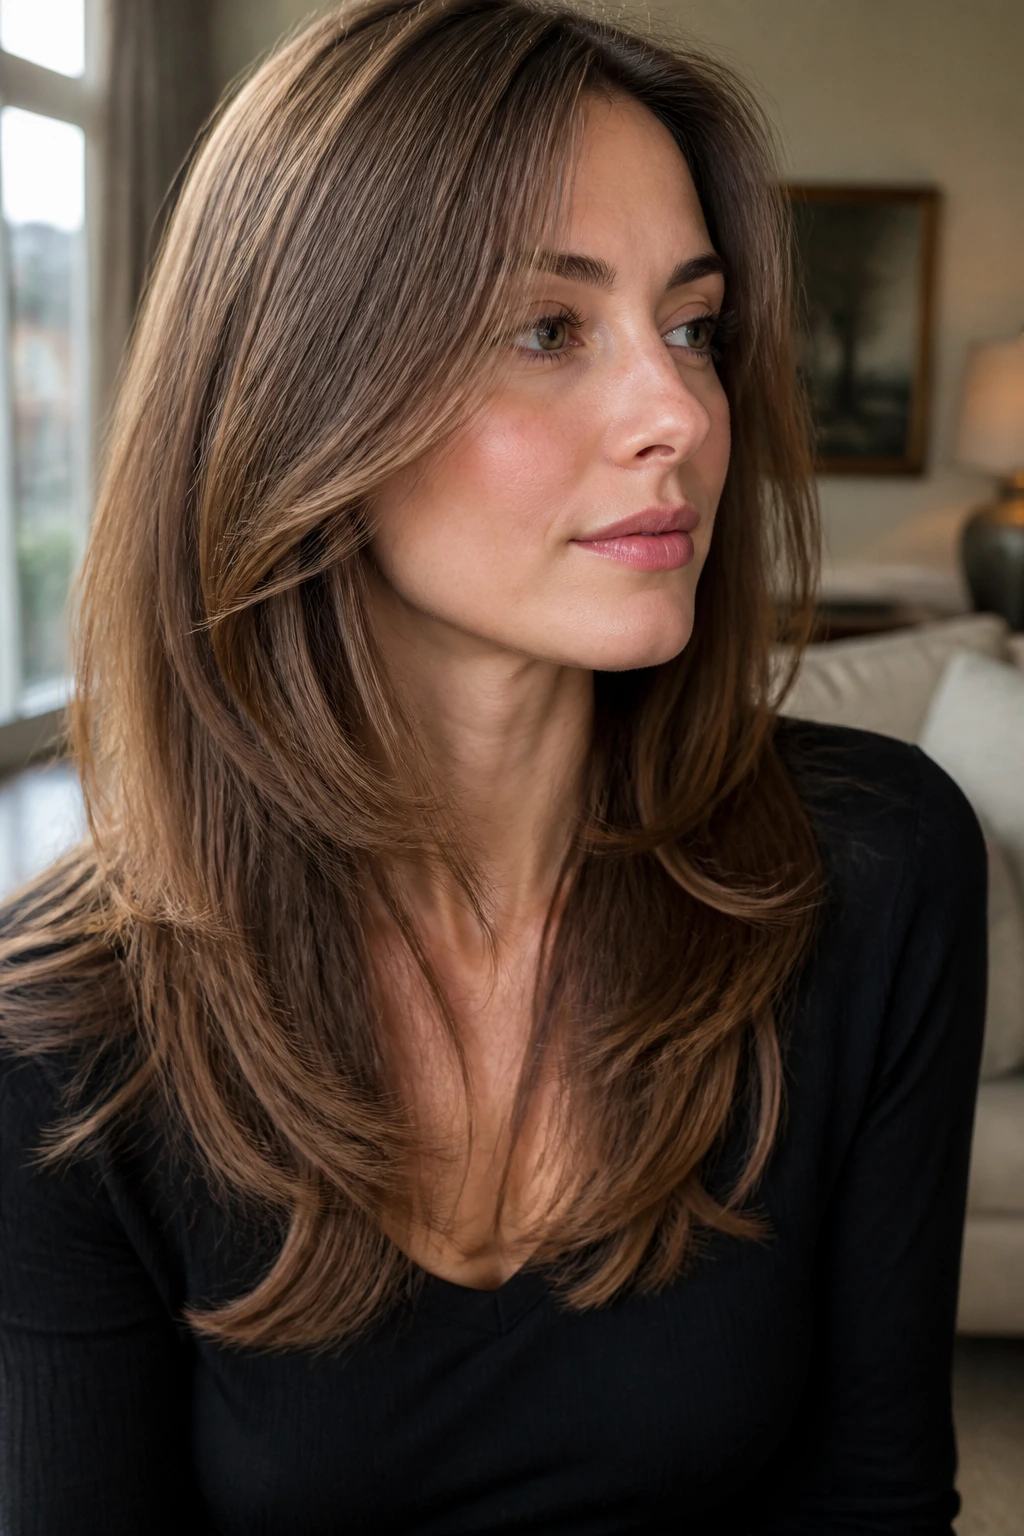
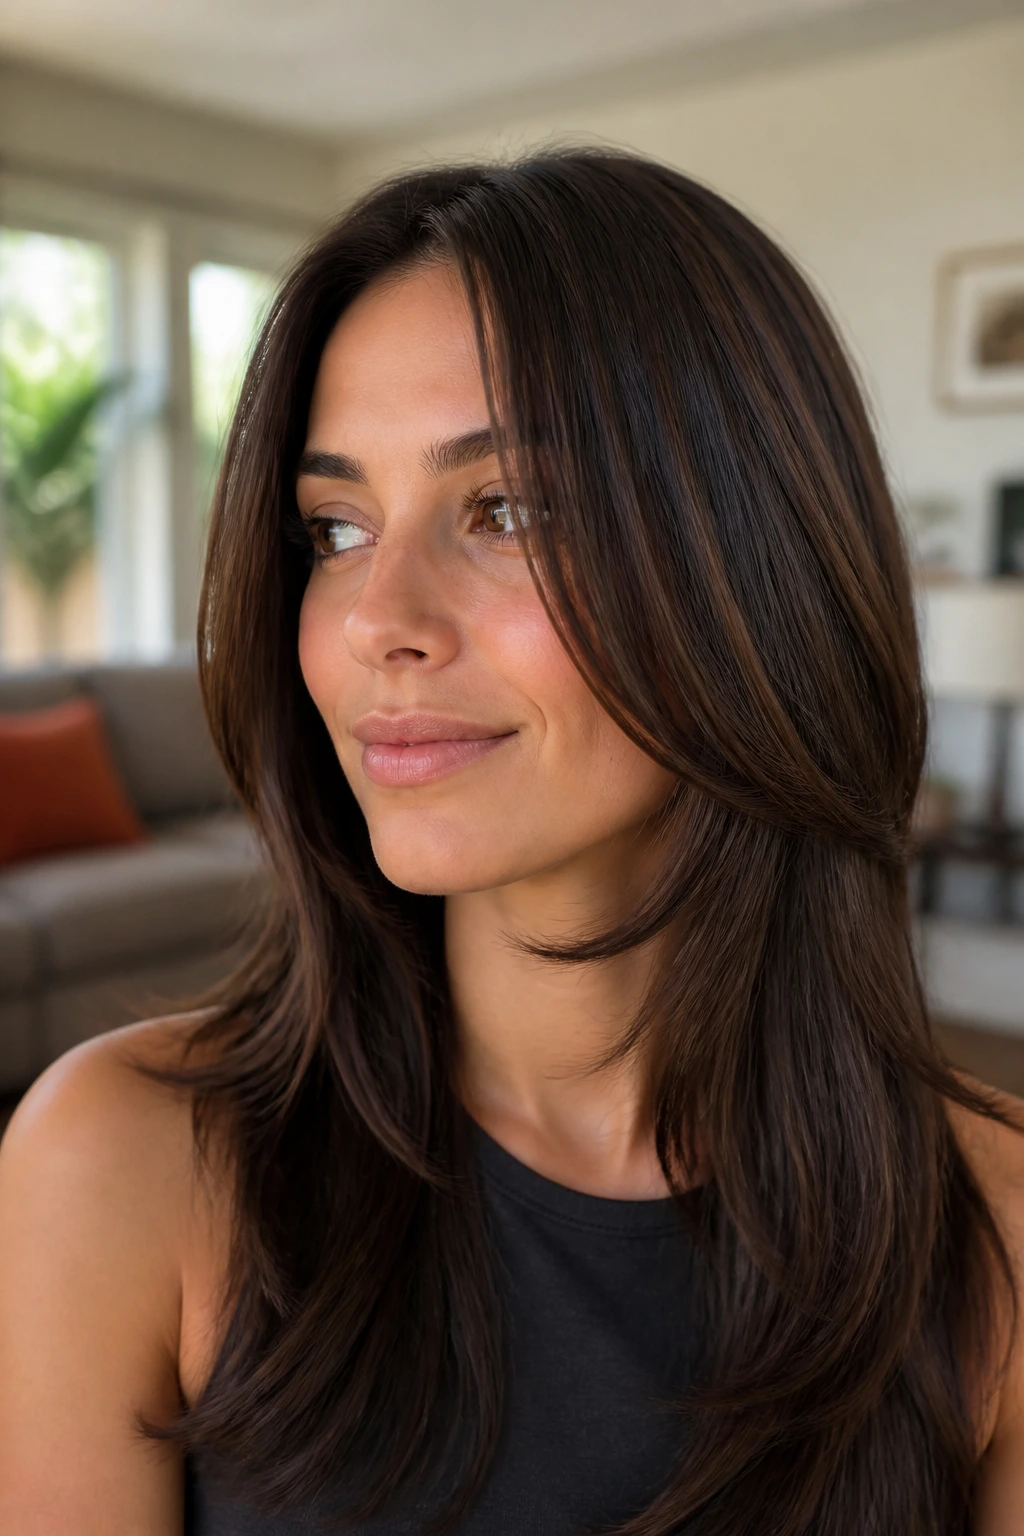
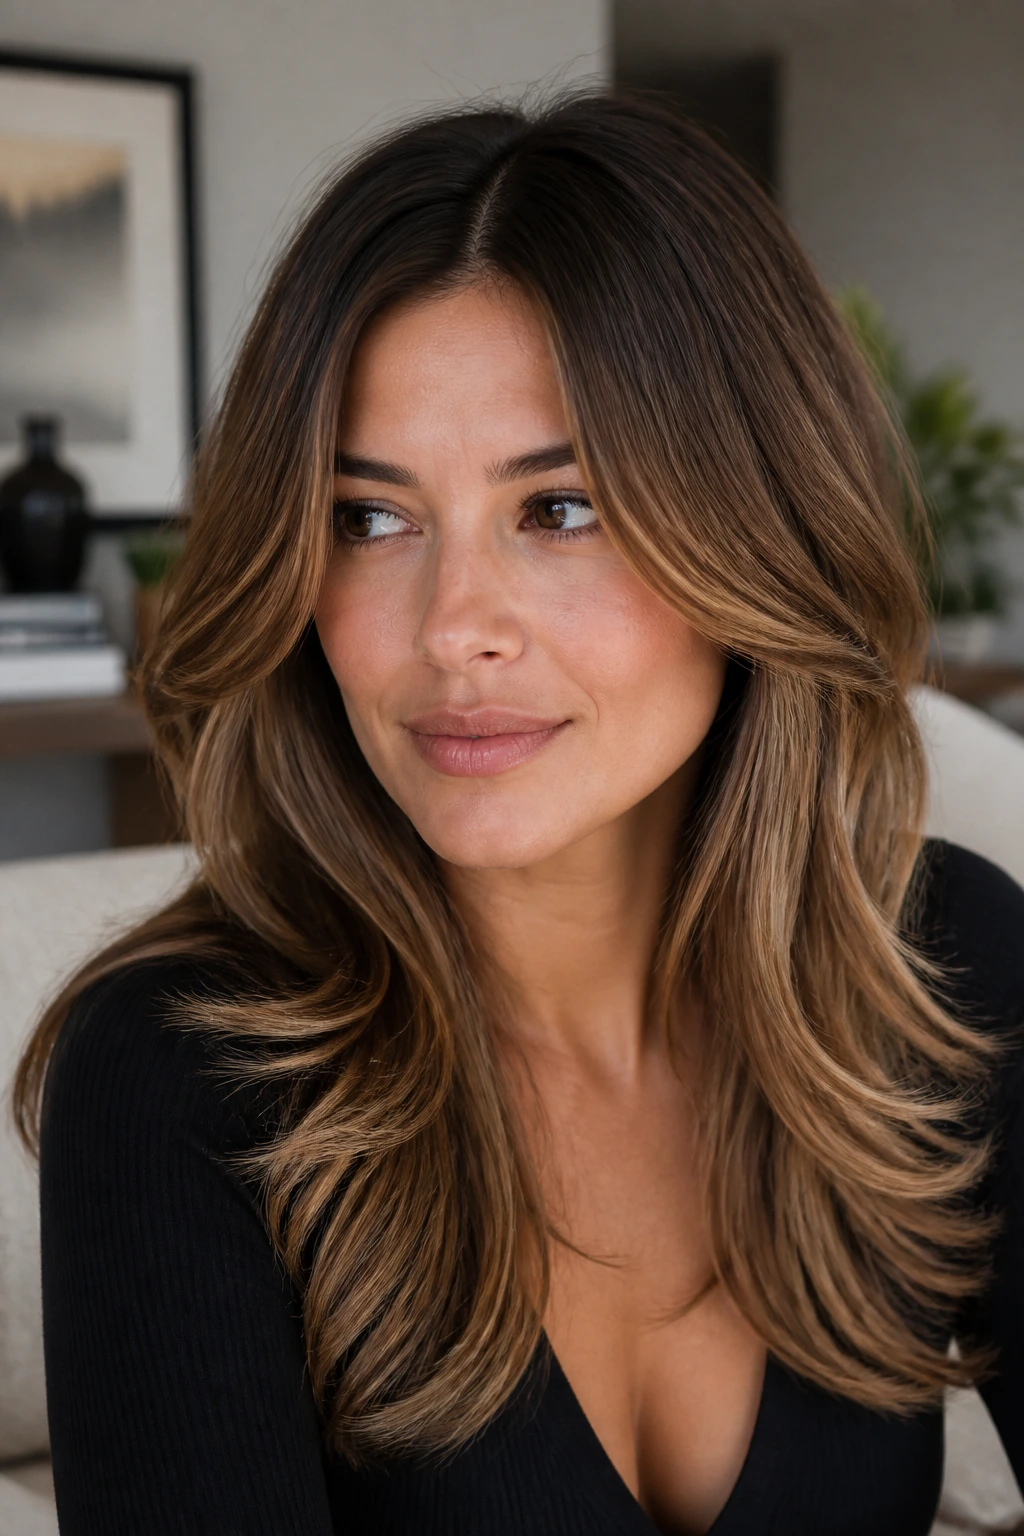
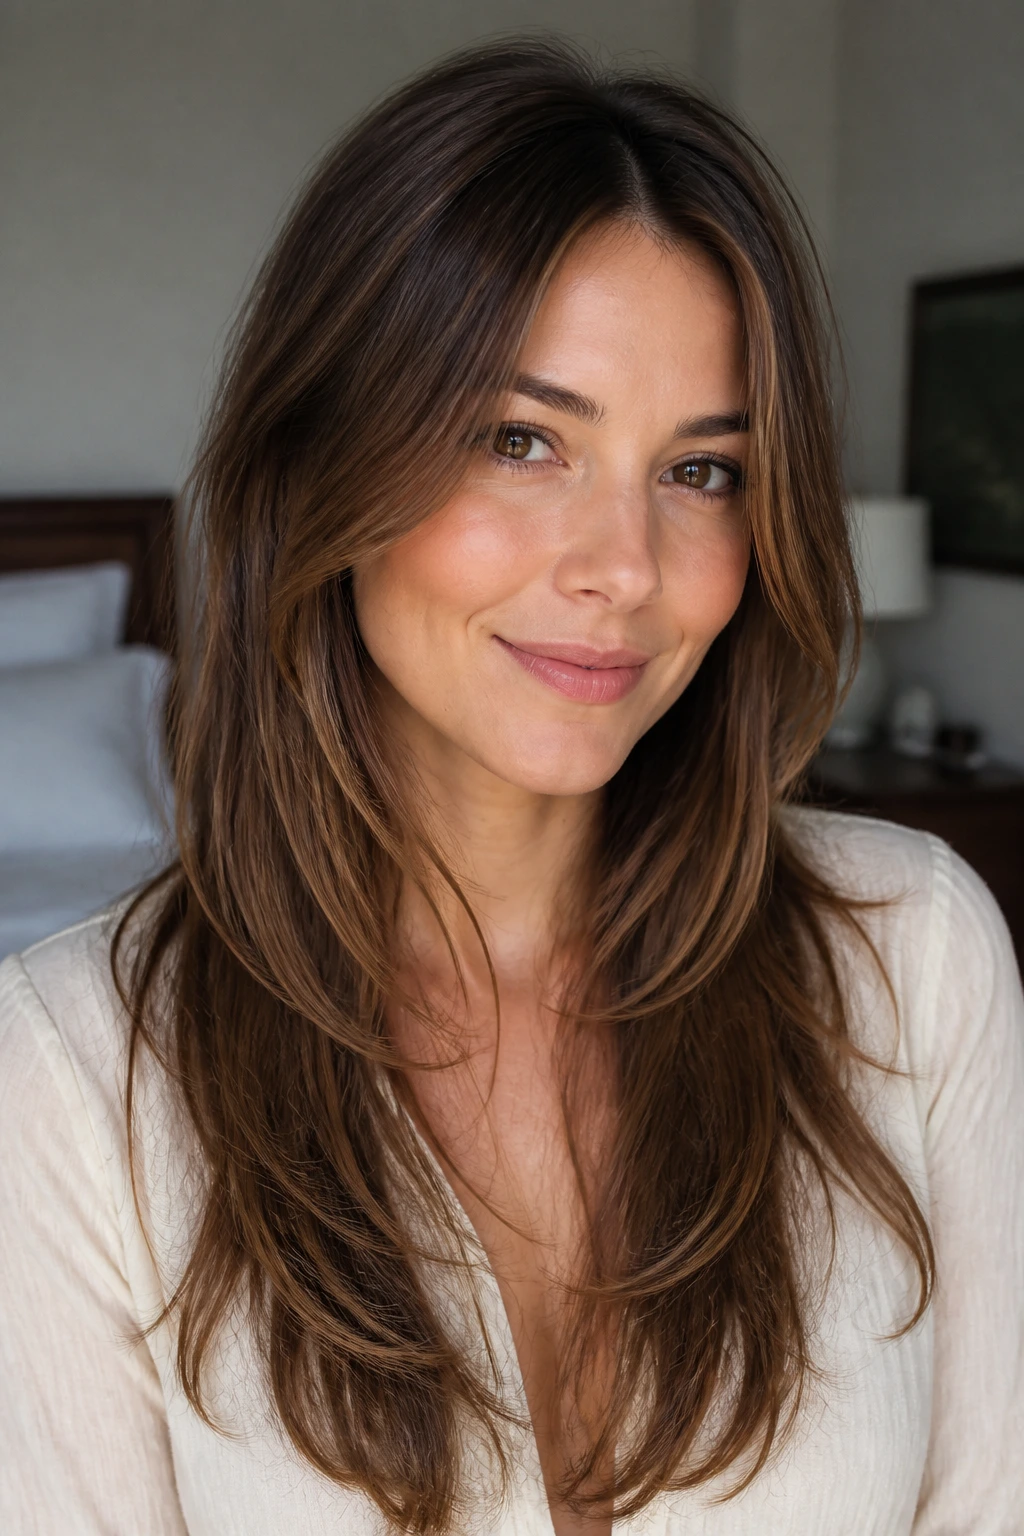
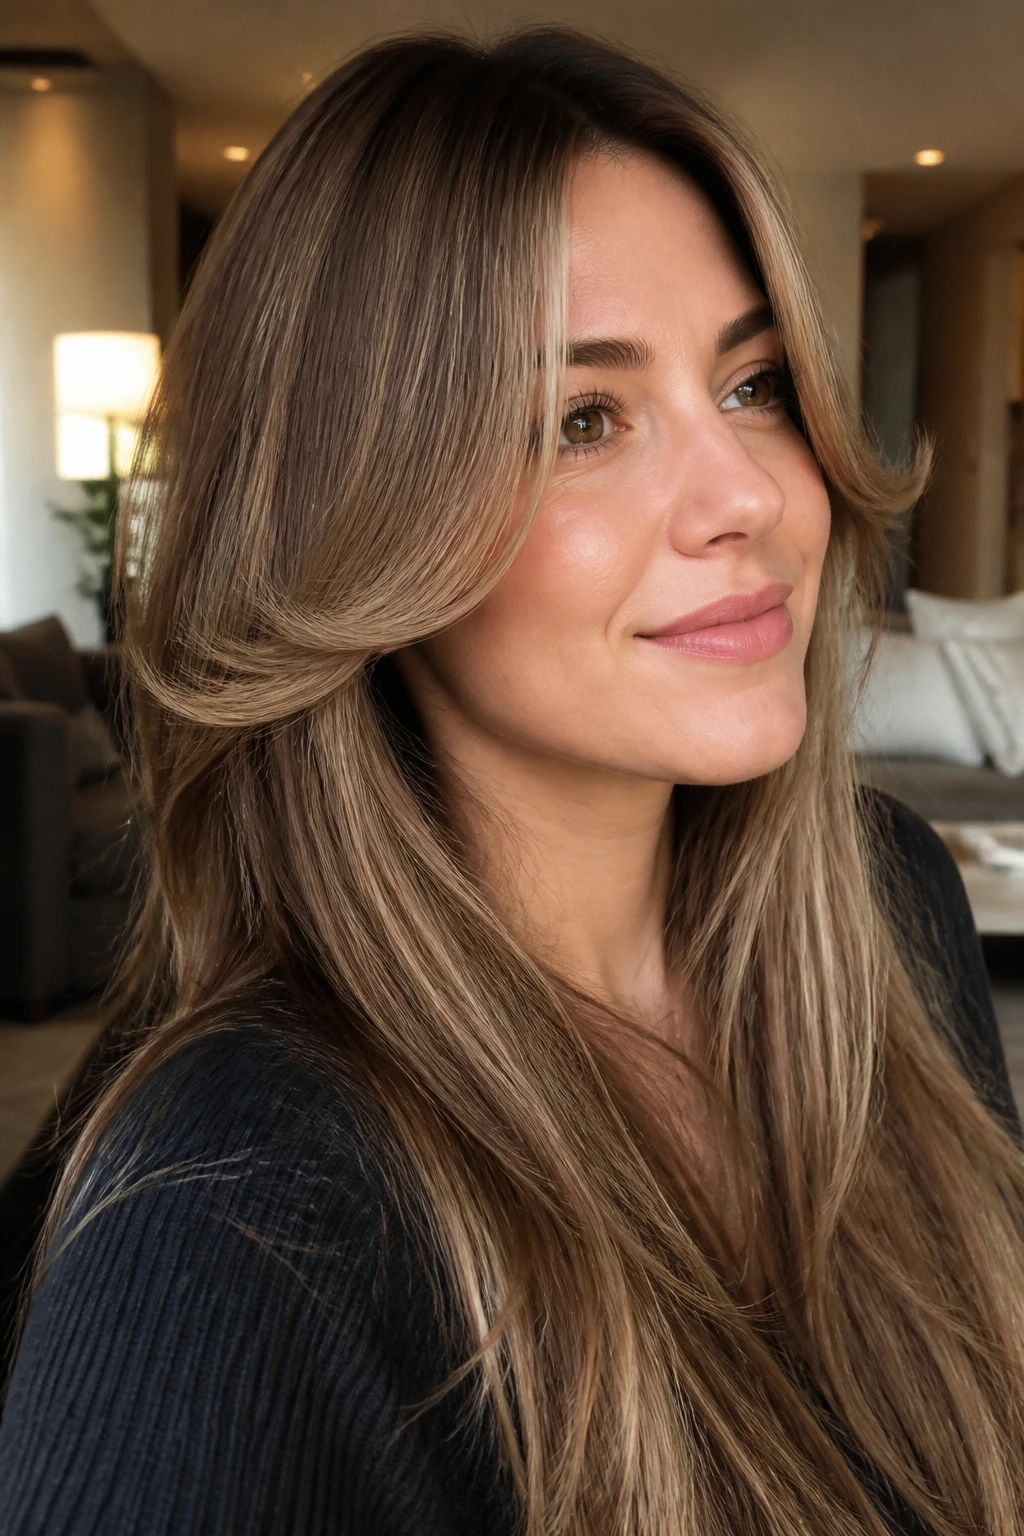
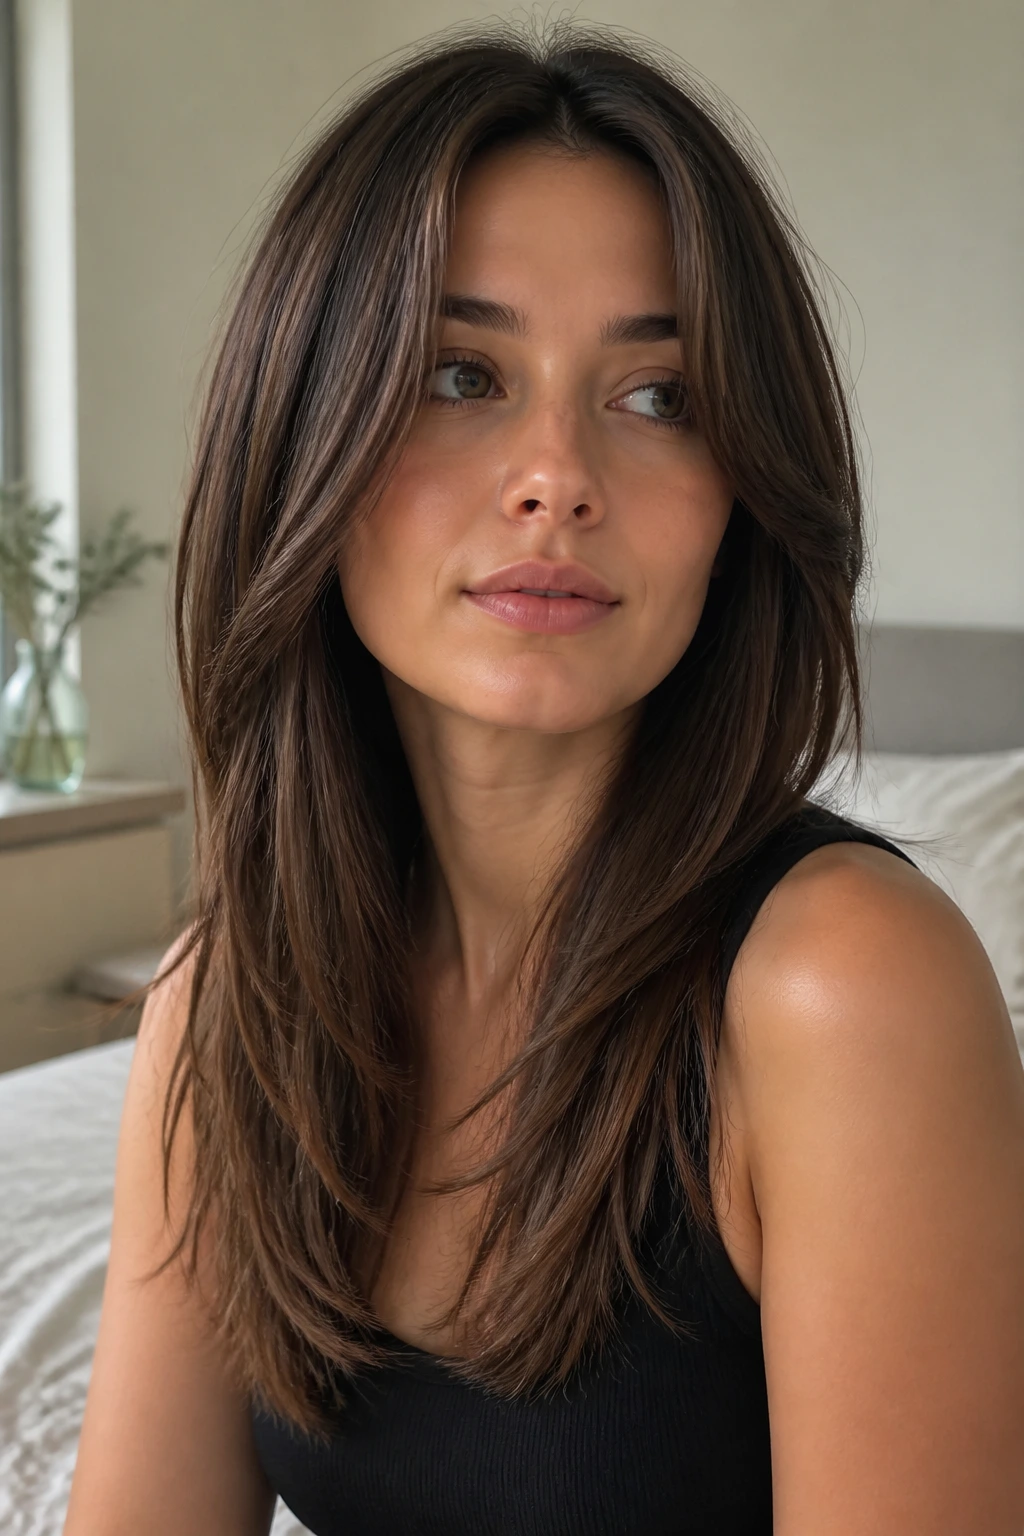
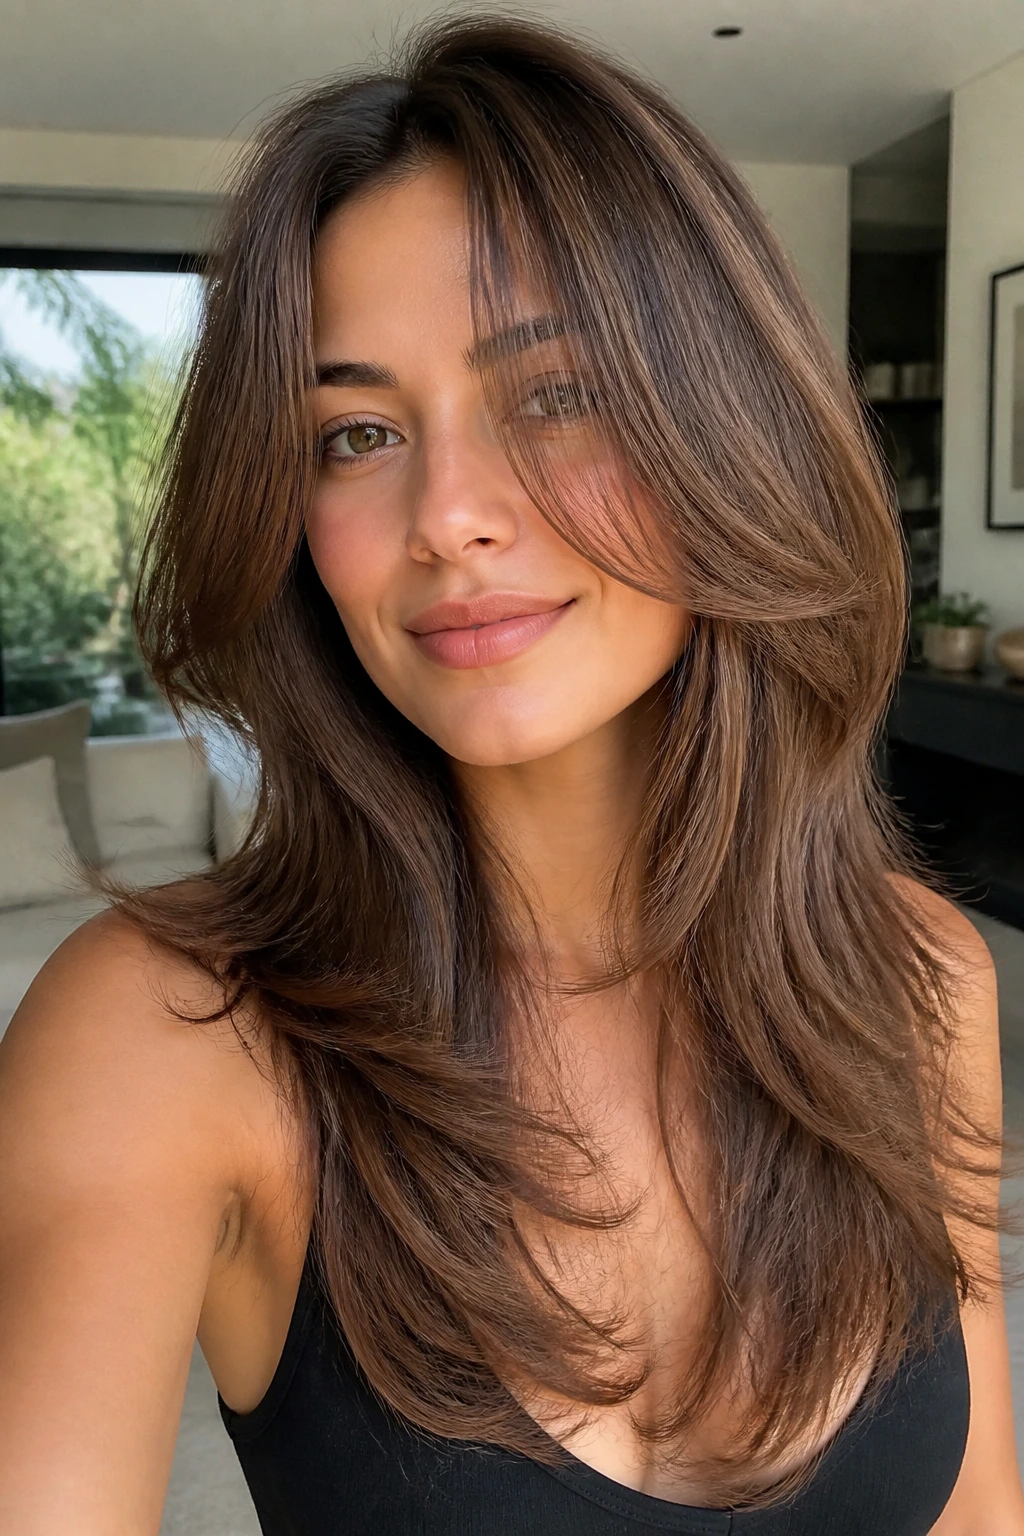
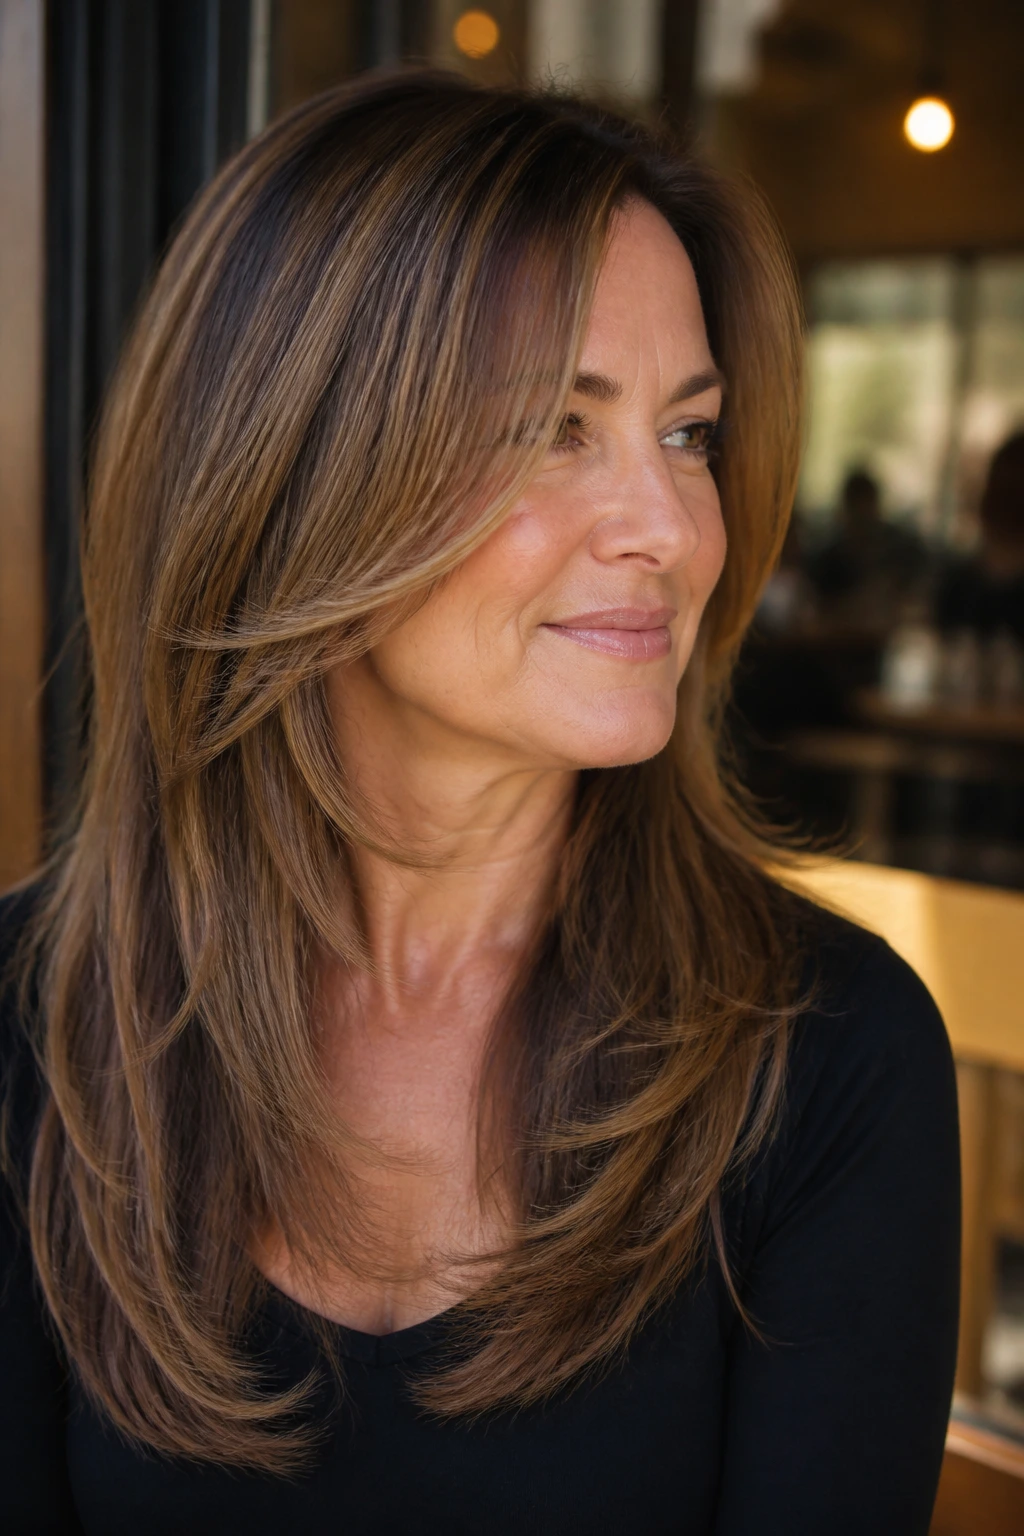
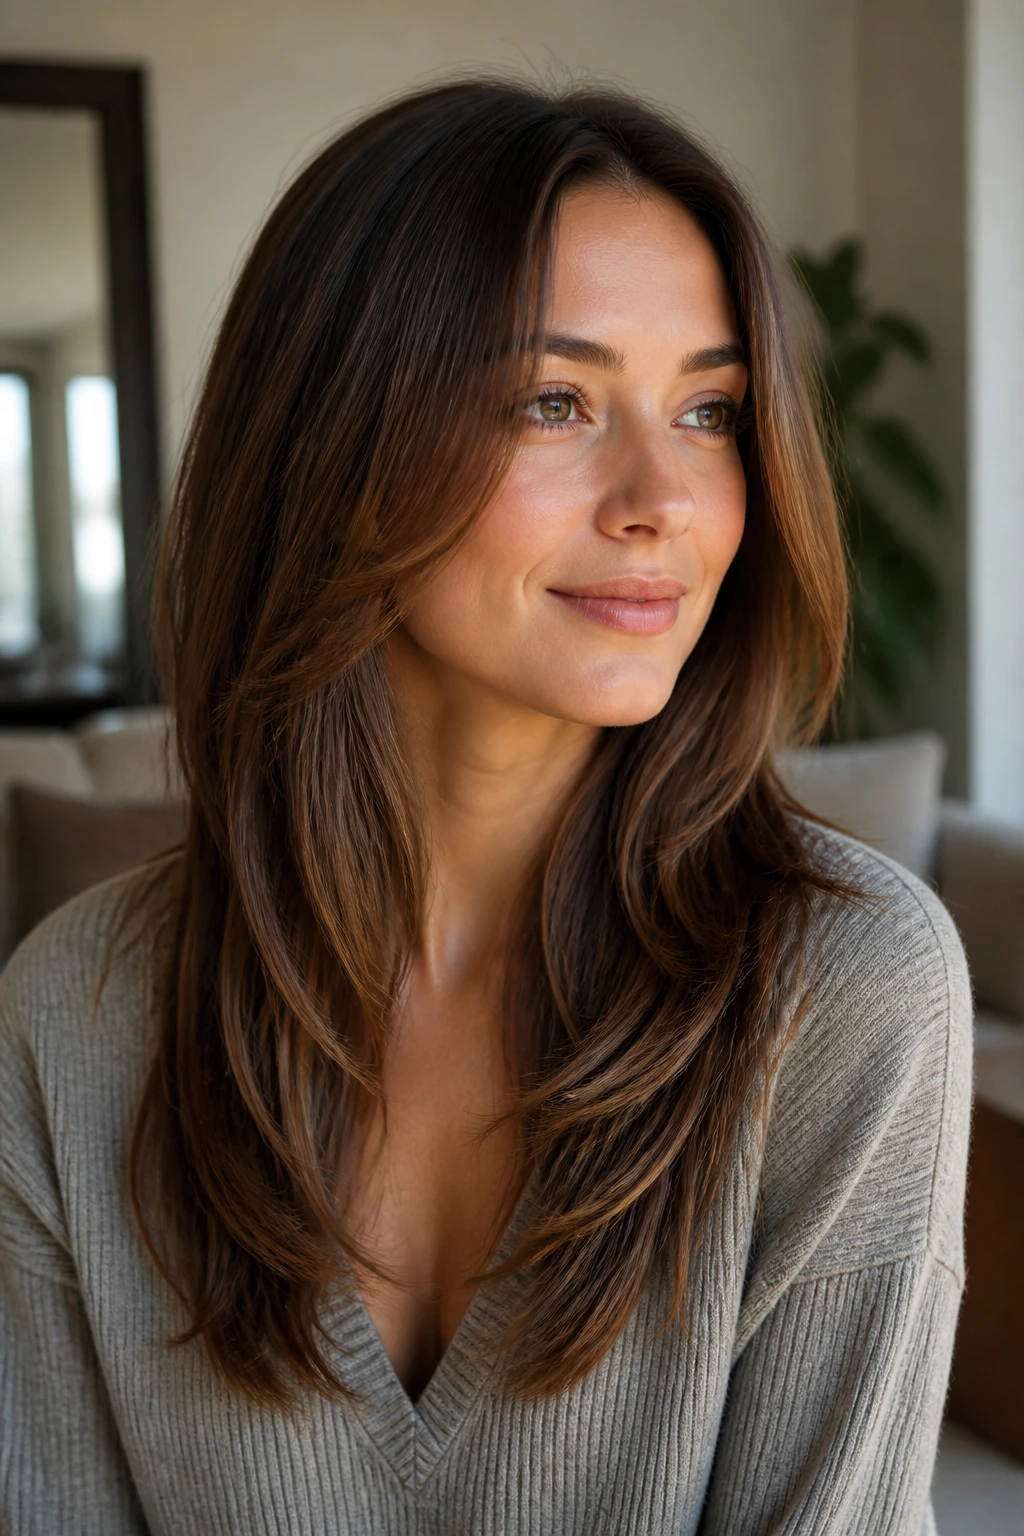
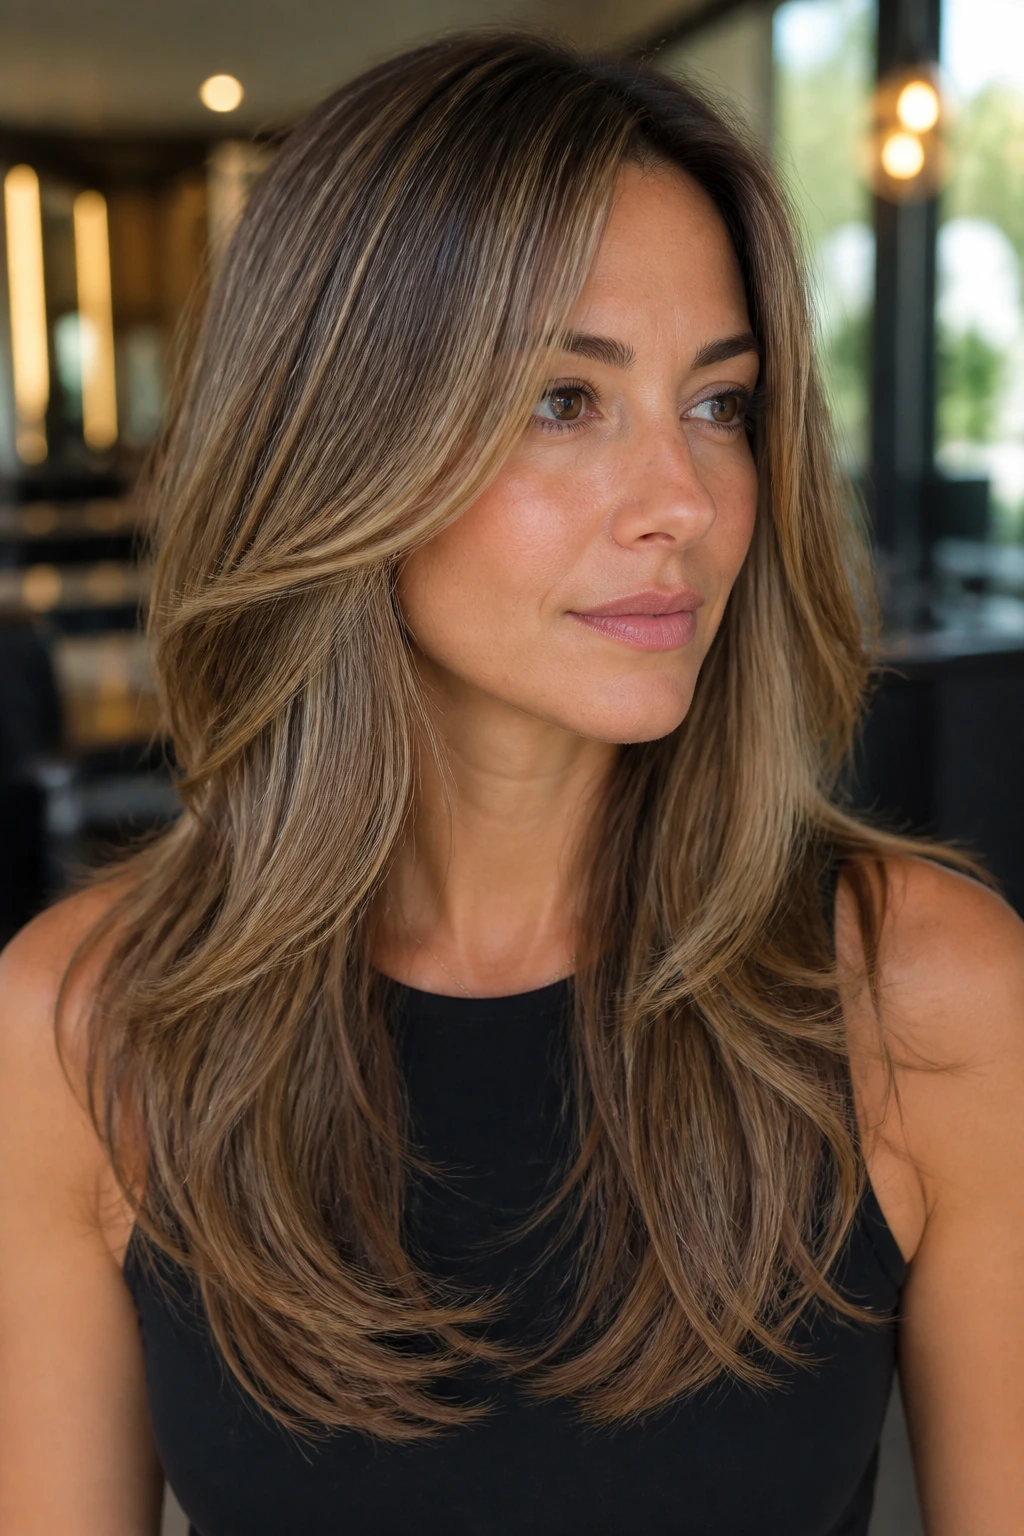
Long layers for thin hair and oval faces walk a narrow line. Cut too high, and the ends go wispy by lunch; cut too low, and the whole shape just hangs there like it missed its cue. The sweet spot is lower than a lot of people expect. That’s where the hair still looks full, but starts to bend, swing, and catch air when you move.
Oval faces make this even more interesting. They can wear a lot of shapes, which sounds like freedom until you sit in the chair and realize every layer choice changes the whole balance of the face. A center part can look polished. A side part can add lift. A face frame that starts at the cheekbone can soften the length. A heavy stack at the crown can make thin hair look patchy fast. The haircut has to know what it’s doing.
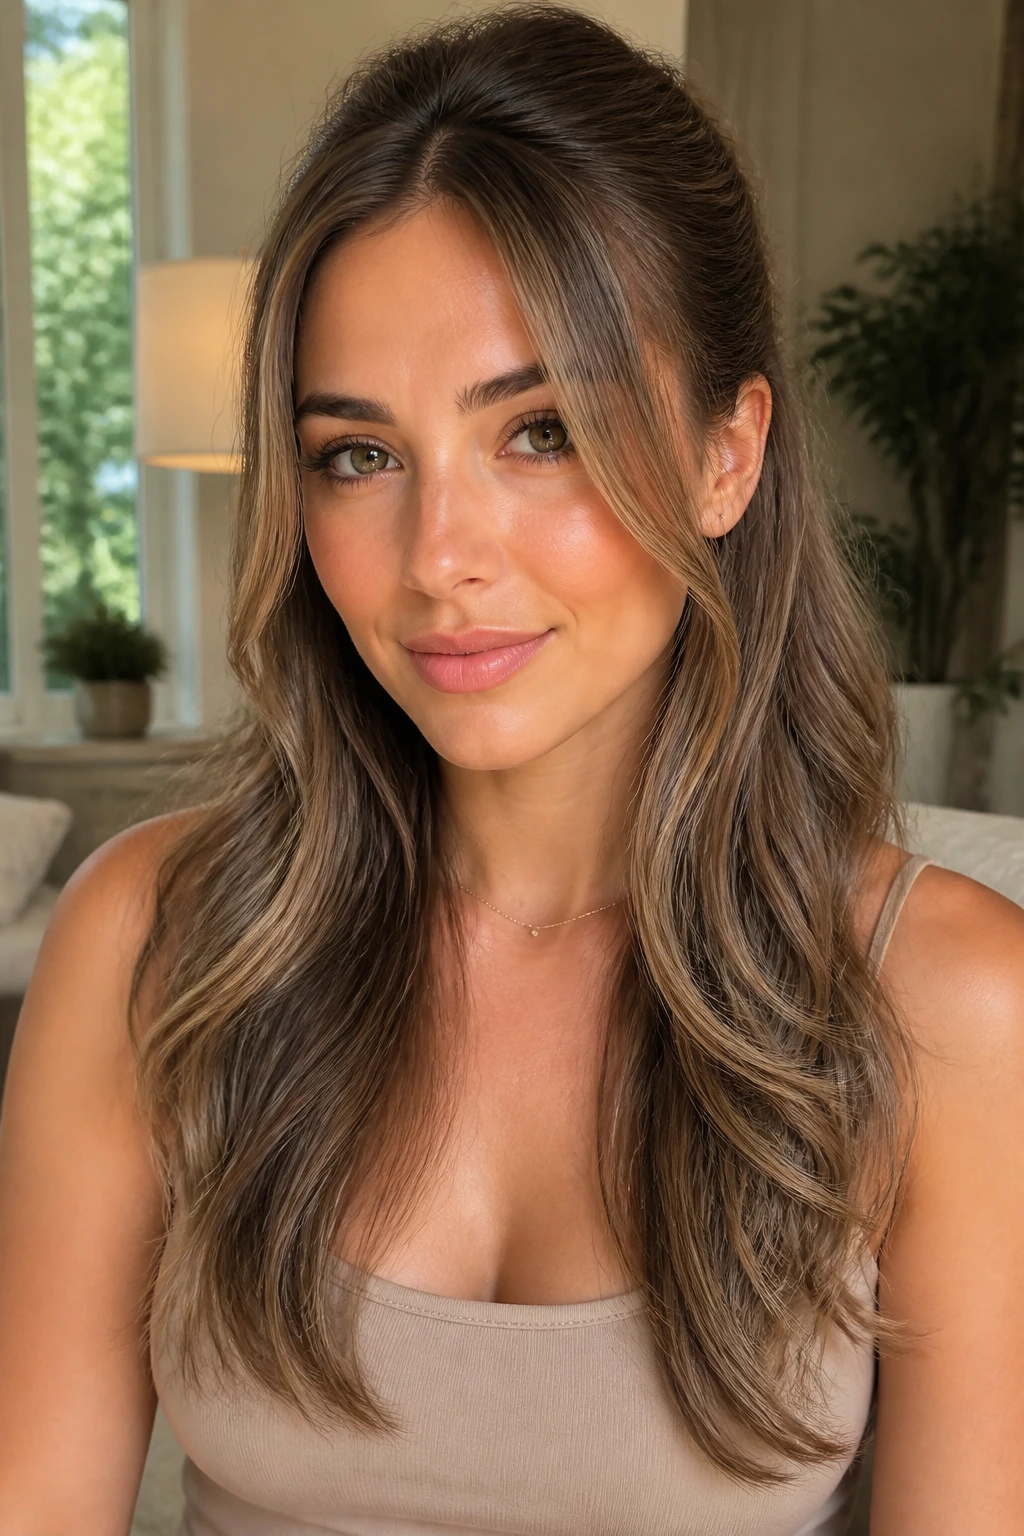
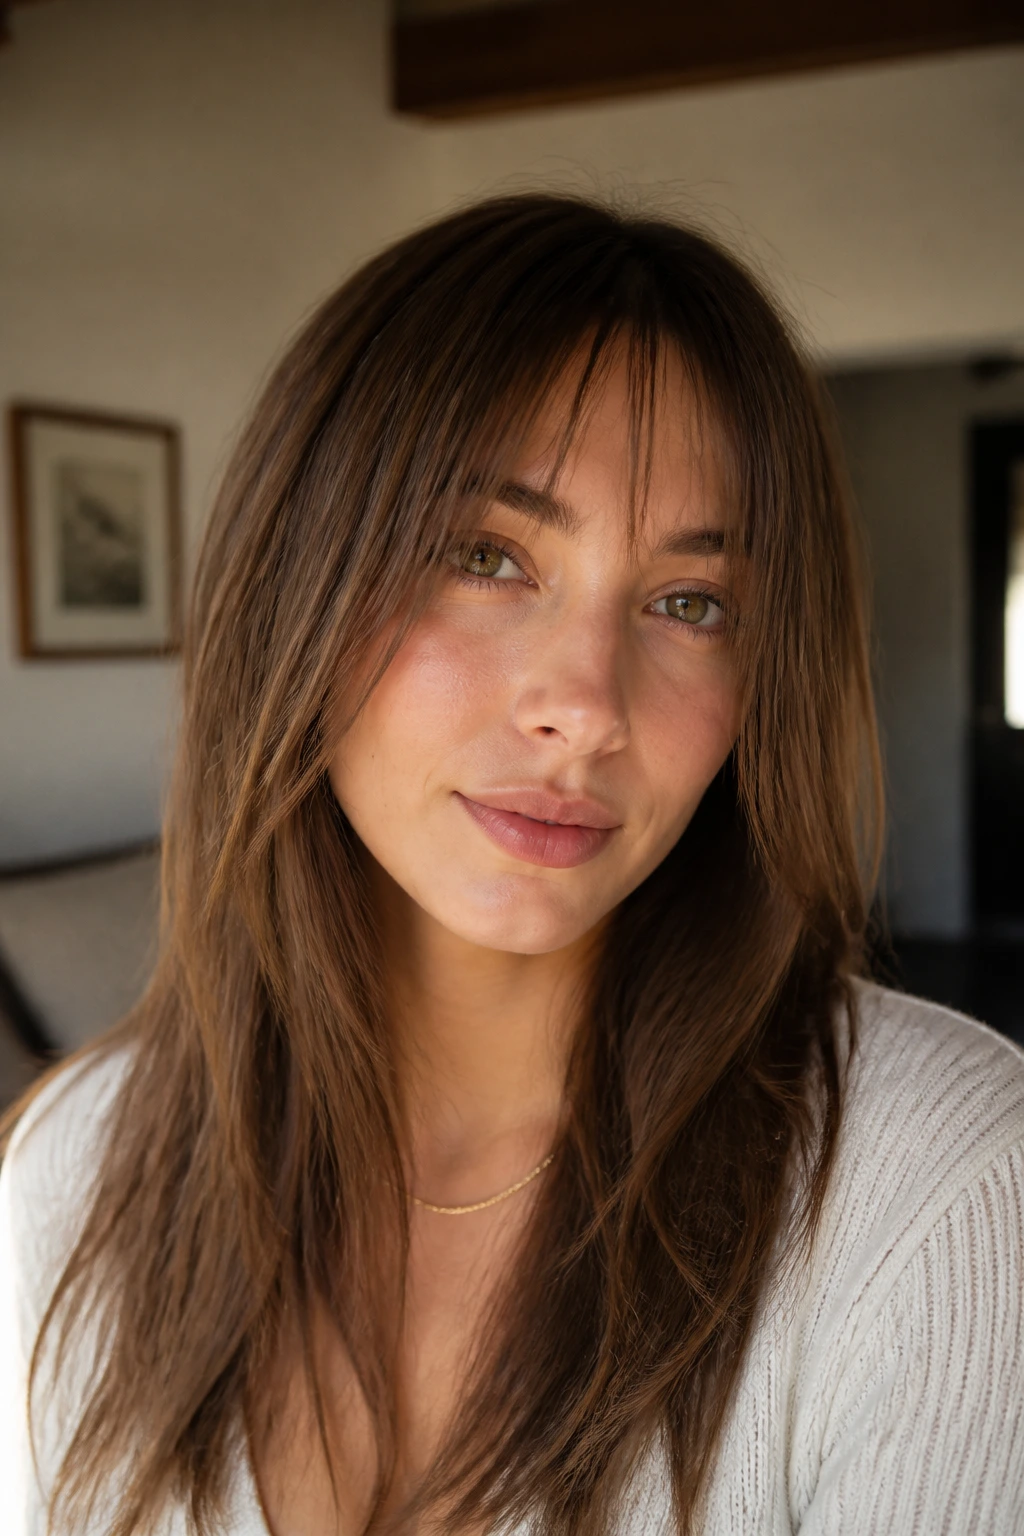
I’m picky about long layers on thin hair for a reason. The best versions don’t shout. They make the ends look intact, the top look lighter, and the face look framed instead of dragged down. The 22 cuts below live in that zone, but each one has a different personality — softer, bendier, sleeker, more lifted, or a little more undone.
Why These 22 Cuts Earn Their Keep
-
They keep the hemline believable: The strongest versions leave enough weight at the bottom that the hair still reads as full when it’s straight or freshly blown out.
-
They flatter an oval face without over-correcting it: Oval faces do not need a lot of rescuing; these cuts add width, bend, or lift in the right places instead of forcing a new shape.
-
They work with fine density instead of fighting it: Long layers can create movement without taking so much bulk that the ends start to look see-through.
-
They grow out in a civilized way: A clean layer map softens with time instead of turning into a triangle, which matters if you stretch trims a little longer than planned.
-
They give you styling options: You can wear the same cut sleek, bent, pinned back, or air-dried, and the shape still makes sense.
How to Choose the Right Version Before You Book
A lot of long-layer haircuts fail before the scissors even open. The reference photo is wrong. The stylist hears “volume” and reaches for too much texturizing. Or the shortest layer starts so high that your ends look like mouse tails by the second week. Thin hair needs a more exact conversation.
Bring two photos, not one. One should show the length you want at the bottom. The other should show the kind of movement you want around the face. Those are not the same thing, and mixing them up is how people end up with a pretty haircut that doesn’t behave in real life.
Say the part out loud. If you wear a center part most days, say that. If your side part is what gives you lift, say that too. Oval faces can handle both, but the layer placement changes depending on where the part lives. A center part needs more width at the cheekbone. A side part can carry more height at the crown.
Most important: tell the stylist you want the perimeter to stay full. That one line changes the whole cut. On thin hair, a blunt or softly rounded hemline with long layers above it is almost always safer than chasing a heavily thinned-out finish.
1. Soft Curtain Layers
Soft curtain layers are the easiest place to start if you want movement without drama. The front opens away from the face in a gentle split, then melts back into the rest of the hair instead of cutting a harsh frame line across the cheek.
Why It Works
The magic is where the shortest pieces land. Keep them around the cheekbone or a touch below, and the hair still feels airy without losing density at the ends. On an oval face, that bend helps break up length in a calm way. No sharp edges. No weird shelf at the jaw.
Ask for the front to be longer than the back layers. That keeps the haircut from looking choppy when you tuck one side behind your ear. It also means the style still looks intentional when it falls naturally, which matters more than people think.
A middle part usually shows this cut best. Blow-dry the front away from the face with a round brush, then let the ends curve softly inward. If the bend is tight and springy, it looks dated fast. Keep it loose.
2. Butterfly Cut with Feathered Wings
A butterfly cut can work on thin hair, but only if the wings stay long. Short butterfly layers on sparse hair are a bad trade. You get height at the crown and not much left in the length, which is the opposite of what you want.
The version that suits thin hair keeps the top section grazing the collarbone and the longest layer intact. The result is a lifted silhouette with a clear face frame, but the bottom still looks like real hair, not a set of broken pieces. That balance matters on an oval face because you already have enough length in the center of the face. The cut should widen the sides, not stack the top.
If you blow it out with a big round brush, the wings swing back nicely. If you air-dry it, the same cut can look a little softer and more relaxed. I prefer that. It gives the style range instead of locking it into one mood.
3. Invisible Layers That Keep the Ends Full
Can a layered haircut still look almost blunt? Yes, and that is exactly why this version deserves attention.
Invisible layers are tucked inside the shape rather than carved heavily through the outside. The perimeter stays strong. The movement lives underneath. On thin hair, that makes a real difference because the eye keeps reading a solid line at the bottom, even when the inside has a little bend and air.
What to Ask For
- A soft internal layer, not a choppy one.
- The first visible layer below the chin or around the collarbone.
- Very light point cutting, if any, at the ends.
- No aggressive razor work through the perimeter.
This is one of the best choices if you like straight hair but hate the flat helmet effect. The cut looks tidy at rest and still moves when you turn your head. That’s the whole trick.
4. Face-Framing Cheekbone Sweep
Think of this as the haircut that knows where the cheeks are. The front pieces sweep down from the cheekbone toward the jaw, then slide into the longer lengths instead of sitting there like separate strips.
It’s a strong option for oval faces because it adds width where the face can use it. Not at the forehead. Not at the very bottom. Right at the middle, where the eye lands first.
I like this cut best when the face frame is only a little shorter than the rest of the front. If the difference is too extreme, the pieces start to feel disconnected. Keep the shortest front pieces long enough that they still move when you tuck one side behind your ear. That keeps the whole cut looking soft rather than staged.
This is also one of the easiest ways to refresh an older long haircut without changing the full shape. A few carefully placed front pieces can wake the whole thing up.
5. U-Shaped Layers with a Soft Perimeter
A U-shape sounds simple because it is. Longer in the center, slightly shorter as you move toward the sides, and softly layered through the middle lengths. That shape gives thin hair a little direction without hacking it apart.
The center stays the longest, which helps the ends look dense. The sides lift just enough to keep the hair from collapsing into one heavy curtain. On an oval face, the slight curve at the bottom reads smooth and balanced. It doesn’t lengthen the face the way a dead-straight cut can.
This is a cut for people who want movement, not statement layers. It behaves well with a flat iron, a round brush, or even a loose bend from sleeping in a braid. If you like hair that looks expensive in a quiet way, this shape is one of the safest bets.
6. Bottleneck Bangs and Long Layers
Bottleneck bangs give you the face-framing effect of curtain bangs, but with a little more control. They stay shorter in the center, then open wider near the temples and fade into the long layers. On an oval face, that small break in the vertical line can be enough to make the whole haircut feel fresher.
The key is keeping the bangs soft, not chunky. Thin hair can’t afford a heavy fringe that needs constant fixing. Bottleneck bangs should sit light on the forehead and blend fast into the sides. If the edges are too blunt, the whole cut feels dense in the wrong place.
I like this pair when someone wants to keep long hair but needs a little more shape near the eyes and cheekbones. It has energy. Not fuss.
7. Deep Side-Part Volume Layers
A deep side part changes the whole geometry of long layers. Suddenly the crown gets lift, the shorter side swings, and the face picks up a diagonal line that makes thin hair look more alive.
Best for Flat Roots
If your roots lie close to the scalp and collapse by midday, this version does a lot of work without asking for a shorter cut. The part creates instant height, and the long layers keep the rest from looking too bulky on one side.
Ask for the longest face-framing pieces to start around the cheekbone, not the chin. That keeps the side sweep flattering on an oval face instead of dragging the eye down. Blow-drying the part in the opposite direction first, then flipping it back, gives even more lift. A little messy is good here. Too polished and the hair loses the point.
8. Rounded Layers for a Softer Edge
Rounded layers build a softer outline around the face and shoulders, which helps thin hair avoid that hard-edged, see-through finish. The silhouette curves instead of dropping in straight lines. That tiny change matters more than people expect.
Oval faces can pull off rounded shapes easily, but the trick is to keep the curve low and gentle. You want width and softness around the middle of the face, not a puff of volume that sits right at the temples. The best rounded layers feel like they were brushed into place, not sculpted into submission.
This cut tends to look especially good when the ends are curled under just a little. Not a big curl. Just enough bend to show the outline. If you wear your hair straight, the rounded layers still help because they stop the length from looking like one flat curtain.
9. Long Shag Lite
A shag on thin hair can be brilliant or awful. There is not much middle ground. The difference comes down to restraint.
The “lite” version keeps the shag energy — feathering, movement, soft separation around the face — but refuses to shred the perimeter. That means longer pieces around the crown, lower layering through the mids, and enough weight left at the bottom to stop the ends from disappearing. Thin hair needs that discipline.
This is a good cut if you like a little grit in the finish. It looks best with piecey styling cream, a dry bend from a curling iron, or a quick rough-dry. Oval faces handle the shorter front movement nicely because the shape does not crowd the chin. It just adds texture where the eye wants it.
10. Collarbone-Forward Layers
The collarbone is a useful line for thin hair. It gives you a place to start movement without cutting the shape apart. Layers that begin around that point usually feel light, but not too light.
That’s why this haircut works. The first visible layers land around the collarbone, then fall longer as they travel toward the back. On an oval face, that creates a narrow-to-wide movement that feels natural. Nothing gets pinned too close to the jaw, and nothing starts so high that the hair loses its body.
This cut is also a good bridge style if you are growing out shorter layers. The shape can absorb awkward lengths without making them obvious. It’s one of those haircuts that looks better after a few weeks, which is not something I say often about layered hair.
11. Razor-Soft Ends with Long Length

Razor cutting gets a bad reputation for thin hair, and honestly, it earns some of that criticism. Used badly, it frays the ends and makes them look fuzzy. Used lightly on healthy hair, though, it can create a soft edge that moves beautifully.
The safer version keeps the razor away from the entire perimeter and uses it only to soften select interior sections. The goal is not to shred the hair. The goal is to remove the bluntness that can make long, thin hair hang stiffly. On oval faces, a little softness around the sides helps the haircut sit closer to the head without feeling flat.
If your hair already splits easily, skip this one. If your ends are healthy and you want a feathered finish, it can be lovely. But this is not the place for aggressive thinning shears.
12. Blowout Layers with Crown Lift
Some haircuts are designed for air-drying. This one is designed to be blown out, and I mean that in the best possible way.
The layers are placed to respond to a round brush. The crown lifts. The front sweeps. The ends bend instead of flipping into random directions. Thin hair usually likes a little structure from styling, and this cut gives it a clear path. On an oval face, the volume at the crown and sides keeps the face balanced without dragging attention straight down.
If you use Velcro rollers, this cut gets even better. Clip the top section for a few minutes while the roots cool, and the shape lasts longer. No heroics. Just heat, tension, and a little patience.
13. Internal Layers for Fine Density
Internal layers are the quiet cousin in this group. You don’t always see them, but you feel them when the hair moves. The outside stays fairly full. The inside gets just enough adjustment to stop the whole shape from feeling heavy.
That is a smart move for thin hair with fine strands. Fine hair often needs movement, but not at the expense of the silhouette. Internal layers let the haircut bend and swing while keeping the outside line clean. Oval faces benefit because the shape stays soft around the cheeks instead of becoming overworked.
This cut tends to suit people who want a low-drama result. You can wear it tucked, loose, or blown smooth and it still behaves. Sometimes that’s the whole point.
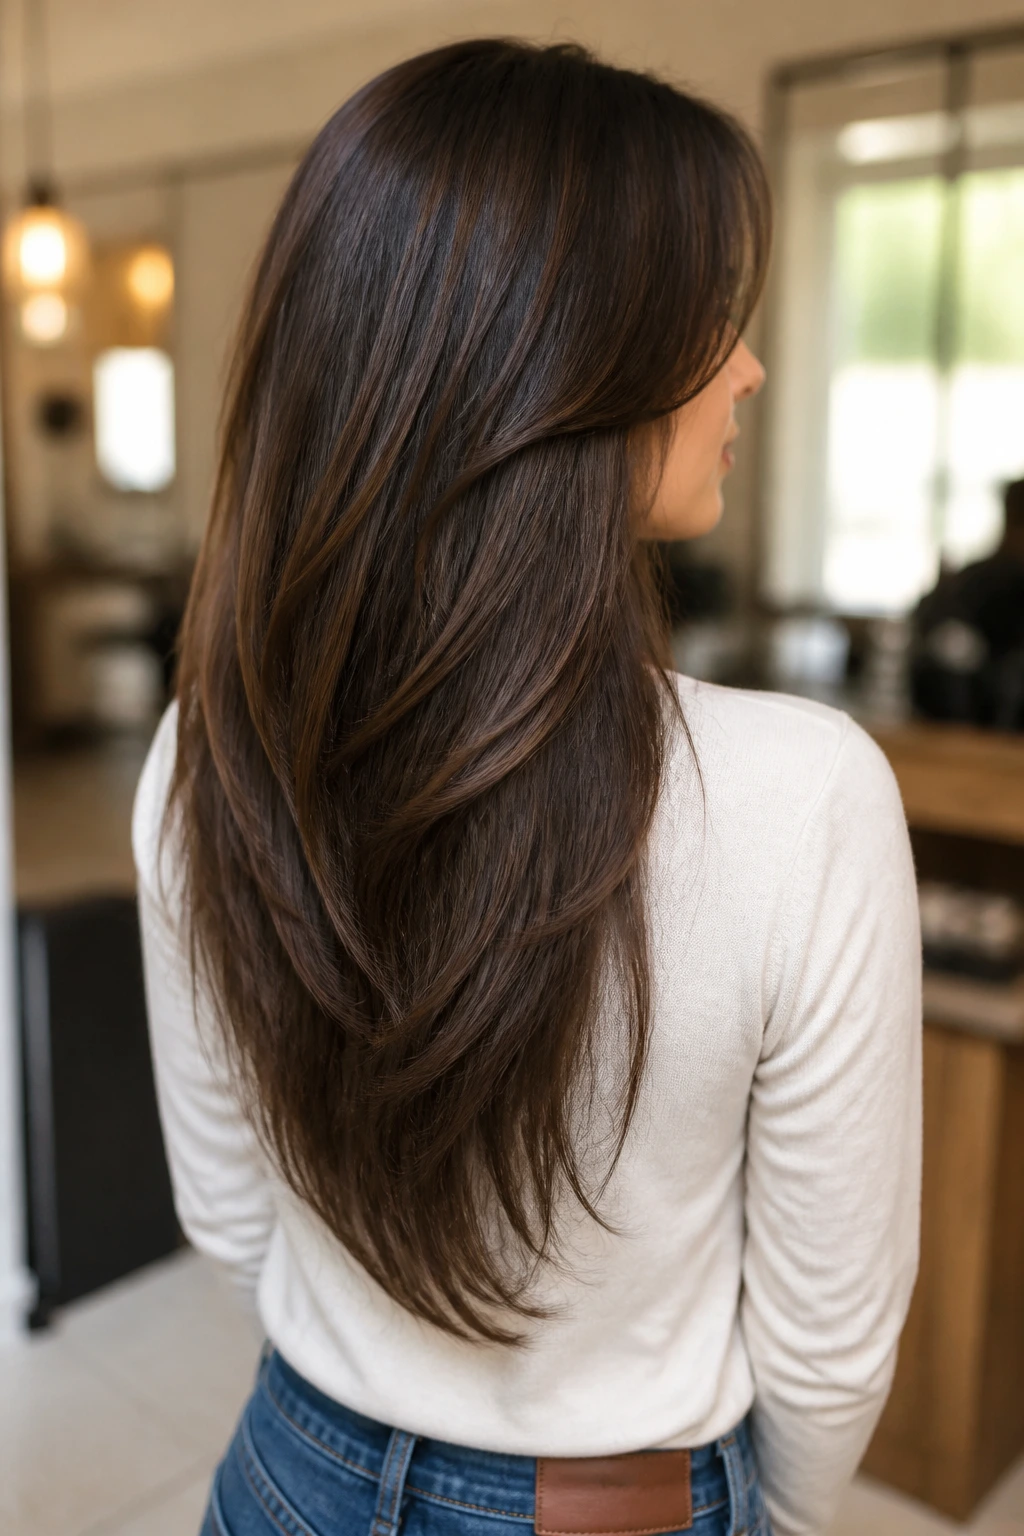
14. Gradual Length Layers from Shoulder to Ribcage
What makes this version different is the slope. There is no sudden step from short to long. The layers roll gradually from the shoulder area down toward the ribcage, which helps thin hair keep its outline.
A lot of layered cuts fail because they get too eager. The eye sees every step. That’s not flattering on sparse hair. A gradual cut lets the movement build slowly, so the ends remain the star. Oval faces do well with that because the face can take a little softness without needing strong shape correction.
This is the sort of haircut that looks especially good when the hair is half up. The shorter layers fall out around the face, and the longer pieces still anchor the bottom. It gives you shape even on lazy days.
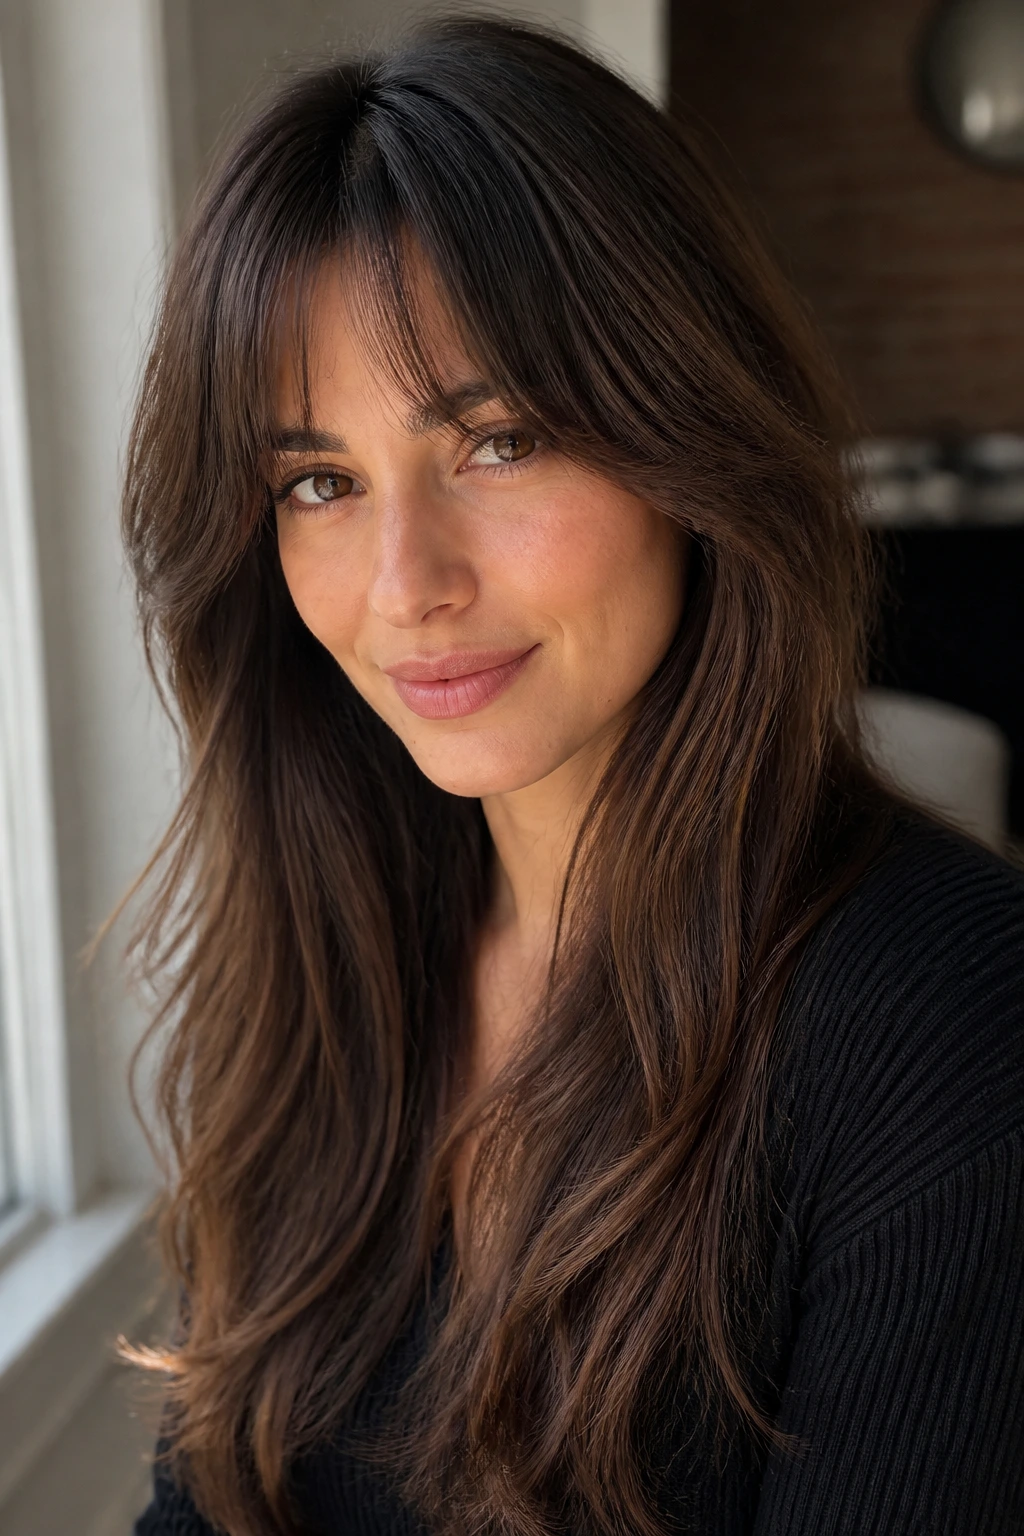
15. Wispy Fringe and Long Sides
A wispy fringe can soften a long face frame, but it has to stay feather-light. If it turns into a heavy curtain, thin hair will protest. Fast.
The fringe should sit high enough to touch the brows or skim them, then melt into longer side pieces that reach the cheekbone or jaw. That gives the oval face a little break without making the forehead look crowded. The long sides keep the cut from feeling top-heavy, which is the real risk here.
Who Should Try It
- People who like a bit of forehead coverage.
- Anyone who wants the haircut to look softer when tied back.
- Thin hair that needs a little front texture without losing length.
This style has a little charm to it. Not a lot. That’s why it works.
16. V-Shape Layers for Swing
A V-shape is sharper than a U-shape, and that can be a good thing if the V stays low. The point should not start halfway up the back. That would chew through density. Keep the taper subtle and the perimeter intact.
On thin hair, a soft V adds movement in the back while letting the front pieces stay long enough to frame an oval face. The effect is swingy, especially if the hair has a slight bend. It’s a nice option for people who like seeing shape from behind, not just the front.
I wouldn’t use this version on very fragile ends. But if the hair is fine, healthy, and a little flat at the back, the V can wake it up without making the whole head look thinner.
17. Jaw-Skimming Front Pieces
Jaw-skimming pieces are useful because they interrupt the face at exactly the right spot. Oval faces can carry them without feeling cut off, and thin hair benefits because the front gains shape while the rest of the length stays intact.
The pieces should be soft, not blunt. If they stop dead at the jaw, the line can look stiff. If they feather past it, the haircut gains motion. That little sweep is what keeps the style from looking too controlled.
This is a nice choice if you wear hair behind your ears a lot. The front still does something when it’s pushed back, which is more than most people realize until they need it. A haircut that can be tucked and still hold its shape is worth keeping around.
18. Center-Part S-Curve Layers
An S-curve sounds fussy, but it’s really just a subtle change in the way the hair bends. The front pieces move out from the center part, curve around the cheekbone, then settle back in toward the collarbone. That shape gives thin hair a little flow without obvious layering marks.
Oval faces suit this because the curve adds width in the middle of the face. Not at the temples, where the width can make the head look broader than you want. The bend sits lower and feels more natural.
I like this cut with medium round-brush styling or a loose iron bend. It’s a good middle ground between sleek and tousled. You can wear it with a blazer or a sweatshirt and it still reads right.
19. Barely-There Texture Layers
Sometimes the smartest layer is the one you almost can’t see. Barely-there texture layers keep the overall line long and clean while adding just enough movement that the hair doesn’t look pasted to the head.
This is one of the most forgiving options for thin hair. The cut does not require a lot of styling, and it does not look overworked if you skip heat on a busy day. Oval faces like it because the shape stays balanced; there is enough softness around the sides to keep things from feeling severe.
What makes it work:
- A soft internal change, not a dramatic step.
- A full perimeter that still feels intact.
- A very light face frame, usually around the cheekbone.
- Minimal texturizing at the ends.
If you want hair that still looks like your own hair, just a little better, this is the lane.
20. Flip Layers at the Cheekbones
A cheekbone flip can do more for thin hair than a dozen vague “volume” products. The idea is simple: the ends around the face flip out or bend away at cheekbone height, and the rest falls long and smooth.
That little change opens the face and gives the haircut movement where it shows most. Oval faces handle the flip well because the bend adds width without turning the shape boxy. It feels especially good with a round brush finish or a quick pass of a flat iron at the ends.
This cut is one of my favorites for people who want the hair to look styled without looking fussy. The flip is visible. The rest stays calm. That contrast is what makes it work.
21. Soft Tapered Ends
Soft tapered ends are about restraint. You still want some narrowing toward the bottom, but not so much that the hair looks see-through. The taper should feel gentle, almost like the haircut exhaled a little at the tips.
Thin hair benefits because the silhouette stays cleaner than a blunt cut that has no movement. Oval faces benefit because the taper keeps the length from feeling too heavy on the sides. It’s a neat shape, and neat often beats flashy when the hair is fine.
This version especially suits people who wear hair straight a lot. The line stays smooth, and the layers don’t fight the finish. If your hair tends to puff at the ends, a soft taper can calm that down without chopping off inches.
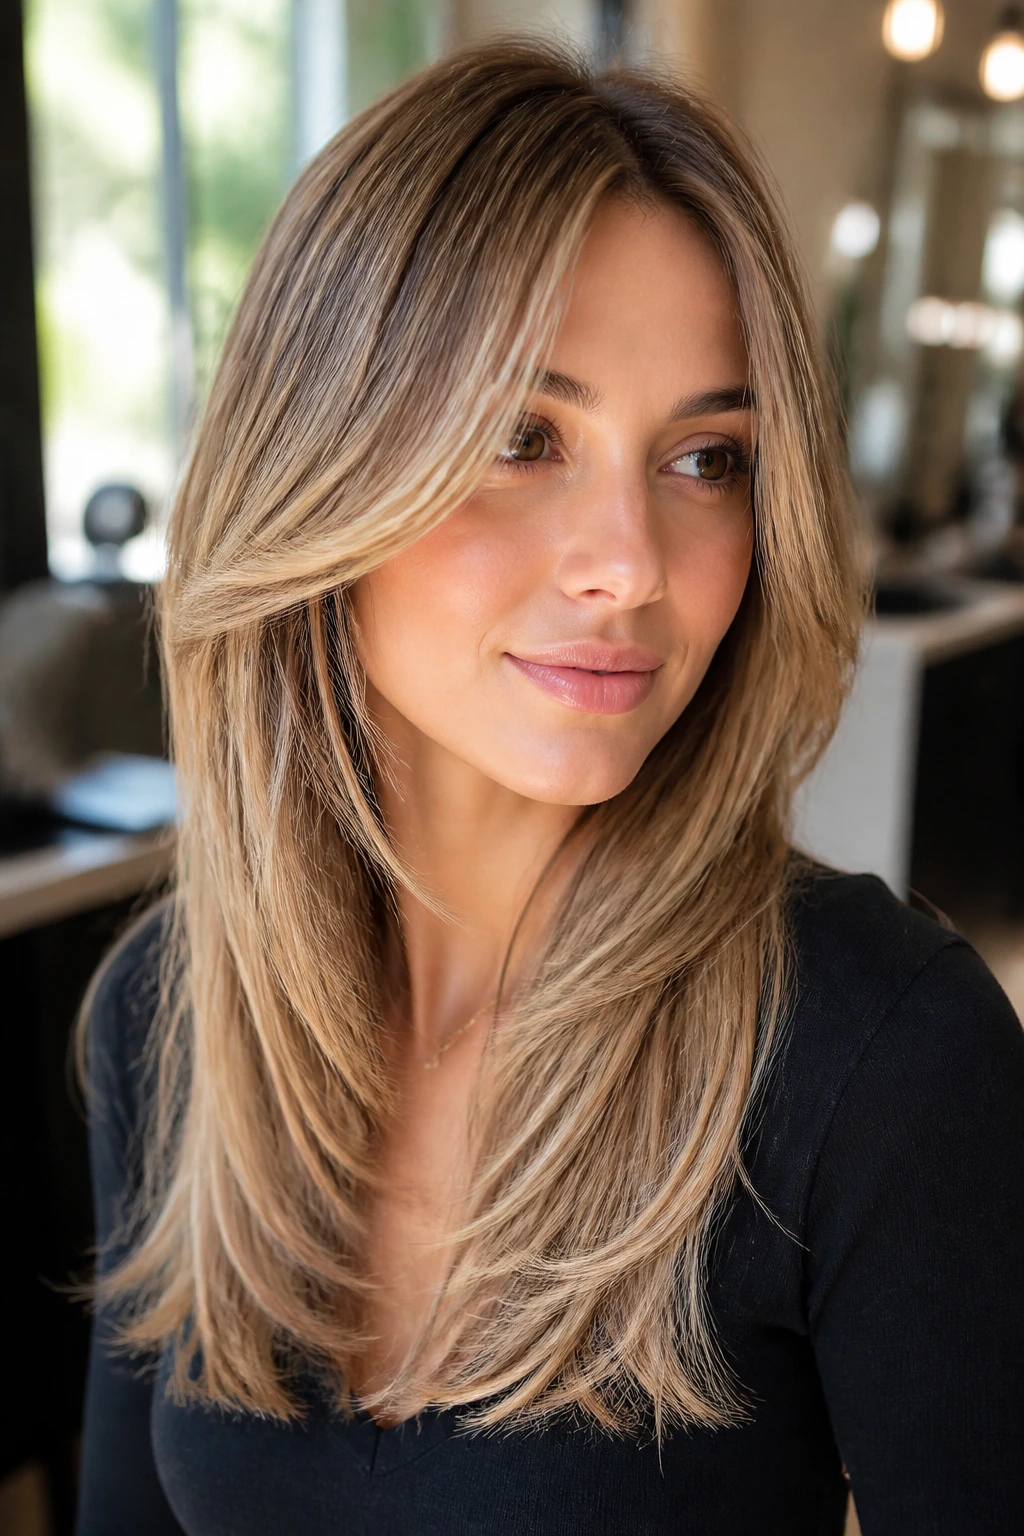
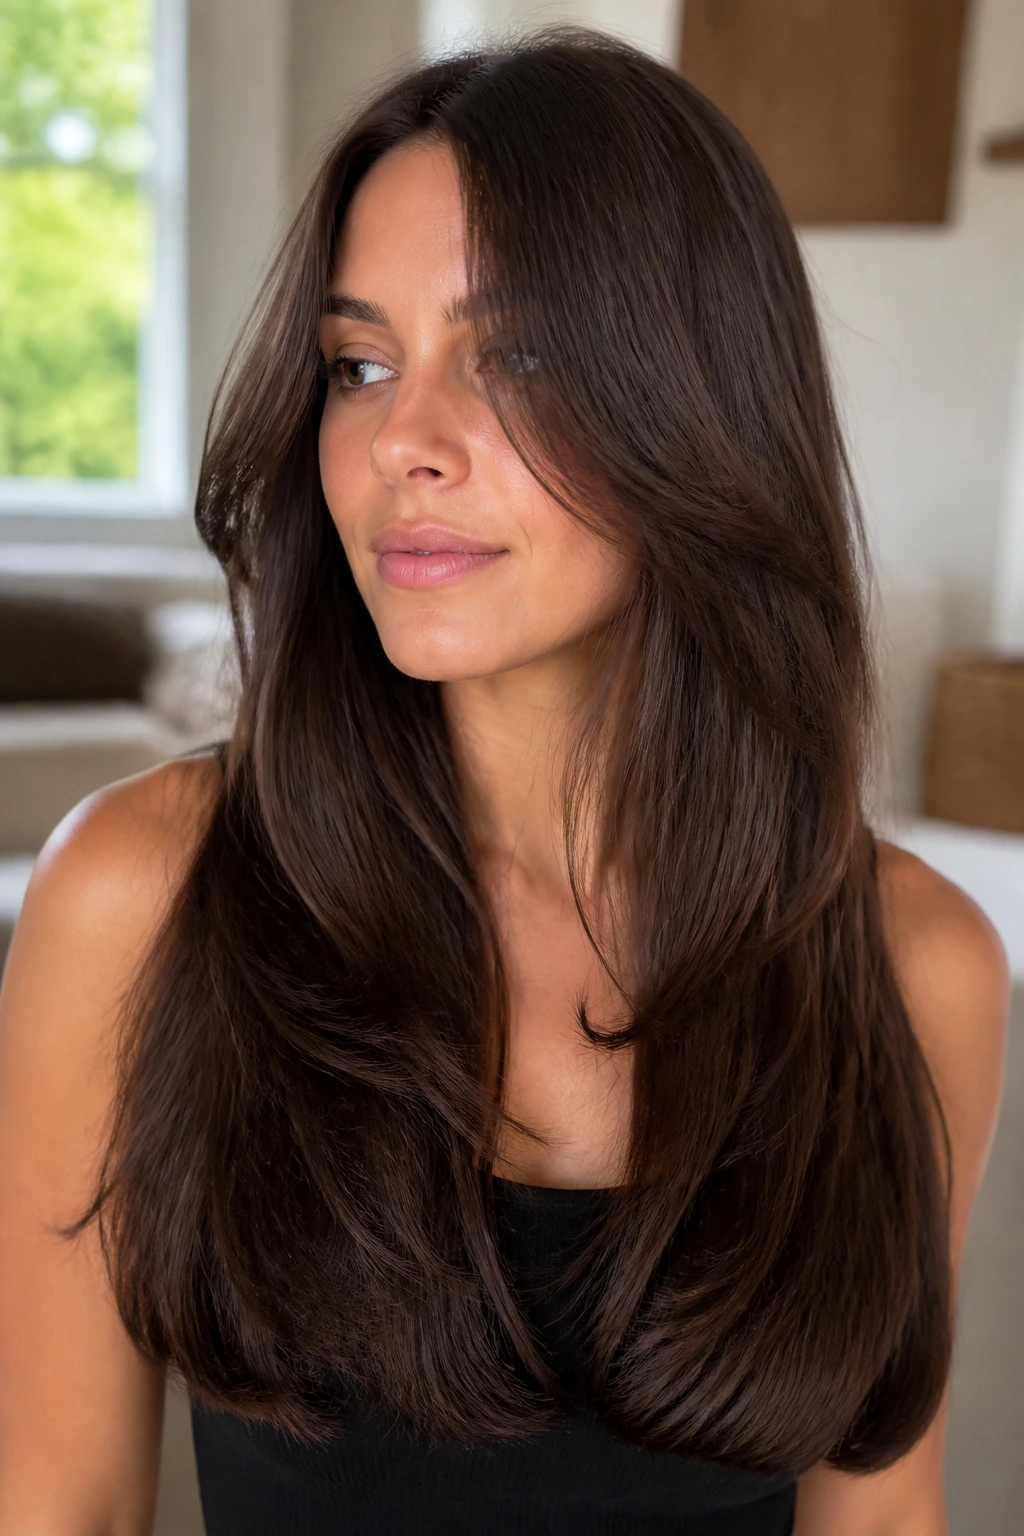
22. Glossy Minimal Layers
Sometimes the answer is less layering, not more. Glossy minimal layers keep the length mostly intact, add only a few strategic pieces around the front, and let shine do the heavy lifting.
That works because thin hair often looks better when the cut is clean. Too many layers can make the ends separate and turn stringy. A minimal-layer version gives you movement, but it stays close to the head and reads polished from a distance.
Oval faces can handle this beautifully if the face frame is placed with care. Keep the shortest pieces around the cheekbone or just below, and let the rest of the hair stay long and smooth. It’s understated in the best way. Nothing screams. Everything sits where it should.
Why Long Layers Behave Better on Thin Hair Than a Heavy One-Length Cut
A blunt, one-length cut sounds full because it protects the perimeter, and that part is true. The catch is that thin hair can start to look static, especially when it’s long. Long layers fix that by creating movement where the eye wants it most, which is around the front and upper mid-lengths.
The best long-layer haircut does not remove weight from the very bottom unless it has to. It nudges weight around. A little off the crown. A little through the front. A little from the sides. That shift keeps the ends looking intact while giving the hair a bend that catches light and moves when you walk.
Oval faces help here because the face shape already has balance. You’re not trying to correct width or length in a dramatic way. You’re just deciding where the eye should go first. A center part says calm symmetry. A side part says lift. Cheekbone pieces say soft width. The haircut becomes a framing tool, not a disguise.
The Tools and Products That Make This Shape Hold
-
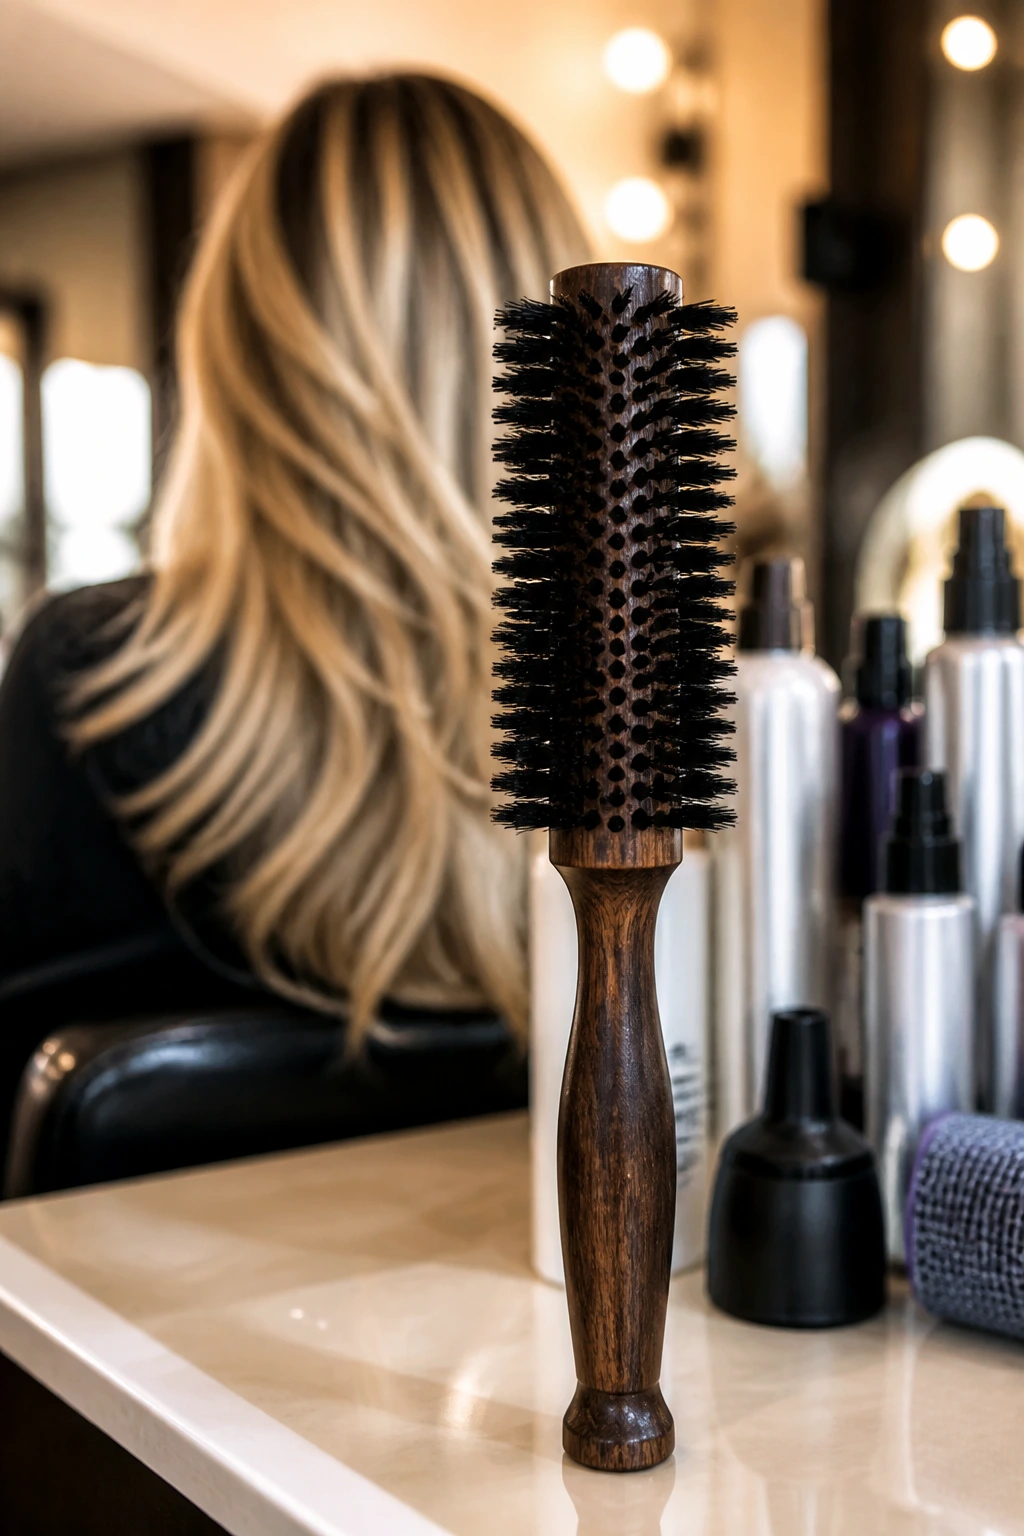
1.5- to 2-inch round brush: Smaller brushes create more bend; larger ones smooth the cut without over-curving the ends.
-
Blow dryer with a nozzle attachment: The nozzle keeps air directed where you want it, which matters when roots need lift and lengths need less frizz.
-
Sectioning clips: Thin hair falls flat if you try to dry everything at once. Clips keep the top and side pieces separate.
-
Volumizing mousse: Use it at the roots and upper mids while the hair is damp. A golf-ball-sized amount is plenty for most shoulder-length cuts.
-
Heat protectant spray: Especially useful if your ends are delicate. A light mist before blow-drying keeps the hair from getting fuzzy.
-
Lightweight texturizing spray: Good for second-day bend, but use it sparingly. Too much makes thin hair feel dusty.
-
Flexible-hold hairspray: Better than a stiff finish. Long layers need movement, not shellac.
-
Velcro rollers: Optional, but useful if the crown goes flat after a blowout. Five to ten minutes is enough.
-
Satin pillowcase or bonnet: Keeps the face frame from getting crushed overnight. That tiny detail saves a surprising amount of styling time.
What to Tell Your Stylist at the Chair
Say the exact thing you want the haircut to do. That sounds obvious. It isn’t. Most confusion in layered hair starts when the stylist hears “volume” and thinks “shorter,” while the client means “fuller ends and a little bend around my face.”
Use plain sentences. “I want long layers, but I want the bottom to stay full.” That sentence is gold. Add, “My hair is thin, so I don’t want the ends thinned out.” Then say where you part your hair and how often you blow-dry it. If you air-dry most of the time, that changes the cut. If you round-brush it every morning, that changes it too.
Ask where the shortest front pieces will land before the first snip. On an oval face, cheekbone or slightly below is usually safer than anything much higher. You want framing, not a fringe that lives its own life.
If your stylist reaches for thinning shears at the ends, speak up. Light point cutting is one thing. Over-thinning is another. Thin hair does not need help looking thin.
How to Style the Cut for Lift, Bend, and Shine

At the roots: Start with mousse or root-lift spray on damp hair, then blow-dry the roots until they’re about 80% dry before you touch the lengths. That keeps the crown from collapsing under its own weight.
Through the mids: Use a round brush or a medium curling iron to add one soft bend per section. You do not need full curls everywhere. One or two smooth turns through the front and mid-lengths are enough to show the layers.
At the ends: Keep them soft. A tiny inward curve, a slight flip, or a loose wave is better than tight ringlets on thin hair. Tight curls make the lengths look shorter and can expose the layer map too clearly.
To finish: Rub a pea-size drop of lightweight serum between your palms and touch only the ends. Then mist the hair with flexible-hold spray from a distance of 10 to 12 inches. If you spray too close, the layers clump and lose air.
For air-dry days: Clip the crown for 15 minutes while the hair is damp, then tuck the front pieces behind your ears for a few minutes so they dry with a gentle bend. It sounds minor. It works.
Small Tweaks That Change the Whole Mood
The Curtain Bang Switch: Add long curtain bangs to soft curtain layers or a U-shape if you want more face movement. Keep the bang shorter in the center and blend it fast into the sides so it doesn’t eat density.
The Side-Part Lift: If your roots are flat, shift to a deep side part and let the shorter side fall across the cheek. That small change gives the haircut more body without needing more cutting.
The Air-Dry Version: Ask for the same long-layer shape, but with softer internal layering and less obvious face framing. This keeps the cut from looking dependent on blow-drying.
The Sleek Glass Finish: Keep the layers minimal and focus on shine. A smoothing cream through the mids and a flat iron pass on the front pieces can make thin hair look denser than a piecey finish does.
The Soft Shag Edge: Add a little more texture around the crown and temple area if you want movement, but leave the perimeter fuller. This is the line between playful and shredded. Stay on the safer side.
Common Mistakes That Make Thin Hair Look Sparse
-
Starting the layers too high: If the shortest layer sits above the cheekbone, the ends often look scraggly. Keep the first visible layer lower unless the hair is unusually dense.
-
Over-thinning the perimeter: This is the fastest route to stringy ends. The fix is simple: ask for softness through the interior, not a carved-out bottom edge.
-
Loading conditioner at the roots: Fine, thin hair hates heavy product near the scalp. Condition from the ears down, then rinse well.
-
Using too much oil or cream: One extra pump can make the whole style separate into pieces. Start with half the amount you think you need.
-
Skipping root lift: Long layers can still collapse if the roots are flat. Blow-dry the crown first, or the shape won’t show.
-
Waiting too long for a trim: Once the ends start to fray, long layers lose their clean outline. That makes the cut look thinner than it is.
Keeping the Shape Between Trims
Thin hair with long layers stays looking better when you don’t let the edges drift too far. A trim every 8 to 10 weeks usually keeps the shape honest. If you have a fringe or face-frame pieces, those may need a small refresh sooner, around 4 to 6 weeks.
At home, wash as often as your scalp asks for it, not as often as the haircut thinks it deserves. Fine hair gets weighed down fast by product buildup. A clarifying shampoo every 2 to 4 weeks can help if dry shampoo, mousse, or texture spray starts to cling.
Nighttime matters too. A loose low braid, a soft bun, or a satin pillowcase keeps the front pieces from flattening into odd bends. If you wake up with the crown stuck down, a quick blast from the dryer at the roots will fix more than a full restyle.
Frequently Asked Questions
Are long layers actually good for thin hair?
Yes, if they’re placed with restraint. The best long layers keep the perimeter full and add movement higher up, so the hair looks lighter without looking sparse.
Do long layers make an oval face look longer?
They can, if the front pieces are too narrow or too high. Keep some width at the cheekbone or jaw, and the shape stays balanced.
Should I get curtain bangs with long layers?
Only if you want more face framing and you’re willing to style the front pieces. Curtain bangs work best when they blend into the sides and don’t sit like a separate section.
Is a center part or side part better for this haircut?
Both can work on an oval face. A center part feels balanced and soft; a side part gives more lift at the crown and can help flat roots look fuller.
What should I avoid if my hair is very fine?
Avoid heavy thinning, short top layers, and too much product at the roots. Those three things are the fastest route to see-through ends and a flat crown.
How do I keep the layers from collapsing by midday?
Set the roots while drying, use a flexible mousse, and don’t overload the mids with cream or oil. A quick root refresh with a dryer for 20 to 30 seconds helps a lot.
Can I wear this cut air-dried?
Yes, but ask for softer layering and keep the front pieces long enough to bend naturally. Air-dried thin hair usually looks best when the shape is gentle rather than highly carved.
What if the ends look stringy after the cut?
That usually means the layers started too high or the perimeter was thinned too much. Ask for a fuller bottom line and less removal through the ends at the next appointment.
The Cut That Keeps Its Shape
Long layers on thin hair work best when they feel almost conservative at the bottom and a little smarter at the top. That’s the whole game. Keep the ends believable, place the face-framing pieces with care, and let the movement happen where it can do the most good.
Oval faces have room for a lot of these shapes, but the best version is still the one that respects the hair’s density. Not every layer needs to be visible. In fact, the good ones often are not. They show up when the hair turns, when the light hits it, when you tuck one side back and the whole shape suddenly makes sense.
If you’re booking a cut, start with the version that protects the perimeter first. The rest can be adjusted from there.