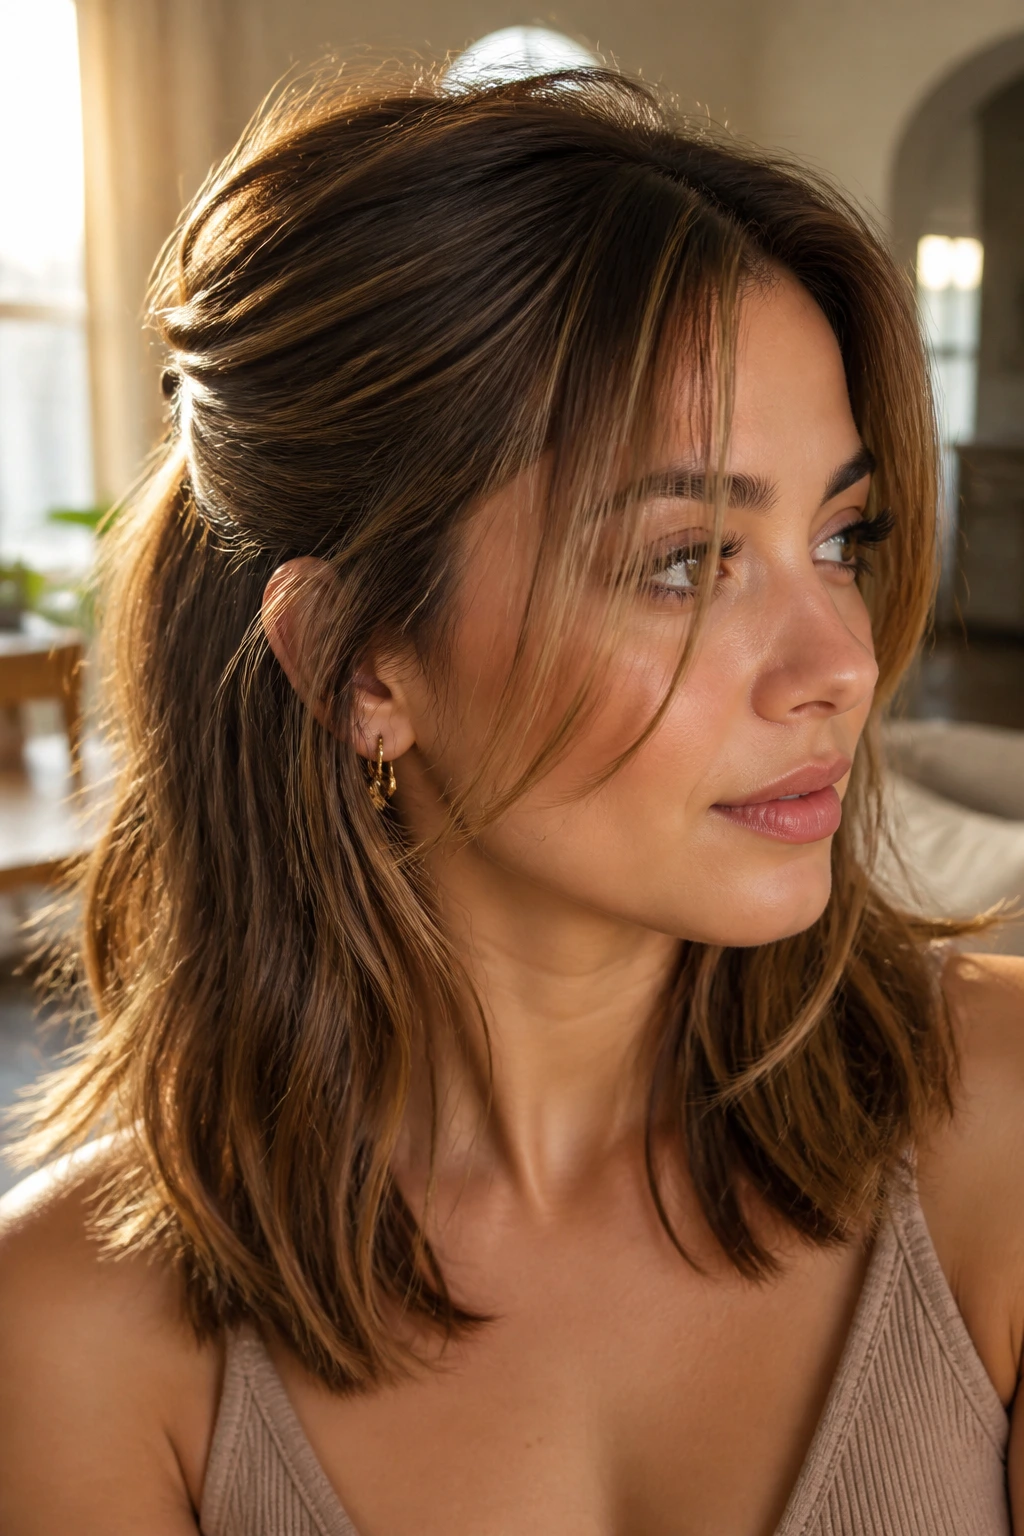
Medium hair with face-framing layers has a sneaky advantage: the cut does half the styling for you, but only if you stop fighting the shape. The front pieces want to swing around the cheekbones. The length wants to sit near the shoulders, not disappear into a blob of hair. And when those two things line up, the whole look feels lighter, cleaner, and more awake.
I’ve always liked medium hair for that reason. It doesn’t ask for the marathon commitment of long hair, and it doesn’t collapse the way some shorter cuts can when you try to pin them back. Give it a little bend, a little lift, and a sensible part, and it behaves. Give it too much oil or too much tension, and it goes flat fast.
That’s where face-framing layers earn their keep. They soften hard lines around the jaw, keep ponytails from looking severe, and turn basic styles into something with shape. The trick is knowing which styles let those pieces move instead of burying them. That’s where the good stuff starts.
Why These Hairstyles Work So Hard for Medium Hair
-
They make the cut look intentional: Face-framing layers are not decoration here; they’re the part of the haircut that makes medium length read as styled instead of merely hanging there.
-
They survive second-day hair: Medium hair gets enough grip from a little root texture or dry shampoo, which means twists, clips, and ponytails hold better than they do on freshly washed, slippery hair.
-
They keep the front soft: A clean ponytail can be harsh on a layered cut. Leaving out 1 to 2 inches around the face keeps the line from looking too strict.
-
They work with small tools: A 1.25-inch curling iron, a flat iron with rounded edges, and a medium claw clip are enough for most of these looks. No circus of gadgets required.
-
They flatter more than one face shape: The same cheekbone-length layer can slim a round face, soften a square jaw, or add width where a narrow face needs it.
-
They move from day to night without a reset: A style that starts with a soft bend or a loose twist can stay in place through the afternoon and still look decent after an hour in a restaurant or car.
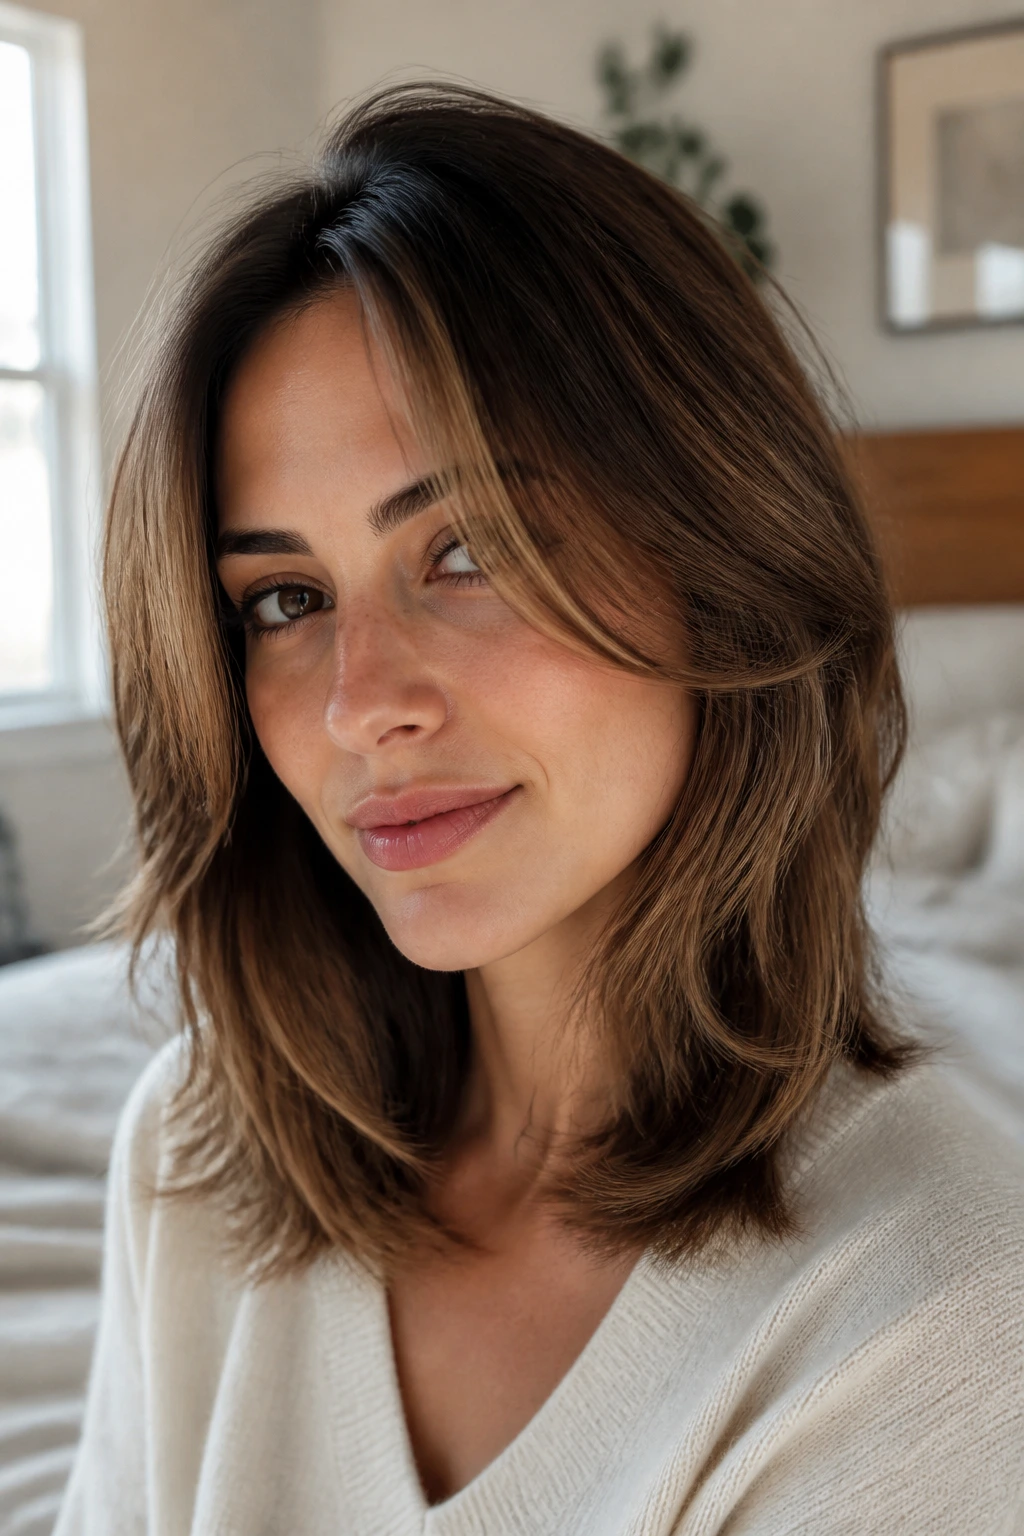
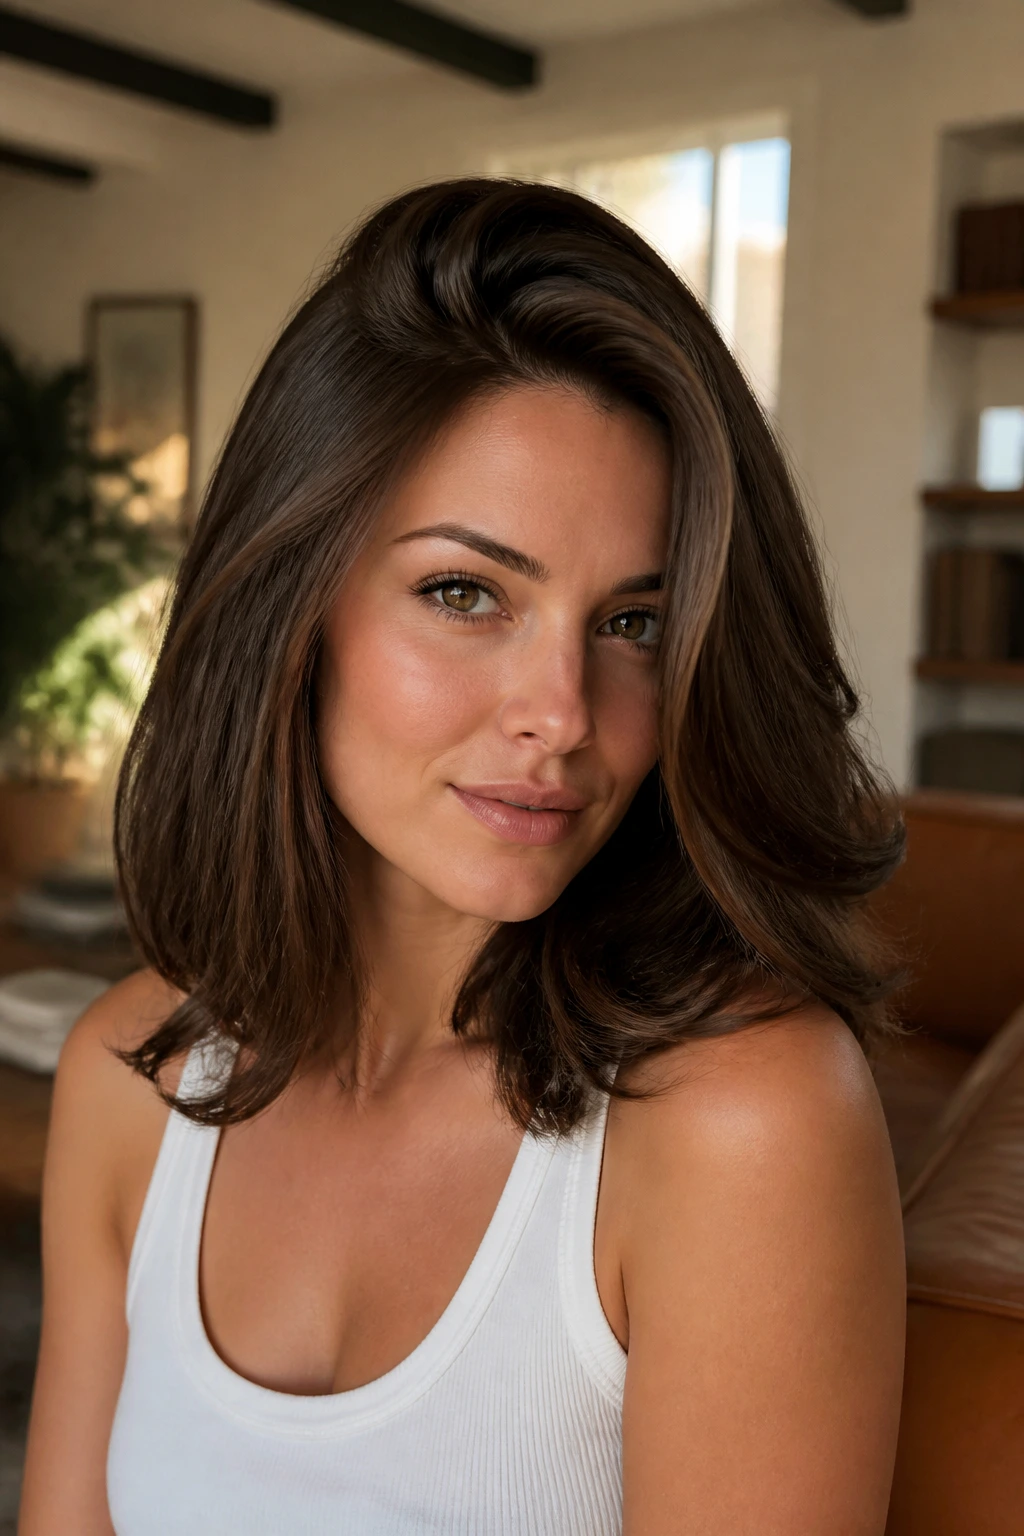
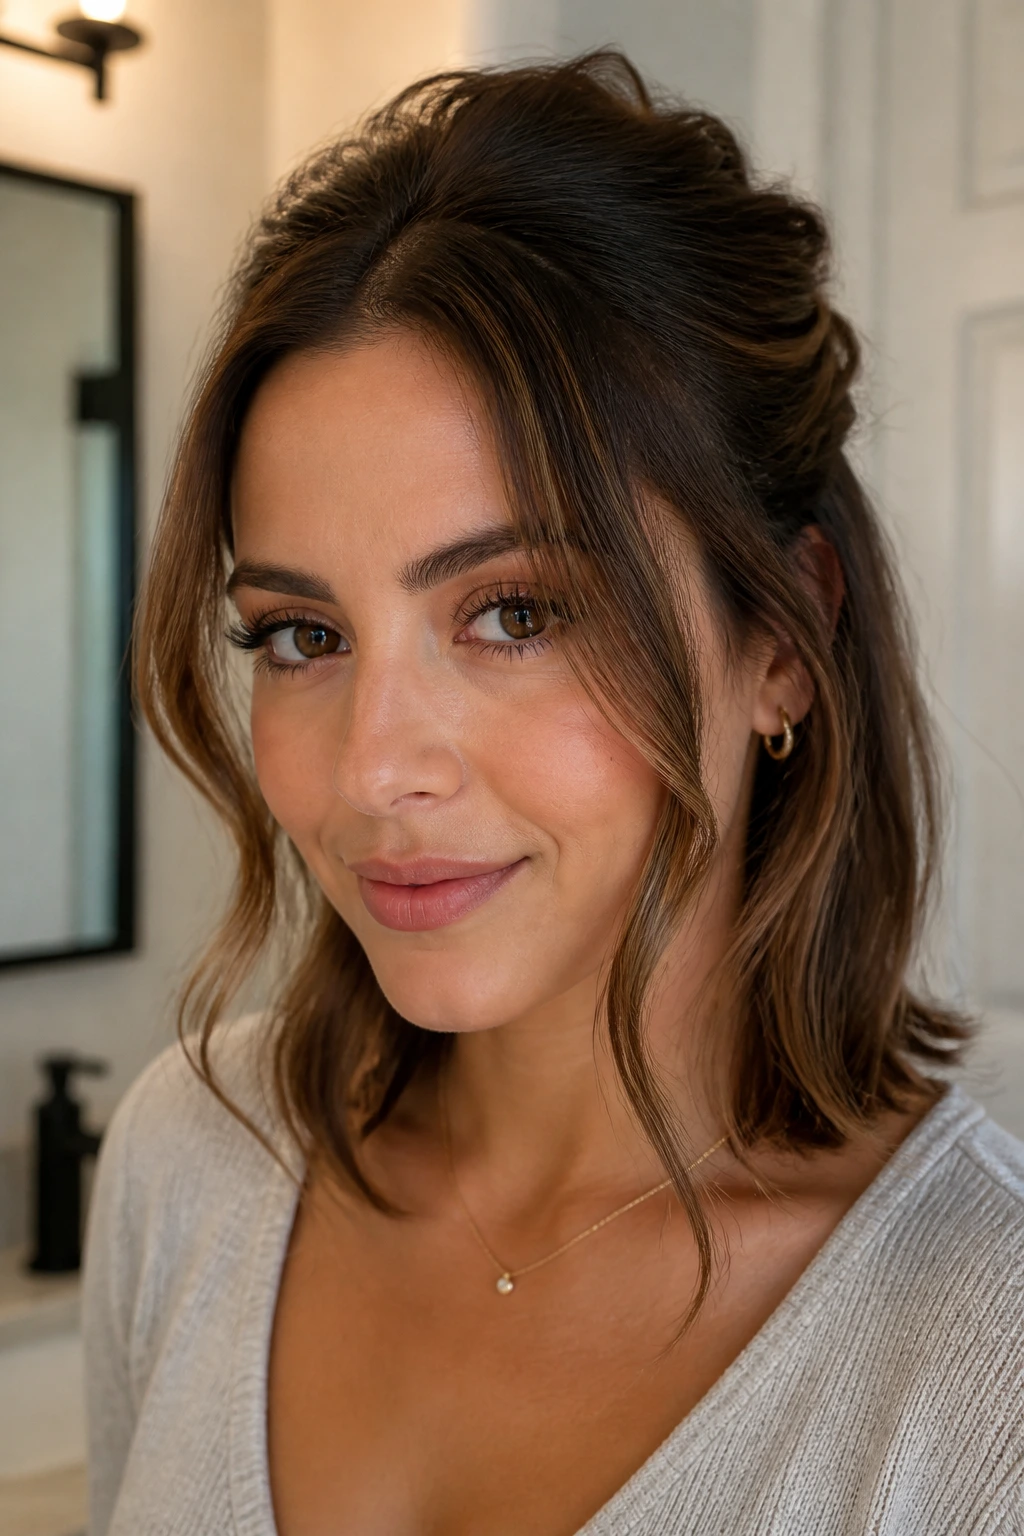
1. Curtain-Bang Blowout That Sits Right at the Cheekbones
This is the style I reach for when the haircut itself deserves the attention. The front pieces get lifted away from the face, curled just enough to bend at the cheekbone, and then allowed to settle instead of freezing into a helmet shape. On medium hair, that movement matters. It keeps the cut from looking blunt at the ends.
Why it flatters face-framing layers
The whole point of this blowout is to make the shortest front layers do their job. A round brush, a blow-dryer nozzle, and a little tension at the roots give you lift where flat hair usually sags. Use a 1.5-inch round brush and roll the front sections away from the face for the first 2 inches, then let the ends turn softly under. That one detail keeps the style from looking dated.
A heat protectant with a light hold is worth using here. Heavy cream is too much. You want slip, not coating. Once the hair is dry, clip the front pieces in place for 3 to 5 minutes while they cool. That cooling step is the difference between a bend and a flop.
Best for: oval, heart, and longer face shapes.
Watch the root area: If your crown goes flat easily, overdirect the front sections slightly forward before brushing them back. It adds lift without teasing.
My favorite finish: one mist of flexible hairspray from about 10 inches away, then fingers through the ends. Not a brush. Never a brush.
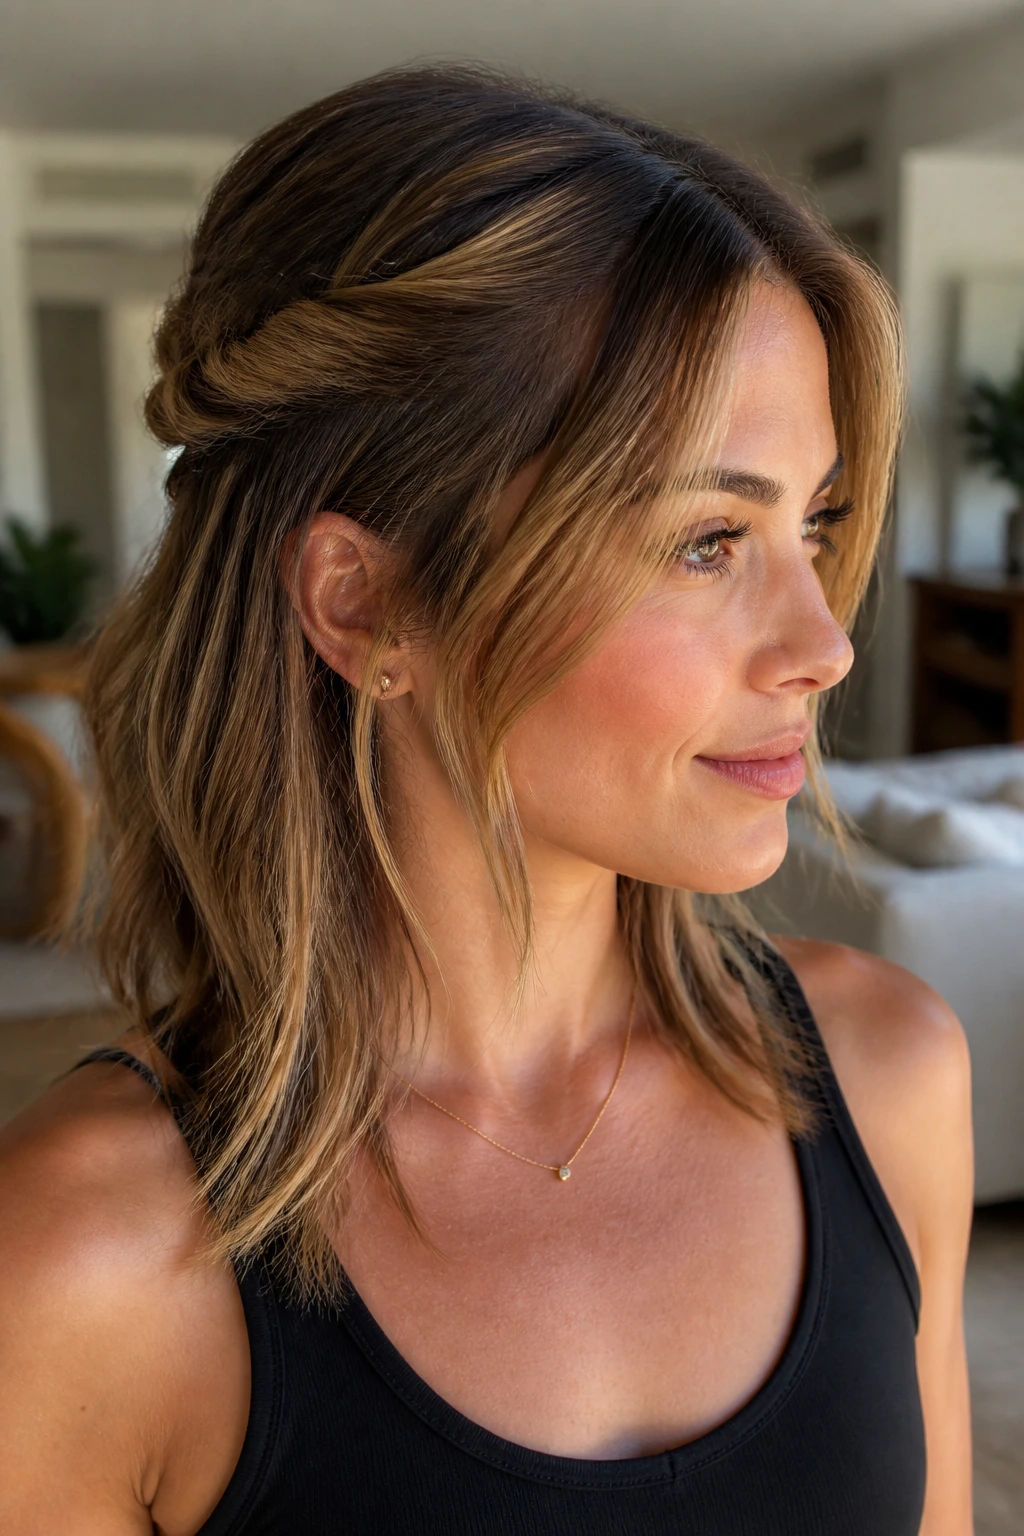
2. Half-Up Twist That Leaves the Front Pieces Soft
This is the style you do when your hair is clean enough to cooperate but not so clean that it wants to slide out of every pin. Gather the top half from temple to temple, twist it back once or twice, and leave the shortest front pieces loose. That alone changes the mood of the whole head.
The reason it works on medium hair is simple: the weight is still in the lower half, so the twist doesn’t get bulky. You can secure it with two crossed bobby pins instead of a giant clip, which keeps the style from puffing up at the back of the head. I like this more than a tight half pony because it doesn’t chew up the face-framing layers.
Quick notes
- Best on: shoulder-length hair that needs structure without stiffness.
- Tool count: 2 bobby pins, 1 small elastic if you want extra grip.
- Best face-framing length: pieces that start around the cheekbone or just below it.
The finish should look soft, not fussy. Pull the twist open just a touch with your fingertips so it doesn’t sit like a rope. Then leave the front pieces untouched unless they’re sticking out in a weird way. A tiny bend at the front is better than perfect symmetry.
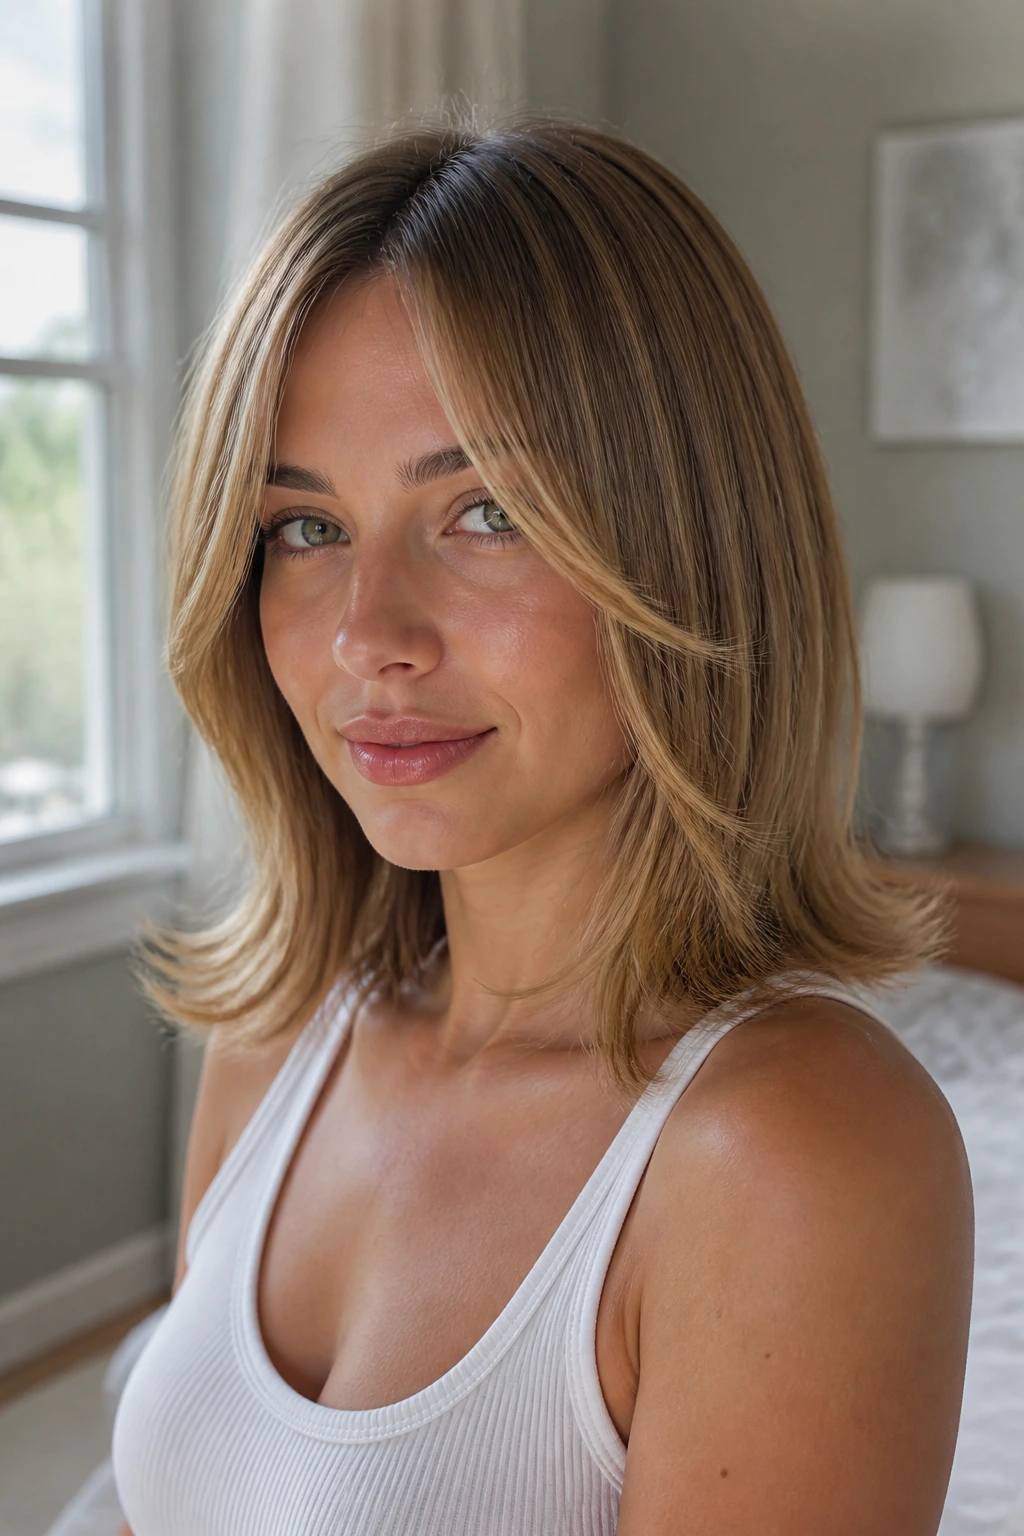
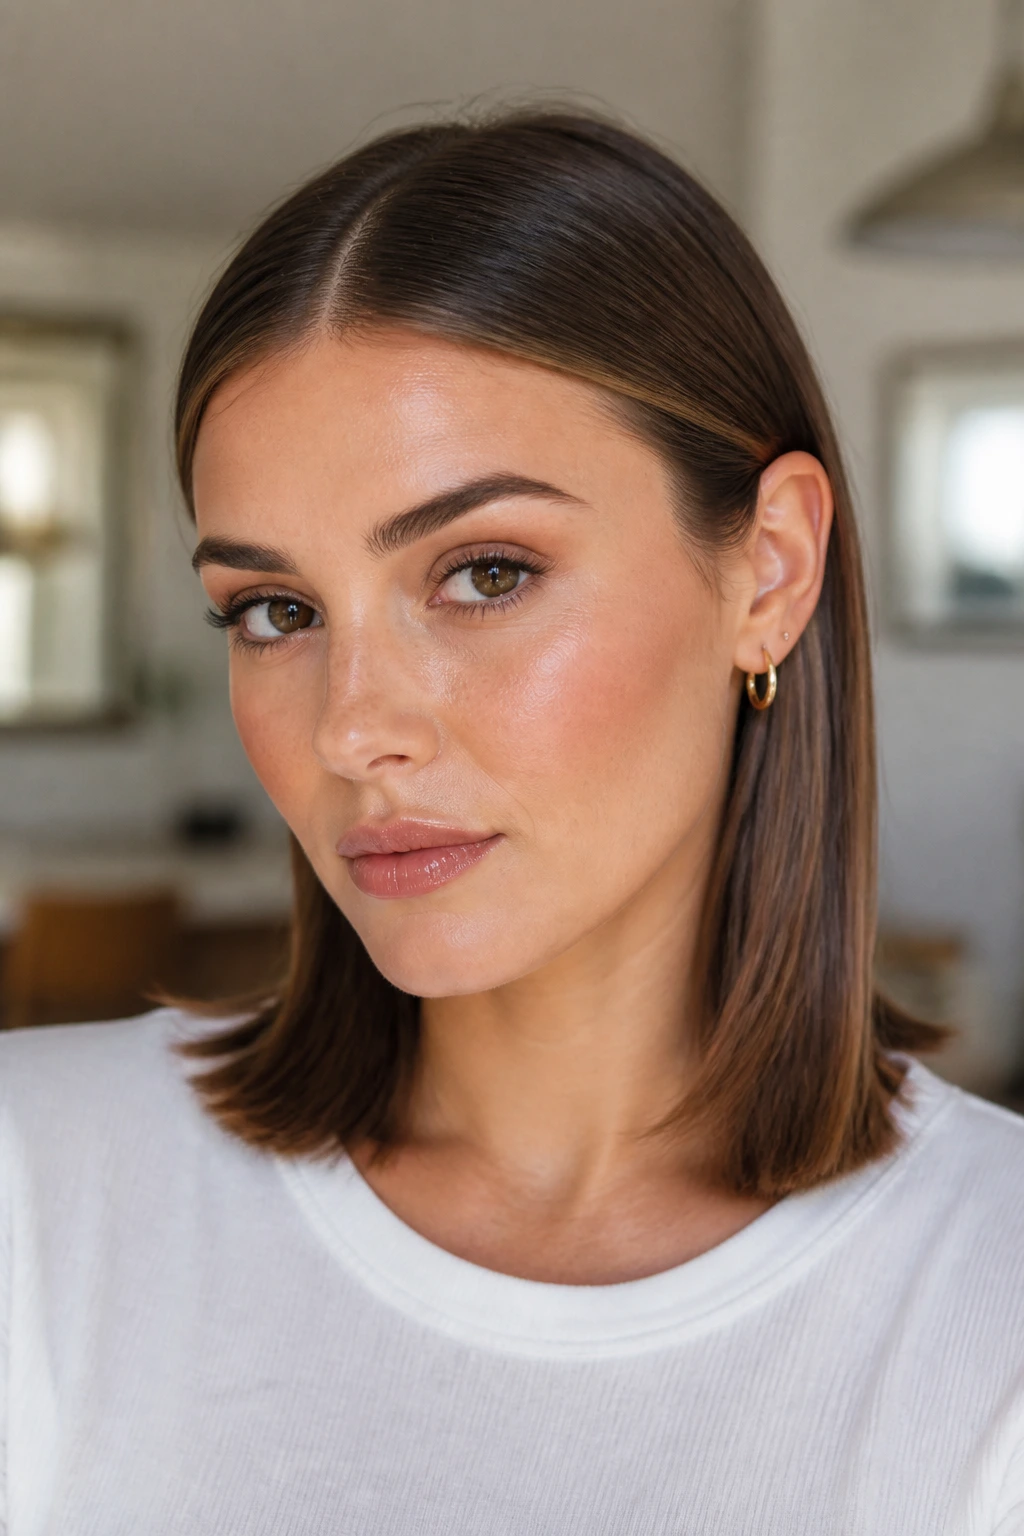
3. Sleek Center Part with Tucked-Behind-Ear Ends
Want the cleanest way to show off face-framing layers? Put the hair in a middle part, smooth the top with a pea-size amount of cream, and tuck the front sections behind the ears so the cut can sit in plain sight. It sounds simple. It is simple. That’s the point.
The danger here is stiffness. A sleek style on medium hair can turn sharp in a hurry if you flatten every strand. Keep the lengths straight, sure, but leave the shortest pieces around the face with a tiny bend near the end. A flat iron pass on low to medium heat, with the plates angled slightly inward, keeps the line soft.
How to keep it from looking severe
Use a fine-tooth comb to place the part, then smooth only the top surface with a brush. Don’t drag oil all the way to the roots unless your hair is coarse and dry. If you have fine hair, the roots need to stay clean and a little airy so the style doesn’t collapse by lunchtime.
Small earrings help. So does a neckline that opens the jaw—think scoop, square, or open collar.
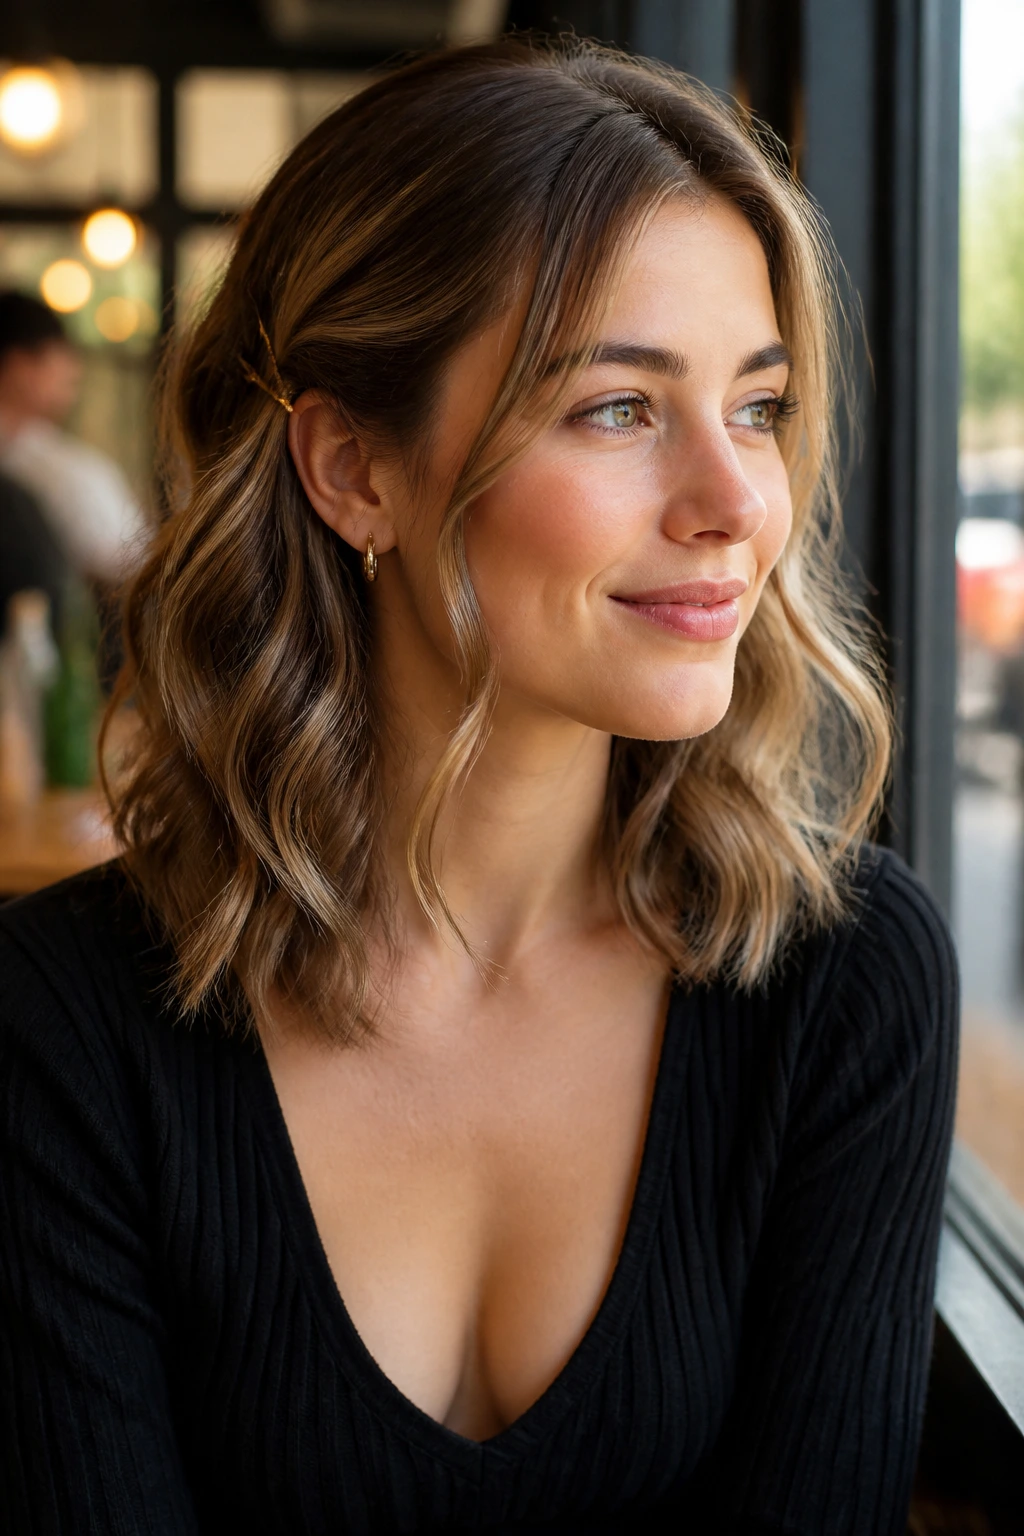
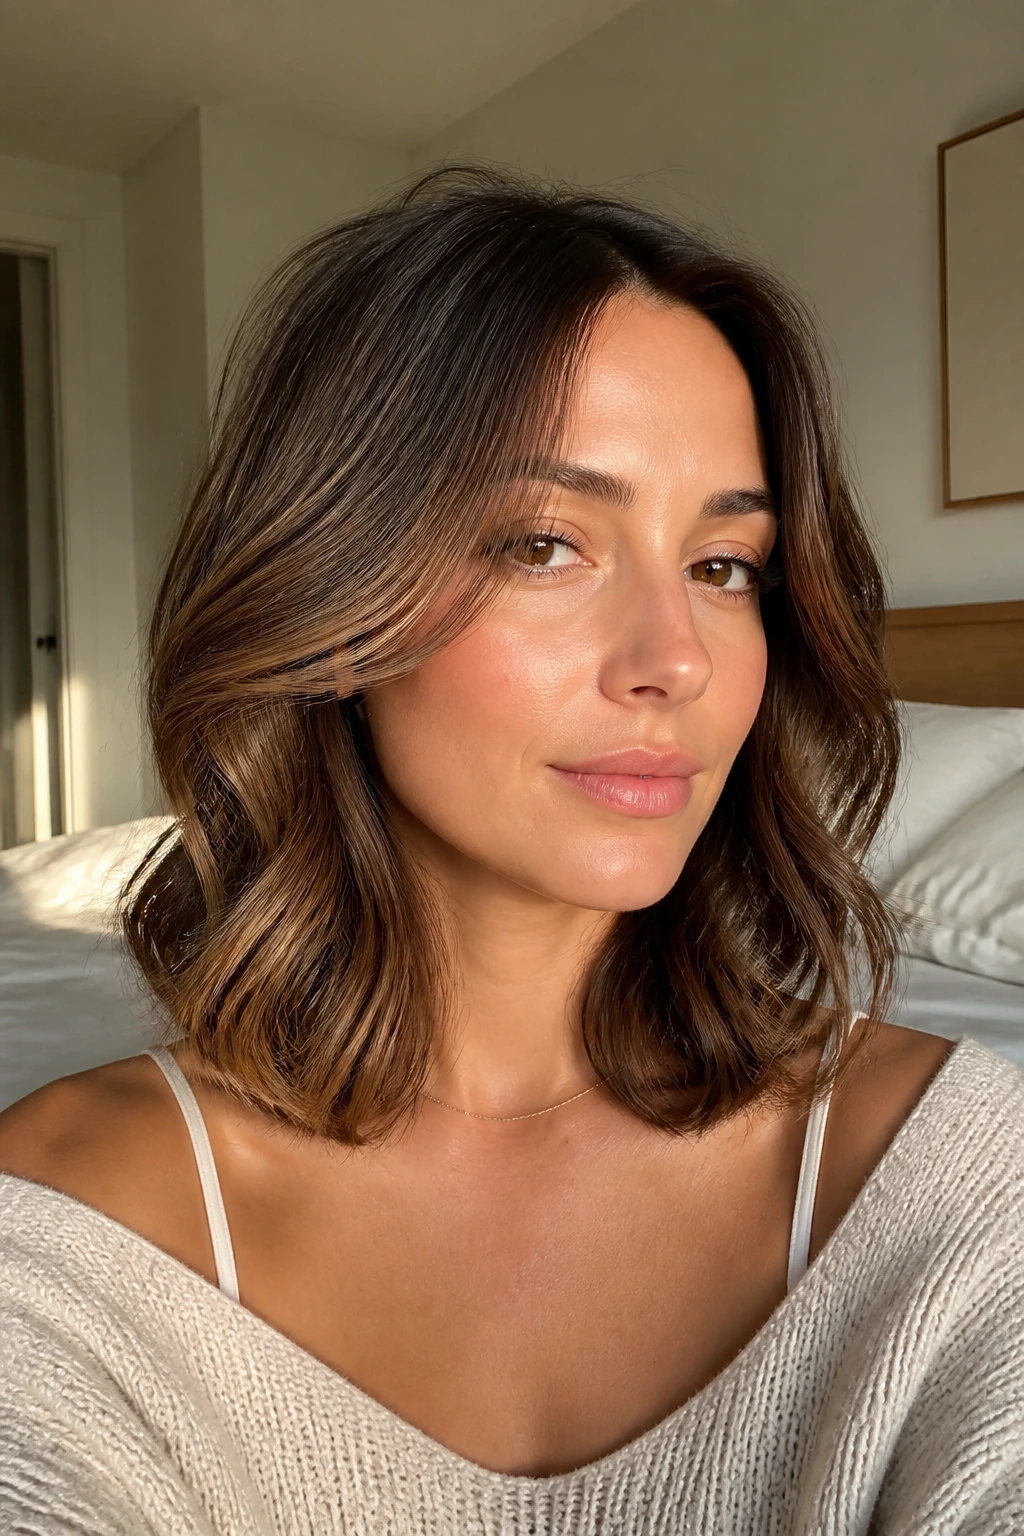
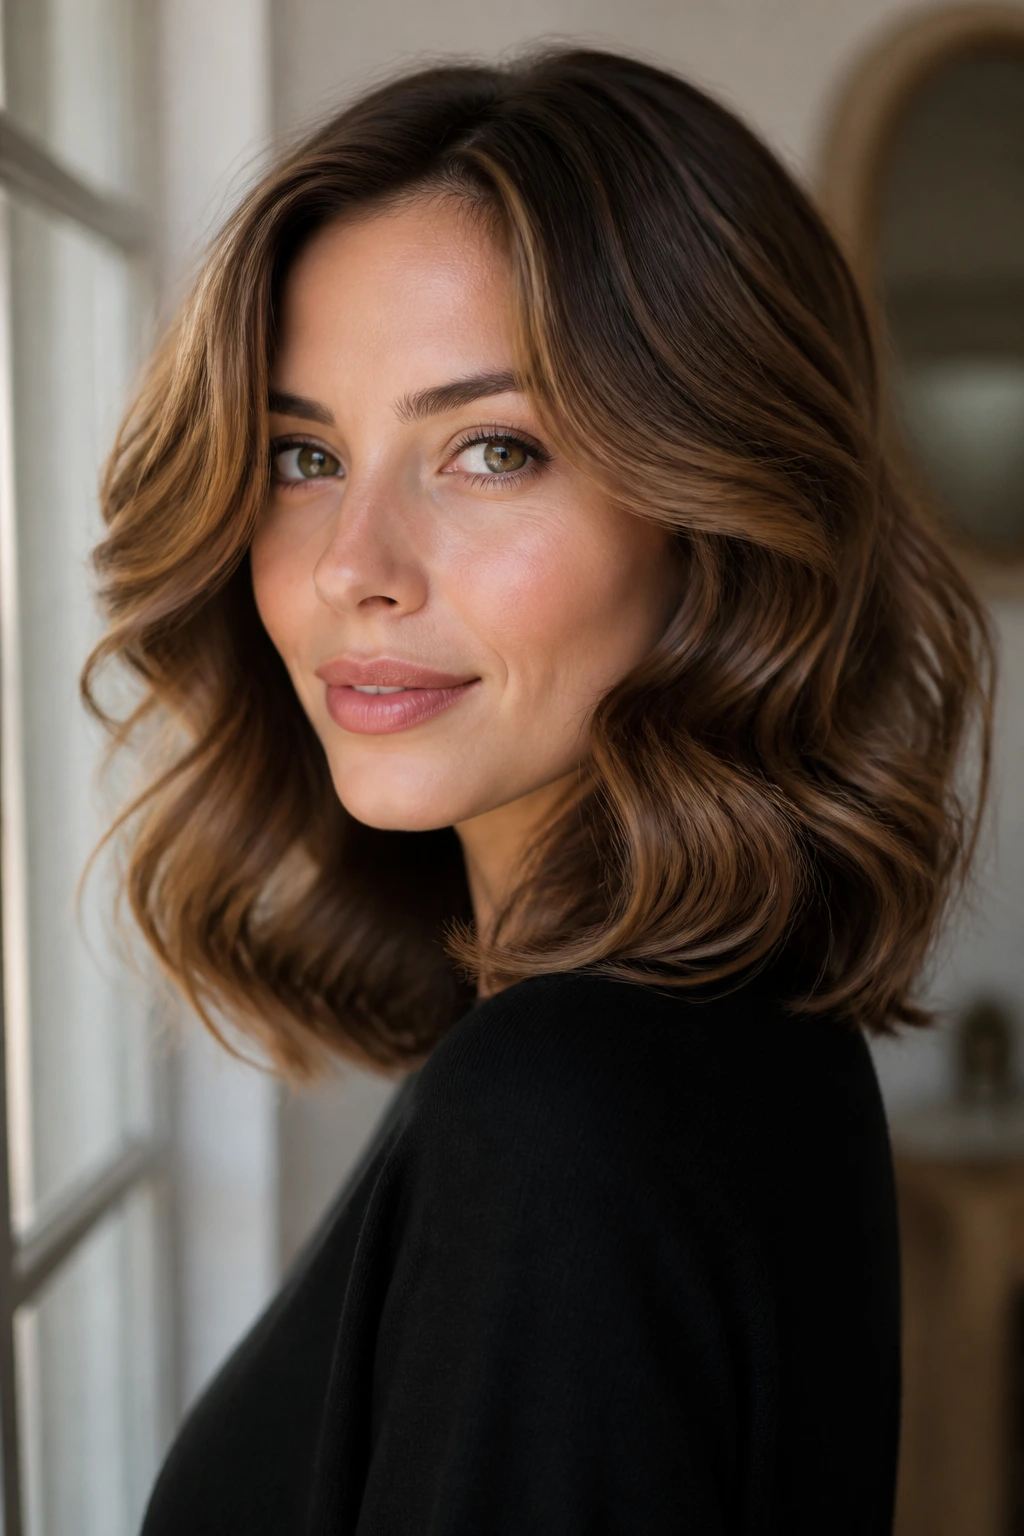
4. Loose Old-Hollywood Waves at Shoulder Length
Medium hair loves this style because it gets the wave pattern without the weight of long lengths pulling the curl flat. You wrap 1.25-inch sections around a curling iron, alternate the direction, and then brush everything out once it’s fully cool. That last part matters. If you brush while the hair is still warm, you get frizz instead of shape.
The front pieces should start away from the face, then soften inward by the time they reach the jaw. That gives the layers something to frame instead of disappearing into the wave. I prefer this on thicker medium hair because the wave holds a little better and the finished shape feels full without looking stuffed.
Key details to keep in mind
- Curl size: 1.25-inch barrel for a wave that doesn’t shrink too much.
- Section size: about 1 inch wide, no bigger.
- Brush-out tool: boar bristle brush or a very soft paddle brush.
- Finish: shine spray on the lengths, never the roots.
This is the style that benefits most from patience. Let each wave cool flat in your palm or pin it to the head for a few minutes if your hair is stubborn. Then brush gently, not aggressively. If the ends flip too much, a quick pass with the iron on just the bottom inch fixes it.
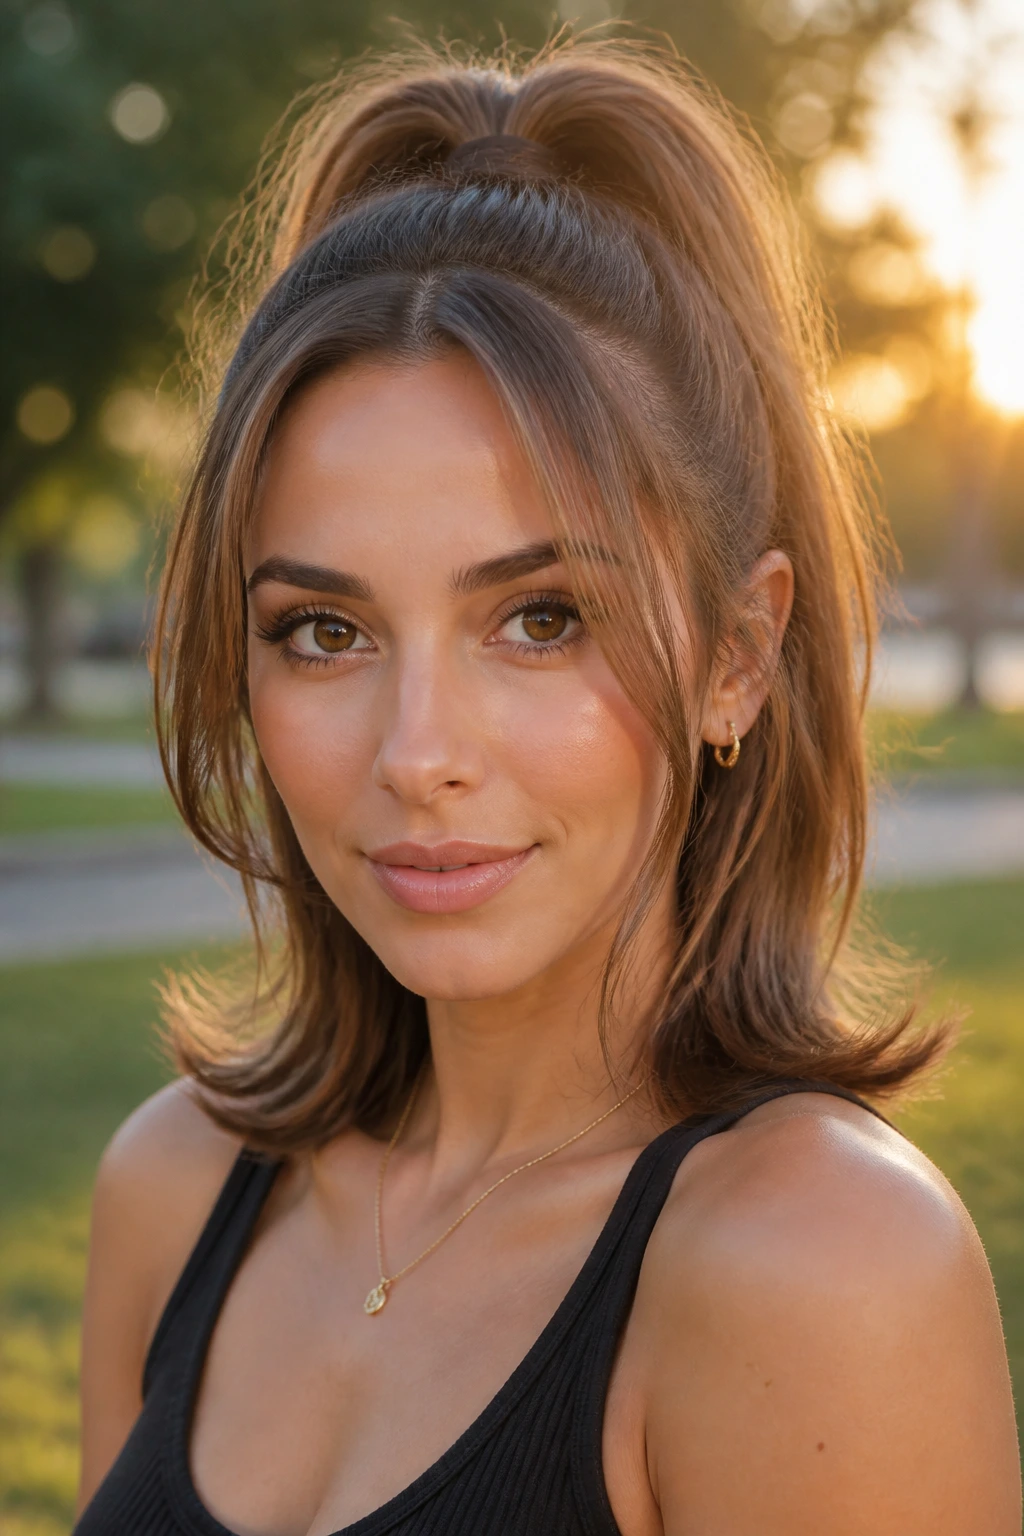
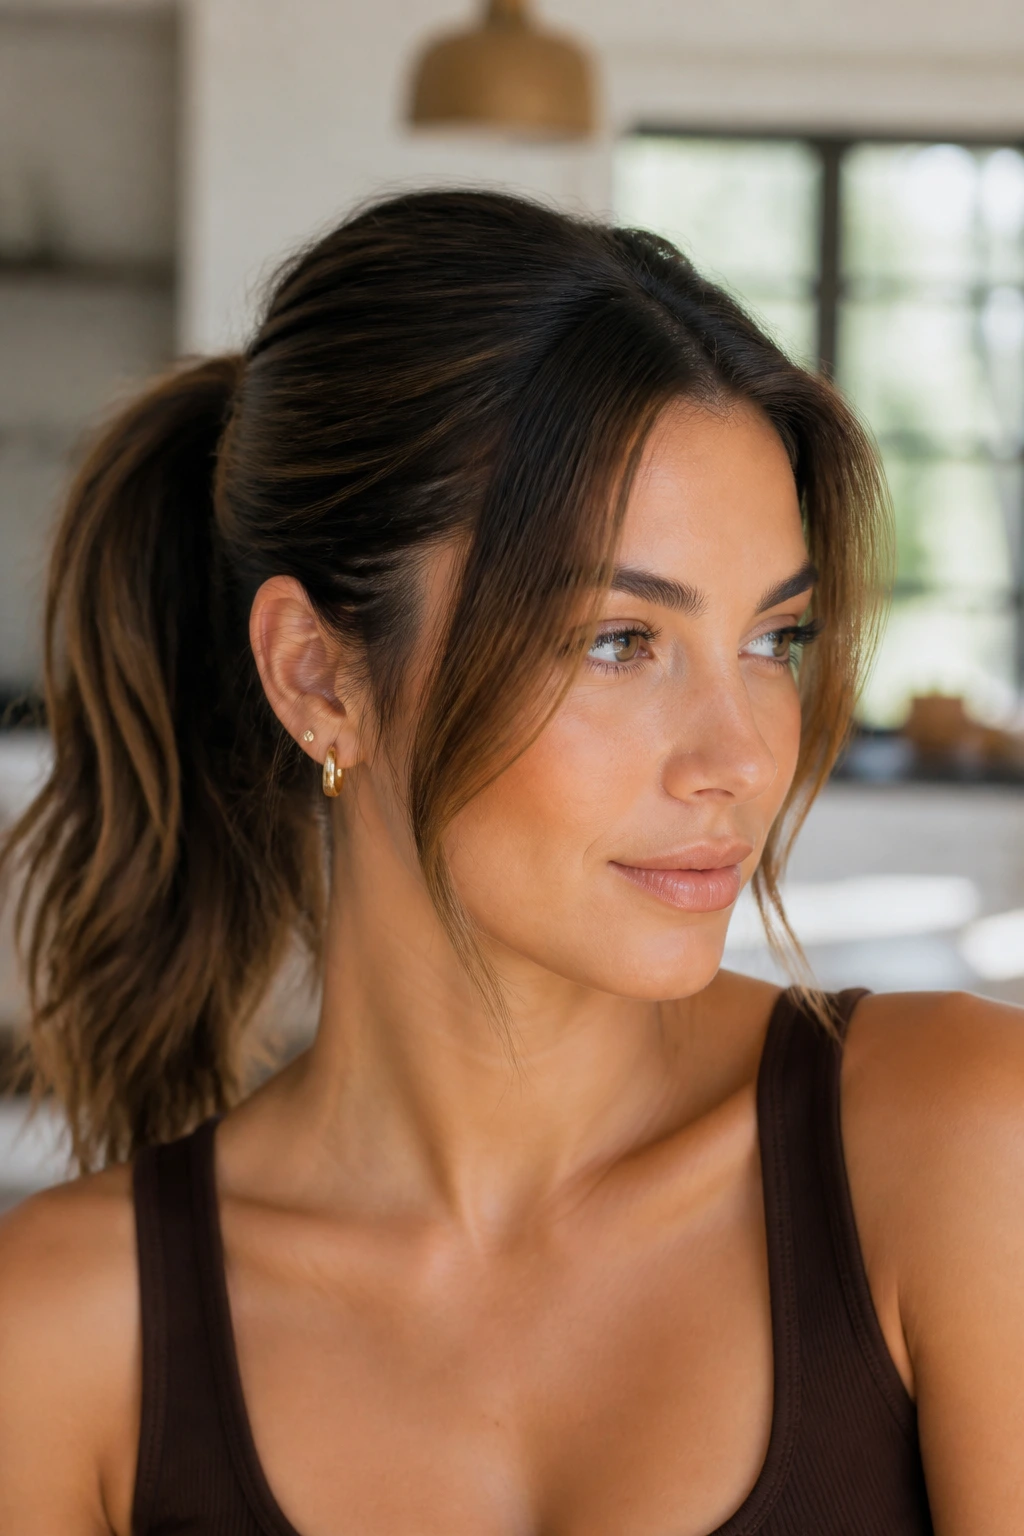
5. Low Ponytail with Crown Lift and Face-Frame Ends
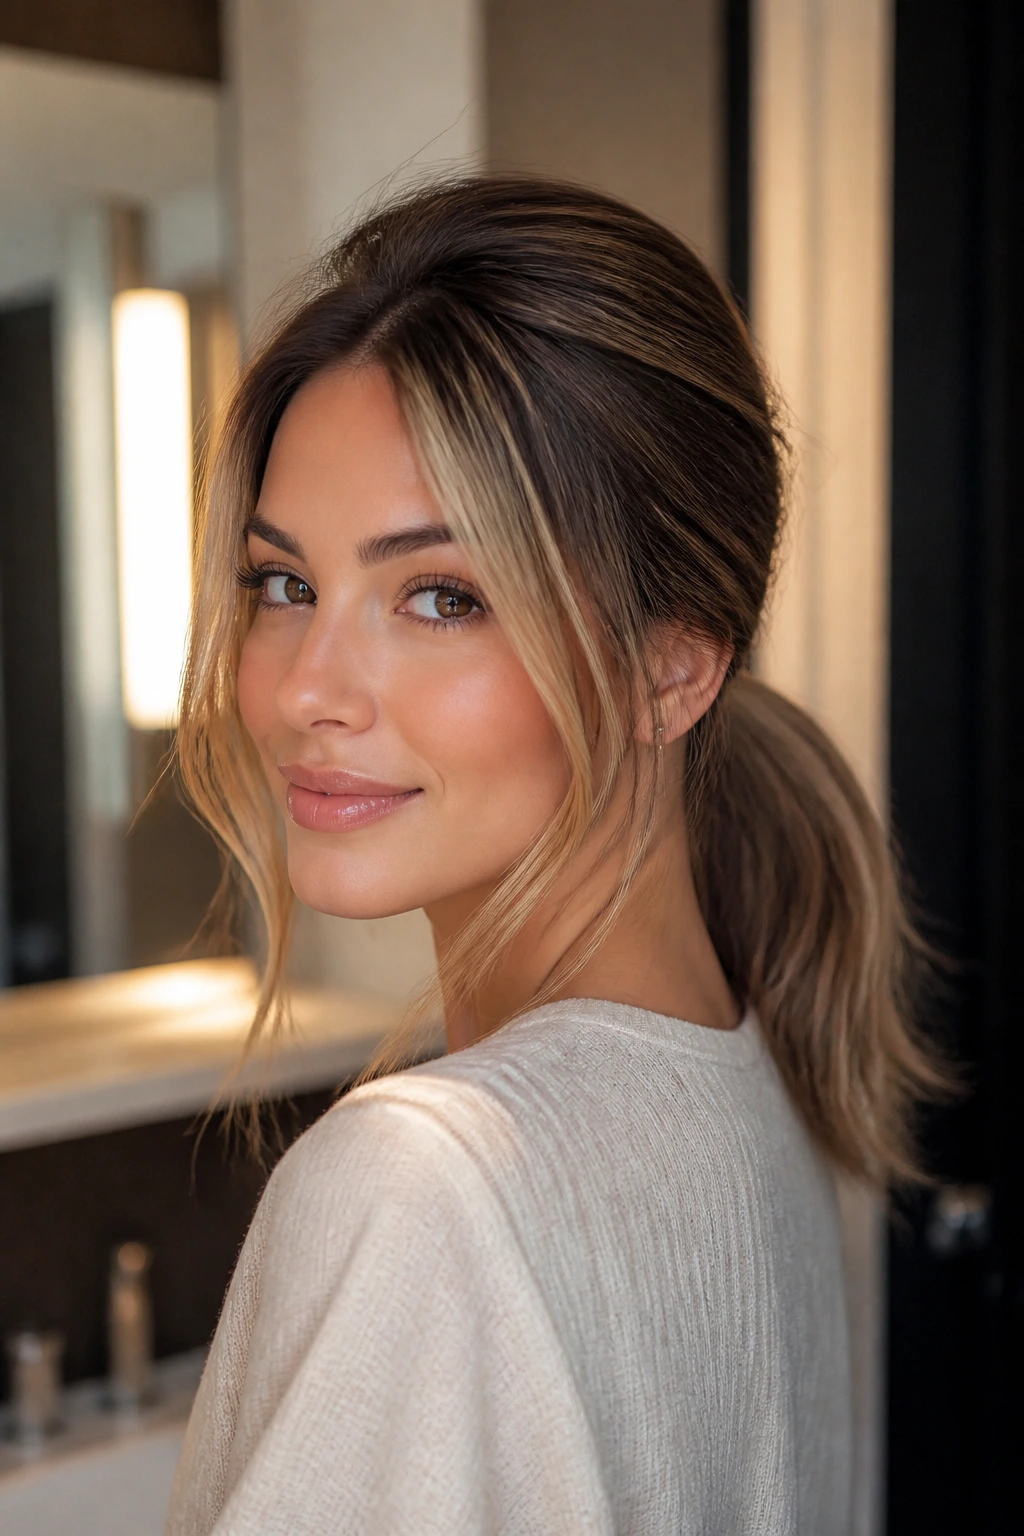
A low ponytail can look plain in a hurry. Add crown lift and a pair of face-framing layers, and it becomes something cleaner, softer, and more deliberate. On medium hair, the ponytail sits thick enough to feel full but not so heavy that it drags the shape down.
Start by lifting a 1-inch section at the crown and misting it with texturizing spray. Backcomb lightly if your hair is very fine, then smooth the top layer over it. Gather the ponytail at the nape or just above it, depending on how polished you want the result. Leave the front pieces out and let them hang naturally or bend them with a round brush first.
The crown lift is what saves this from looking tired. A flat low ponytail with layered front pieces can read as accidental. One with a little height at the top reads as chosen.
Wrap a small strand of hair around the elastic if you want a cleaner finish. It takes 30 seconds and makes the base look far more finished than a plain band ever will.
6. Claw-Clip French Twist with Loose Wisps
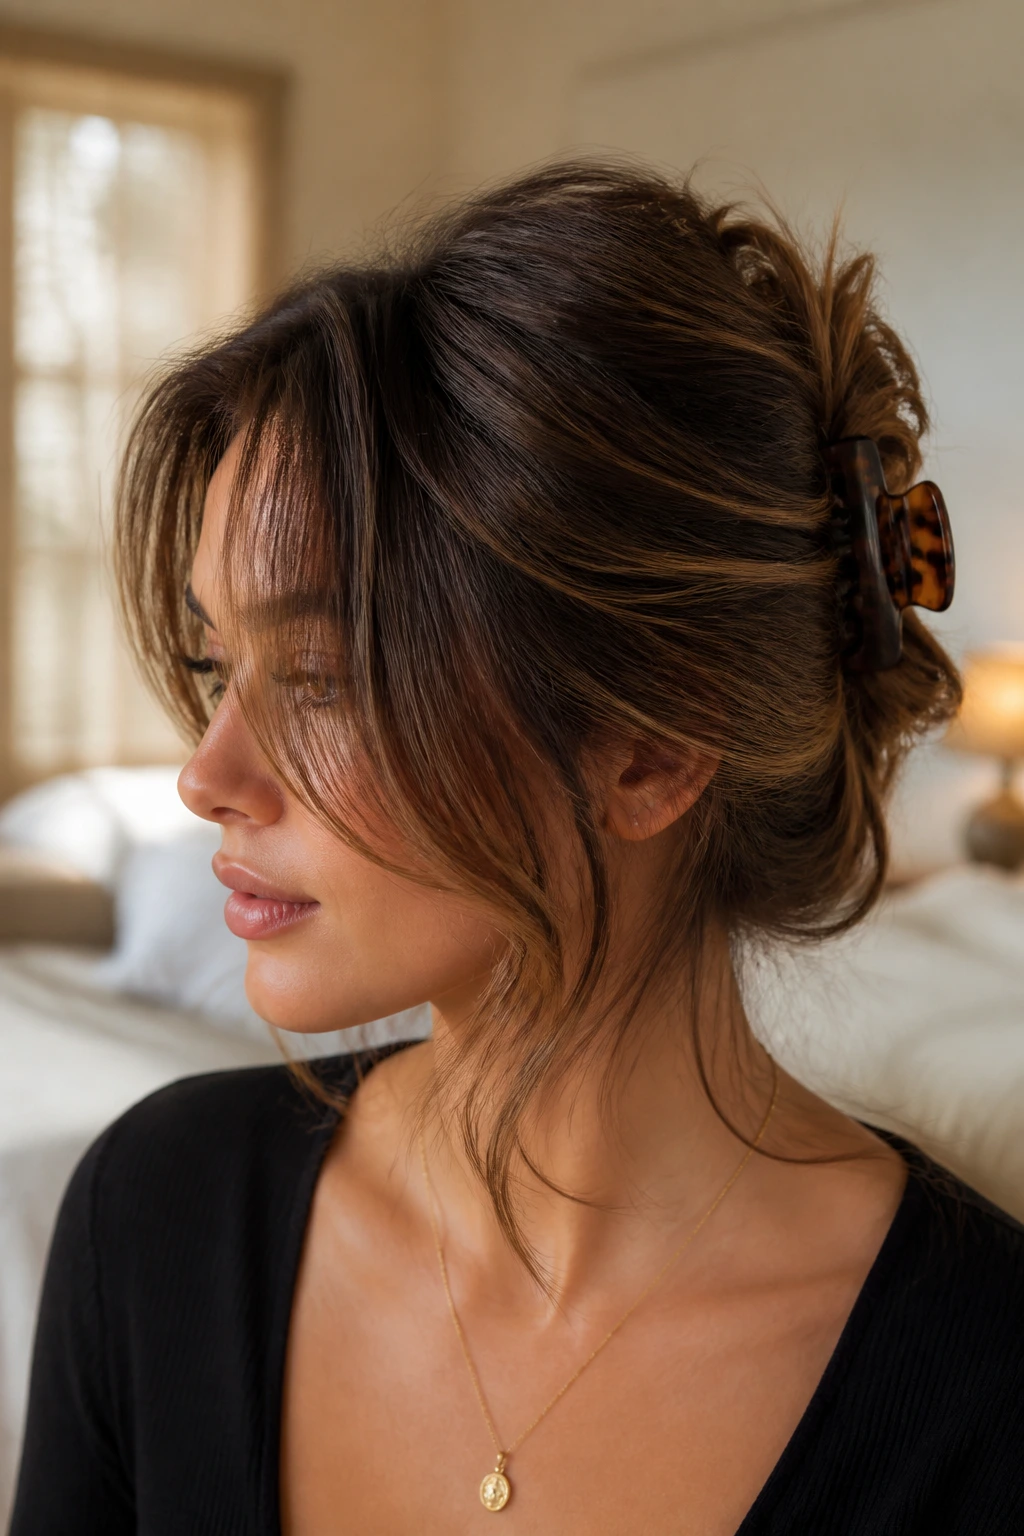
This is the move when you need your hair up but don’t want the hard line of a full bun. Gather the medium-length hair at the back, twist it upward, tuck the ends under, and secure the twist vertically with a medium claw clip. Leave the face-framing layers free so they fall around the cheek and jaw instead of getting trapped.
Compared with a polished chignon, this version has more air in it. That’s good. Medium hair rarely has enough length for a dramatic French twist, so the looser version suits it better. You get height, but not stiffness. You also get some movement when you turn your head, which is exactly what makes the style feel modern.
A medium claw clip works better than an oversized one here. If the clip is too wide, the twist slouches. If it’s too small, the twist slips out after an hour. The sweet spot is a clip that grabs the hair without stretching the prongs to their limit.
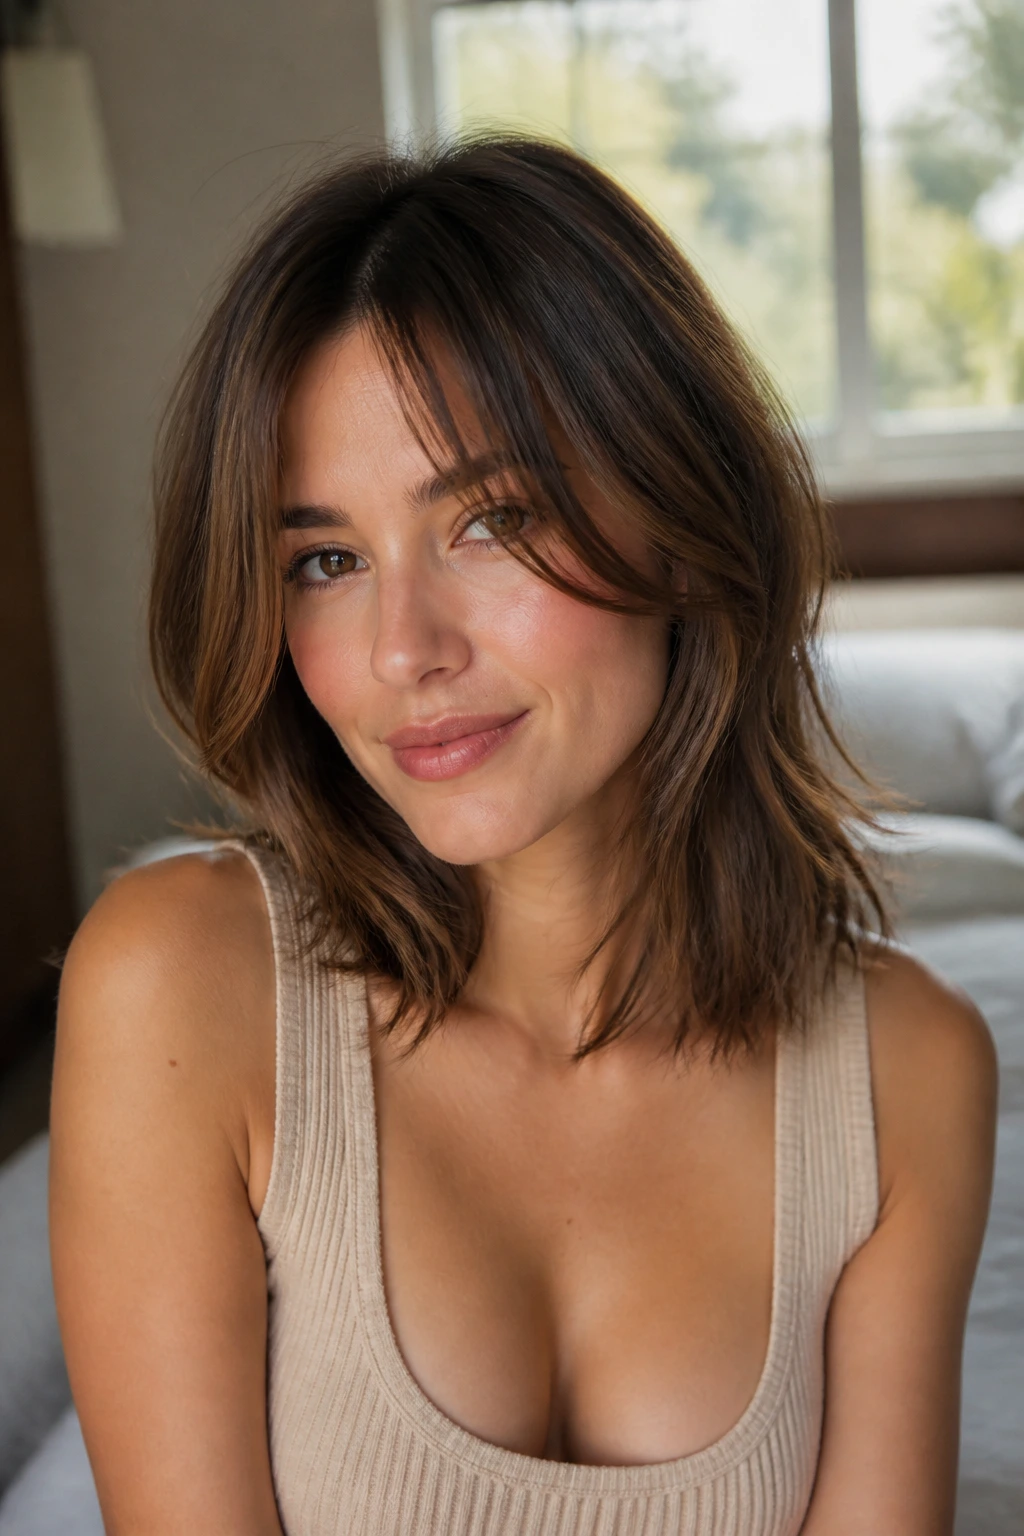
7. Air-Dried Shag Lob with Piecey Texture
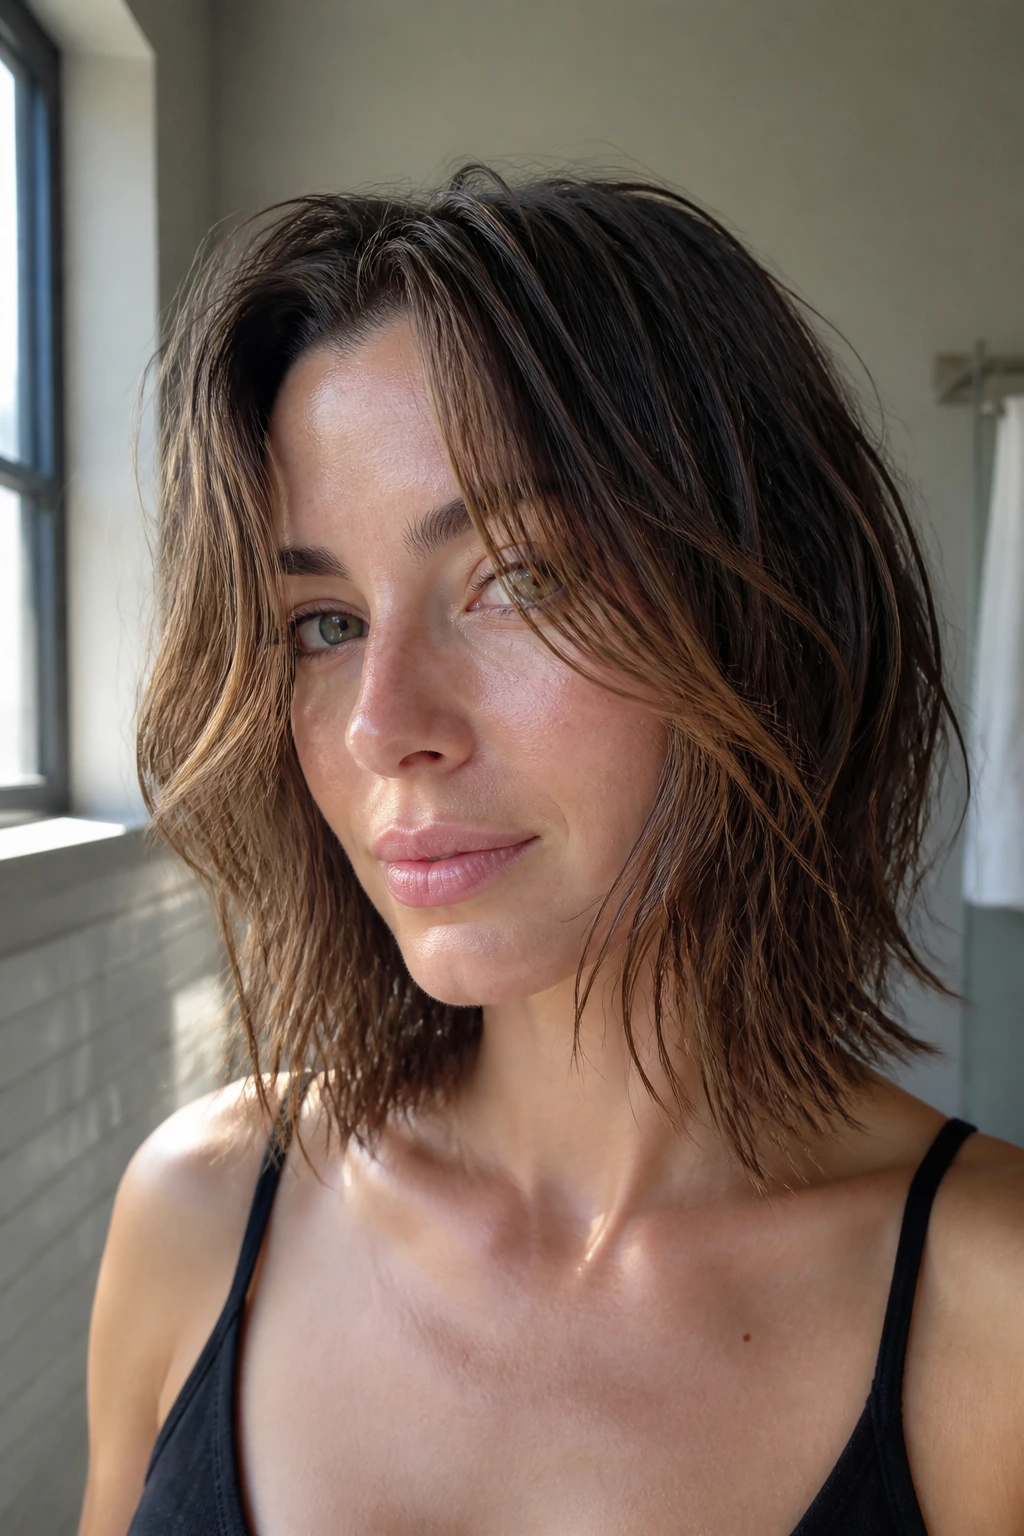
The easiest style in the whole set might also be the one that looks the least “done.” That’s the charm of an air-dried shag lob. You work mousse or curl cream through damp hair, twist the front pieces away from the face with your fingers, and let the layers dry into their own shape.
This style thrives on movement. Medium hair with face-framing layers does not need perfect alignment here; it needs separation. Scrunch the ends, bend the front pieces once or twice while they’re damp, and leave the roots alone unless they’re sticking straight down. A diffuser helps if you’re in a rush, but a full air-dry gives the softest texture.
What makes it different
Unlike a blowout, this cut is allowed to look a little lived-in. That means the layers around the face can settle into a natural curve instead of an engineered one. If your hair is wavy, this is probably the style that will ask the least from you.
Use a light gel only at the ends if they frizz. Too much product on the crown kills the shape.
8. Deep Side Part with a Soft Bend Through the Ends
A deep side part changes the whole mood of medium hair in about ten seconds. Move the part 1 to 2 inches off center, then bend the front pieces away from the face on the heavier side and toward the face on the lighter side. That asymmetry gives the layers more movement and makes the cut look fuller.
This is one of my favorite fixes for flatness. Hair that has been sitting in a center part for months often wakes up the second you move the line. The face-framing layers fall differently, the crown gets a little lift, and the front edge stops clinging to the cheekbones in the same old way.
If your hair is fine, make the bend only through the first and last 2 inches of each section. You do not need a full curl. A bend is enough. The style should look like the cut landed there on purpose, not like you spent twenty minutes making it behave.
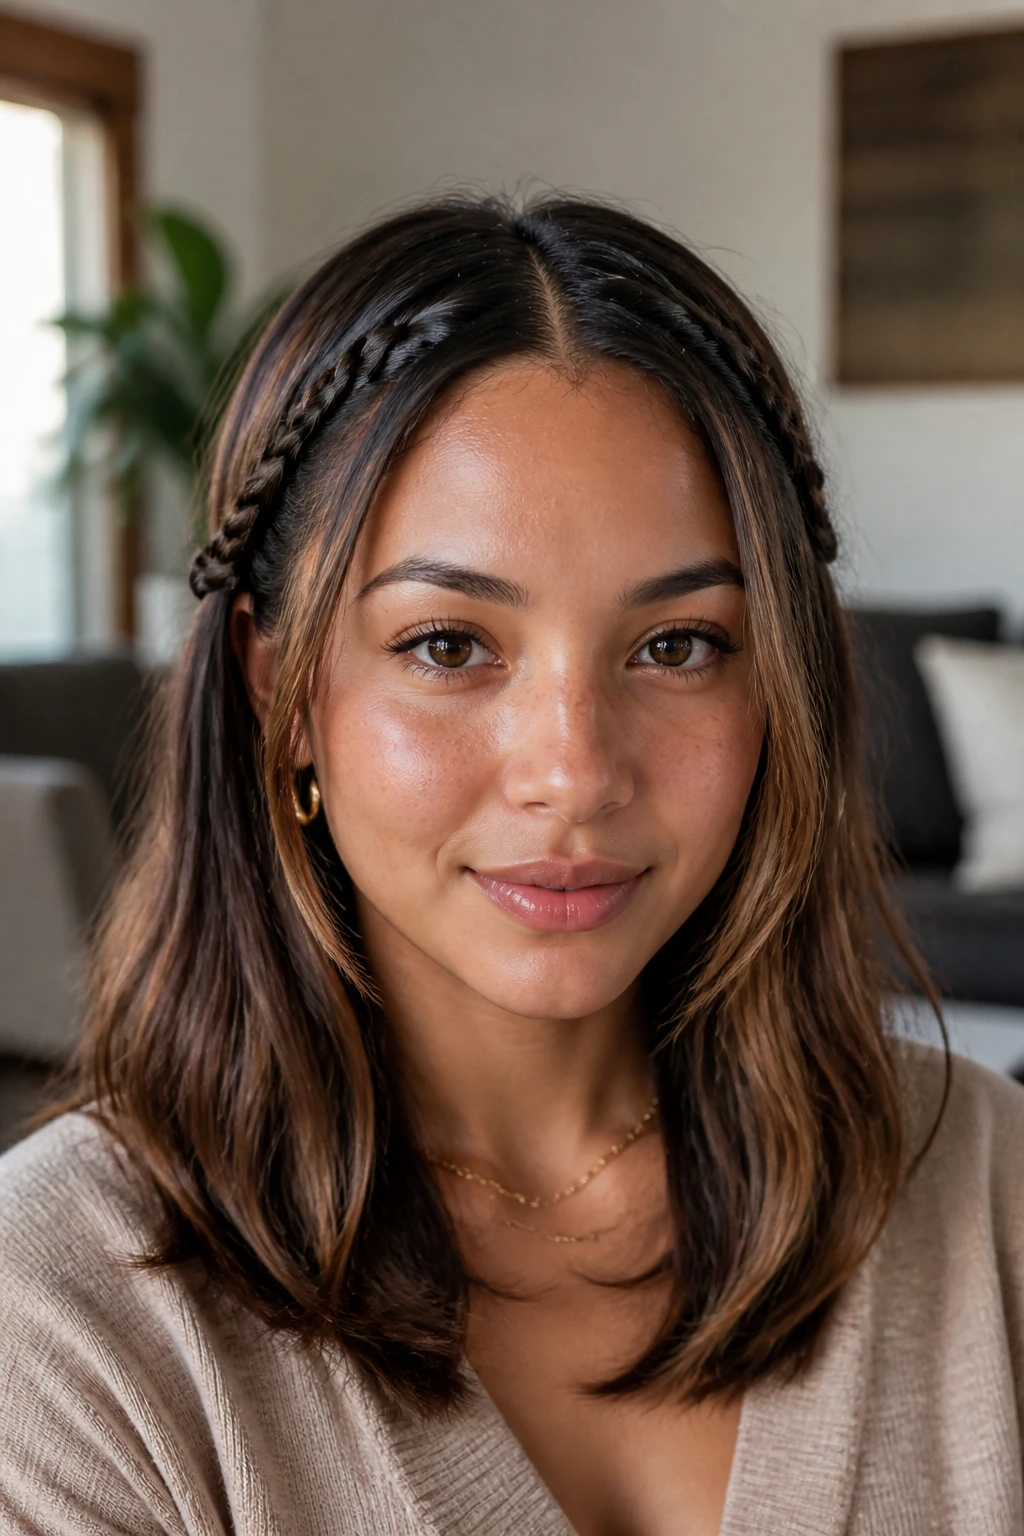
9. Braided Half-Crown That Keeps the Front Light
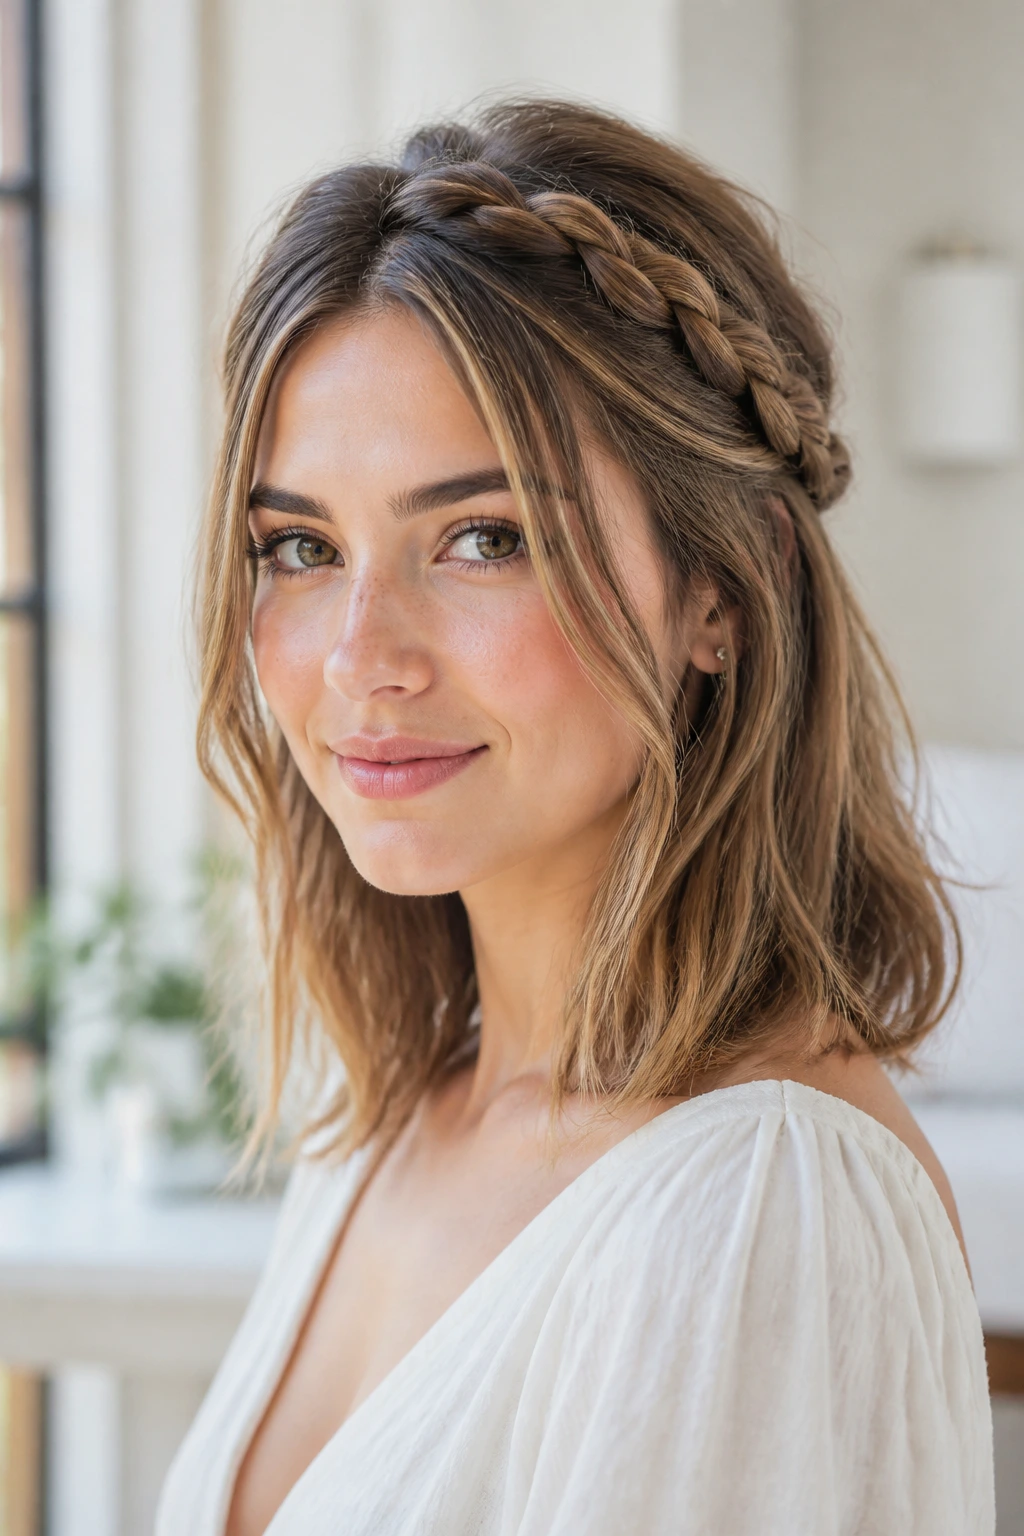
When the front pieces keep dropping into your lipstick, this is the fix. Take a section from each temple, braid it loosely, and pin the braids back behind the ears or at the back of the head. Leave the rest down, with the face-framing layers still visible around the cheek and jaw.
The trick is to braid wide, not tight. Tiny, tight braids can pull the layers too far back and make the style feel severe. A looser braid has a little puff to it and gives the medium length more shape. It also keeps the style from looking overworked, which matters when the hair around the face is doing most of the styling.
A little texturizing spray before braiding helps the pieces grip each other. And if the ends poke out, let them. Poking ends look better here than a polished braid that feels too rigid.
10. Bubble Ponytail on Medium Layers
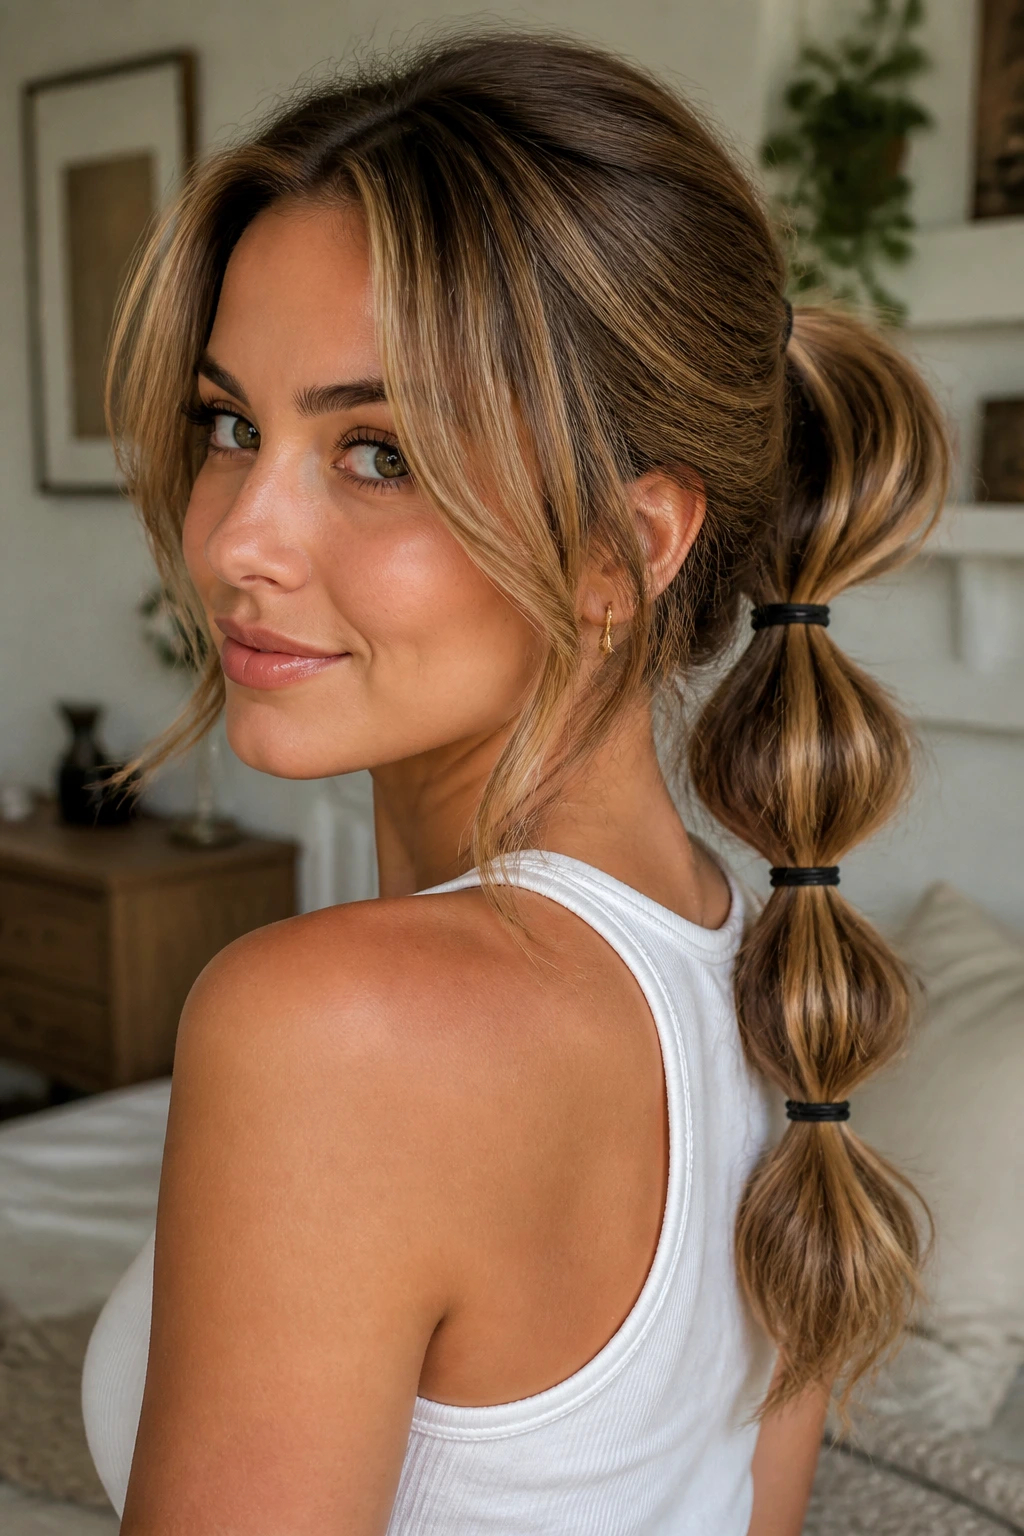
A bubble ponytail is one of those styles that looks complicated until you realize the only real skill is spacing elastics. On medium hair, the bubbles sit a little closer together than they do on long hair, and that’s a good thing. The proportions stay balanced.
Start with a mid or low ponytail and secure it with a clear elastic. Add another elastic every 1.5 to 2 inches down the length. Then gently pull each section outward to create the bubble shape. Leave the face-framing layers free, or curl them softly away from the face if you want the style to feel more finished.
The reason this works on layered medium hair is that the bubbles break up the shorter pieces. A plain ponytail can expose uneven layers near the front. The bubble structure hides that by turning the length into a series of soft shapes instead of one long line.
If your hair is very smooth, rough it up with dry shampoo first. If it’s already textured, skip that step and keep the bubbles loose.
11. Messy Top Knot with Split Front Pieces
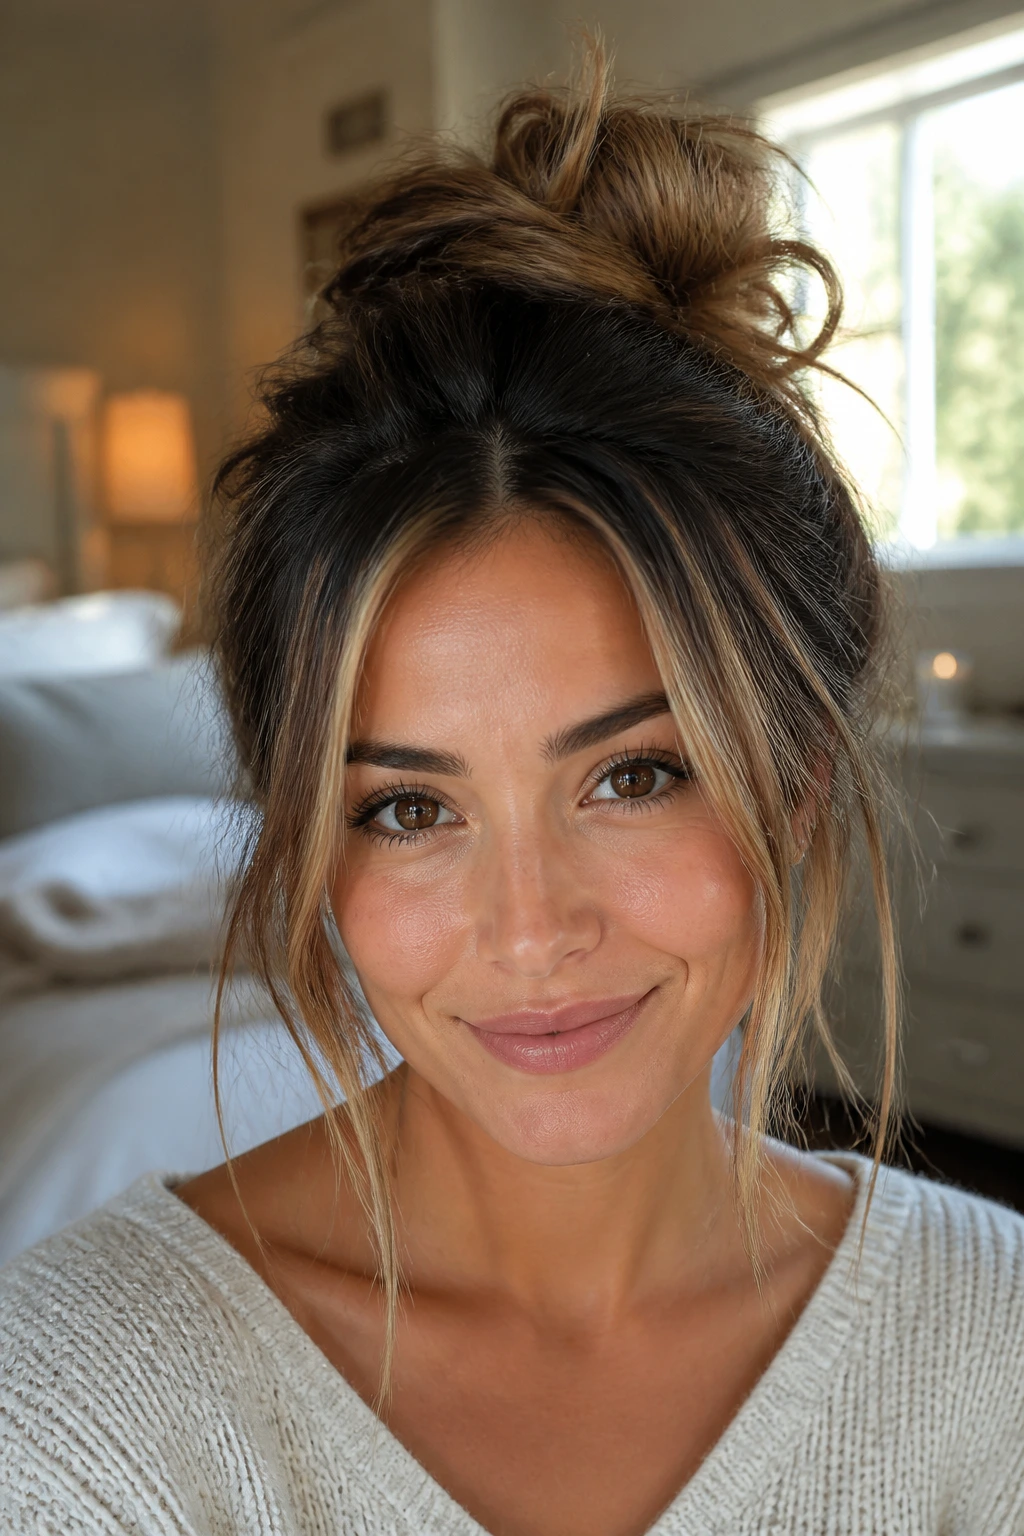
A big, perfect top knot is asking a lot from medium hair. A smaller knot with intentional mess is smarter. Pull the hair high, twist it once, coil it into a knot, and secure it with pins or a second elastic. Then split the face-framing layers and let them sit softly around the cheeks.
This version works because it doesn’t pretend medium hair is long. It respects the amount of length you actually have. The knot stays compact, which keeps it from sagging, and the front pieces stop the style from looking like a gym bun that wandered into dinner.
A little volume at the crown helps the knot sit higher and feel lighter. Don’t flatten the top with your hands after you gather it. Leave a little air in there. That’s the difference between a bun that lifts the face and one that drags everything backward.
12. Straight Hair with Flipped-Out Ends
If your layers keep disappearing when the hair is flat, flip the ends out. That’s the whole look, and it works because the flipped ends echo the shape of face-framing layers instead of hiding them. A flat iron or round brush can do it. I usually prefer the flat iron for medium hair because it makes the last inch crisp.
The key is not to flip every strand with the same exact angle. That gets stiff fast. Keep the roots straight, keep the mid-lengths smooth, and only rotate the very ends outward by a half turn. It gives the cut a little energy without making it look retro in the wrong way.
This style also works well when your hair has gone a day past fresh washing. A tiny bit of grit in the roots helps the smooth top stay in place while the ends do the talking.
13. Low Chignon Under a Clean Middle Part
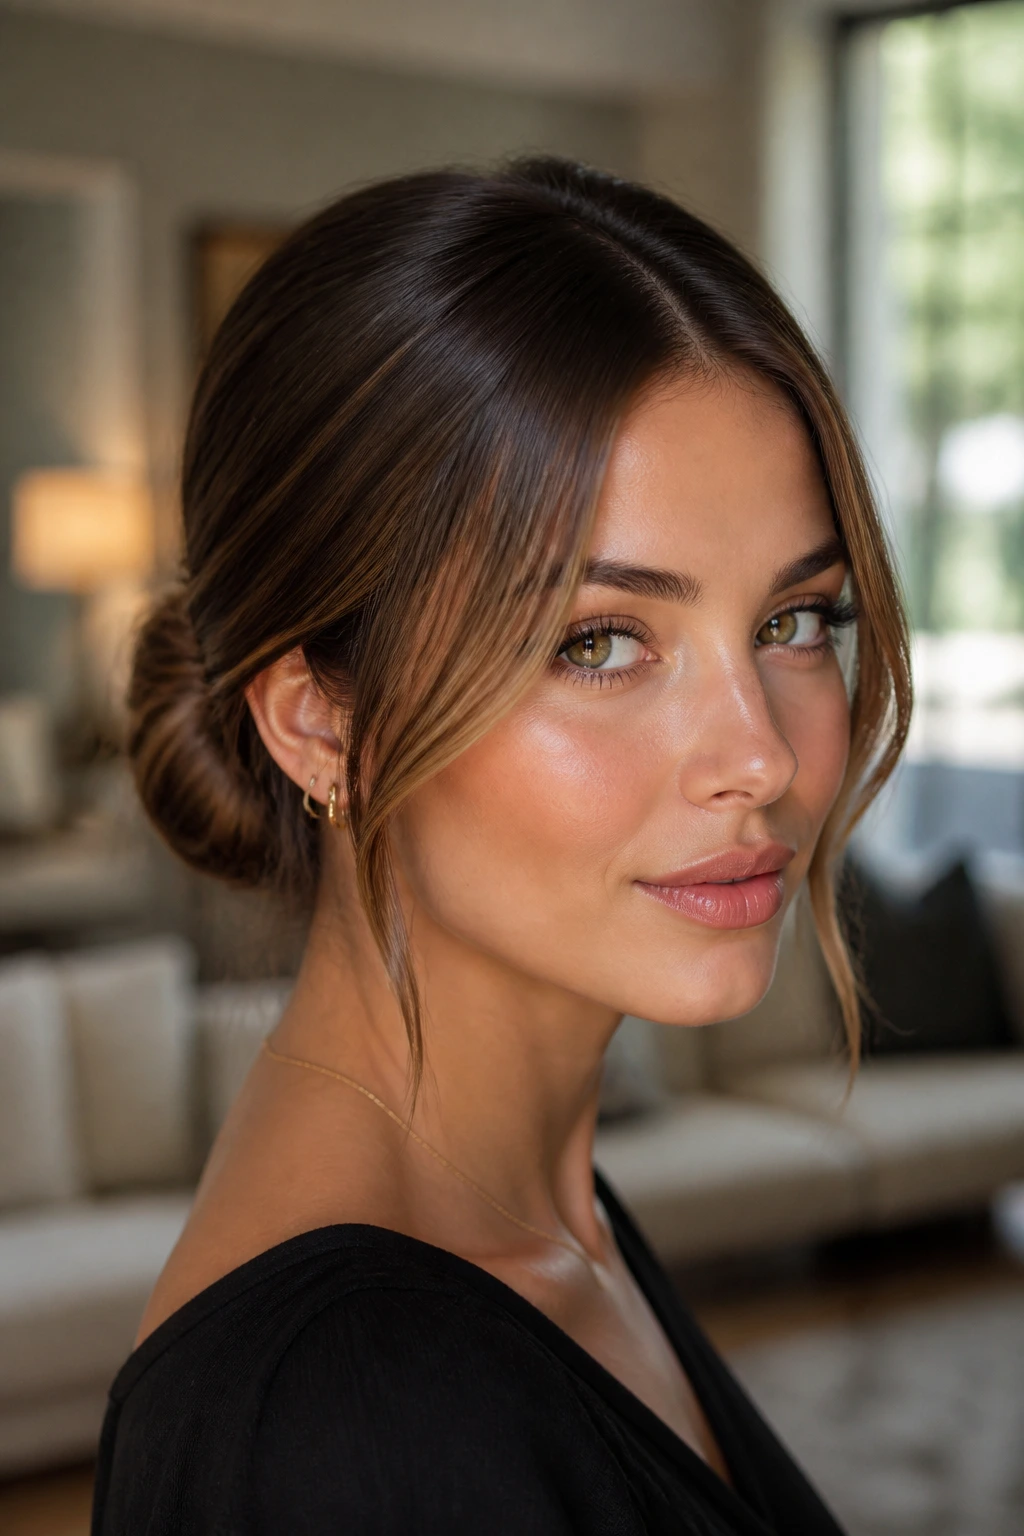
A low chignon does not need long hair to look polished. On medium hair, the trick is to keep the knot compact and the front pieces controlled. Part the hair cleanly down the middle, smooth both sides back to the nape, and twist the length into a low knot or coil. Let the face-framing layers sit just free enough to soften the edges.
Why this version works
A middle part creates a neat frame, and the loose front pieces prevent the style from feeling too formal. That balance is what makes it useful for events, interviews, or any moment when you want the hair to look purposeful without looking severe.
Use a light styling cream on the top layer and a few pins hidden under the knot. If the chignon is too tight, it exposes the shorter pieces in the wrong way. Keep it snug, not squeezed.
A small spritz of shine spray on the finished knot adds enough finish to make the layers around the face look deliberate rather than accidental.
14. Rope-Twist Half-Up with Soft Length
This one is fast, which is probably why I keep coming back to it. Take a section from each side above the ears, twist each section away from the face, then bring them together at the back and pin or tie them off. Leave the rest of the medium hair down so the layers still move.
The rope twist gives just enough structure to keep the front open. It also looks slightly more finished than a basic half-up because the twist line catches the light. On face-framing layers, that matters. The eye follows the twist back and then lands on the loose front pieces instead of seeing a flat wall of hair.
If the layers are short, let a few pieces escape near the temples. That softness is part of the look, not a mistake. A rope twist that’s too clean starts to look stiff, and stiff is exactly what this haircut doesn’t need.
15. Pinned-Back Sides and Loose Waves
This is the simplest style in the collection, and there’s nothing lazy about it. Curl or wave the hair first, then pin back just the sides above the ears with two small clips or bobby pins. The face-framing layers stay forward, which keeps the shape soft.
The benefit here is speed. You get the visual lift of an updo without committing the whole head to one. Medium hair sits especially well in this setup because the loose length still feels full under the pinned sides. A tiny wave at the front pieces helps them blend into the rest of the style.
I like this for days when you want the hair off the face but still want to see the cut. It gives the cheekbones room. It also pairs well with earrings, which is probably why people keep returning to it without thinking much about why it works.
16. Heatless Robe-Curl Waves on a Collarbone Cut
Heatless curls can be fussy, but on medium hair they make sense. Wrap damp hair around a robe tie, silk ribbon, or a pair of socks, let it dry fully, then release the waves and separate them with your fingers. Face-framing layers dry into softer bends around the cheeks, which is exactly what you want.
The nice thing about this method is the control at the front. You can direct the shortest pieces away from the face before wrapping, which gives them a cleaner curve than a hot tool sometimes does. The rest of the hair keeps a loose wave pattern that works well with a collarbone cut.
How to get a better result
- Start with hair that is damp, not dripping.
- Use a lightweight mousse at the roots if your hair falls flat.
- Keep the wrap flat against the head so the wave starts higher.
- Let the hair dry all the way before taking it down.
If you want the waves to last, let them sit for a few minutes after release before you touch them. Too much touching breaks the pattern and turns the face-framing pieces into frizz.
17. Half-Up High Pony with Bent Ends
Need lift without a full ponytail? Pull the top half into a high pony at the crown and leave the bottom half loose. Medium hair handles this well because the pony sits with bounce instead of dragging down the scalp. The face-framing layers soften the front, which keeps the style from looking like a pulled-back gym pony.
A small bend through the loose ends makes the style feel finished. I’d curl the bottom half away from the face in medium sections, then finger-comb it after it cools. The result is playful without being messy for the sake of it.
This works especially well when the front layers are a little longer and can sit beside the pony rather than under it. If the shortest pieces want to escape, pin them with tiny bobby pins just behind the temples. No one needs to see those.
18. Side Braid with Face-Framing Tendrils

A side braid is one of the best ways to control thick medium hair without making it look stiff. Sweep the hair over one shoulder, braid loosely from just below the ear, and keep a few tendrils out in the front so the face-framing layers still show.
The braid should have a little width to it. Pull the sections gently after braiding so it looks fuller and more relaxed. Medium hair with layers can make a narrow braid look skimpy, and nobody wants that. The loose tendrils balance the braid by giving the face some softness back.
This is a good move on windy days or when you know you’ll be moving around. It stays put better than a half-up style and still leaves enough hair visible to show the cut.
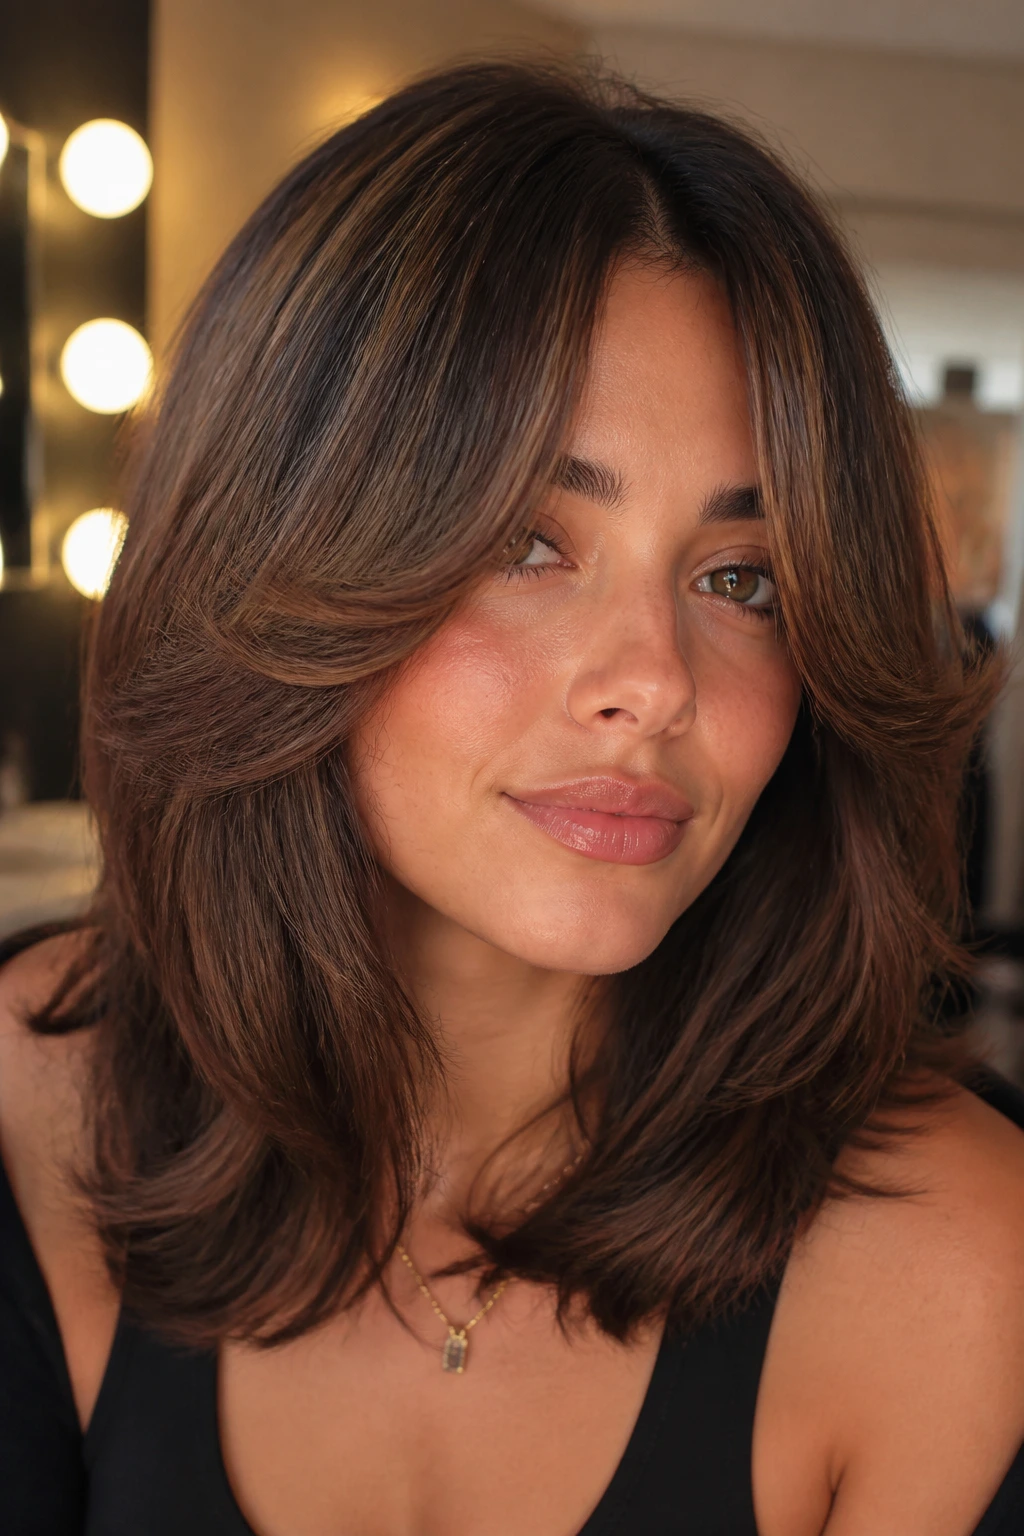
19. Voluminous Blowout with Rounded Layers
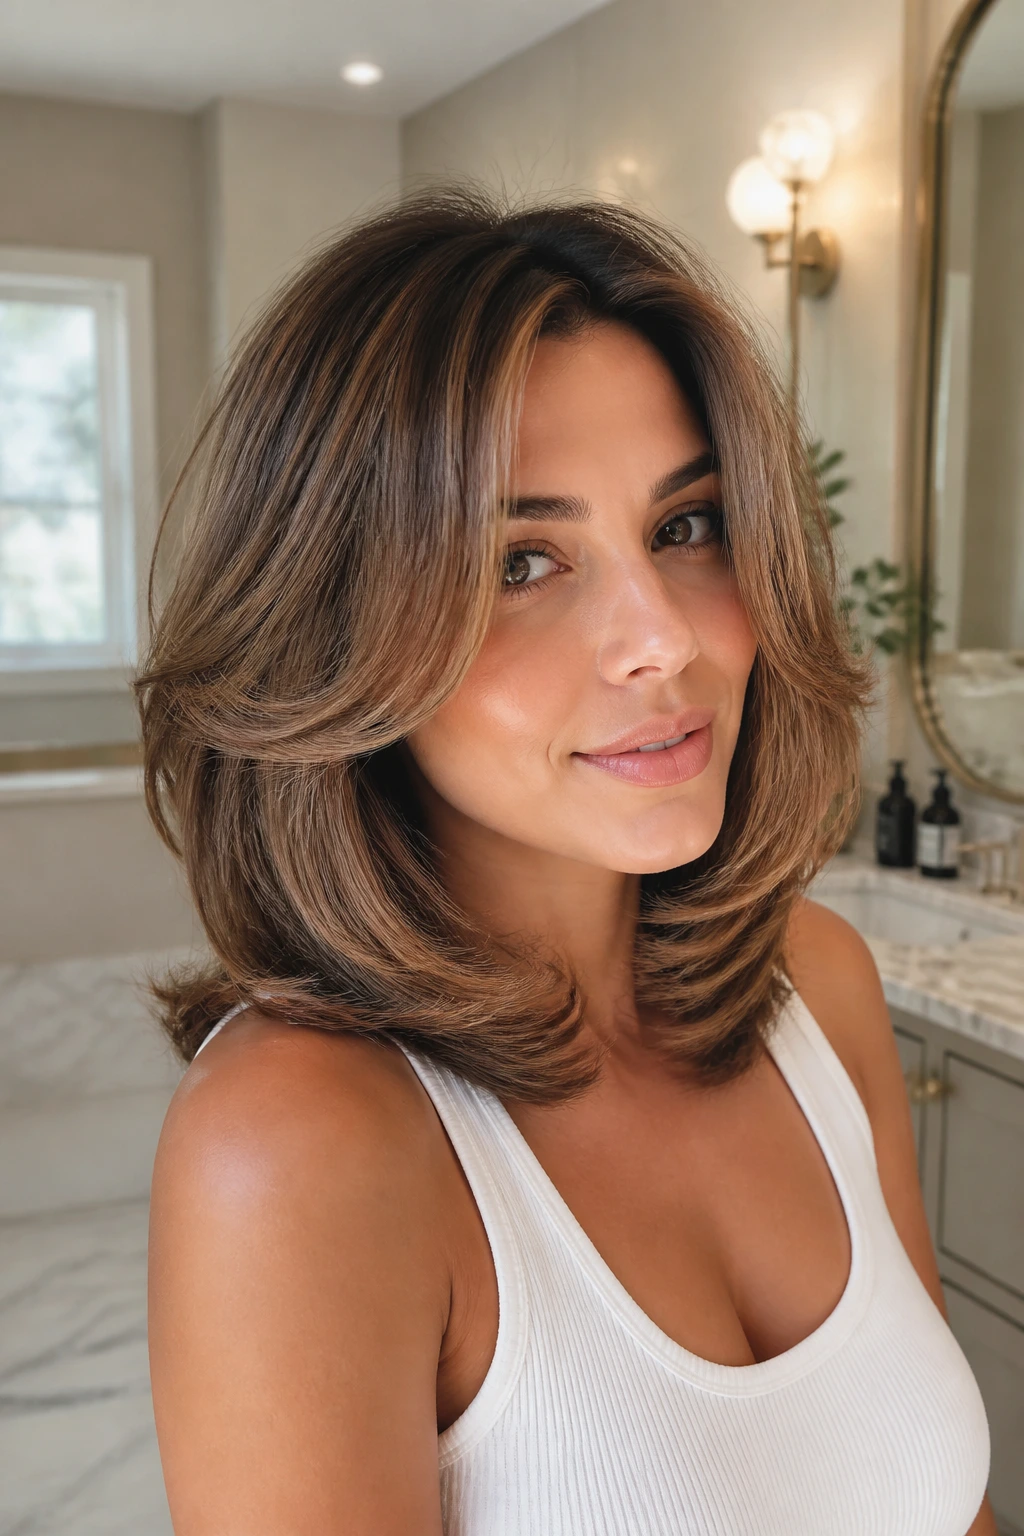
This is the style that makes medium hair look like it was cut by someone who understood shape. Blow-dry with a round brush, lift at the root, and turn the ends in so the layers stack in a soft curve. The face-framing pieces should swing away from the face first, then settle around the jawline.
What makes this version different from the curtain-bang blowout earlier is the overall volume. Here, the body of the hair matters just as much as the front. You’re building a rounded silhouette, not just styling the front two pieces. That’s why sectioning matters. Work in horizontal layers, clip the top away, and let each section cool before you move on.
If you want the style to last, set the crown with a few clips while it cools. That little trick keeps medium hair from flattening at the top by the afternoon, which is usually the part that gives up first.
20. Double Mini Braids at the Hairline
This is the style for people who hate hair in their face but don’t want to pin everything back. Take two very small sections at the temples, braid each one back toward the ears, and secure them under the top layer or behind the ears. The rest of the hair stays down, and the face-framing layers remain visible around the sides.
It’s a small detail, but small details matter on layered medium hair. The braids act like little anchors. They keep the front pieces under control without erasing the cut’s softness. If you wear glasses, this style is especially useful because the braids stay clear of the arms and the loose layers don’t keep slipping forward.
A dab of texturizing spray before braiding helps the tiny sections hold. If your hair is too slippery, the braids will slide out and make you grumpy. There’s no need to suffer for a style that should take five minutes.
21. Satin-Ribbon Ponytail on Smooth Medium Hair
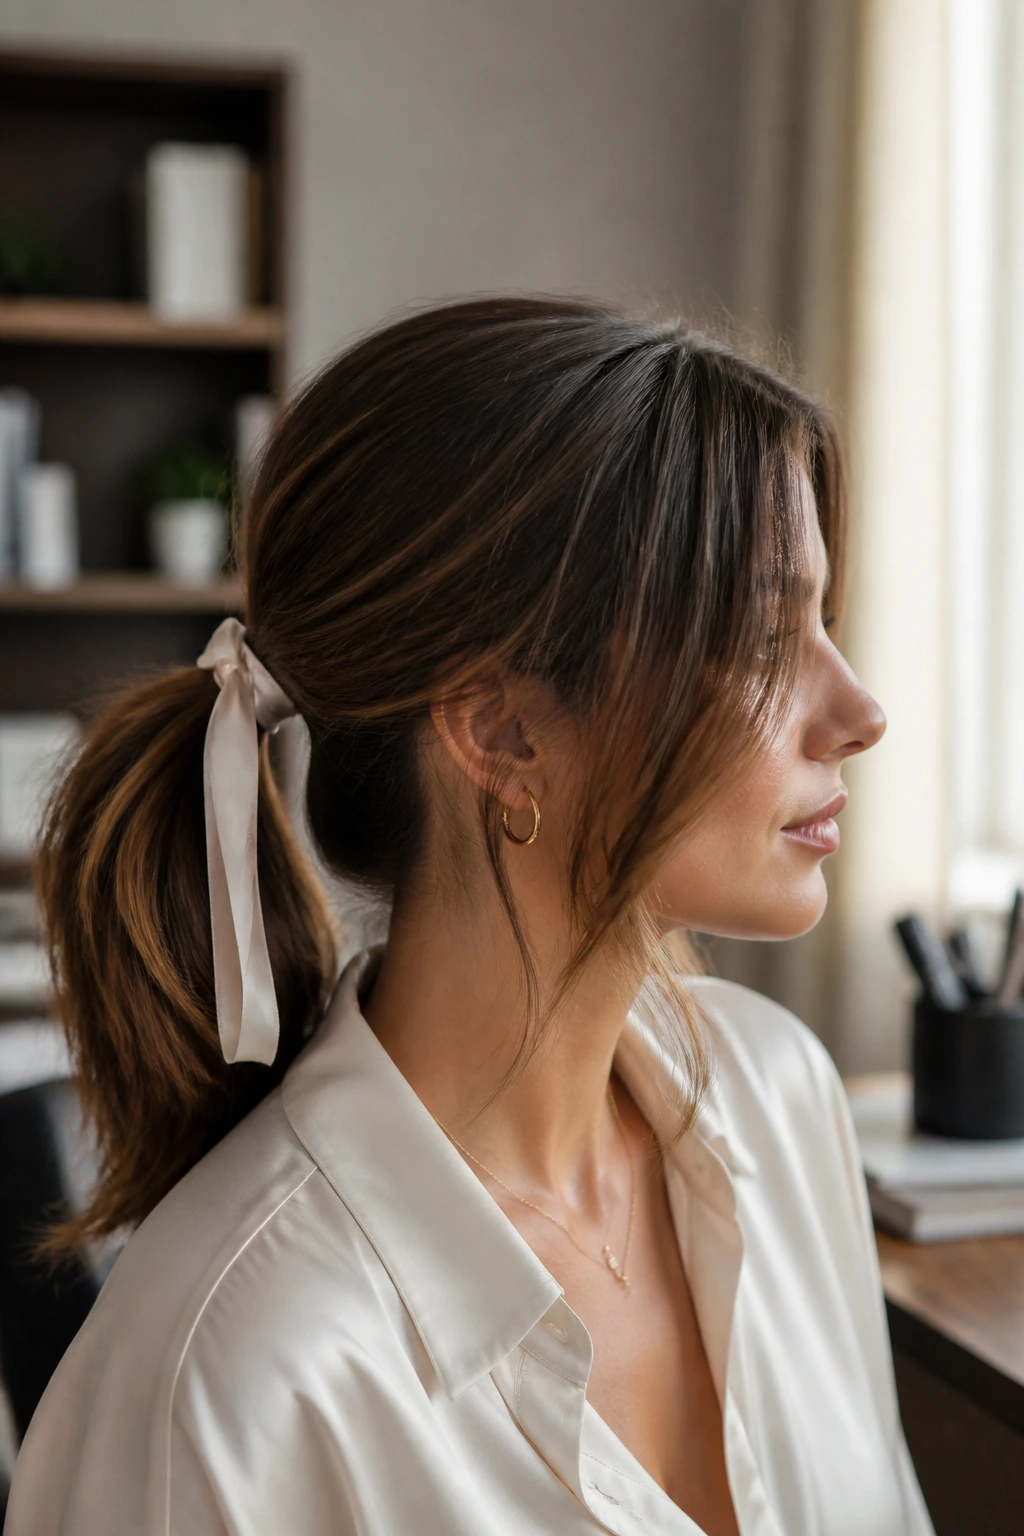
A ribbon changes the whole attitude of a ponytail. Tie the hair into a mid or low pony, then wrap a satin ribbon around the base or tie it into a bow. Leave the face-framing layers loose and softly curved, and the style stops reading as ordinary.
The ribbon helps on medium hair because it adds visual length and a little structure to the base. You do not need a giant bow. A narrow ribbon, about 1 to 1.5 inches wide and long enough to wrap twice around the pony, is enough. Anything bigger starts to overwhelm the cut.
This is a strong choice when the rest of the outfit is simple. The ponytail stays clean, the layers stay soft, and the ribbon gives the look a specific point of view. That beats trying to make the hair itself do all the work.
22. Slick Mid-Pony with Curtain Pieces Left Out
A mid-pony can look sharp instead of sad if the front pieces stay loose. Smooth the top with a bit of gel or cream, gather the hair at the middle of the back of the head, and leave the curtain pieces free on each side of the face. The pony sits between the crown and nape, which keeps it balanced on medium hair.
The point here is contrast. Slick top, soft sides. That contrast is what gives the face-framing layers something to do. If everything is pulled back, the cut disappears. If the front pieces stay out, the hairline keeps some movement and the whole style looks sharper.
Use a boar bristle brush for the top if you want a cleaner finish, then finger-fluff the pony a little so it doesn’t sit like a rope. Medium hair usually has enough body for this style to hold without looking overworked.
Why Medium Hair and Face-Framing Layers Cooperate So Well

Medium hair sits in a sweet spot that long hair often misses. It has enough length to braid, twist, pin, and ponytail, but not so much weight that every style collapses under its own gravity. Add face-framing layers, and the whole cut starts working like a built-in soft-focus filter around the face.
That matters because the shortest front pieces are doing more than filling space. They create movement near the eyes, break up the line at the jaw, and keep medium hair from turning into one solid block. A shoulder-length cut without those layers can still look nice, but it usually needs more effort to keep from feeling blunt. The layered version already has a shape; you’re just choosing how loudly to show it.
There’s also a practical reason these styles hold up. Medium hair is easier to rework in the middle of the day. If the front pieces fall, you can retuck them. If the pony slumps, you can move the elastic up half an inch. If the wave disappears, one pass with a wand fixes the front and leaves the back alone. That flexibility is the real luxury here.
The Tools That Make These Styles Easier
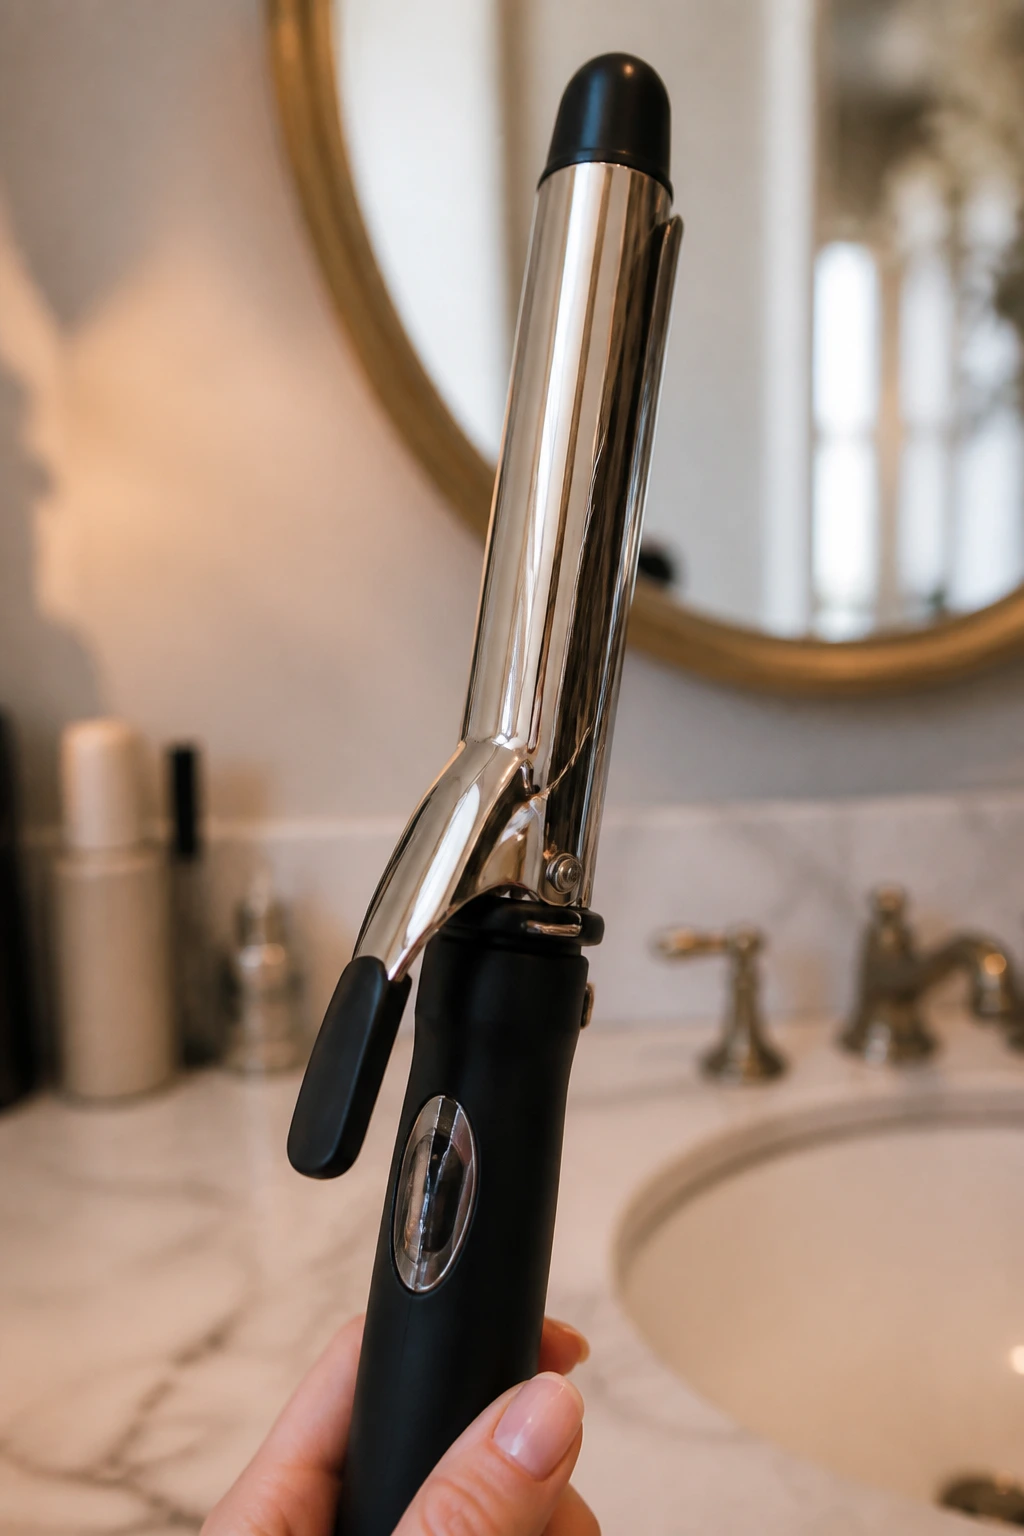
-
1.25-inch curling iron or wand: The best barrel size for soft bends and waves on medium hair; smaller barrels can look too tight.
-
Flat iron with rounded edges: Useful for flipped ends, sleek tucks, and little bends at the front.
-
Medium round brush, about 1.5 to 2 inches: Ideal for blowouts and for turning the face-framing layers away from the cheeks.
-
Claw clips in medium size: Bigger clips can swallow the whole style; medium ones hold twists without crushing them.
-
Bobby pins in two colors: Matching pins disappear better, and crossed pins hold twists far more securely than one lone pin.
-
Texturizing spray: Gives grip to clean hair and helps braids, twists, and ponytails stay in place.
-
Flexible-hold hairspray: The best kind for keeping shape without freezing the front pieces into place.
-
Dry shampoo: Not only for oil. It also gives fine hair the grit it needs to hold the style.
-
Fine-tooth comb: Handy for center parts and sleek finishes.
-
Heat protectant: Use it before any hot-tool styling, especially around the front pieces where hair often gets overworked.
Smart Haircut and Product Tips
The haircut matters more than people like to admit. If your face-framing layers start around the cheekbone, most of these styles will have an easy time. If they start lower, near the chin or collarbone, you’ll get a softer result that leans more relaxed than sculpted. Neither is wrong. They just do different jobs.
Product choice matters too. Fine hair usually wants mousse, dry shampoo, and light spray because heavy cream steals lift. Thick hair can handle a little more cream through the ends, especially when you want a smoother blowout or a sleeker ponytail. Curly or wavy hair usually does best with a cream-gel mix so the front pieces keep their shape without frizzing out by noon.
And one more thing: don’t coat the face-framing layers the same way you treat the rest of the hair. Those front pieces are shorter, lighter, and more visible. A pea-size amount of product is enough. Sometimes even less. Too much product around the face makes the hair stringy, and stringy is not the look anyone is chasing here.
How to Wear These Looks Without Fighting the Cut

Presentation: Keep the front pieces visible on purpose. If you tuck the hair behind the ears or pin it back, leave the shortest layers free so the cut still reads around the face. A soft bend near the cheekbone usually looks better than a perfectly straight strand.
Accompaniments: Small hoops, drop earrings, open collars, and scoop or square necklines all help the face-framing layers do their job. A high turtleneck can swallow the shape. A clean neckline gives it room.
Portions: For half-up styles, take the top section from about temple to temple and leave at least 1 inch of front hair out on each side. For full-up styles, stop collecting the hair before you pull the shortest face pieces into the elastic. Those small scraps are not mistakes. They’re the whole point.
Setting Pairing: Sleeker styles suit work, interviews, and sharp tailoring. Softer waves, braids, and ribbon details fit dinners, parties, and days when the outfit already has plenty of structure. The hair doesn’t need to compete with everything else. It just needs to hold its side of the conversation.
Additional Tips and Finish Boosters
Texture Boost: Spray dry shampoo or texturizing spray at the roots before you curl, braid, or twist. Medium hair gets a lot more control from a little grit, especially if it was washed the same day.
Face-Frame Trick: Curl the front pieces away from the face on each side, then let them cool before you touch them. That tiny pause keeps the bend from falling straight in twenty minutes.
Time-Saver: If you’re short on time, style only the front half of the head. The front layers and crown are what people see first. A polished front with a plain back still reads as put together.
Customization: Add a satin ribbon, a metal clip, or a side part when you want the same base style to feel different. Small changes matter more than people think.
Make-It-Yours: Fine hair likes root lift and light spray. Thick hair likes extra pinning and a little smoothing cream. Wavy hair usually needs less heat than you think, which is a pleasant surprise for once.
Common Mistakes That Flatten the Front or Hide the Shape
The first mistake is pulling the front pieces back too tight. The style may stay in place, but the face-framing layers disappear, and the whole haircut loses its shape. Leave those pieces loose enough to move a little when you turn your head. If they still bother you, pin them softly behind the ear instead of yanking them into the elastic.
Another problem is overloading the front with oil or cream. Medium hair doesn’t need much, and the shortest layers show product buildup fast. If the pieces look wet or stringy, start over with a tiny amount and keep product away from the roots. A little shine is nice. Grease at the cheeks is not.
Using one-direction curls all over the head can also create a stiff, barrel-like shape. Alternate directions, especially around the face and crown, so the layers stack naturally. Then brush out the curls once they’ve cooled. If the hair starts to expand too much, don’t panic. A light mist of hairspray and a finger-comb usually fixes the shape.
The last issue is forgetting the crown. Medium hair with face-framing layers still needs some height up top, or the front pieces hang all the way down and the cut looks tired. Even a small lift at the roots changes the profile. Thirty seconds there saves the whole style.
Five Ways to Change the Mood Without Changing the Cut

Fine-Hair Lift-Off: Use mousse at the roots, a 1.25-inch iron on just the front sections, and a light backcomb at the crown. Fine hair usually needs shape first and shine second.
Thick-Hair Control Mode: Work in smaller sections, use stronger pins, and smooth the top with a brush before you set it. Thick hair can handle more structure, but it also needs more division or the front pieces overwhelm everything.
Curly-Hair Halo: Skip the flat iron and let the front layers follow the curl pattern. Pin back only what needs pinning, then let the natural curl frame the face instead of stretching it flat.
Heat-Free Monday: Rope twists, braids, ribbon ties, and robe-curl waves all work here. The front pieces still get a soft direction, just without hot tools.
Grow-Out Friendly: If your layers are in that awkward in-between stage, use styles that leave the shortest pieces loose on purpose. Half-up looks and tucked styles are your friends. They turn grow-out into texture instead of a problem.
How to Keep the Shape Between Washes
Medium hair with face-framing layers usually behaves better on day two than on day one. That’s not a myth; it’s just friction. Clean hair can be slippery, and slippery hair loves to escape pins, clips, and braids. A little dryness gives you control.
If the roots go flat, a quick blast of dry shampoo at the crown does more than absorb oil. It gives the top some lift and a slightly rougher surface so the style stays put. Hold the can 8 to 10 inches away, spray in short bursts, and wait a minute before brushing it through. Spraying too close leaves a white patch. Nobody needs that.
For the front pieces, a tiny mist of water or leave-in spray is often enough to reset the bend. Wrap the ends around your finger, or tap them lightly with a flat iron for 5 to 8 seconds. You don’t need to redo the whole head. Usually the layers around the face are the only part that needs help.
A silk pillowcase or satin scrunchie makes a real difference if you wear these looks overnight. So does pinning the front pieces loosely before bed if you want them to keep their curve. And if the haircut starts feeling heavy or shapeless, that’s your cue for a trim. Face-framing layers tend to lose their edge once they grow past the cheek and sit too long at the jaw.
Frequently Asked Questions
What face shape works best with medium hair and face-framing layers?
Almost all of them, which is why the cut hangs around so long. Round faces usually benefit from layers that start a little lower and create vertical movement, while square faces often like softer bends around the jaw. Oval faces can wear almost any placement, which is frankly annoying in the most useful way.
Should the front layers be curled toward or away from the face?
Usually away from the face at the root, then allowed to soften in as they drop. That direction opens the cheekbones and keeps the front from closing in on the eyes. If the style feels too open, curl only the last inch inward.
How do I keep face-framing layers from falling into my eyes?
Use a light hold spray on the front pieces after you set them, and let them cool before touching them. If they’re still too short to behave, pin them softly behind the ear with a small bobby pin or tiny clip. Don’t force them into the main ponytail or bun.
Can these styles work on wavy or curly hair?
Yes, and some of them look better that way. A shag lob, half-up twist, braid, or pinned-back style usually needs less heat on textured hair. The main adjustment is product: use a cream or gel that supports the curl instead of trying to flatten it.
What’s the best style for fine medium hair?
The curtain-bang blowout, the side part with a bend, and the low pony with crown lift all play nicely with fine hair. They rely on shape and placement instead of a lot of bulk. Heavy buns and oversized twists usually need more hair density than fine hair wants to give.
How often should face-framing layers be trimmed?
When the pieces stop hitting the cheek or jaw the way you want, or when they begin to fall into the mouth and eyes instead of the face. For many people that means a trim every 6 to 8 weeks if they want a crisp frame. If the goal is a softer grow-out, let them stretch longer.
Can I do these looks with no heat at all?
Yes. Rope twists, braids, claw-clip twists, ribbon ponytails, and robe-curl waves all work without a hot tool. Start with damp or slightly textured hair, add grip at the roots, and accept a softer finish. That softer finish is part of the charm.
What if my layers are growing out and look awkward?
Use styles that leave the shortest pieces free around the face rather than trying to hide them. Half-up looks, loose ponytails, and pinned-back sides turn grow-out into movement. A center part can help too, because it gives the front pieces a cleaner line while they grow.
The Shape That Does the Heavy Lifting
Medium hair with face-framing layers does not need a different style every day. It needs the right one. Once the front pieces are allowed to bend, tuck, twist, or float in a way that suits the cut, the whole head looks more finished with less work than most people expect.
That’s why I keep coming back to this length. It holds shape without getting fussy, and it gives you enough room to play with clean lines, soft waves, or a little clipped-back detail. The best styles here don’t hide the haircut. They let the haircut speak first.
Try one look that fits your texture and one that stretches it a bit. The cut will tell you where it wants to go.