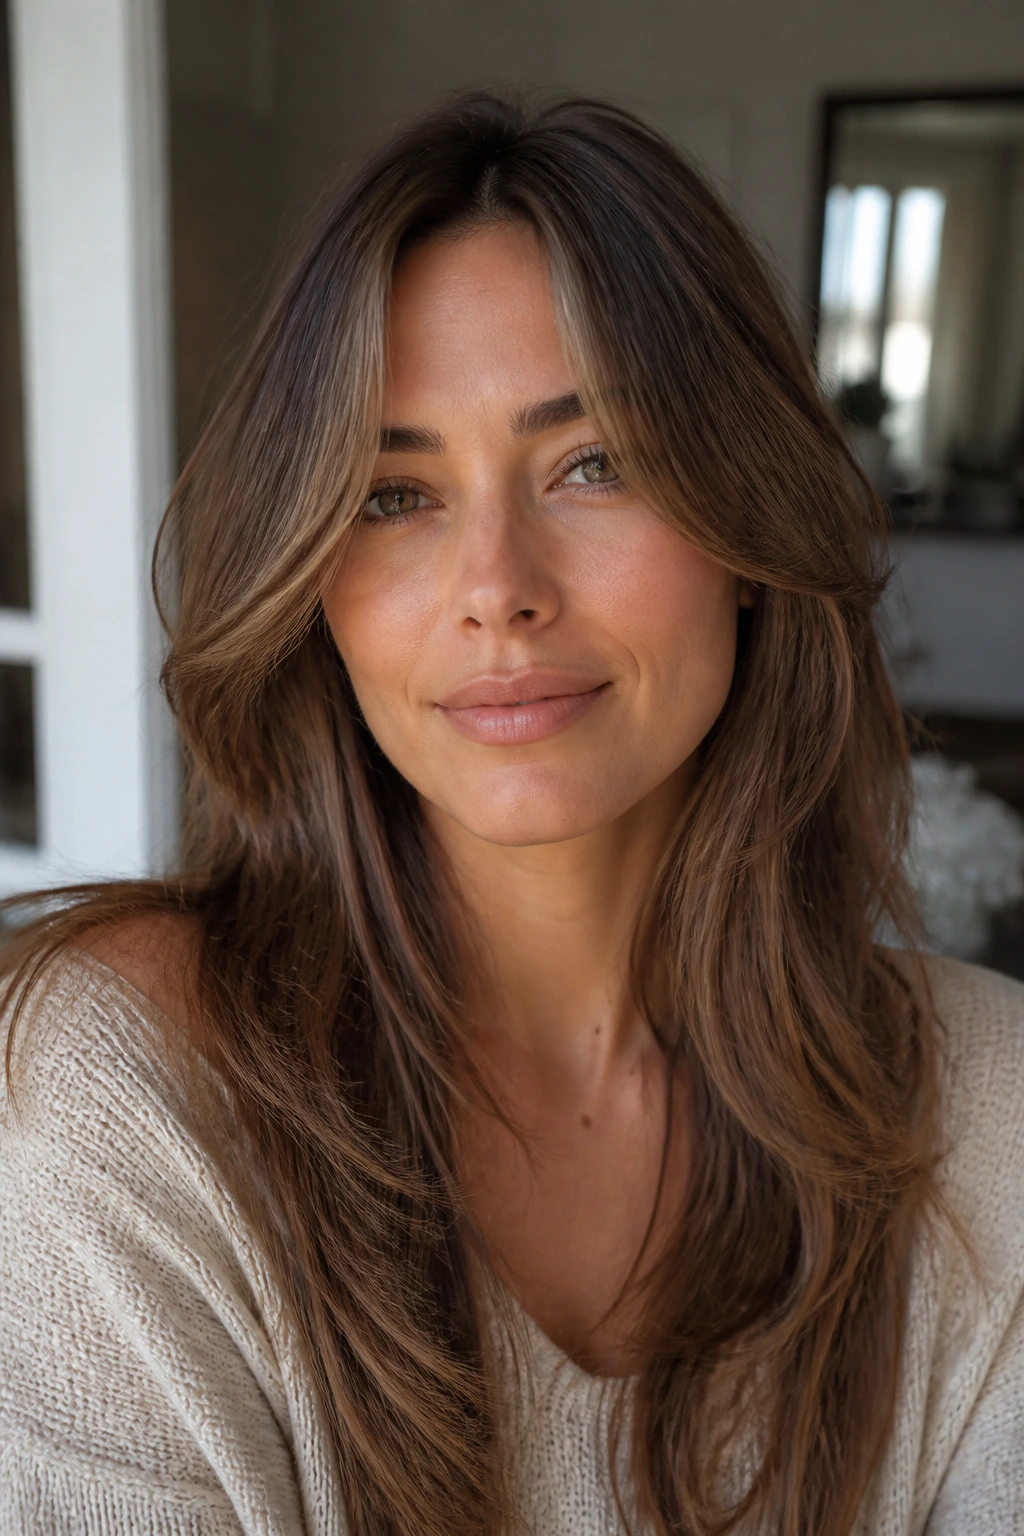
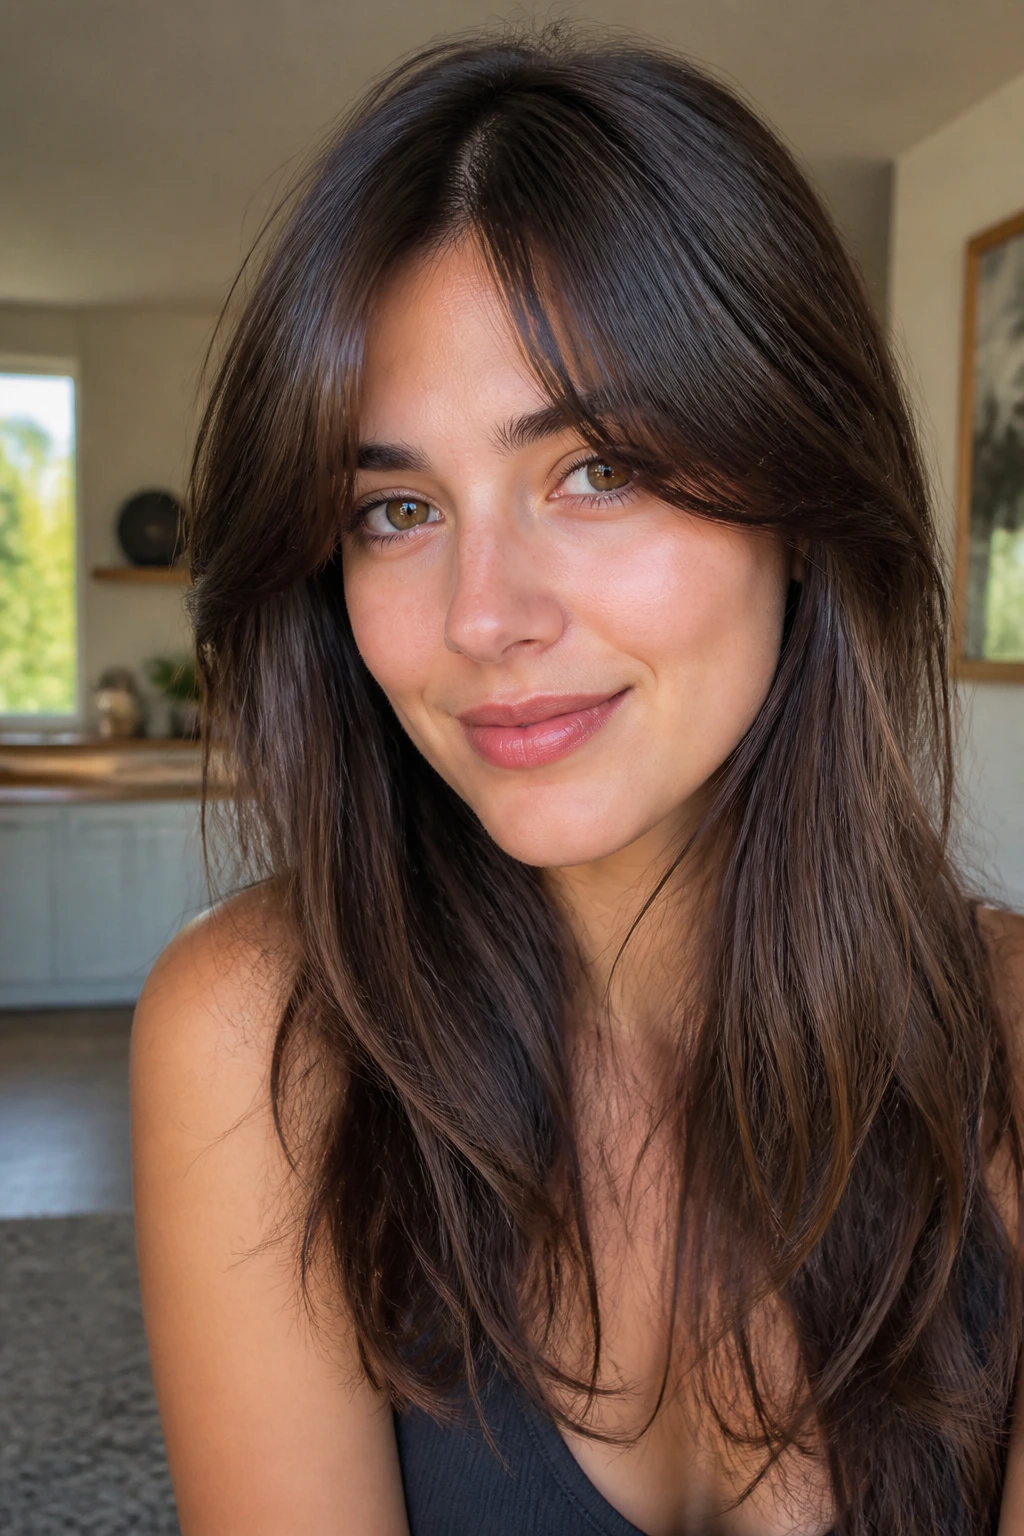
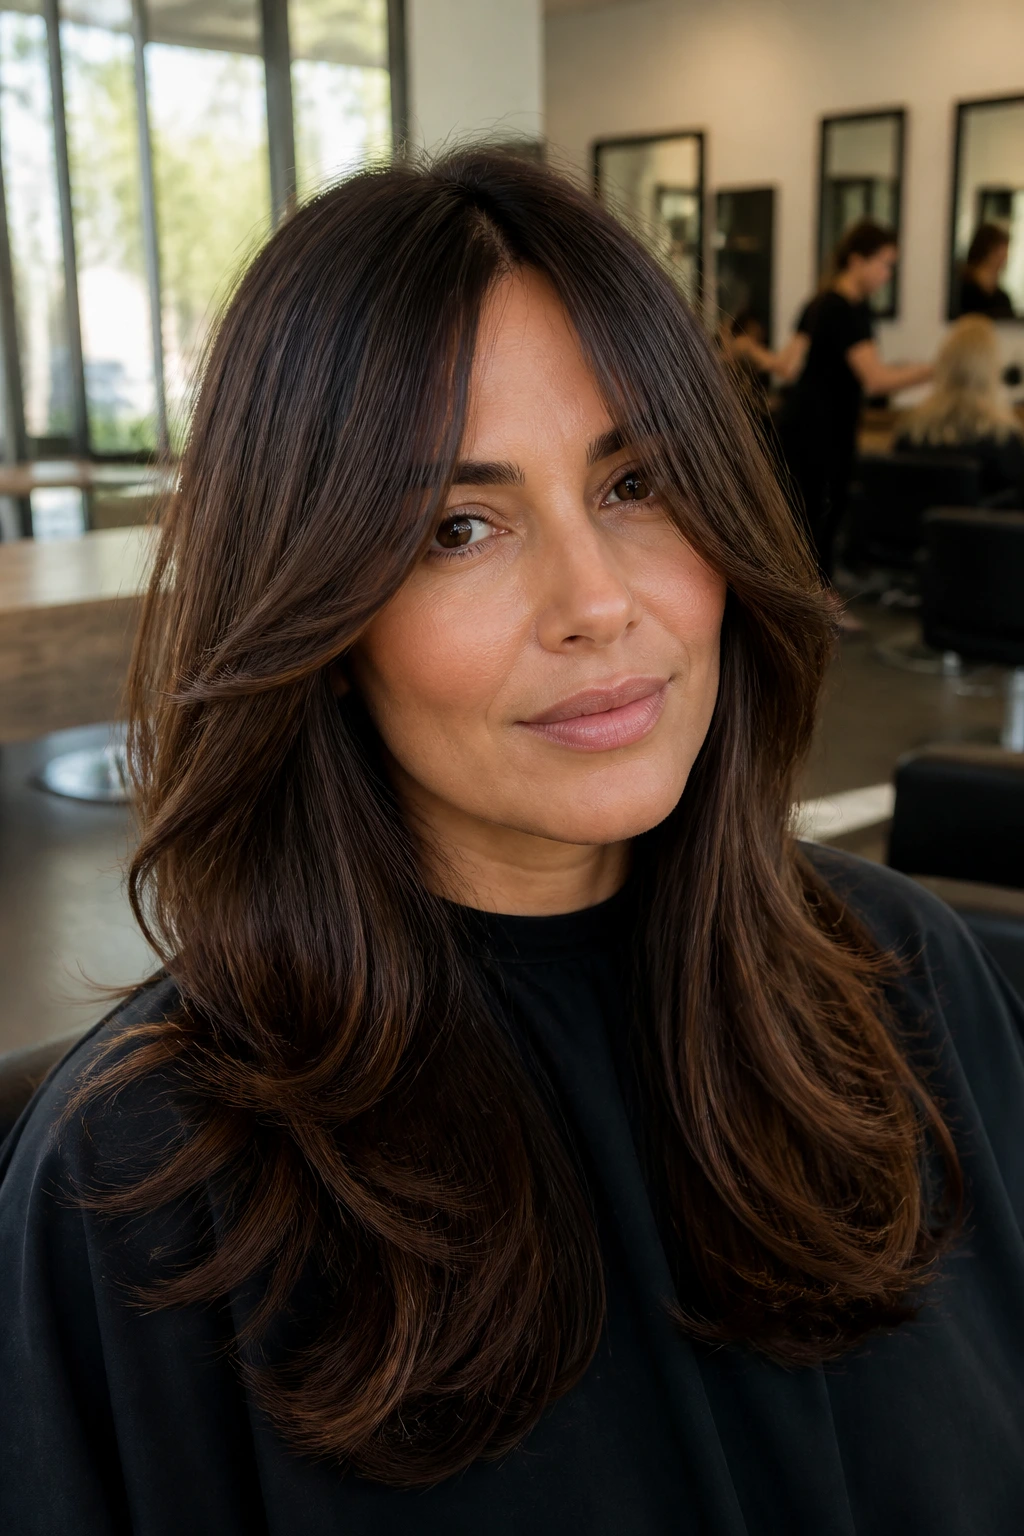
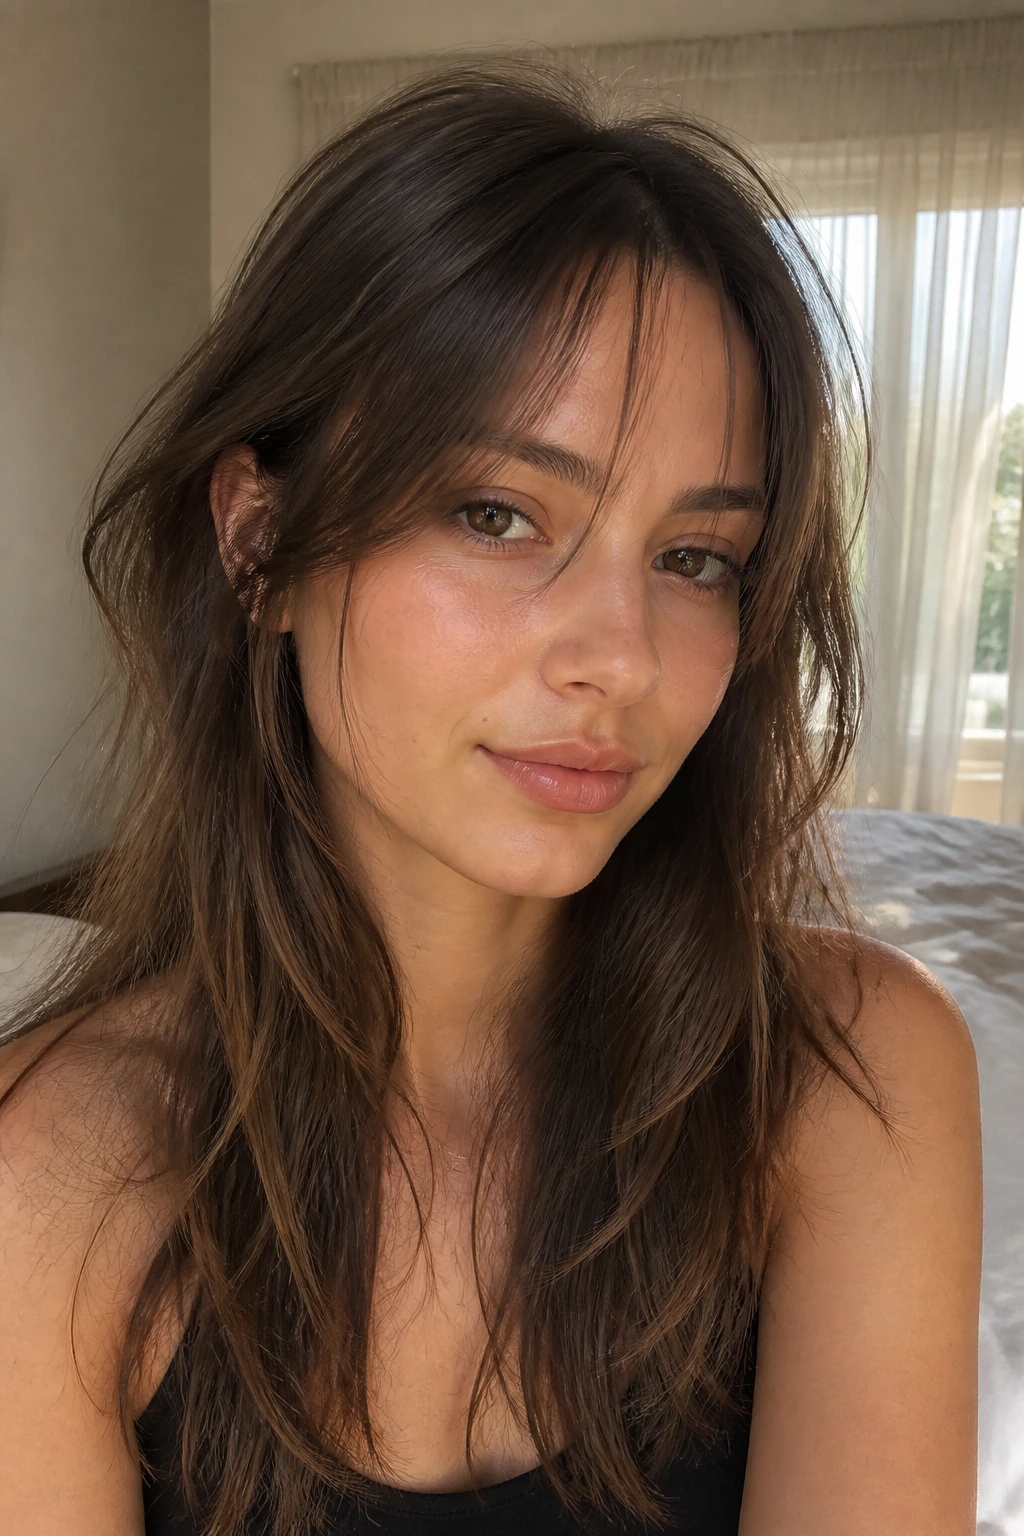
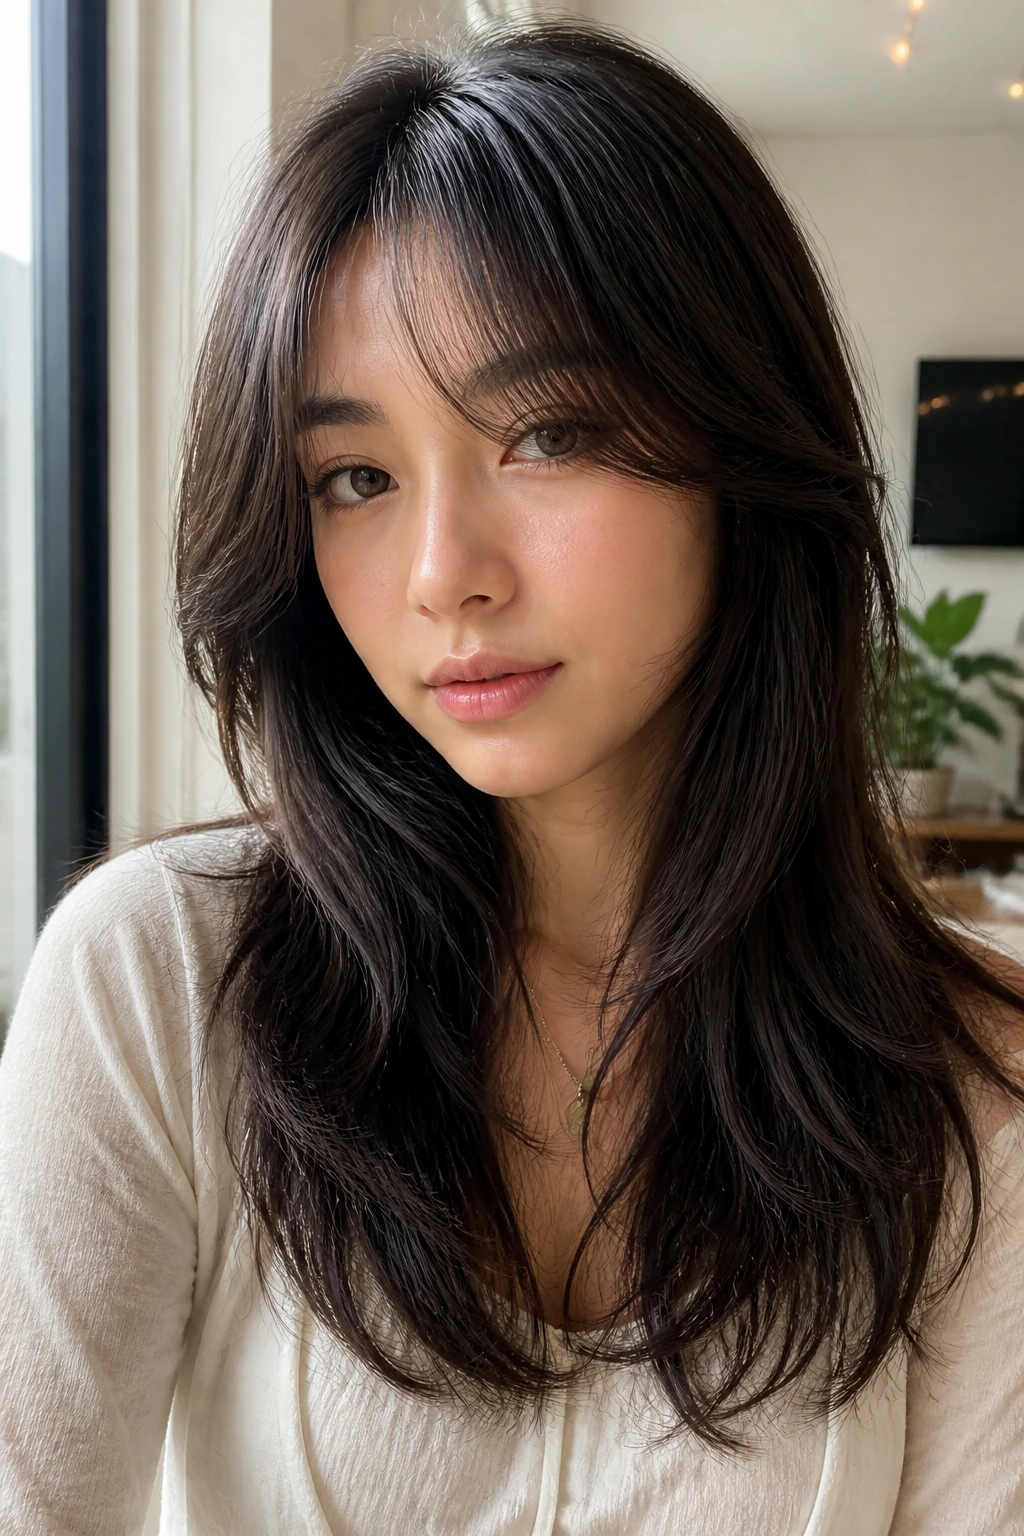
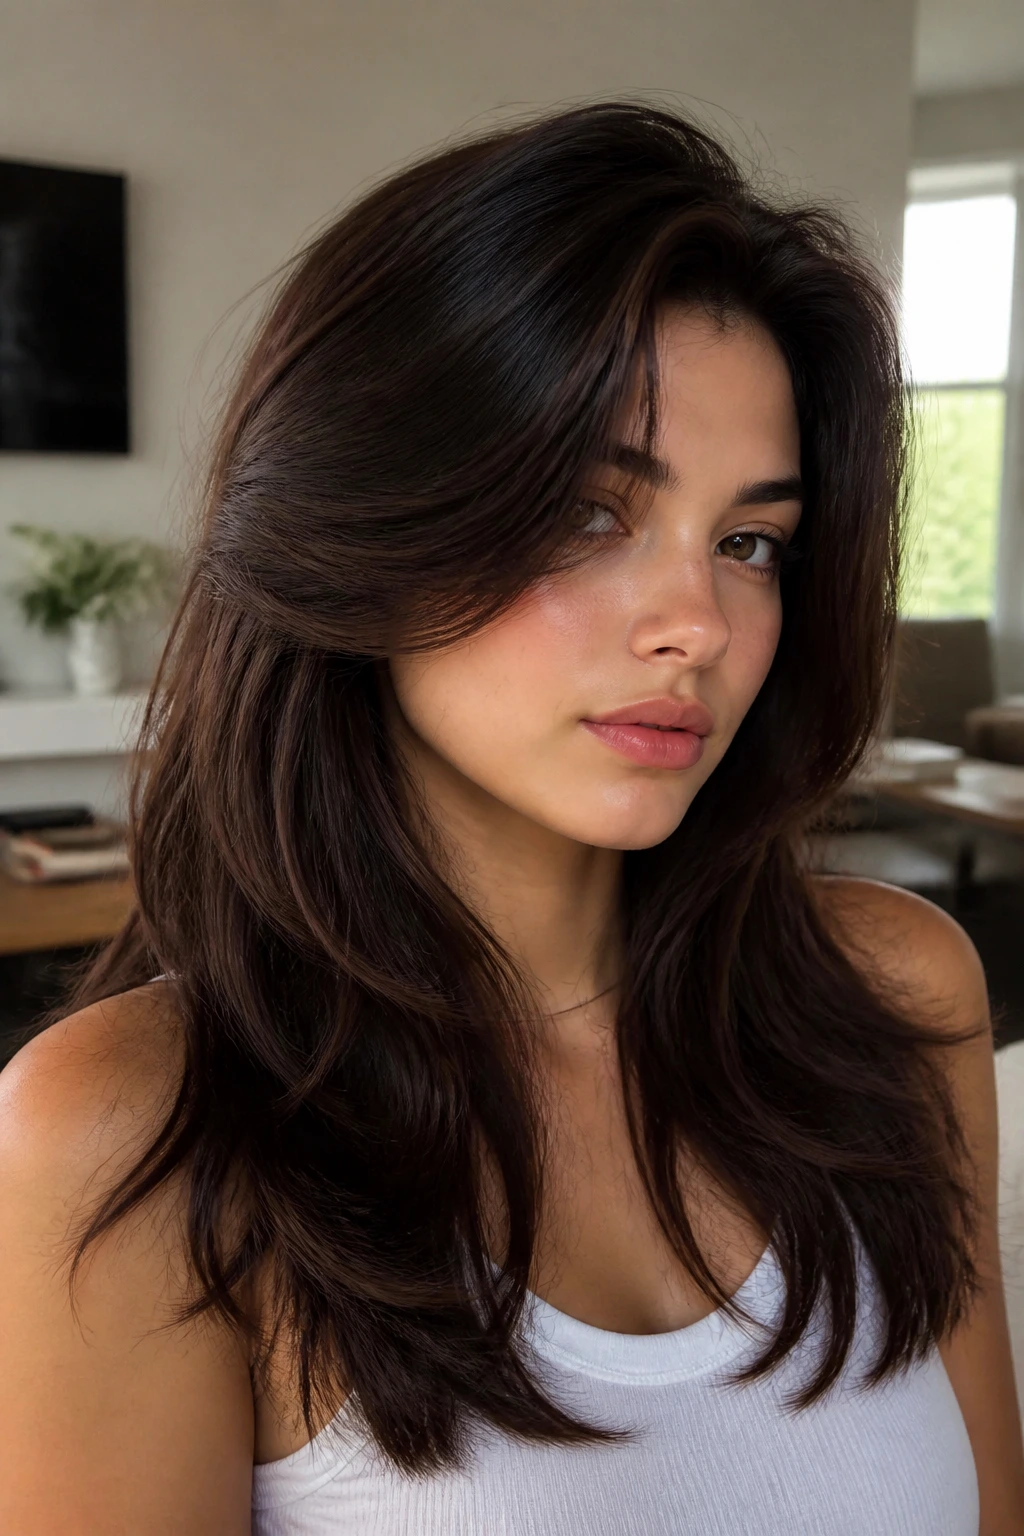
Long layered curtain side-swept part bangs are one of those cuts that look soft on day one and still make sense when the hair has lived a little. The shorter front pieces open around the face, the longer sides sink into the rest of the haircut, and the part can be moved just enough to change the mood without changing the whole shape. That’s the appeal. It’s a fringe that can look airy, grown-out, polished, or a little undone without turning into a disaster in the mirror.
The reason people keep coming back to this shape is simple: it gives movement where a blunt bang can feel heavy. The fringe doesn’t sit like a wall. It bends, sweeps, tucks, flips, and behaves differently depending on the brush, the dry, and the density of the hair underneath. If your hair has a cowlick at the front, or if you’ve tried bangs before and felt trapped by the weekly trim cycle, this is the version that tends to feel more forgiving.
There’s still plenty to get wrong, though. A long layered curtain fringe that’s cut too high can look chopped. One that’s thinned too hard can disappear into fine hair. A side sweep can fall flat if the root direction isn’t trained from the start. The details matter more than the name, and that’s where the good versions start separating themselves from the forgettable ones.
Why This Shape Keeps Working on Long Hair
Long hair can swallow a fringe if the proportions are off. That’s the whole game here. The best long layered curtain side-swept part bangs don’t sit on top of the haircut like an afterthought; they bridge the gap between the forehead and the rest of the length so the whole shape feels connected.
The shortest point usually lands somewhere between the bridge of the nose and just below the brow. Any shorter, and the bang starts to behave like a traditional fringe. Any longer, and the front can lose its frame unless the layers around the face are doing a lot of work. That balance is why the cut works so well on long hair with movement.
The part does more than part the hair
A center part gives symmetry and a softer curtain effect. A side part shifts the whole mood by adding diagonal movement, which is useful if your hair wants to split where it likes, not where you ask. That little shift changes how light hits the face, how the bang falls at the temples, and how much forehead stays visible.
Weight, not just length, is the secret
The best versions keep enough weight in the front to avoid wispy collapse. Long, layered fringe needs structure at the base, then feathering at the ends. That’s what keeps it from looking stringy by noon.
Why You’ll Love These 28 Looks
-
Softens hard lines: The front pieces break up a strong forehead or jaw without hiding your face behind a curtain of hair.
-
Grows out with less drama: Long fringe slides into the rest of the haircut instead of turning into awkward short bits the minute you miss a trim.
-
Works with more than one part: You can wear it center, off-center, or pushed to one side depending on the day and the cowlick.
-
Plays nicely with styling tools: A round brush, blow-dryer nozzle, flat iron, or even a quick air-dry all change the finish without changing the cut.
-
Helps long hair feel lighter: Face-framing layers keep heavy length from looking like one big block from the front.
-
Gives you options when hair is not cooperating: Tie it up, tuck it behind one ear, pin it back, or let it fall loose. The shape still reads.
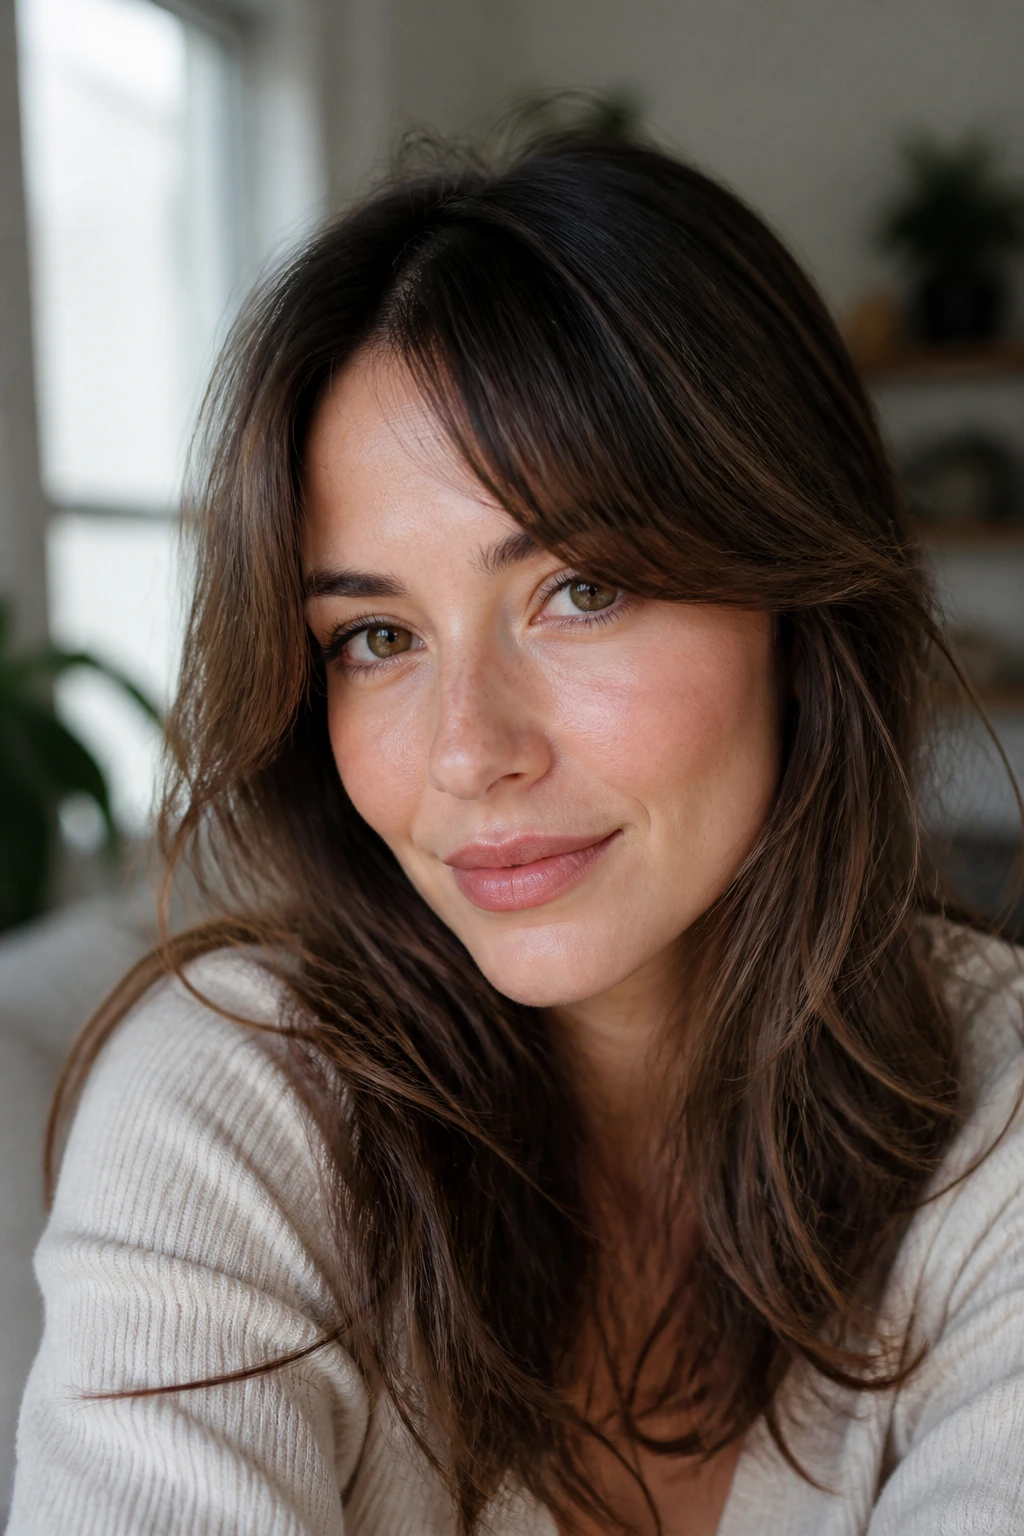
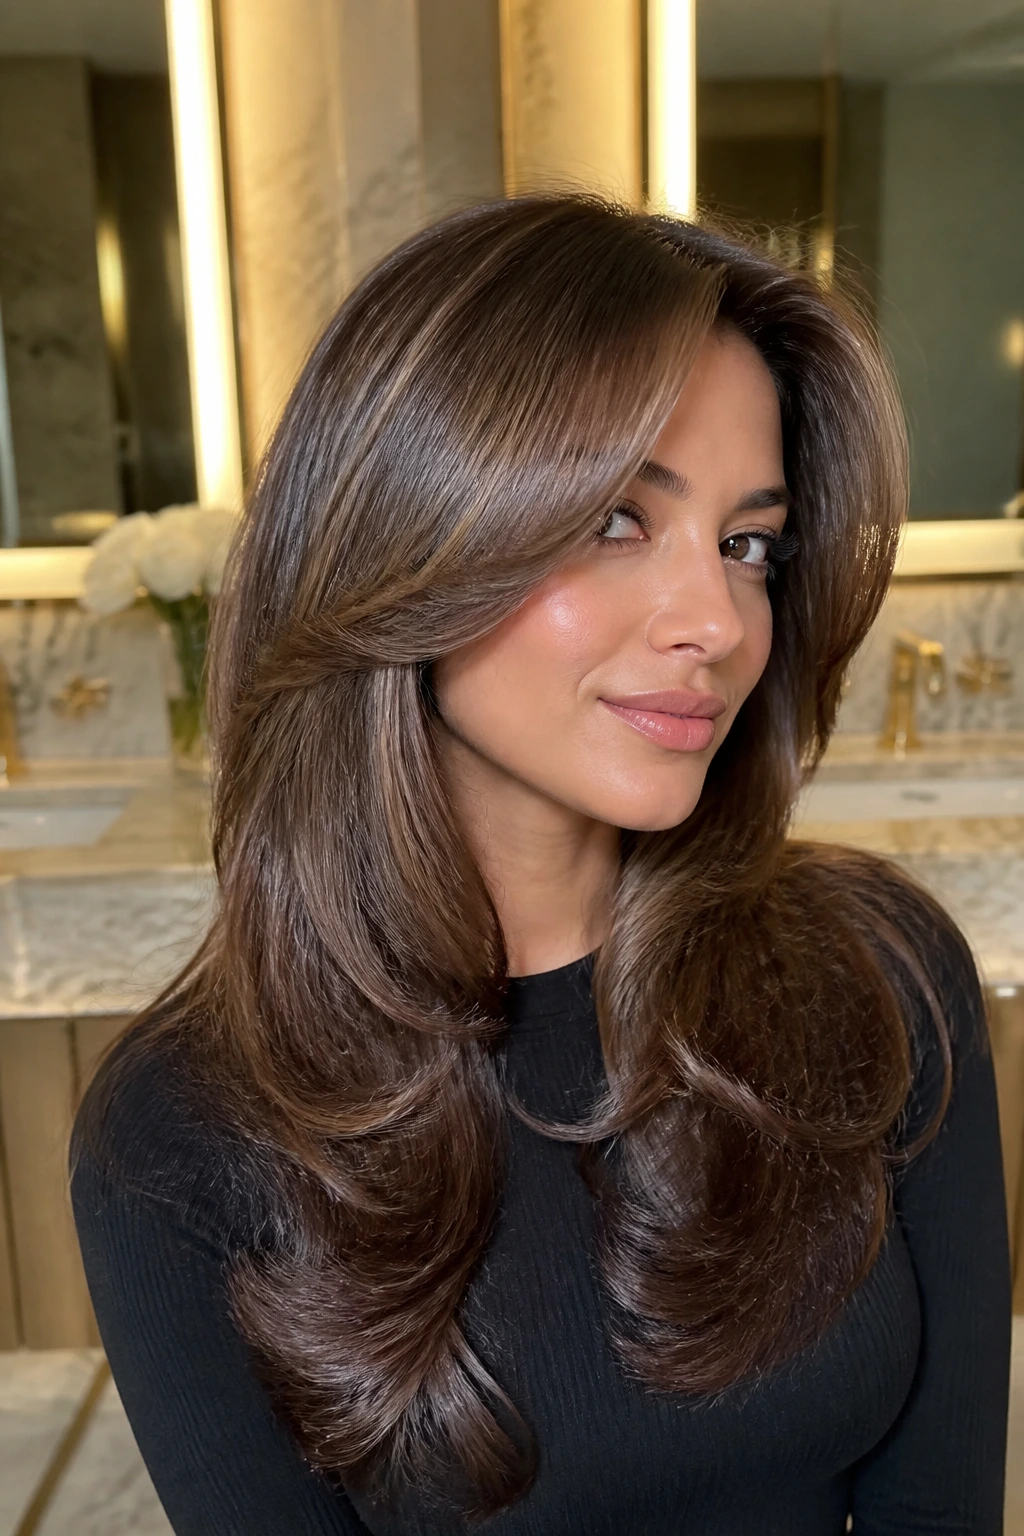
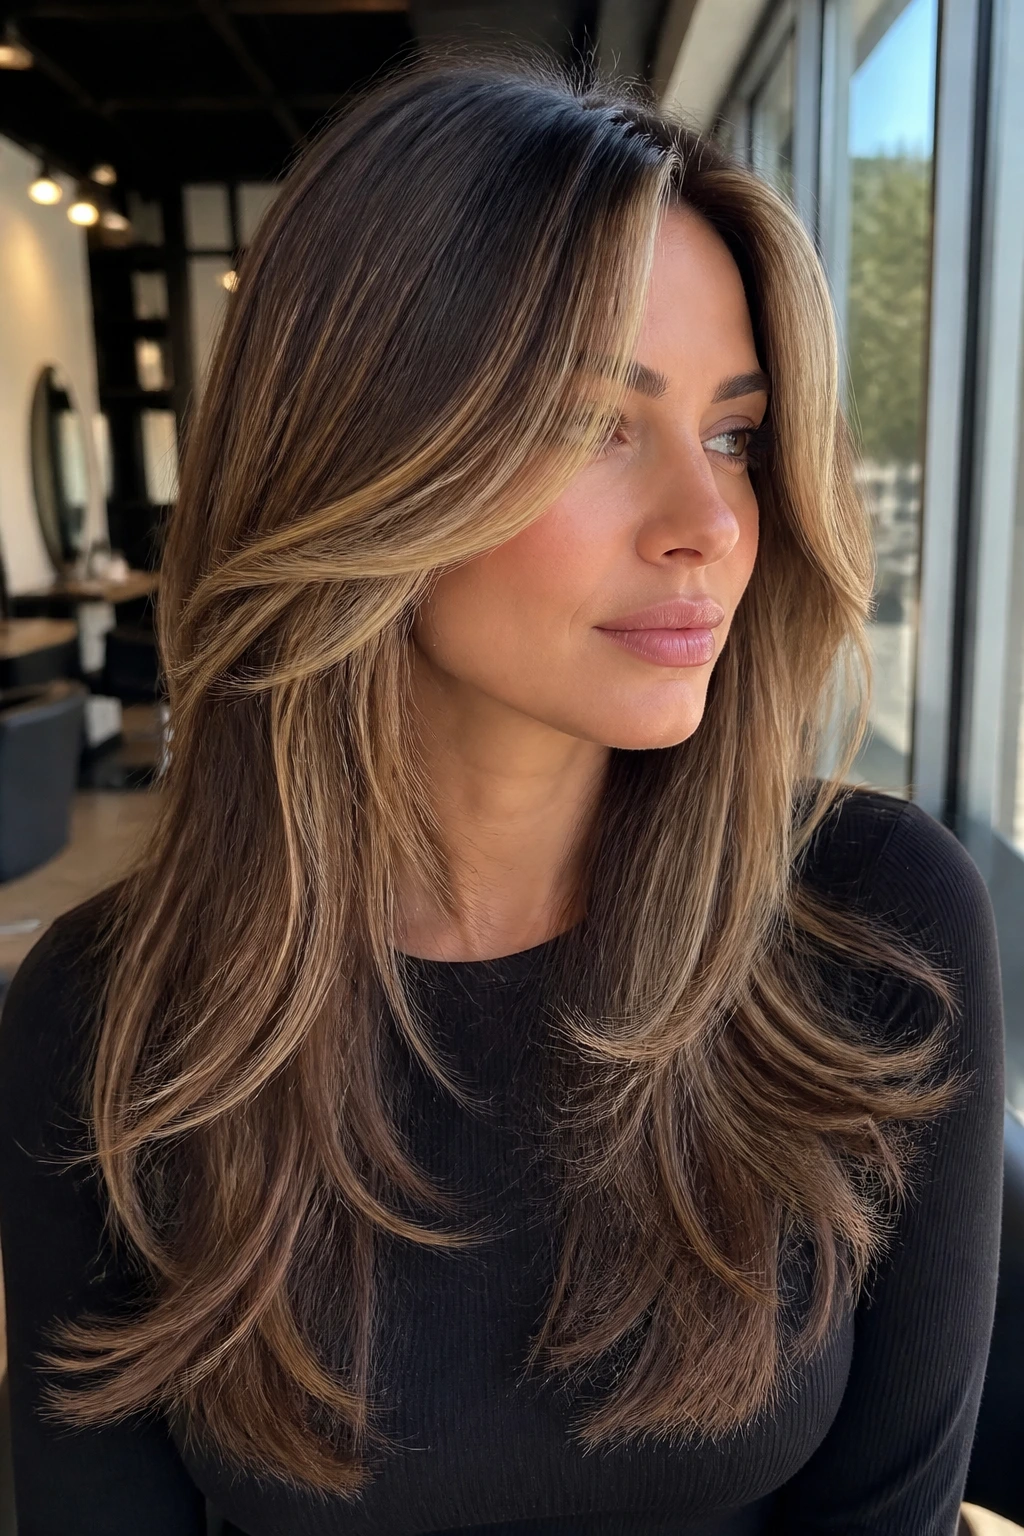
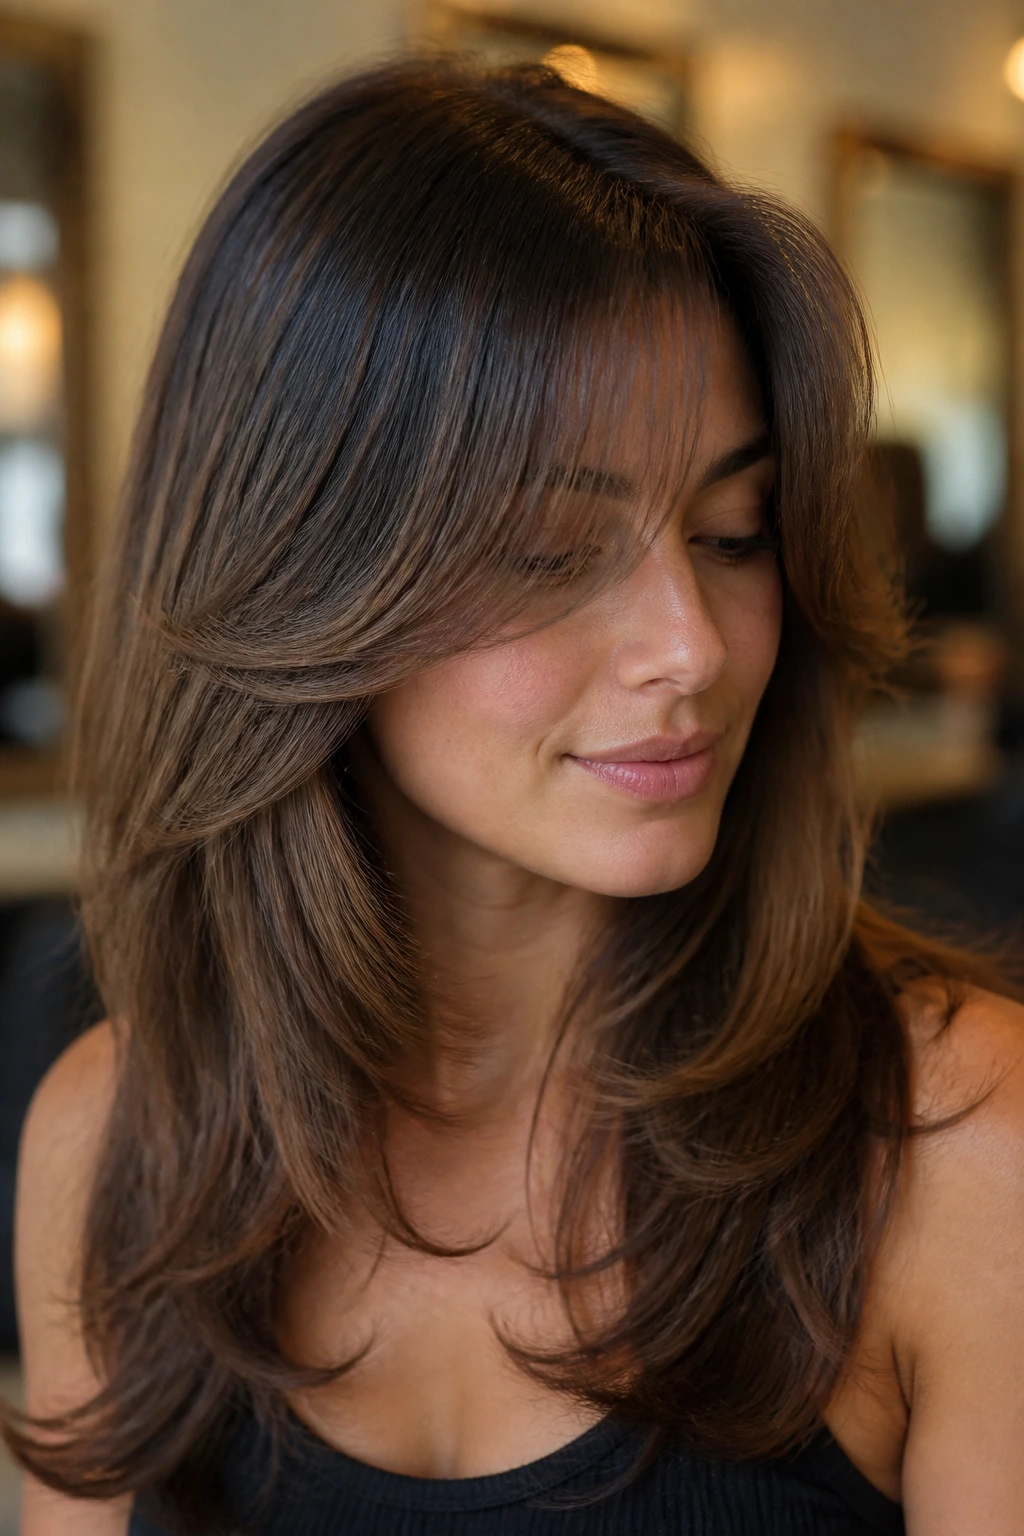
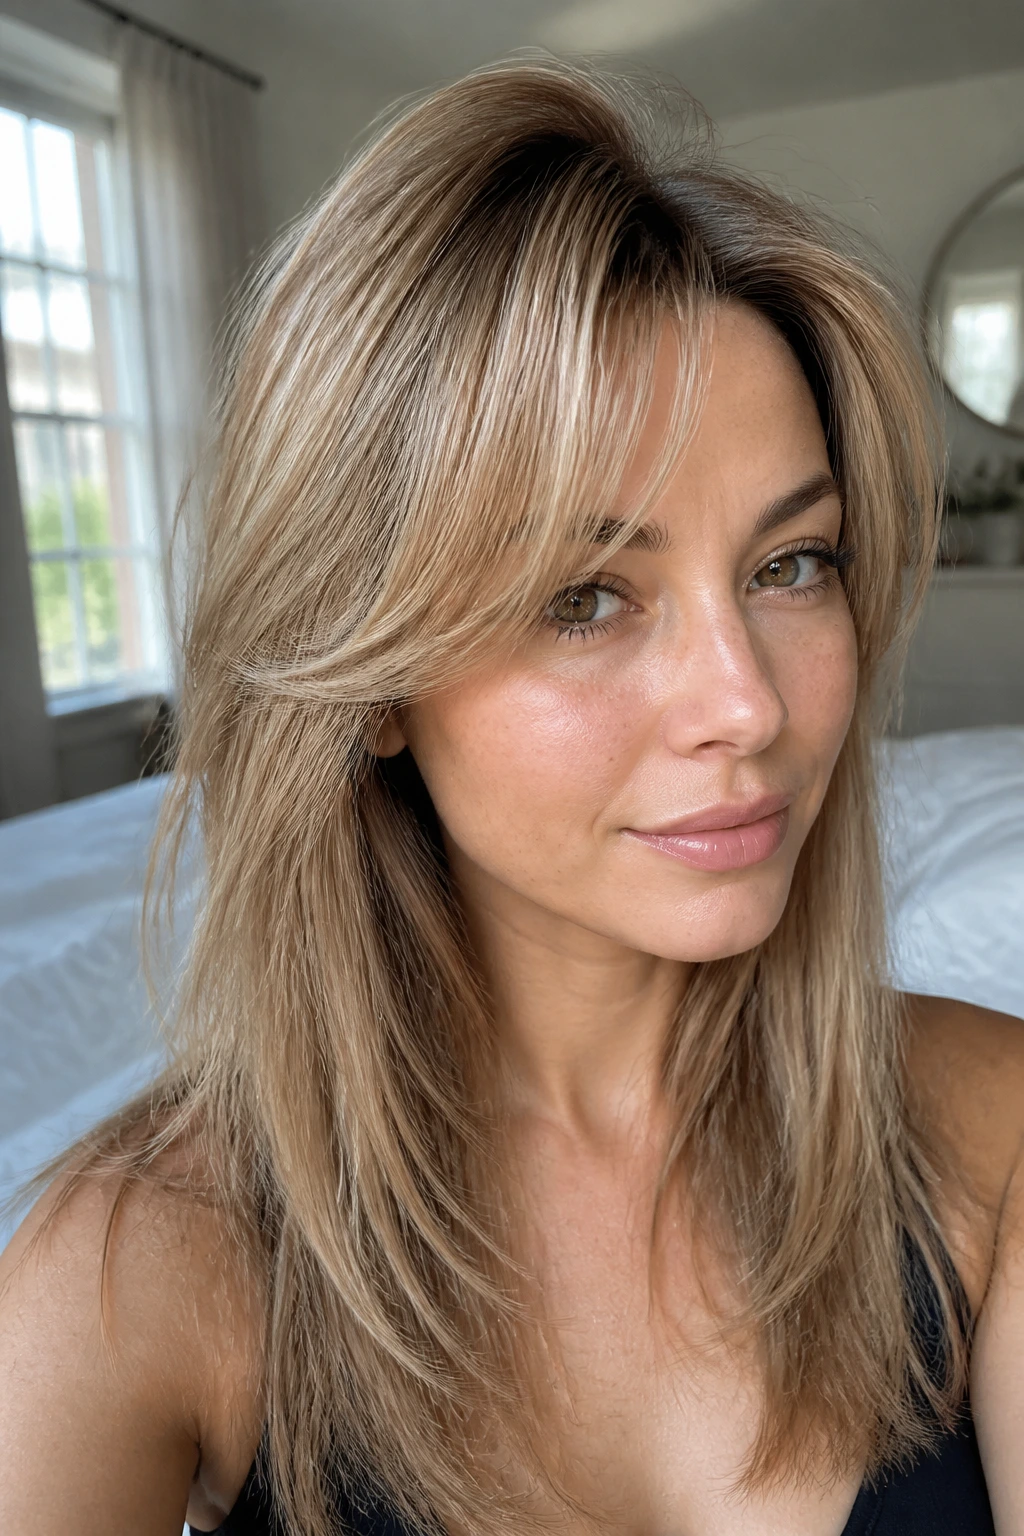
1. Soft Center-Part Curtain Sweep
This is the version I’d hand to someone who wants the gentlest possible entry point. The center part opens the fringe evenly, and the shortest pieces hover around the bridge of the nose or just under the brow before drifting down to cheekbone length. It looks calm, not fussy.
What makes it work is the transition. The front pieces shouldn’t stop abruptly. They should dissolve into the longer layers so the whole front of the haircut feels connected, especially if the rest of the hair lands below the collarbone. A 1¼-inch round brush and a medium-heat blow-dry are usually enough to give the ends that soft bend people keep trying to describe and never quite do.
2. Deep Side-Part Sweep With a Long Fall
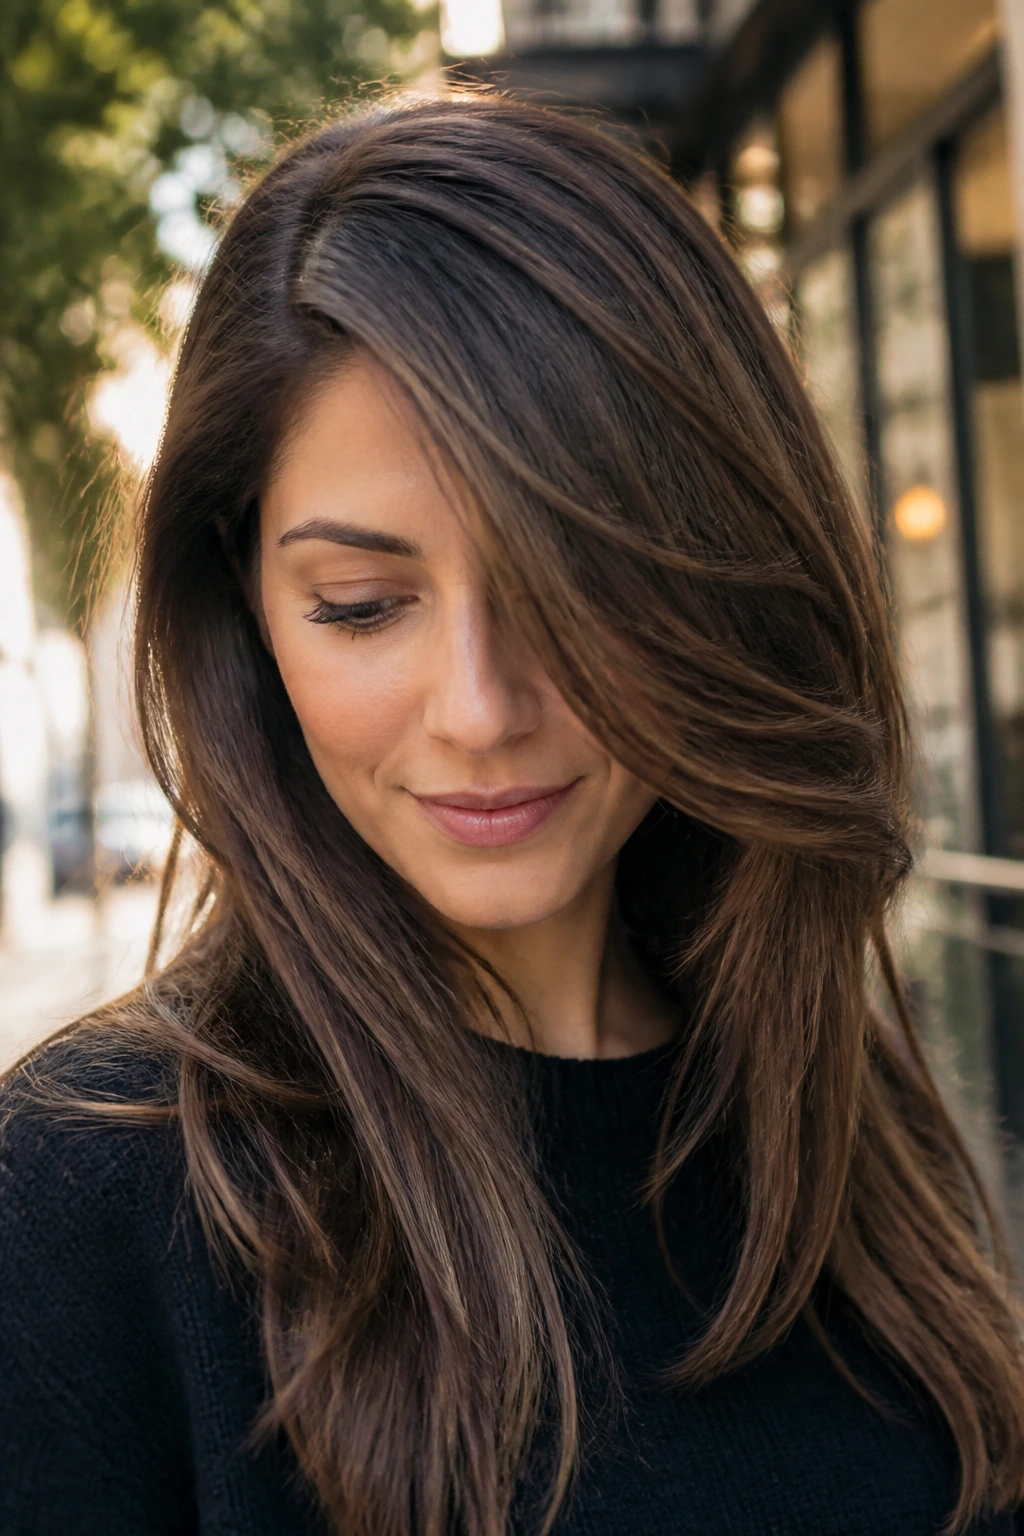
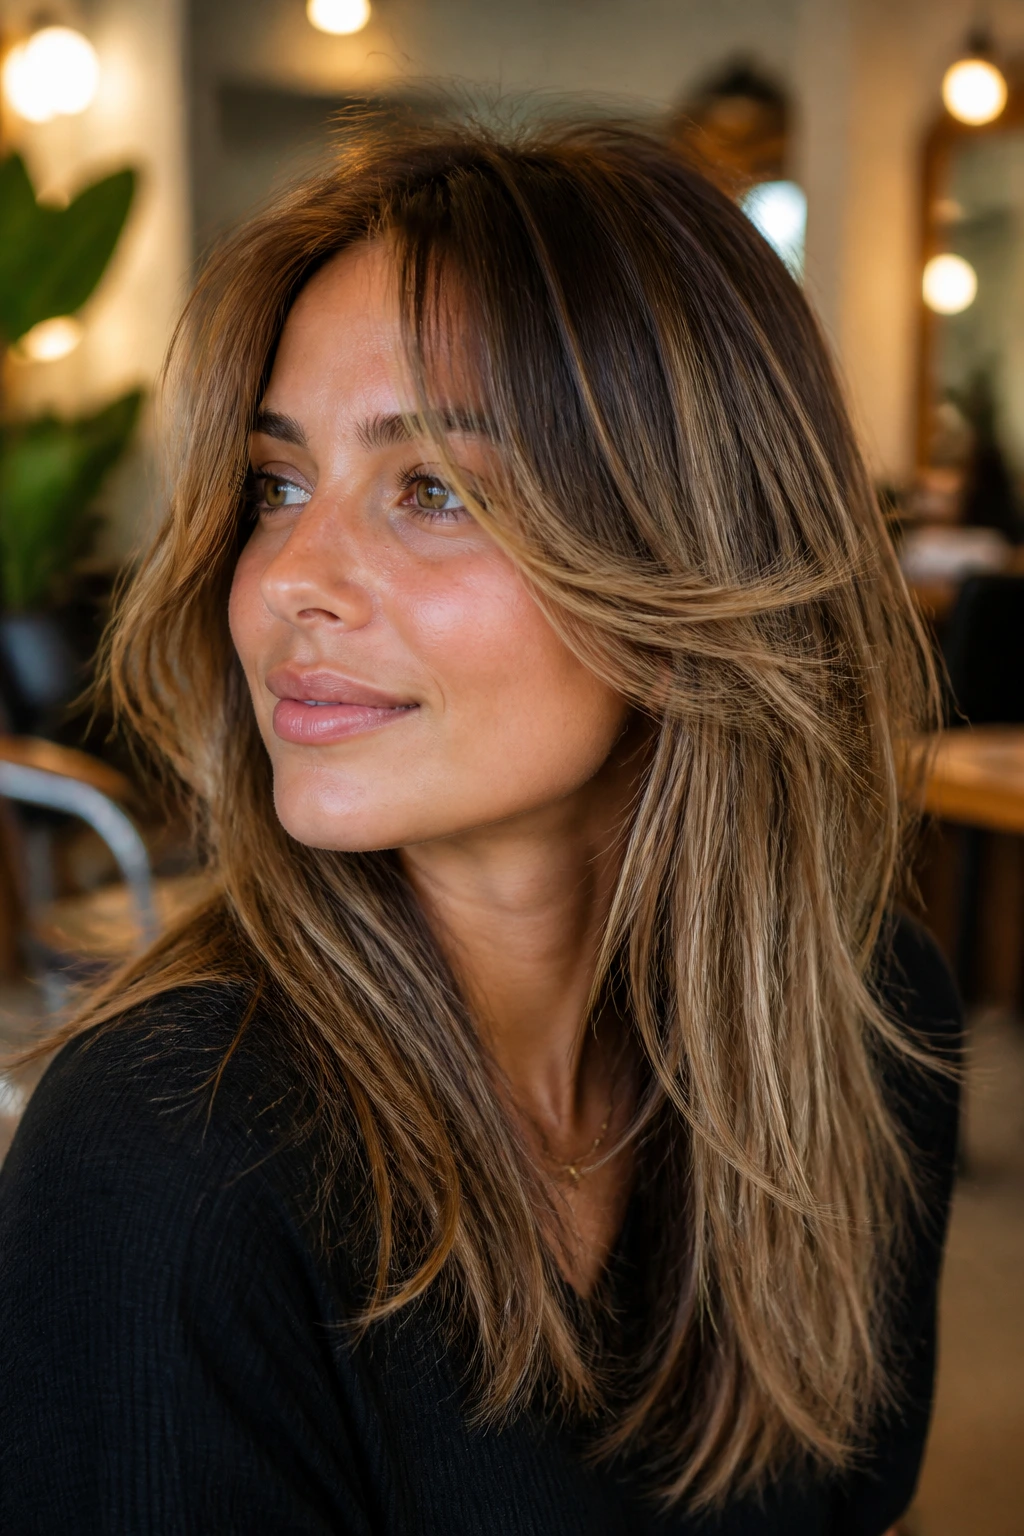
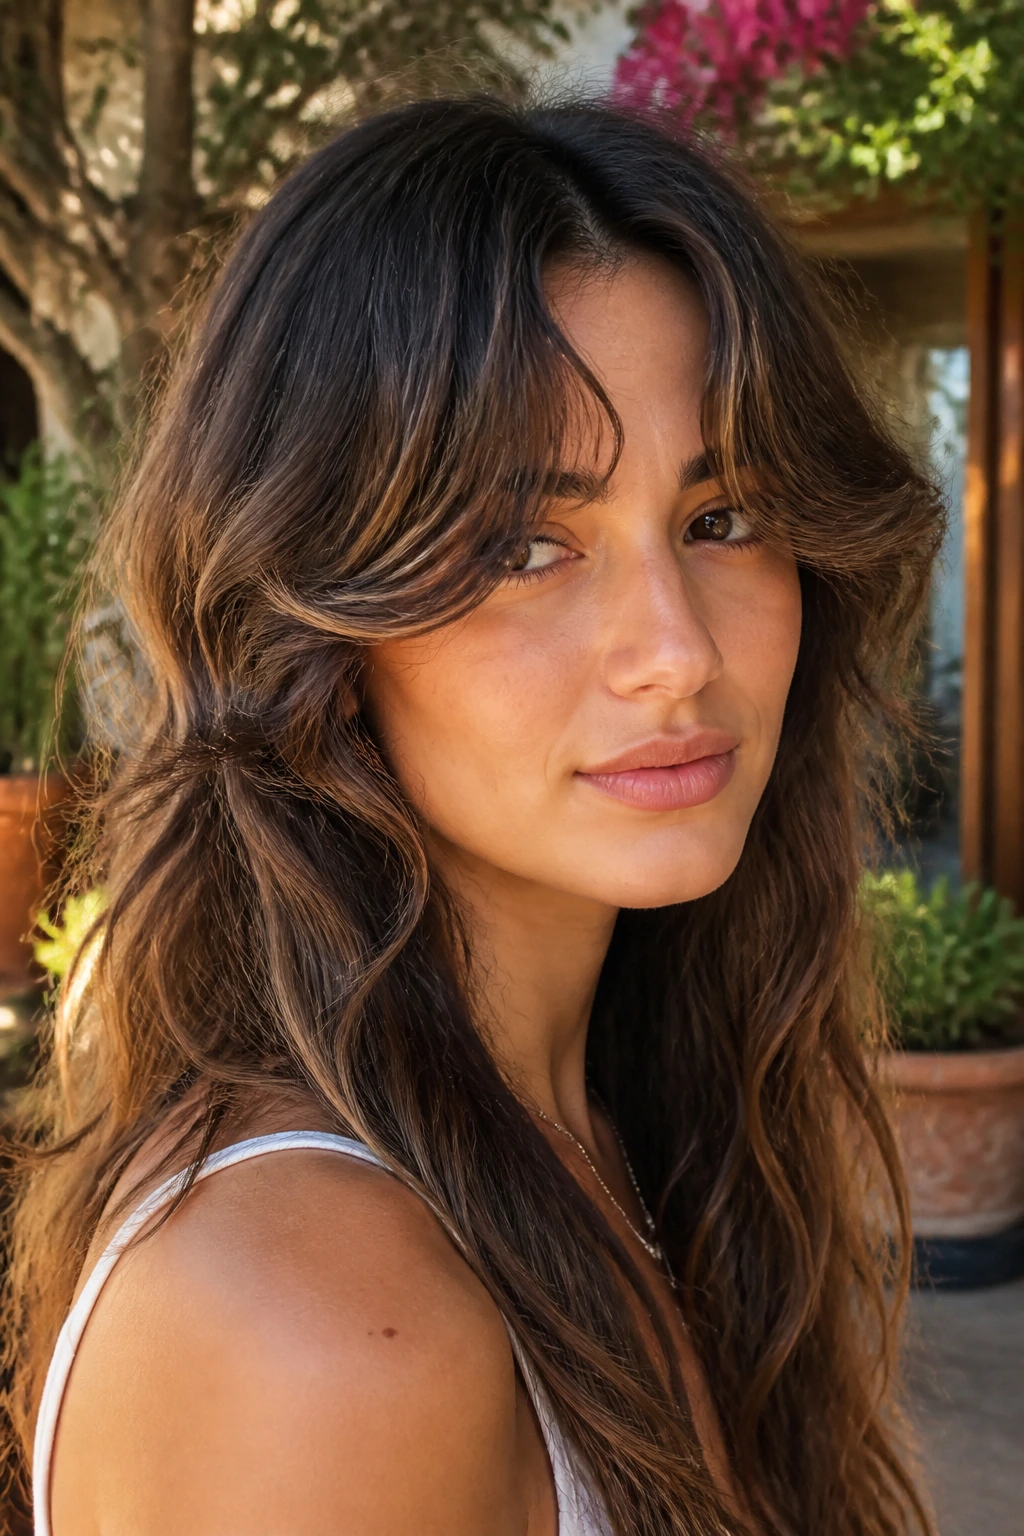
Push the part a finger-width or two off center and the whole fringe changes character. The bangs fall diagonally across the forehead, which gives the front a little more tension and a little less symmetry. It’s a good move for anyone who wants the softness of curtain bangs but prefers a side-swept finish.
The trick is not to overdo the sweep. If the front is shoved too hard to one side, it stops looking layered and starts looking like it’s hiding something. Let the shorter side skim the brow, keep the longer side near the cheekbone, and dry the roots in the direction you actually want them to live. Hair remembers heat direction more than people think.
3. Feathered Blowout Fringe
This is the salon blowout version that always seems to behave better than it should. The front is cut with soft internal texture, then blown away from the face with a round brush so the ends flick slightly outward. It looks expensive in the very plain sense of the word: polished, touchable, and clearly finished.
I like this look on medium-density hair because the feathering gives movement without stripping away all the body. If your hair collapses the second it cools, clip the front up for five minutes after drying so the shape sets with a bend instead of a dent. A cool shot at the end helps more than another blast of heat.
4. Cheekbone-Grazing Split Bangs
This one is cheekbone-first, forehead-second. The shortest pieces land right where the face begins to narrow, so the bangs do a little sculpting without shouting about it. If you’ve got defined cheekbones and want to show them off, this shape does the job quietly.
It also works well when you want the front to stay light around the eyes. The split should open naturally, not look carved. Use a lightweight mousse at the roots and keep the finishing product off the front third of the hair; too much cream or oil near the forehead will flatten the split and make the bend disappear.
5. Jawline-Softening Layer Blend
Not every fringe needs to stop at the cheeks. Sometimes the better move is to let the longest front pieces drift toward the jawline so the cut softens stronger angles there. This is a good option for square or angular faces, but honestly, it’s useful on any long haircut that needs a softer front edge.
The reason this version feels different is that it behaves more like a frame than a bang. The shortest area still opens the face, but the outer layers carry the eye downward. That downward line matters. It keeps the front from ballooning and gives the haircut a cleaner profile when you wear it behind one ear.
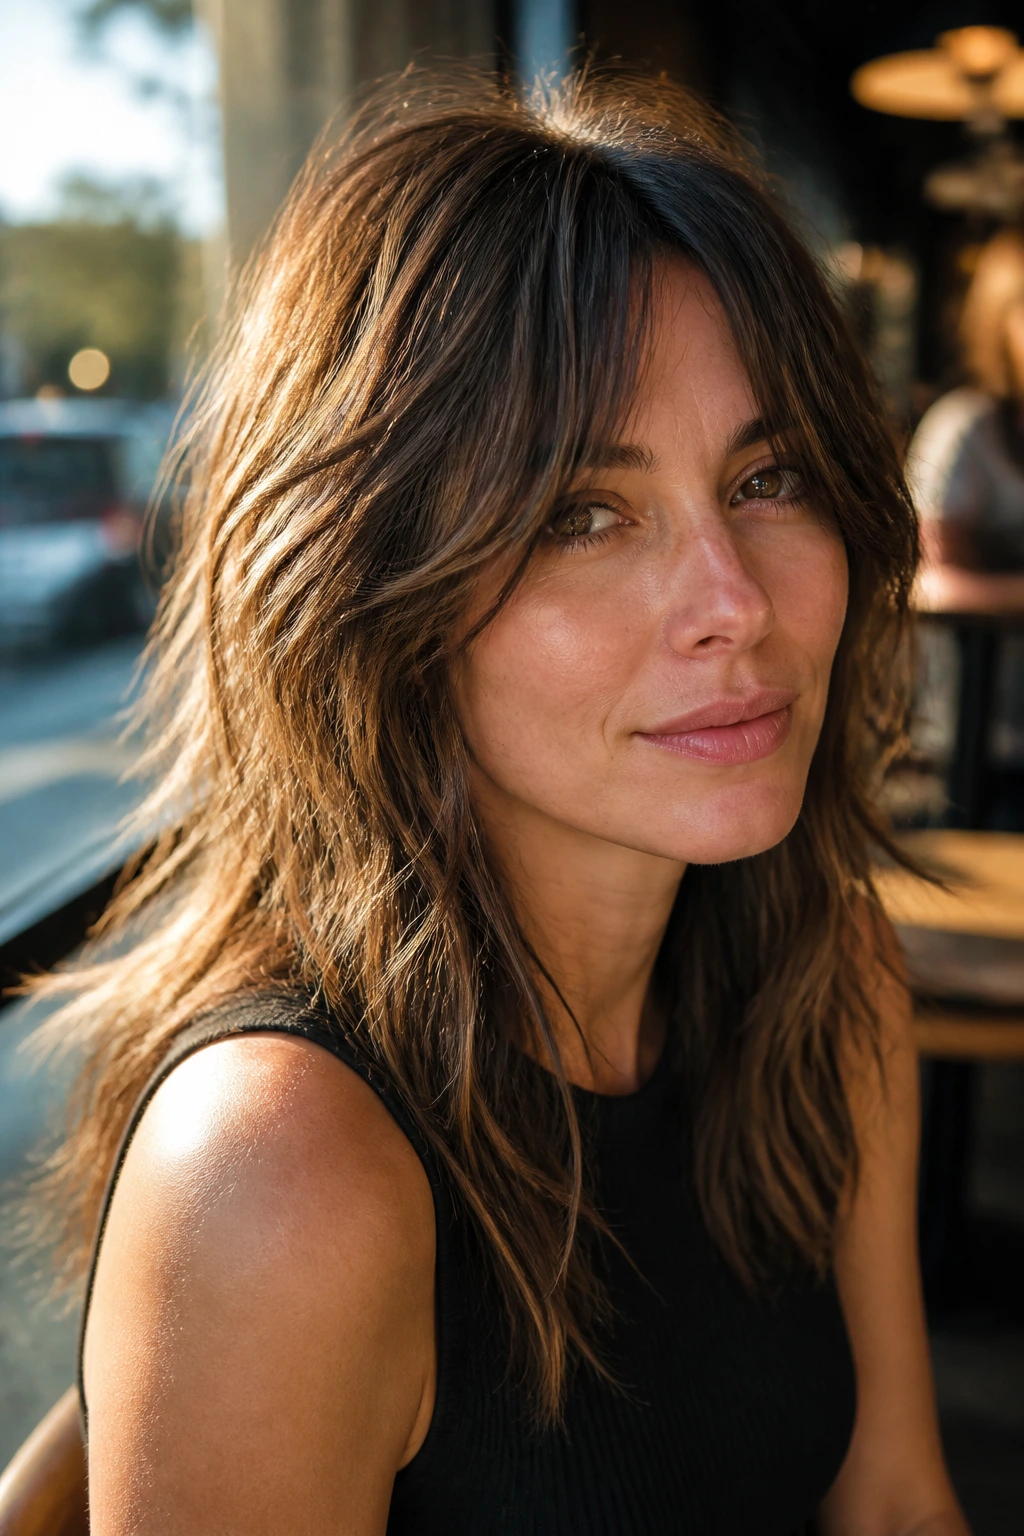
6. Air-Dried Wisp Layers
Some bangs need a brush. These do not. Air-dried wisp layers work best when the hair has a natural bend or wave and you want the front to look a little irregular in a good way. The pieces should dry with separation, not puff.
Scrunching in a small amount of curl cream or light styling milk helps the front settle into those soft bends without frizzing up at the temples. I’d avoid heavy gels here unless you want a much wetter, more defined look. The charm of this version is that it seems to fall into place on its own, even though it’s actually pretty carefully cut.
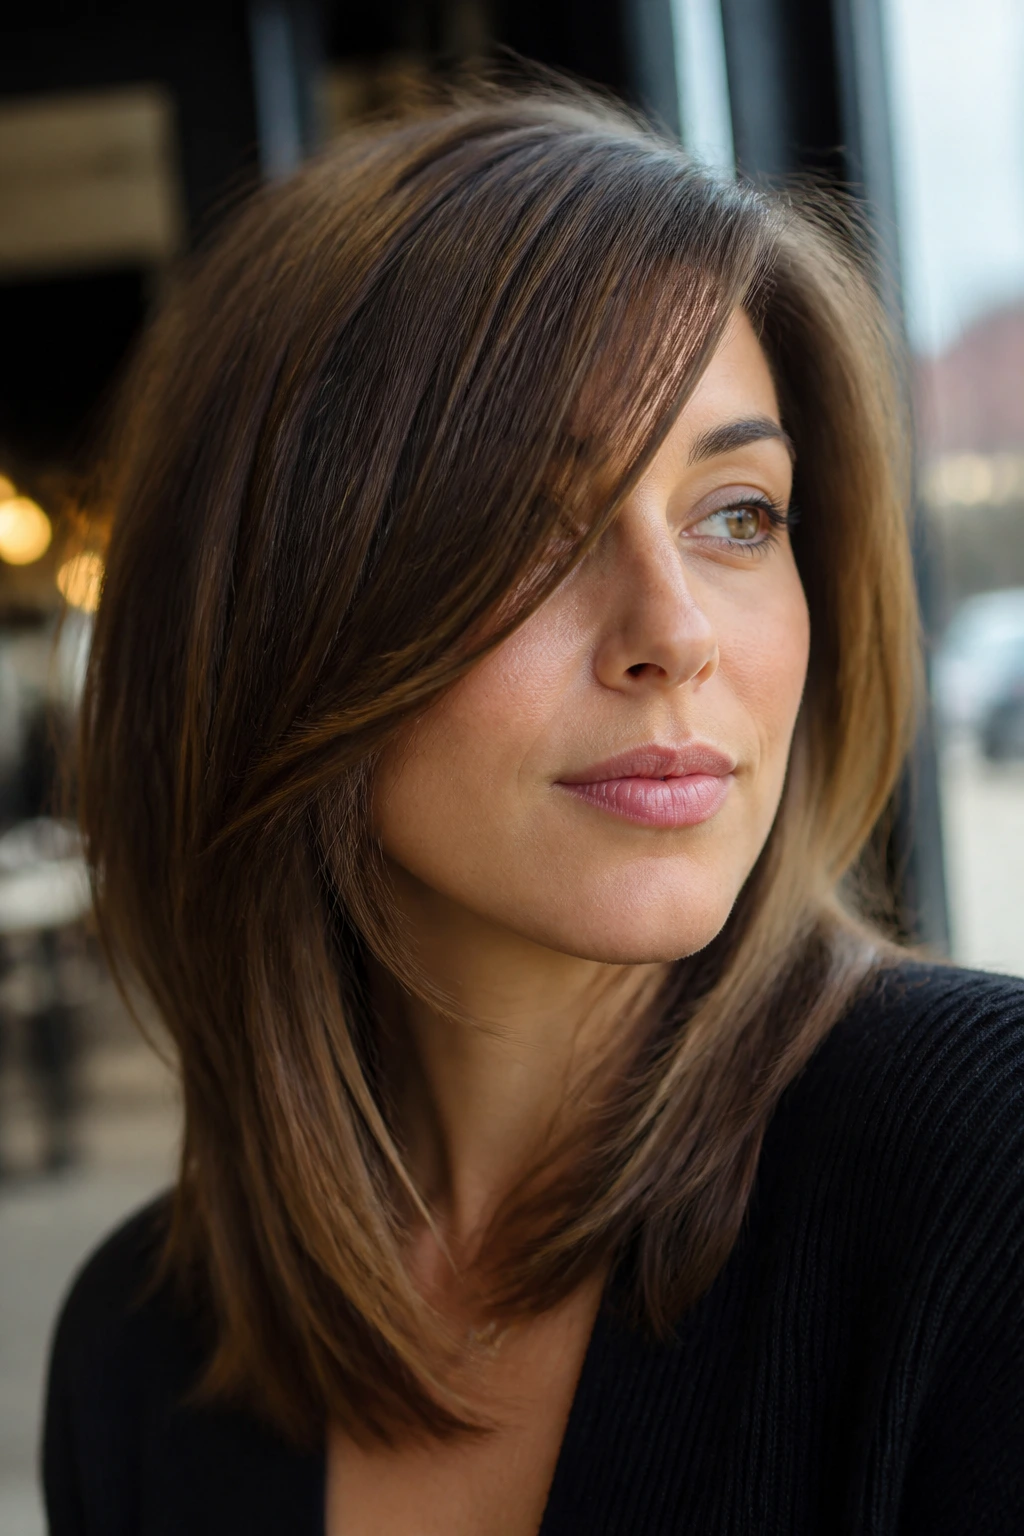
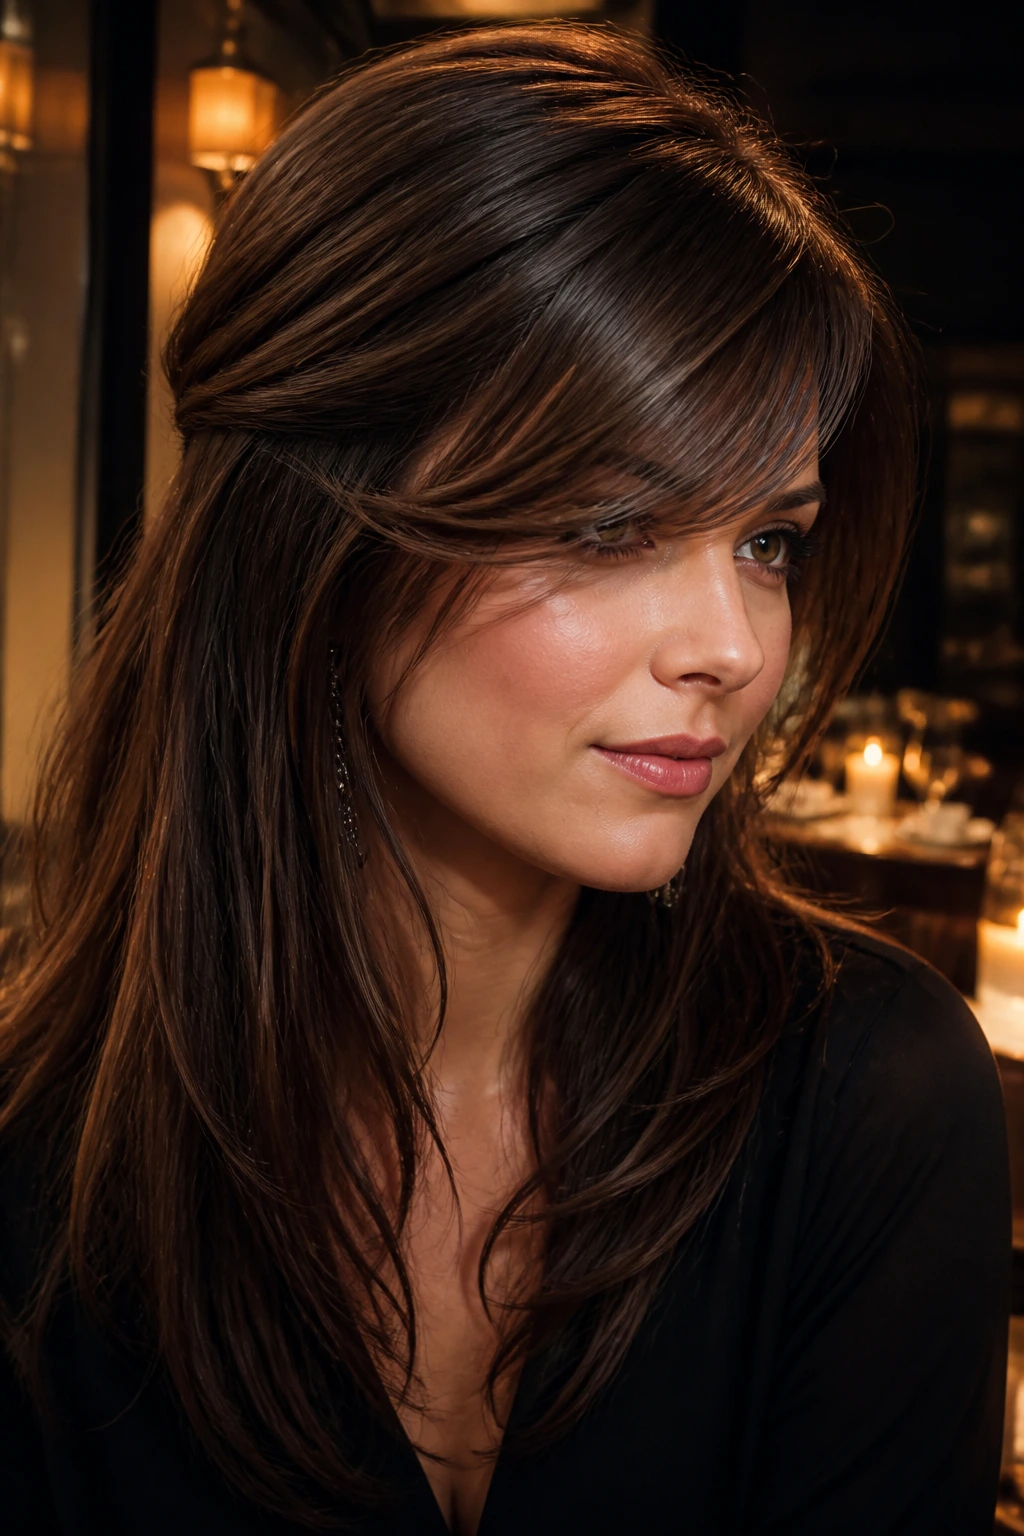
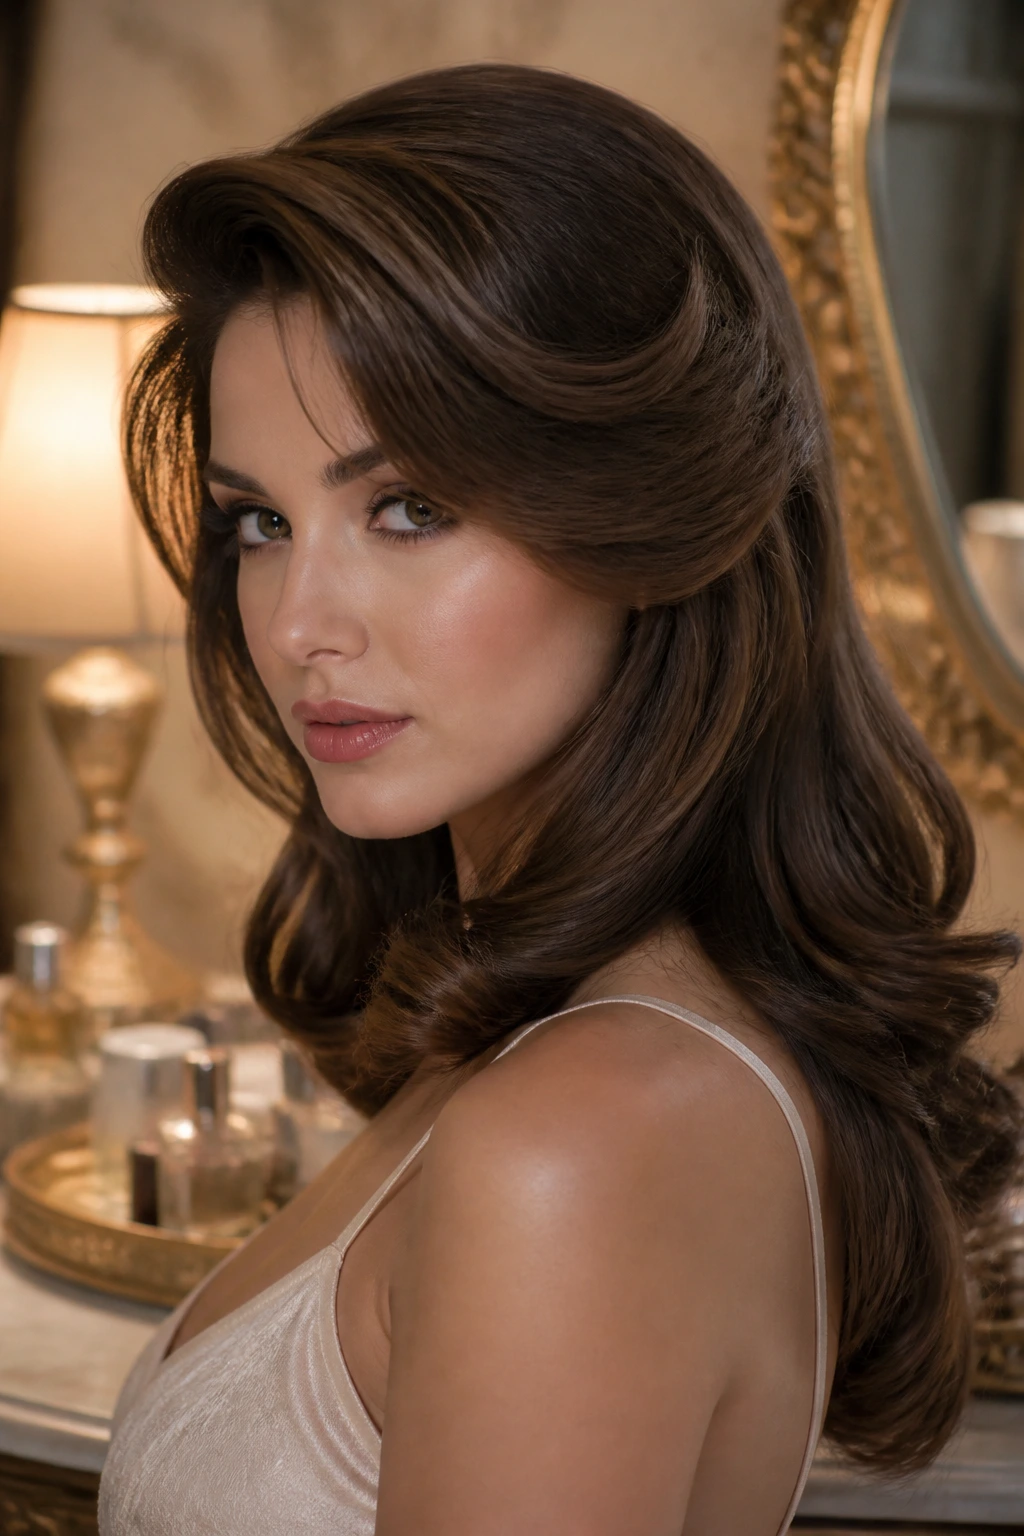
7. Old Hollywood Swoop
This is the dressy version. Big brush. Smooth roots. Curved ends. The fringe sweeps away from the face in one glossy line, then merges into long layers that sit like they’ve had their own private styling session. It’s dramatic, but not in a loud way.
Use a large round brush or even velcro rollers if your hair can hold them. The point is to bend the front back from the face, not just forward and down. This shape looks especially good when the ends of the haircut are beveled, because the whole front then carries that soft, expensive-looking wave from root to tip.
8. Thick Hair Sculpted Sweep
Thick hair can look heavy in the front if the bang is cut too bluntly. The smarter route is to keep enough density for structure, then remove bulk only where it helps the fringe fold and move. A good stylist will often point-cut the edges and blend the face frame so the front doesn’t become a shelf.
The best result is controlled, not skinny. You want the fringe to move away from the face without exploding outward. Dry the front in smaller sections and direct the airflow from root to end; thick hair fights back when it’s allowed to dry on its own in the wrong direction. It will win that argument.
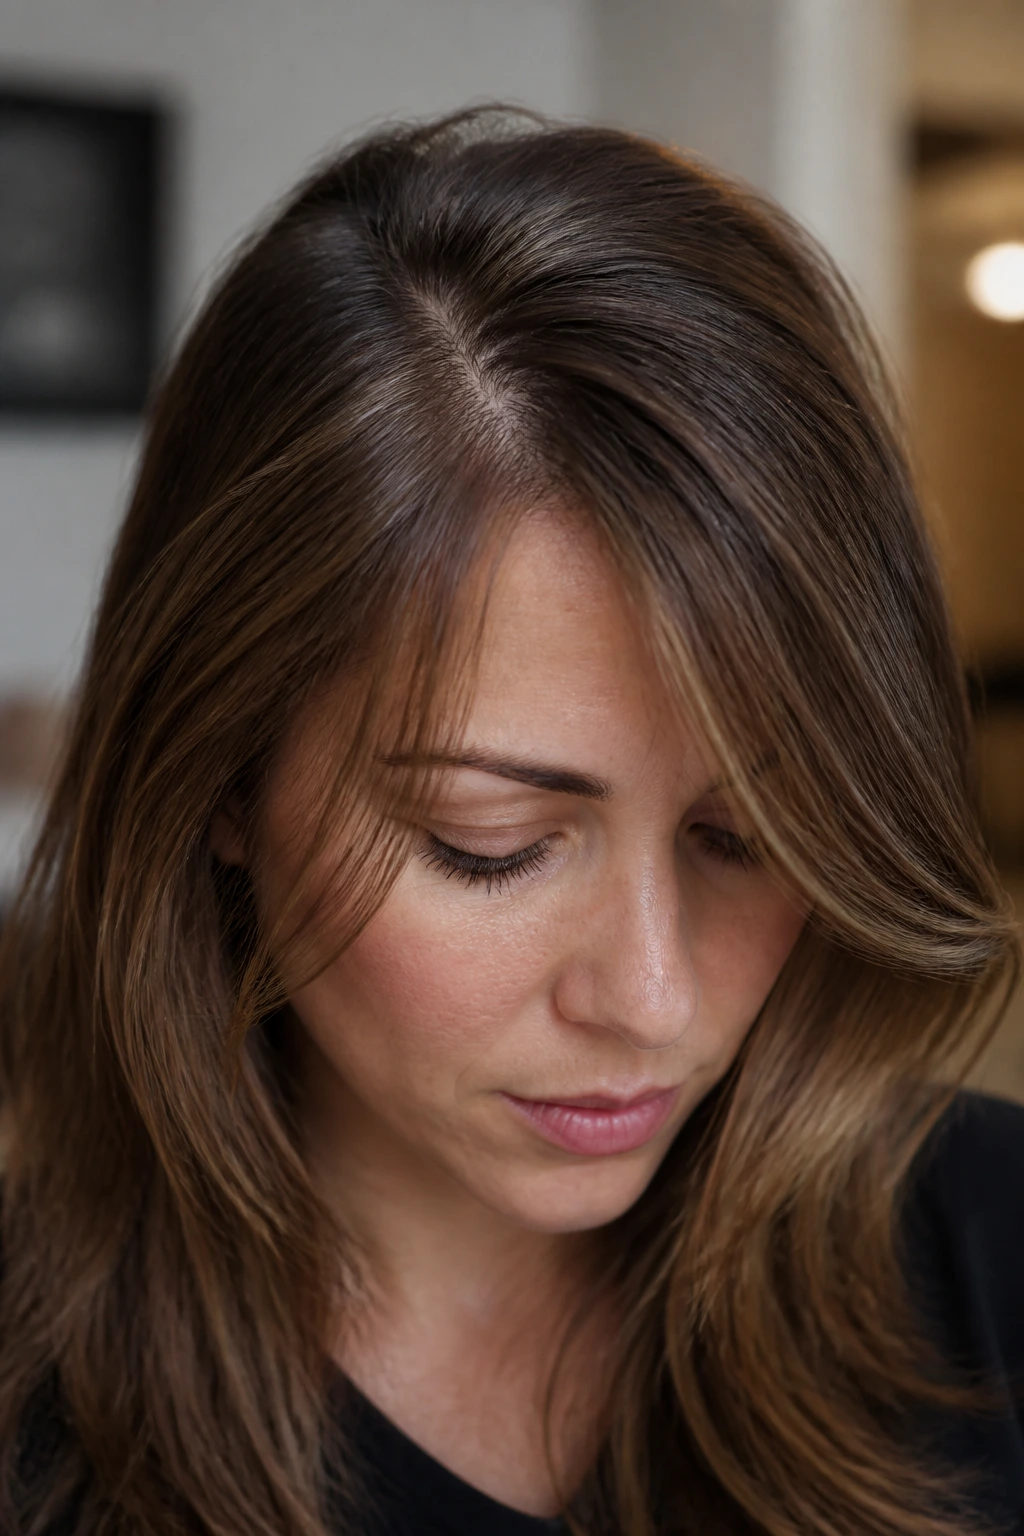
9. Fine Hair Root-Lift Fringe
Fine hair needs a different game. If the front is thinned too hard, the fringe disappears. Keep the shape fuller through the center and use root lift at the scalp so the bang has enough body to sit away from the forehead instead of lying flat like paper.
A tiny amount of volumizing mousse at the roots, followed by a round-brush lift and a cool finish, does more here than a heavy styling cream ever will. The goal is not more product. It’s better placement. Fine hair usually looks better with clean lines and a little density than with a lot of texture removal.
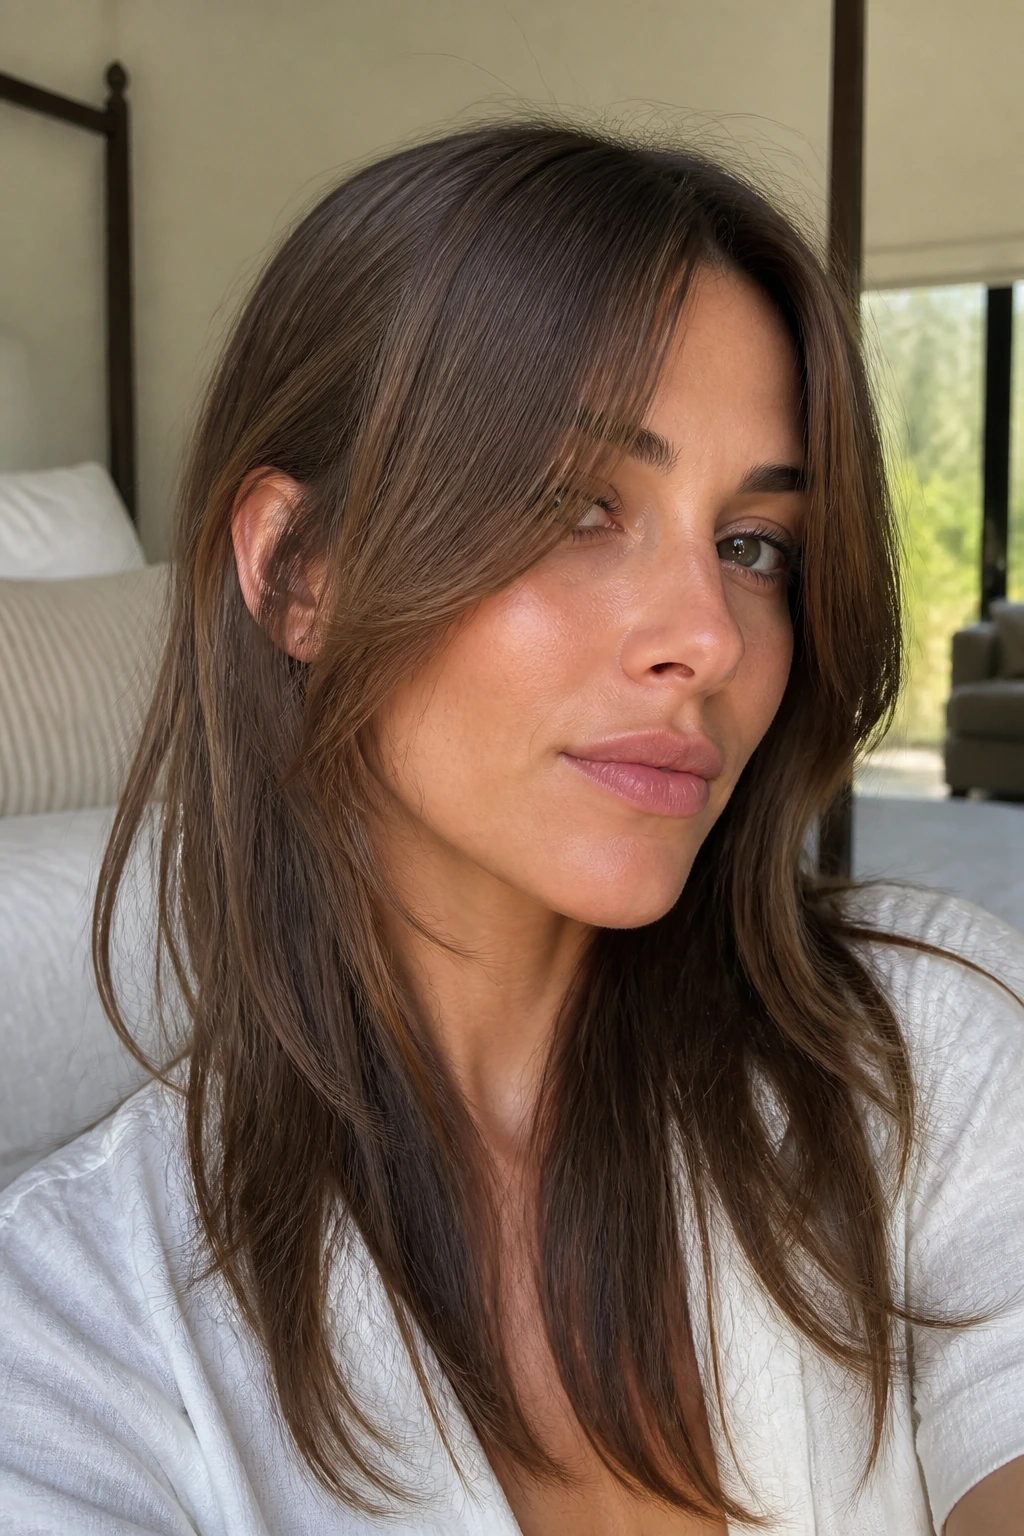
10. Wavy Hair Ribbon Bangs
Wavy hair gives this cut a ribbon-like bend that straight hair has to fake. The front pieces curve around the face in soft S-shapes, and the long layers behind them keep the whole look relaxed. It’s one of my favorite versions because it seems to understand the hair instead of fighting it.
The important part is length. Wavy fringe should be cut long enough to account for shrinkage, then shaped so the shortest area still opens at the center or slightly off-center. If the cut is too short, the wave flips up and the bang can sit weirdly above the rest of the layers. Let it be a little longer than you think at first.
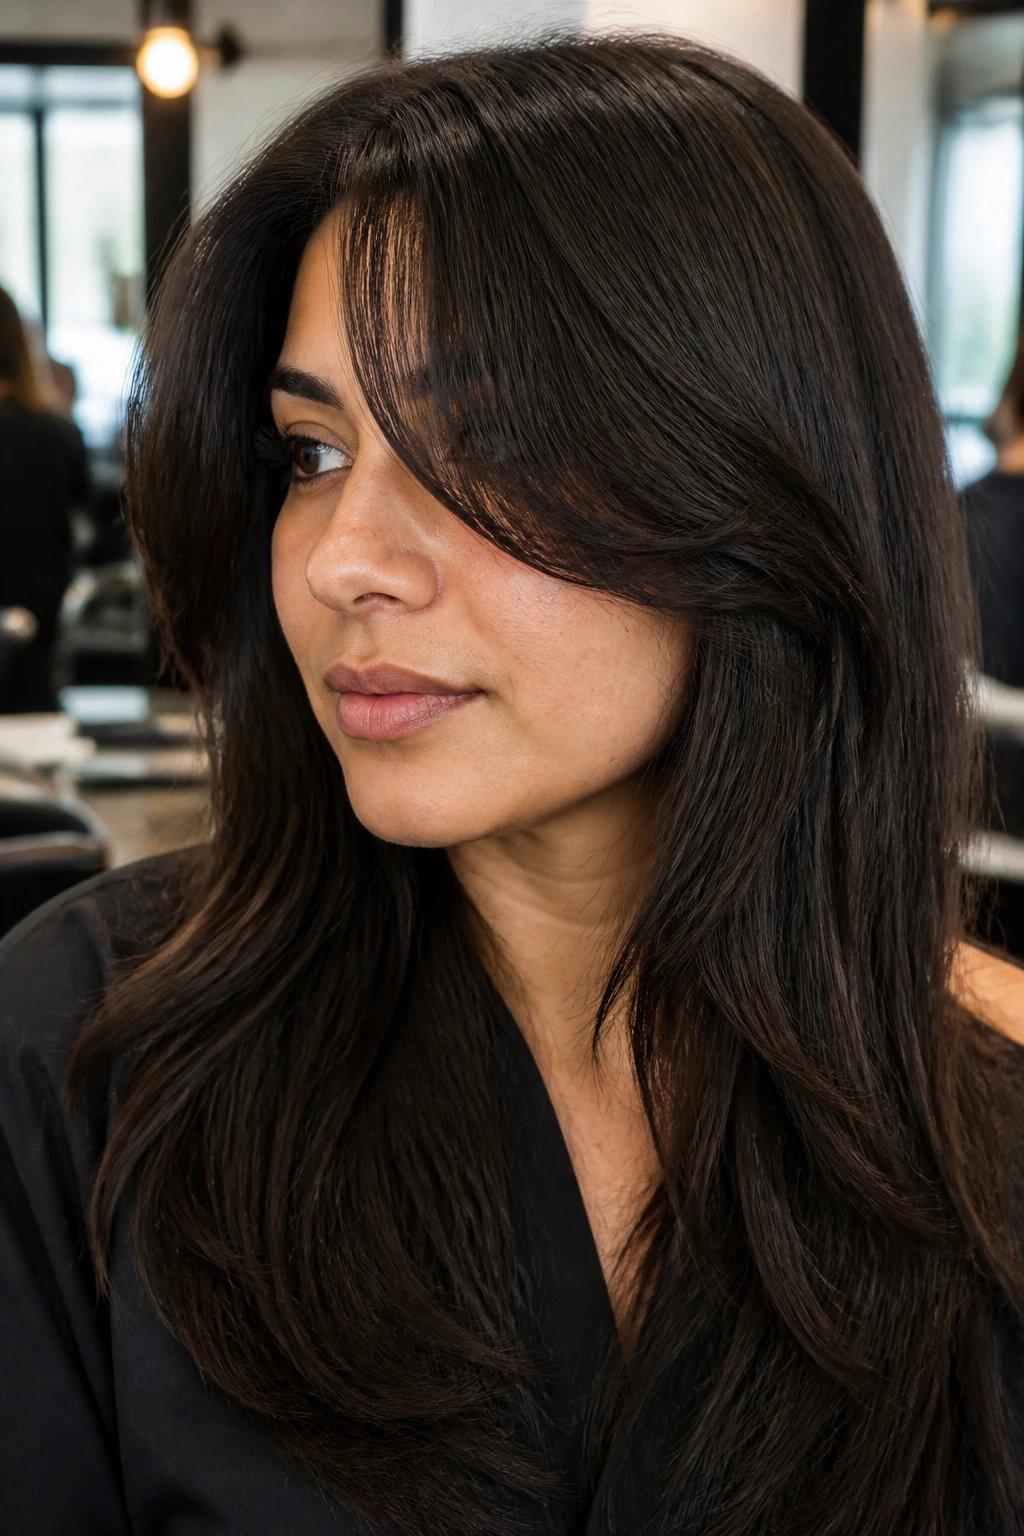
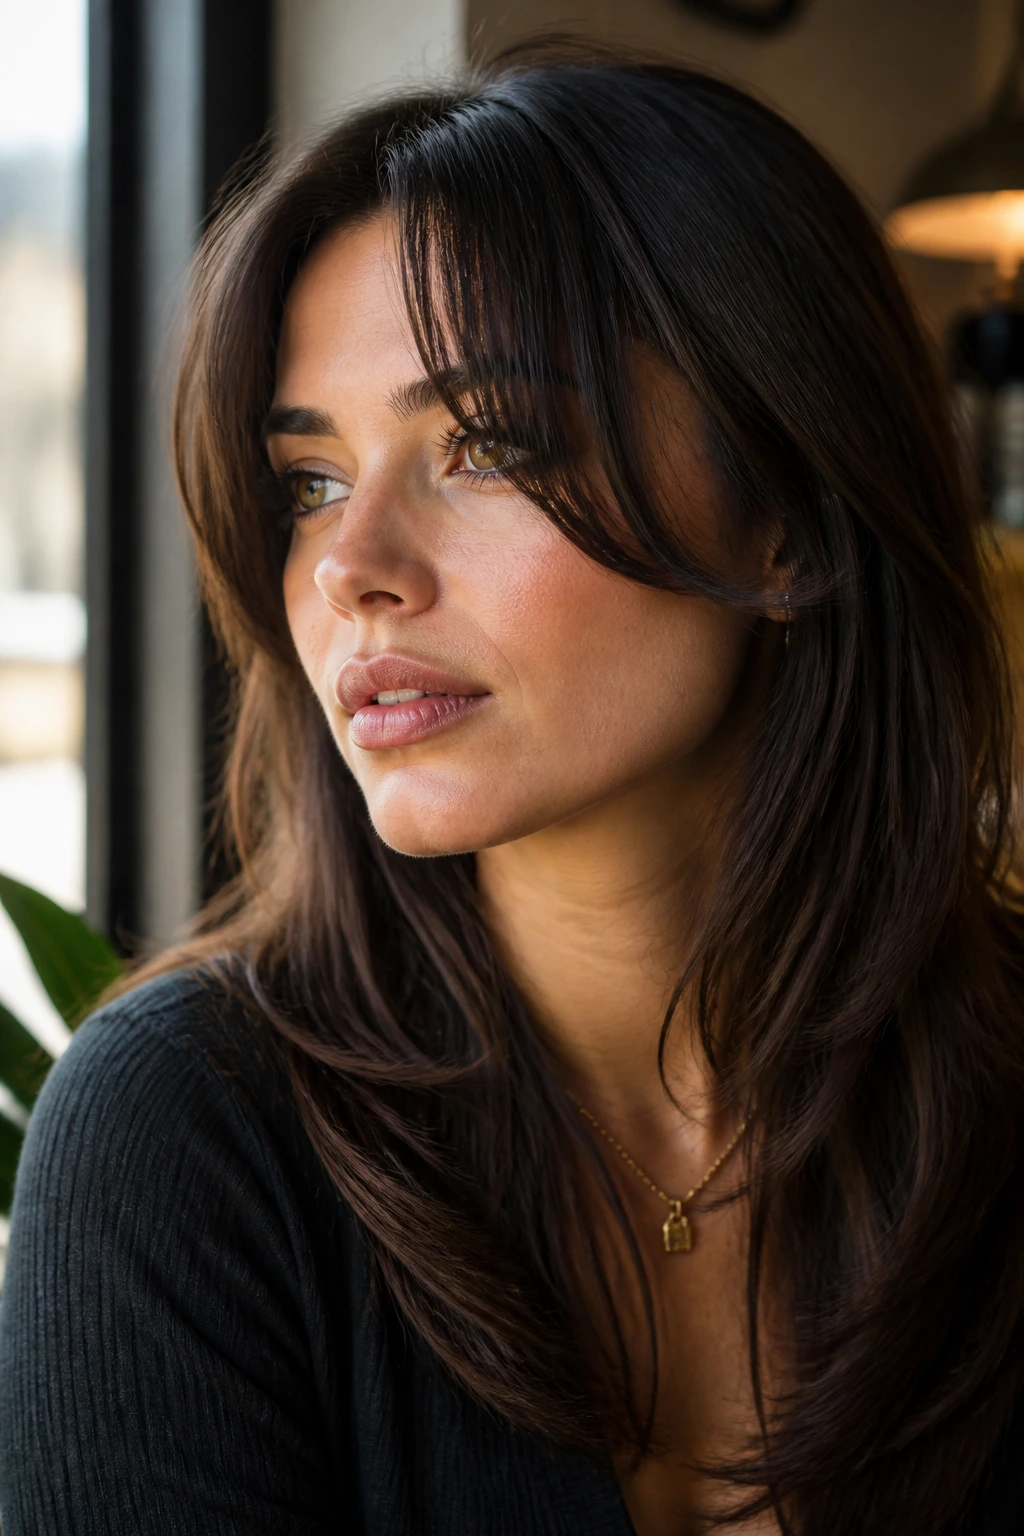
11. Glassy Straight-Hair Parted Fringe
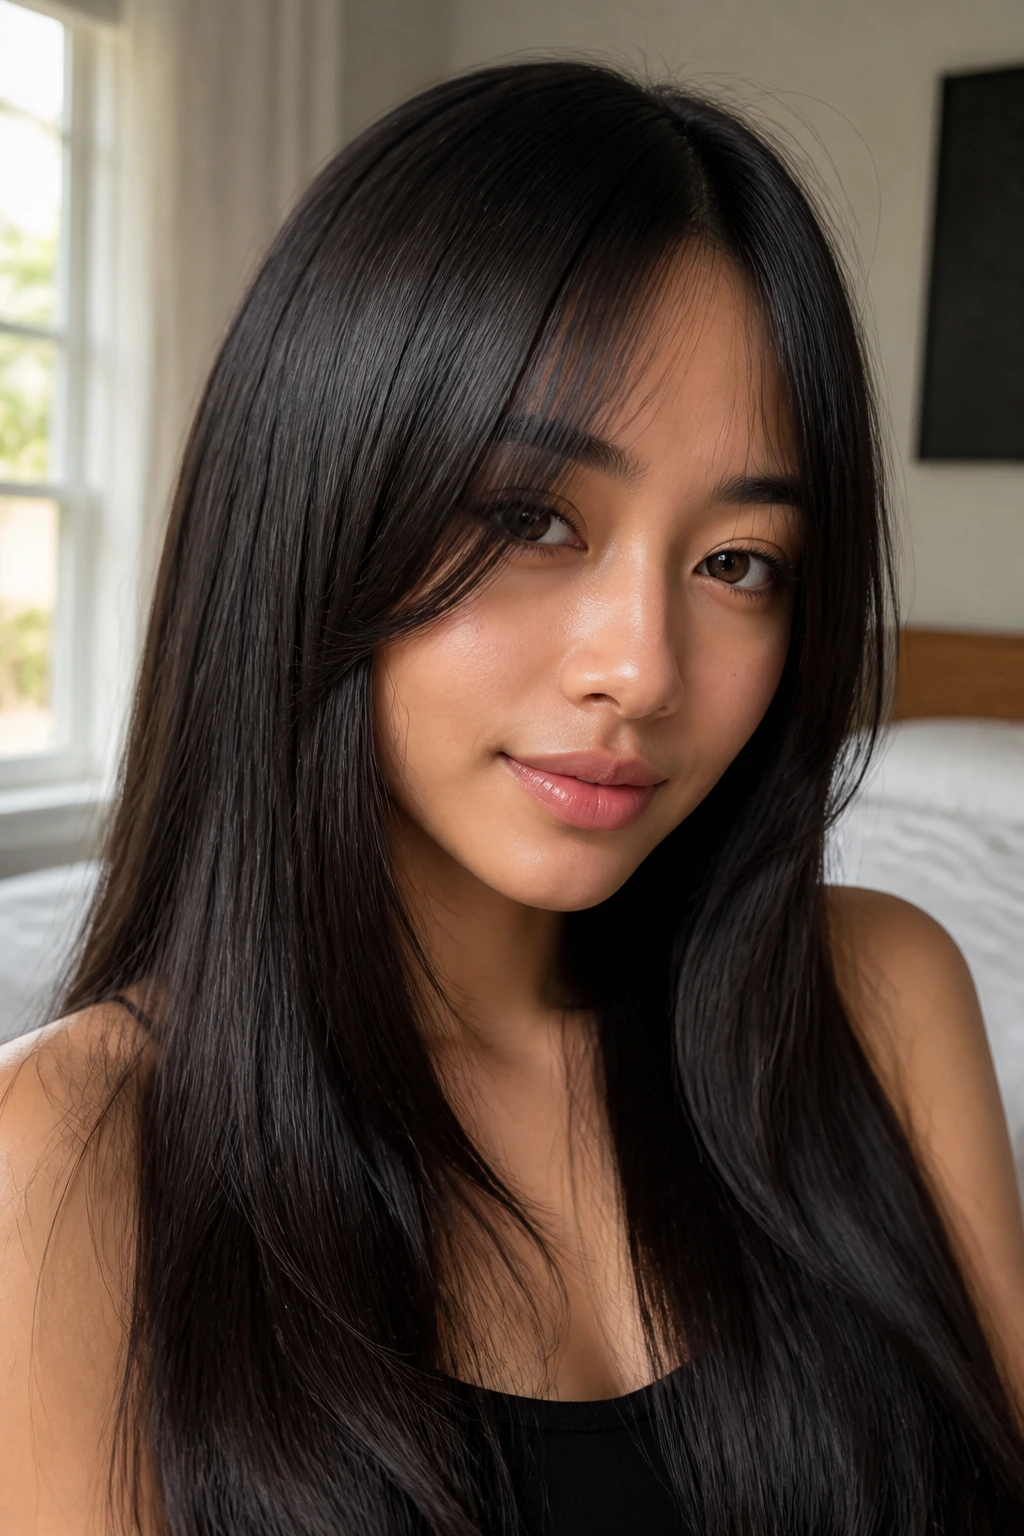
Straight hair changes the whole equation. There’s no wave to soften the front, so the cut itself has to do more of the work. A glassy parted fringe relies on crisp layering and a clean finish, with the front tucked just enough to create movement without losing that smooth line.
Flat iron only if you need it, and use a heat protectant that doesn’t leave the ends greasy. The best straight version keeps the separation subtle at the part and the bend subtle at the cheekbone. If the hair is too pin-straight and too perfect, it can feel severe; a tiny bevel at the ends fixes that quickly.
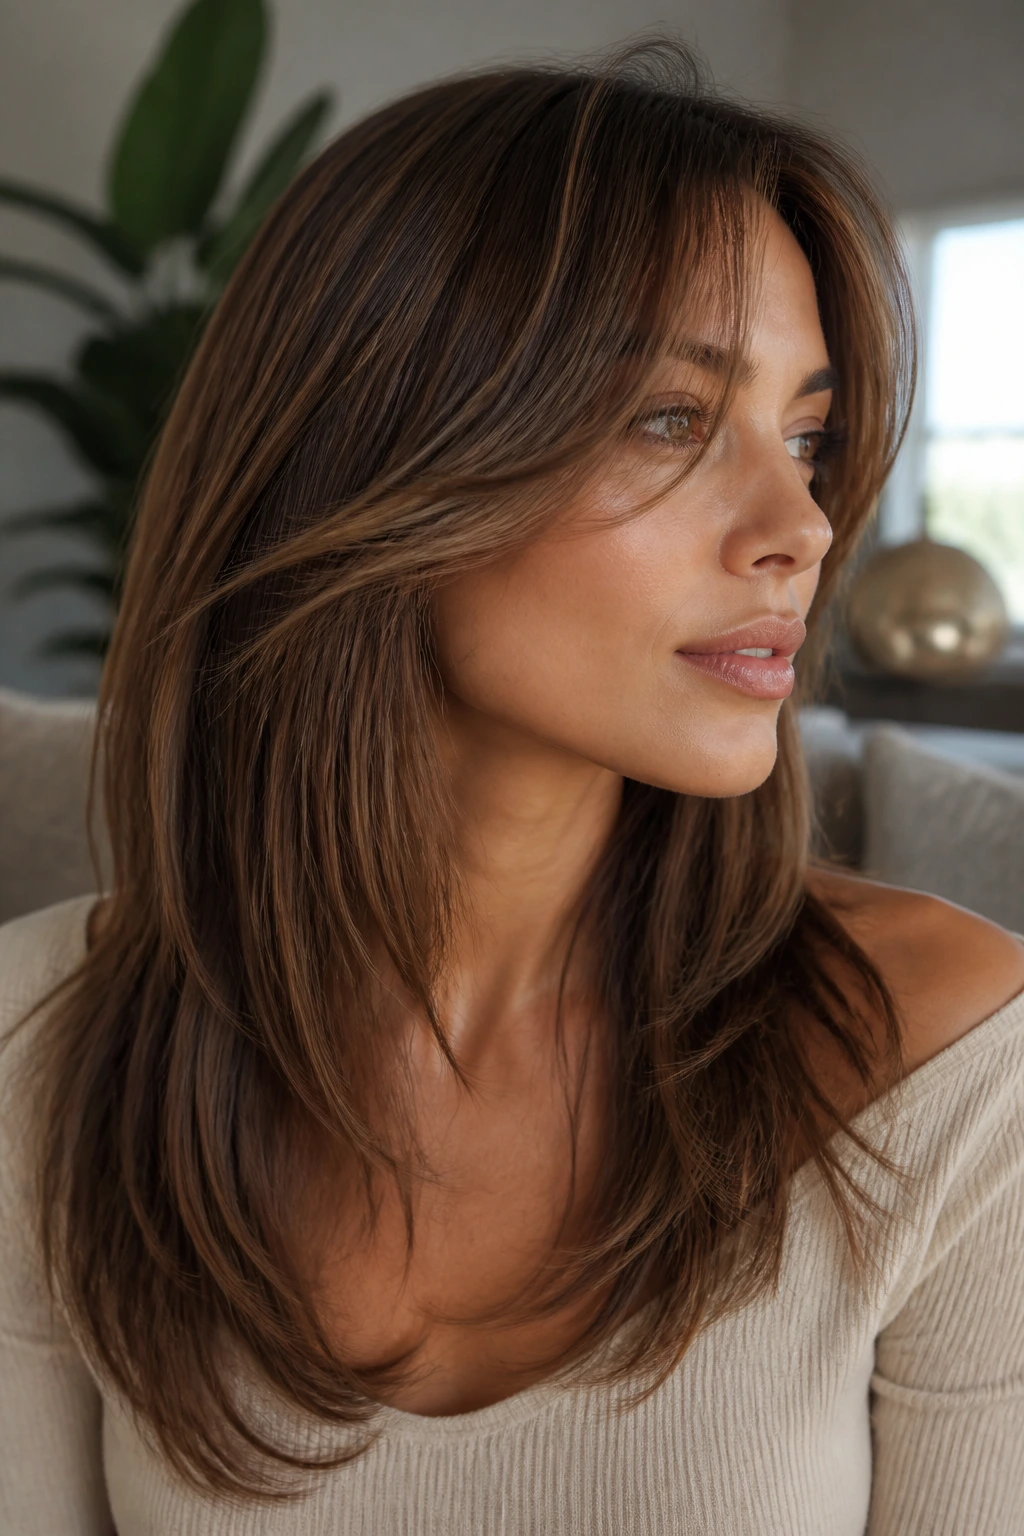
12. Round Face Lengthening Sweep
Round faces usually benefit from diagonal movement and a little extra length near the cheeks. That’s why this version works so well. The front pieces should start higher at the center, then angle down past the cheekbone so the eye keeps moving vertically instead of stopping at the widest point.
I’d skip a super-short center length here. Give yourself room to sweep. The effect is more about line than thickness, and the bang should feel like a soft slash across the face rather than a horizontal bar. A side part can help too, especially if the roots need a little lift at the crown.
13. Square Face Soft Angle Fringe

Square faces look great with a fringe that breaks up the jaw and softens the forehead line. The better version here has rounded edges and a bit of movement at the temples, not sharp ends that echo the jaw too closely. You want contrast, not repetition.
A soft angle fringe should feel feathered, almost brushed out, with the outer layers landing near the cheekbone or slightly below. If the cut sits too squarely, it can make the lower face look even more structured. Let the sides curve. That curve is doing more work than people realize.
14. Heart Face Balanced Curtain
Heart-shaped faces often carry more width through the forehead, so the front fringe needs to add balance without crowding the eyes. This version does that by keeping enough fullness at the temples and enough length near the cheeks to draw attention downward.
A slightly off-center part can help if the forehead feels broad. The longest pieces should skim toward the jawline, not stop in the middle of the cheek. That gives the lower half of the face more presence, which keeps the front from looking top-heavy. It’s subtle. That’s the point.
15. Oval Face Easygoing Fringe
Oval faces can handle a lot, which is both a blessing and a trap. You can wear the fringe center, side-swept, feathered, brushed out, or loose, but the best choice still depends on your hair density and how much styling you want to do every morning.
If your face shape is naturally balanced, use the fringe to change the mood of the haircut rather than to fix anything. Longer side pieces give softness. A shorter center opening gives more eye focus. If you’re undecided, start with a cut that can be worn several ways, because oval faces rarely need the most dramatic answer.
16. Cowlick-Friendly Off-Center Start
Cowlicks are where good intentions go to die if you ignore them. An off-center part that starts just beside the cowlick usually sits better than forcing a pure center split that keeps drifting back on its own. The fringe can still read as curtain bangs; it just obeys the scalp a little more.
The real trick is the dry. Blow the front in the opposite direction of the cowlick first, then bring it back where you want it to live. That little reset matters. If the hair is allowed to dry in the cowlick’s favorite position, you’ll spend the rest of the day arguing with it.
17. Grown-Out Fringe That Still Looks Intentional
This is the fringe for people who want bangs without a standing appointment every month. The front is kept long enough to tuck behind the ear, blend into layers, and fall back into place after a rough hair day. It doesn’t look like you’ve abandoned the cut; it looks like the cut is maturing gracefully.
The length usually lands somewhere between cheekbone and lip level. That gives the hair enough weight to move. It also makes the part more forgiving, because the fringe can shift side to side without exposing a jagged line across the forehead. Honestly, this is one of the smartest ways to wear long layers if you’re tired of maintenance.
18. Glam Blowout With Bouncy Ends
Big, smooth, and a little glossy — that’s the whole point here. The front pieces are blown out with volume at the root and a soft curve at the ends, then the long layers follow that same motion through the rest of the haircut. It’s the kind of fringe that makes the length underneath look even longer.
Use a round brush with enough barrel to shape the front without making it tight. A Velcro roller at the bangs for ten minutes can help lock in that bend while you finish the rest of your routine. If the ends want to flip in odd directions, a quick pass with a large-barrel iron can smooth them out.
19. Shag-Adjacent Texture
This version lives close to the shag without going full shag. The front has choppier layering, the part is a little looser, and the ends are piecey enough to look lived-in rather than sculpted. It’s good for hair that likes movement more than polish.
The risk with shag-adjacent fringe is over-texturizing the front until it gets skinny and uneven. Keep some weight through the middle so the face frame still reads. A light texturizing spray on dry hair can add grit, but if you start with too much thinning at the cut stage, there’s no product that will put that bulk back.
20. Evening Sweep With a Hidden Pin
Here’s a useful trick for days when you want the side-swept part to behave through dinner, heat, and movement. Sweep the heavier side across the forehead, then hide a small pin under a top layer near the temple. It keeps the shape in place without making the fix obvious.
This works best when the fringe is already long enough to cooperate. If the shortest pieces are too short, they’ll keep springing out from under the pin. Aim for a length that can be brushed across the brow and tucked lightly. The result is tidy but not stiff, which is a much better combination for long layered hair than a shellacked front.
21. Ponytail Frame With Loose Front Pieces

A ponytail can make good bangs look better if the front pieces are left out on purpose. The sweep around the face softens the lift of the ponytail and keeps the style from looking too severe at the temples. That little bit of hair around the forehead changes the whole profile.
The best part is that the fringe doesn’t need to be perfectly shaped. A slight bend or soft curve is enough. If the ponytail is high, keep the front pieces a touch longer so they don’t stick out awkwardly. If the ponytail is low, the bang can sit closer to the brow and still feel balanced.
22. Half-Up Soft Frame

Half-up styles and this fringe get along because the bangs keep the front from disappearing. Pulling the top section back opens the face, but the curtain layers still frame the cheeks and forehead. That means you get the cleanness of an up style without losing the softness.
I prefer this when the front layers are a little longer, because they can blend into the half-up section instead of fighting it. A tiny amount of cream on the mid-lengths keeps flyaways in check, but don’t coat the roots. The fringe should stay airy. Heavy product near the front will make the whole style slump faster than you expect.
23. Braided Crown With Floating Bangs
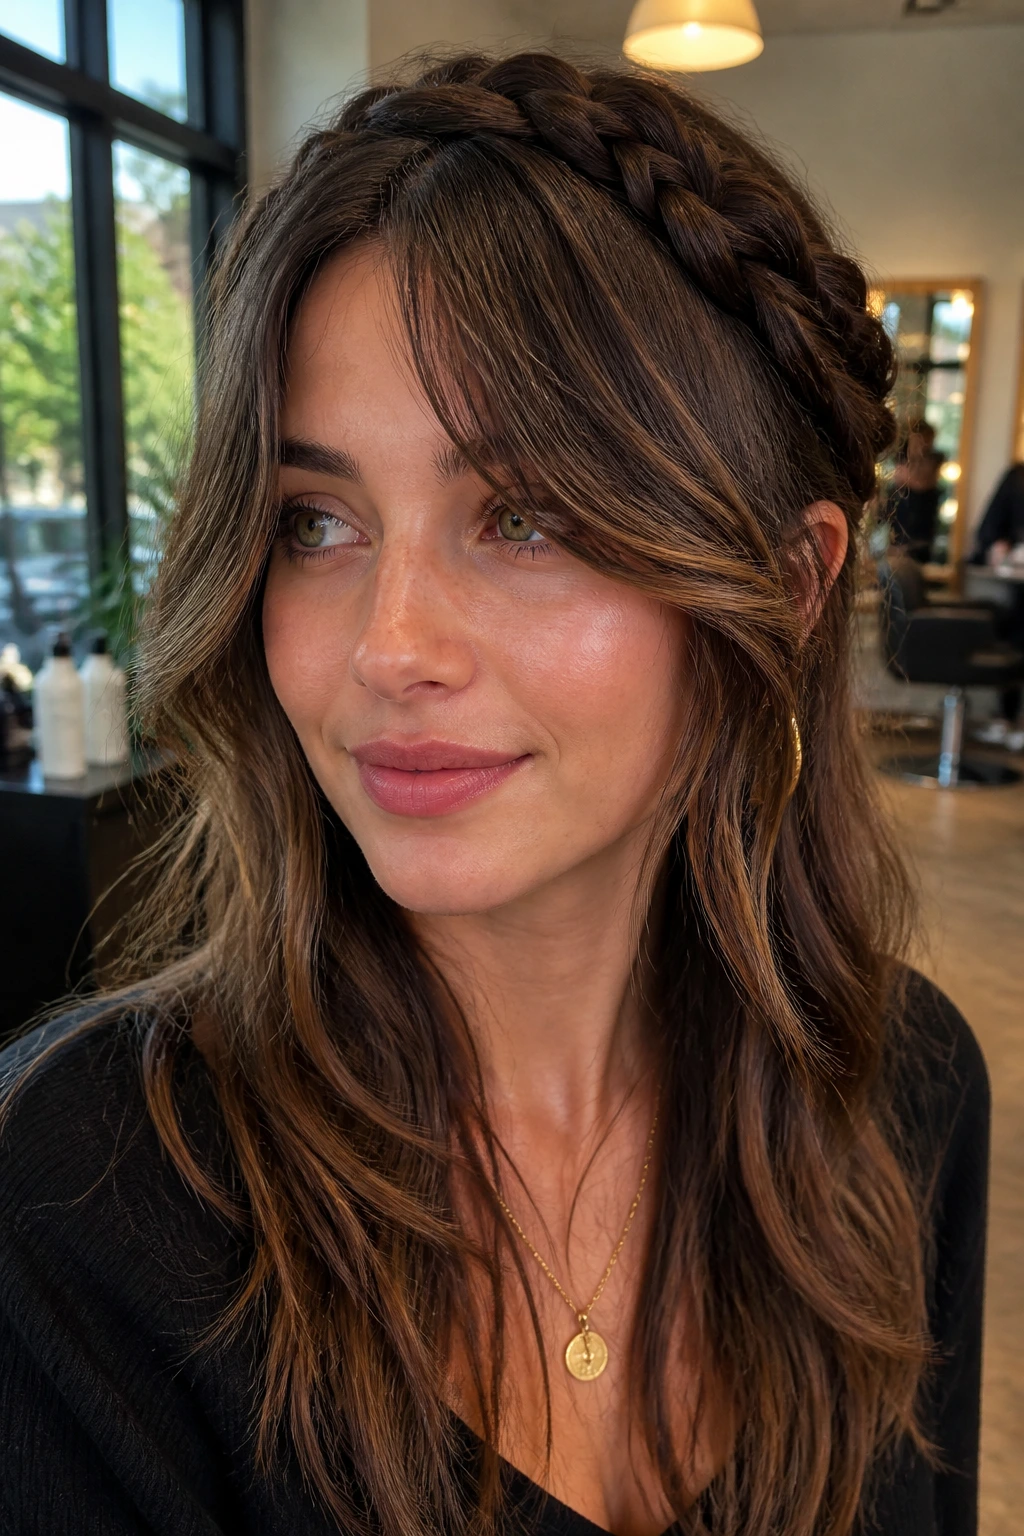
Braids and curtain fringe are a good match because the braid handles the structure while the bangs handle the softness. Leave the front pieces out, or take a slightly longer side section into the braid and let the rest fall free around the face. Either way, the fringe keeps the style from looking too tight.
This works best on hair that isn’t freshly cut blunt. The long, layered pieces need enough length to drape naturally against the braid. If you want a cleaner finish, tuck the shortest pieces behind the ears and let the longer bangs frame the jaw. That gives the braid a little more space to show.
24. Color-Accentuating Face Frame
Highlights can change how these bangs read. A lighter ribbon through the front pieces — even just around the cheekbone and ends — makes the sweep more visible and the movement easier to see. On darker hair, the contrast can be dramatic; on lighter hair, it gives the front more shape.
I like this especially when the bang blends into long layers, because the color tells the eye where the cut changes direction. The point is not to streak the front badly and call it dimension. Keep the lightness concentrated where the layers bend around the face, and the whole style looks more deliberate.
25. Razor-Feathered Lightness
A razor can make the front feel airy fast, but it’s not a free pass. On hair that tolerates it, a razor-softened edge gives the bangs a light, separated finish that moves well when the hair is dry. The result can look beautifully soft.
The caveat is texture. If your hair frizzes easily or splits when overworked, a razor can leave the ends fuzzy instead of feathered. Use this option only when the hair is healthy enough to hold the shape, and keep the cut controlled around the face so it doesn’t turn into a frayed edge two weeks later.
26. Dense Hair Thinned With Control
Dense hair can handle more texturizing, but only if the weight is removed with a plan. The front should still have enough bulk to frame the face; what you’re cutting away is the bulk that makes the fringe sit in one heavy sheet. Controlled thinning gives the bang movement without turning it wispy.
This is one place where less can be more, strangely enough. If the stylist removes too much near the center, the bang splits and exposes the scalp. Ask for internal weight removal rather than aggressive thinning at the ends. That keeps the front smooth when worn down and prevents the layers from exploding when you flip them to one side.
27. Curly and Coily Stretch-Sweep
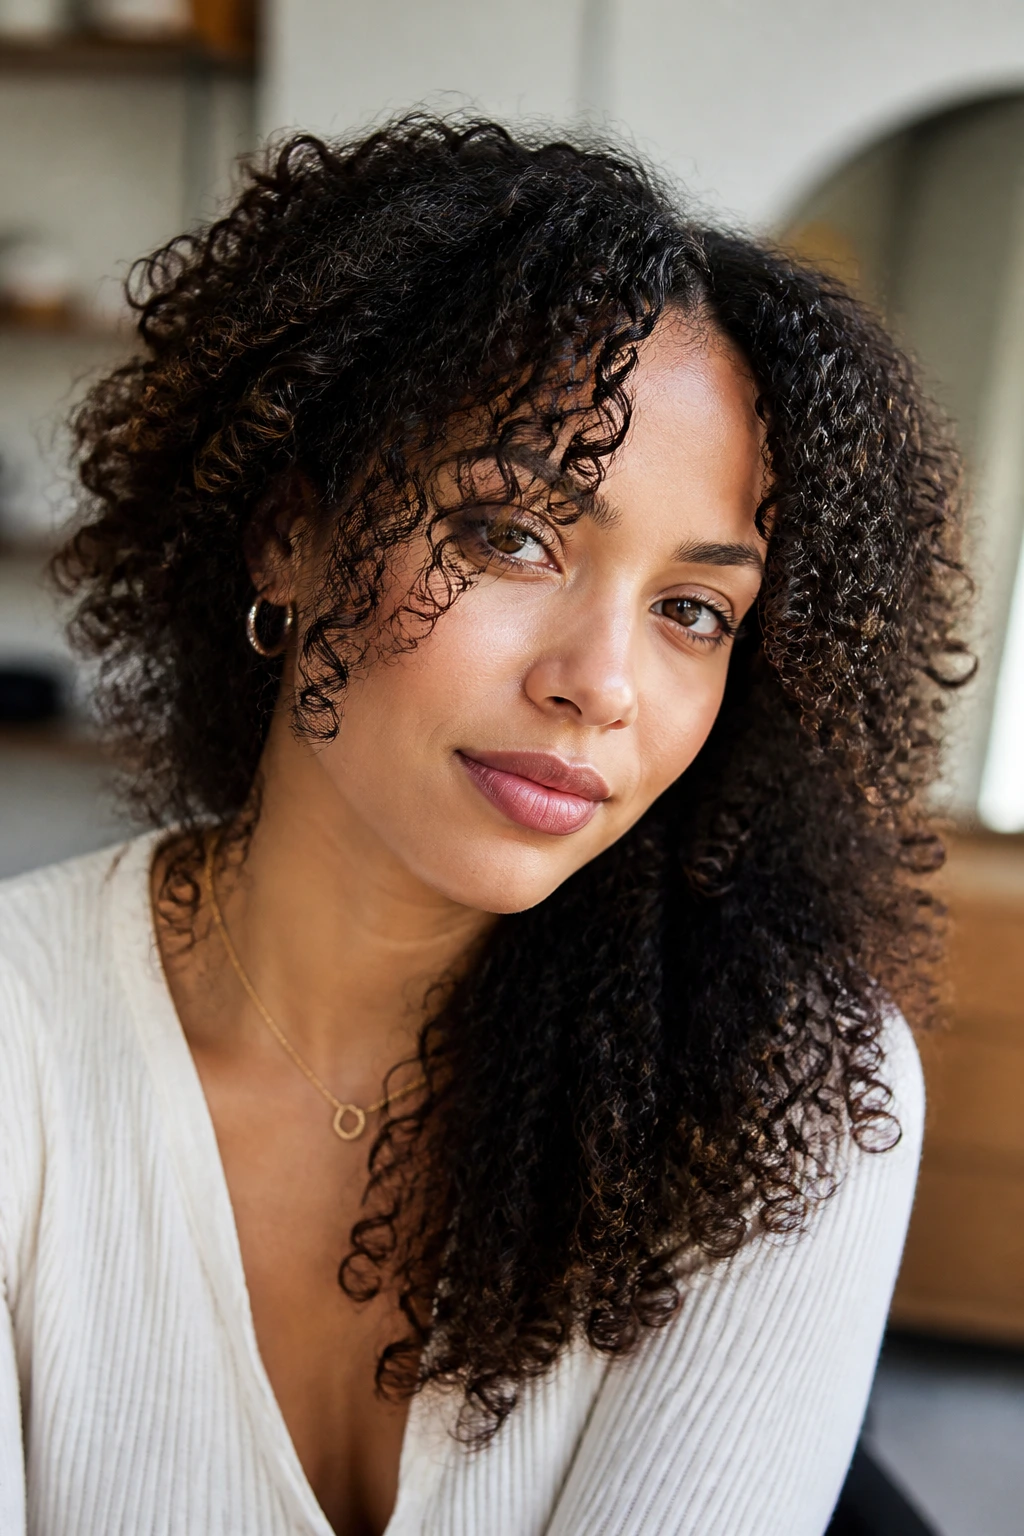
Curly and coily hair can wear this shape beautifully, but shrinkage changes everything. The fringe needs to be cut longer, then shaped with the natural bend in mind so it still lands around the face after the hair dries. The sweep can be soft and wide, or more defined and side-directed.
A twist-out, blow-dry stretch, or roller set can help the front fall in the right range if you want a smoother curtain effect. If you want to wear the texture naturally, keep the shortest point below where you think it should sit. Curly bangs always spring up more than straight-haired people expect. That is not a flaw. It’s physics.
28. What to Ask Your Stylist for at the Chair
Bring a photo, but bring a better photo than the usual one — front view, side view, and one that shows the hair moving. Then say where you want the shortest point to land, where you want the longest front pieces to finish, and how much parting flexibility you need. That gives the stylist real information instead of vague hope.
I’d also ask whether the cut should be done dry, damp, or fully blown out based on your texture. Curly and wavy hair usually needs more attention to how it springs up. Fine hair may need more weight left in the front. Thick hair may need internal removal, not a ton of texturizing. These details decide whether the fringe looks custom or copied.
What Makes the Shape Worth Styling Every Day
The best thing about long layered curtain side-swept part bangs is that the shape is doing part of the work for you. The front frame is already there. You’re not creating the whole look from scratch every morning. You’re waking the cut up, nudging it in the right direction, and letting the length do the rest.
That matters because styling frustration usually starts with a bad foundation. If the shortest point is wrong, the part is wrong, or the front is too thin, no amount of product will save it. But when the cut is balanced, you can get three different finishes from the same fringe: soft and airy, brushed and polished, or loose and side-swept with a bit of bend.
The cut should talk to the rest of the hair
A good fringe doesn’t look separate from the haircut. It should echo the layers in the ends, the weight in the crown, and the amount of movement you want around the face. That’s why some long bangs feel easy and others feel oddly stubborn. The shape has to match the haircut behind it.
Essential Tools for Styling and Trimming the Shape
-
Tail comb: Best for parting the front cleanly and sectioning out the bang area without grabbing too much hair.
-
1-inch to 1¼-inch round brush: Useful for bending the front away from the face and shaping the ends around the cheekbone.
-
Blow dryer with a nozzle attachment: The nozzle gives more control, which matters when you’re directing roots to fall left, right, or center.
-
Heat protectant spray: A light mist keeps the front from getting rough at the ends if you style it often.
-
Light mousse or root-lift foam: Helpful for fine or flat hair that needs the fringe to stay lifted instead of collapsing onto the forehead.
-
Dry shampoo: Works on day-two bangs to cut oil and add a little grip at the roots.
-
Small flat iron: Handy for smoothing a stubborn bend or touching up the outer edge of a side sweep.
-
Duckbill clips or sectioning clips: These keep the rest of the hair out of the way while you dry the front in small sections.
-
Velcro rollers: Optional, but they’re excellent for setting a soft curve without adding much heat.
-
Hair shears: If you trim fringe at home, use proper shears; kitchen scissors chew the ends and leave the line ragged.
What to Tell Your Stylist at the Chair
Bring the haircut language down to three things: length, part, and weight. If you can explain those without drifting into vague words like “softer” or “more face-framing,” you’re already ahead. The stylist needs to know where the shortest piece should land, whether the bang should split in the middle or sit off center, and how much density you want left in the front.
A good reference point is the face itself. Say cheekbone, brow, bridge of the nose, or jawline — not “somewhere around here.” That kind of detail changes the cut. For wavy or curly hair, ask how the fringe should be shaped when dry so the front doesn’t jump up shorter than expected. For fine hair, ask them to avoid over-thinning. For thick hair, ask where bulk should be removed so the front can bend instead of sitting like a plank.
Small Styling Moves That Change the Whole Look
Root Direction: Blow-dry the front roots in the direction you want them to live, then switch sides briefly to create lift. That little back-and-forth keeps the part from settling too flat.
Temperature Control: Use medium heat first and finish with a cool shot. The cool blast helps set the bend, especially around the cheekbone where the fringe wants to collapse.
Product Choice: Fine hair usually likes mousse or a root spray. Thick or coarse hair tends to behave better with a small amount of cream through the mids and almost nothing at the root.
Day-Two Reset: Mist the front lightly with water, roll it back onto a brush or roller for a minute or two, and re-dry just the bang area. It’s faster than redoing the whole head and usually enough to bring the shape back.
Hands Off the Front: Keep heavy oils and balm away from the scalp area. The fringe can look separated and greasy within hours if the front is coated too early.
Common Mistakes That Make the Fringe Fight Back
-
Cutting the shortest point too high: The front ends up sitting like a shelf instead of a sweep. Ask for the shortest area near the bridge of the nose or just below the brow if you want a real curtain effect.
-
Thinning fine hair too aggressively: The bang turns see-through and loses its frame. Keep more weight in the center and soften only the edges.
-
Ignoring the cowlick: The fringe splits where it wants, not where you want. Dry it against the cowlick first, then guide it into place while it’s still warm.
-
Using too much product at the root: The front gets stringy and separates by lunchtime. Save creams and oils for the mid-lengths and ends.
-
Forcing symmetry on uneven hairlines: One side keeps kicking out and the other side sits flat. A slight asymmetry often behaves better than a fake-even split.
-
Skipping the face frame: Long bangs without layers around the cheek and jaw can feel disconnected. The front should blend, not stop abruptly.
Variations and Alternatives for Different Hair Textures
Barely-There Curtain:
This version uses longer front pieces and very soft layering, so the fringe stays almost invisible until you style it. It’s useful if you want the face frame without committing to a strong bang line. The shape grows out gracefully and needs less constant attention.
Shag-Heavy Texture:
Here the fringe leans choppier, with more piecey separation and a looser part. It suits wavy hair or anyone who wants a messier finish that can dry on its own. Just keep enough weight in the center so the front still frames the face.
Polished Blowout Sweep:
This is the glossy, round-brush version with clean movement and a controlled bend at the ends. It pairs well with long, smooth layers and hair that holds a set for a full day. If you like a finished look, this is the one that feels the most deliberate.
Low-Commitment Grow-Out Fringe:
The front is cut long enough to tuck, pin, or split several ways. It’s the smartest option if you want to test bangs without getting trapped in a strict trim cycle. It also works well for people who wear their hair up half the week.
Texture-First Natural Sweep:
This version follows the hair’s own bend instead of trying to force a brushy blowout. Curly, coily, and wavy textures often look best here because the cut respects shrinkage and movement instead of fighting them. The result is softer and less precise, but that’s the point.
Keeping the Shape Fresh Between Trims
Long fringe is forgiving, but it still needs a little upkeep if you want the shape to stay readable. A trim every 6 to 8 weeks keeps the shortest point from sliding too far into the eyes, though people who like a longer, grown-out look can stretch that a bit. The rest of the haircut may last longer than the bang, which is normal.
Between washes, dry shampoo is the quiet hero. Hit the roots at the front first, let it sit for a minute, then brush it through so the powder doesn’t linger as a dusty patch. If the bangs collapse overnight, clip them loosely to one side or set them on a roller before bed; that gives them less chance to dry in a weird bend.
If the fringe gets sweaty or oily from the face area, wash the front section separately. A quick sink rinse and blow-dry can bring it back without washing the whole head. That’s especially useful for fine hair, which tends to go limp faster than thick hair. No need to start over just because the front got tired.
Frequently Asked Questions
How often should long layered curtain side-swept part bangs be trimmed?
Most people do well with a trim every 6 to 8 weeks if they want the shortest point to stay around the brow or nose bridge. If you like the longer, grown-out version, you can wait longer, but the front will start losing its shape sooner than the rest of the haircut.
Can these bangs work on curly hair?
Yes, but they need to be cut with shrinkage in mind. Curly hair should usually be cut longer than straight hair so the front still lands in the right place once it dries. A dry cut or a cut shaped while the hair is in its natural state often gives better results.
What’s the difference between curtain bangs and side-swept bangs?
Curtain bangs usually open from the center and frame both sides of the face, while side-swept bangs push more of the weight in one direction. Long layered versions can borrow from both shapes, which is why this style can sit somewhere in the middle. That middle ground is part of the appeal.
Will this style work if I have a cowlick at the front?
Usually, yes, but the parting needs to respect the cowlick instead of fighting it hard. Start the part near the natural split, dry the front in the opposite direction first, then guide it back where you want it. If you force a dead-center part on a stubborn cowlick, you’ll spend all day fixing it.
How do I keep the bangs from looking greasy?
Keep heavy oils and creams away from the roots. Use dry shampoo at the front hairline, and if the fringe gets oily fast, wash or rinse just that section instead of the whole head. Fine hair especially benefits from a lighter hand because it shows product faster.
Can I wear this fringe with a ponytail or bun?
Yes, and it’s one of the better fringe shapes for tied-back styles. The long pieces soften the hairline and keep the style from looking too severe. If you want the ponytail to feel polished, leave a few front pieces out and shape them with a quick brush.
What if the bangs split weirdly after drying?
That usually means the roots dried in the wrong direction or the part is fighting the natural growth pattern. Dampen just the front, reset the roots with heat, and clip the hair in the direction you want while it cools. A full restyle isn’t always necessary.
Do I need a blowout to make this style work?
No, but the shape looks more polished when the front is at least partly directed with a brush or diffuser. Air-drying works well on wavy and textured hair, while straight or fine hair usually needs a little root guidance so the fringe doesn’t lie flat.
The Shape That Moves With You
Long layered curtain side-swept part bangs have staying power because they don’t lock you into one mood. They can be soft and low-key, brushed and glossy, loose and textured, or tucked back with almost no effort. That flexibility matters more than a lot of people admit, especially when you want a fringe that still makes sense after a windy commute, a long workday, or one more night of sleeping on the wrong side.
The best version is the one that fits your hair’s actual habits. Not the photo. Not the fantasy. The real hair on your head, with its cowlicks, density, bend, and stubborn little opinions. Choose the length and part that work with that, and this shape stays useful long after the first haircut glow has faded.